1. Introduction
This manual provides essential information for the safe and efficient installation, operation, and maintenance of your YC Yier 72V 3000W Brushless DC Motor Kit. Please read this manual thoroughly before attempting any installation or operation to ensure proper functionality and to prevent damage or injury.
The brushless electric motor features a 100% copper core for quiet operation and high efficiency. Its aluminum alloy shell provides durability and resistance to heat, cold, and corrosion. This kit is suitable for various applications, including electric scooters, e-bikes, ATVs, motorized bicycles, and other DIY electric vehicle projects.
2. What's in the Box
Carefully unpack all components and verify that all items listed below are present and undamaged. If any items are missing or damaged, please contact customer support.

Figure 2.1: All components included in the YC Yier 72V 3000W Brushless DC Motor Kit, including the motor, controller, throttle, battery, chain, sprocket, and various wiring.
- 1x Electric Motor (Model: MY1020D)
- 1x Speed Controller
- 1x T8F 54T Sprocket
- 1x LCD Display
- 6x 12V 12Ah Batteries
- 1x 72V Battery Charger
- 5x Battery connecting cables
- 1x T8F 116 Links Chain
- 1x Foot Pedal
- 1x Charging Port
- 1x 3-speed toggle switch
- 1x Forward/Reverse switch
- 1x Air switch
- 1x Brake switch
- 1x Wiring harness
- 1x Terminal block
- 1x Key on/off switch
3. Specifications
Key technical specifications for the YC Yier 72V 3000W Brushless DC Motor Kit:

Figure 3.1: Detailed technical drawing showing the dimensions of the YC Yier 72V 3000W Brushless DC Motor, including length, width, and shaft measurements.

Figure 3.2: Close-up of the motor's label, displaying model number MY1020D, voltage 72VDC, output 3000W, and rated speed 4900r/min.
| Parameter | Value |
|---|---|
| Model | MY1020D |
| Input Voltage | 72V DC |
| Output Power | 3000W |
| Rated Current | ≤ 43A |
| Rated Speed | 4900 RPM |
| Maximum Speed | 6500 RPM |
| Sprocket | T8F-11 Teeth |
| Horsepower | 4.07 HP |
| Rated Torque | 849.67 oz.in / 6 N.m |
| Maximum Current | 65A |
| No-load Current | ≤ 4.0A |
| Peak Efficiency | ≥ 85% |
| Working Temperature | < 120 °C / 248 °F |
| Material | Aluminum |

Figure 3.3: Close-up of the controller's label, indicating nominal voltage (36V-84V), maximum current (60A), brake levels, and motor phase angle.

Figure 3.4: The LCD display unit, showing digital readouts and battery level indicators, designed to provide operational feedback.

Figure 3.5: A single DONGJIN 12V 12Ah battery, detailing its constant voltage charge specifications and dimensions.
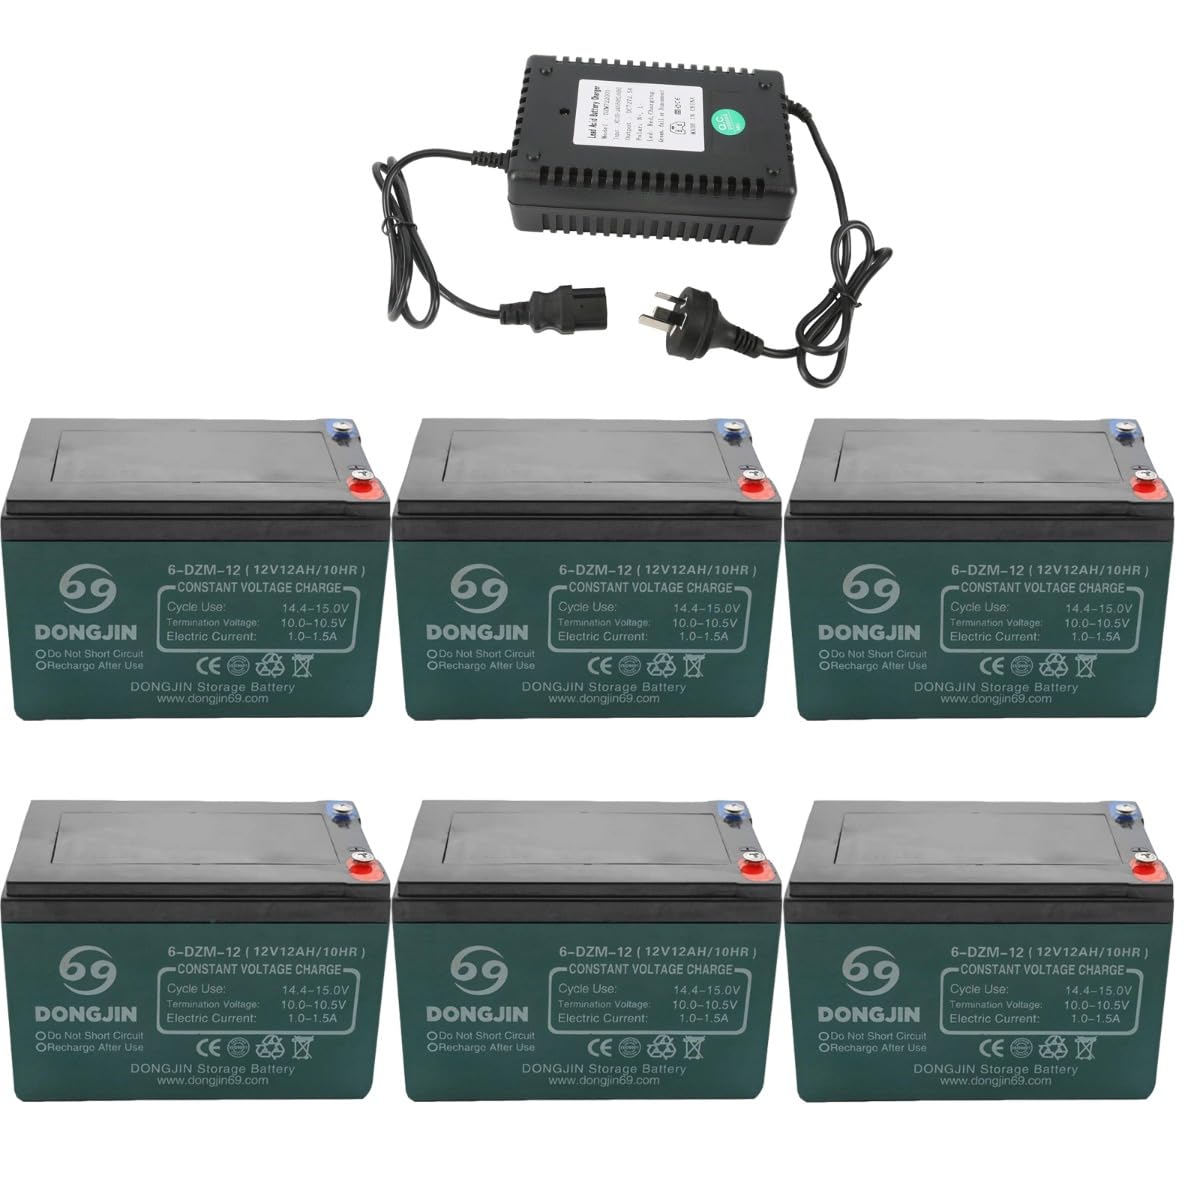
Figure 3.6: Six DONGJIN 12V 12Ah batteries along with a battery charger, illustrating the complete power source for the motor kit.
4. Setup and Wiring
Follow these steps carefully to connect your brushless DC motor kit. Incorrect wiring can lead to damage or malfunction.
Video 4.1: This video demonstrates the step-by-step wiring and initial testing of the brushless DC motor kit, showing how to connect the motor, controller, throttle, and power supply.

Figure 4.1: An overhead view of the motor controller with all its various wire connectors labeled, showing connections for motor phase, battery, throttle, Hall wire, power lock, and other functions.
Wiring Steps:
- Motor to Controller Power Supply: Connect the motor's power supply cord to the controller. Ensure that the yellow, green, and blue wires are connected to their corresponding colors on the controller.
- Motor Hall Wire: Locate the Hall wire from the motor and plug it directly into the controller's Hall wire plug.
- Power Supply Connection: After all other connections are made, connect the main power supply. The red wire is for positive (+) and the black wire is for negative (-).
- Power Lock: Connect the power lock to the power lock connector on the controller.
- Throttle Connection: The throttle typically has three connectors. Connect the green, red, and black wires from the throttle to the corresponding throttle connector on the controller.
- 3-Speed Connector: Connect the 3-speed connector. This controls the high, medium, and low speeds of the motor.
- Reverse Connectors: Identify the two yellow lines which are the reverse connectors. Connect them if reverse functionality is desired.
- Study Wire (Self-Learning Wire): If the motor does not run smoothly or shakes after initial connection, plug in the study wire (self-learning wire). The motor will run automatically. After it runs, you can unplug it. This wire helps the controller identify the motor's signal. The study wire can also be used to adjust the direction of motor operation. When the study wire is plugged in and the throttle is turned, its direction of rotation will change. Rotate once to change one direction (e.g., from counter-clockwise to clockwise).
5. Operating Instructions
Once the motor kit is correctly installed and wired, follow these steps for operation:
- Power On: Turn the key on/off switch to the 'on' position to power the system. The LCD display should illuminate.
- Speed Selection: Use the 3-speed toggle switch to select your desired speed mode (low, medium, or high). Note that when reversing, all speeds are typically the same to prevent excessive speed.
- Throttle Control: Gently twist the throttle grip to engage the motor. Increase the twist for higher speed. Release the throttle to slow down or stop.
- Braking: Apply the brake lever to activate the brake switch, which will cut power to the motor and engage the braking mechanism.
- Forward/Reverse: Use the forward/reverse switch to change the direction of motor rotation as needed.
- Monitoring: Observe the LCD display for real-time information such as speed, battery level, and other operational data.
6. Maintenance
Regular maintenance ensures the longevity and optimal performance of your motor kit:
- Cleaning: Keep the motor and controller free from dust, dirt, and moisture. Use a dry cloth for cleaning. Avoid using harsh chemicals or excessive water.
- Connections: Periodically check all electrical connections for tightness and corrosion. Secure any loose connections.
- Battery Care: Follow the charging instructions for the 12V 12Ah batteries. Avoid overcharging or completely discharging the batteries. Store batteries in a cool, dry place.
- Motor Inspection: Inspect the motor for any unusual noises, vibrations, or excessive heat during operation. Ensure proper ventilation around the motor.
- Chain and Sprocket: Lubricate the chain regularly and check for proper tension. Inspect the sprocket for wear.
7. Troubleshooting
If you encounter issues with your motor kit, refer to the following common troubleshooting tips:
- Motor Not Running:
- Check if the power key is in the 'on' position.
- Verify that the battery is charged and properly connected.
- Inspect all wiring connections for looseness or damage.
- Ensure the throttle is correctly connected and functioning.
- If the motor shakes or runs irregularly, try using the 'study wire' as described in the Setup section to re-identify the motor's signal.
- Motor Running in Wrong Direction:
- Use the 'study wire' to adjust the direction of rotation. Plug it in, turn the throttle, and it will change direction. Unplug it after the direction is set.
- No Power to Display:
- Check battery connections and charge level.
- Ensure the key on/off switch is functioning.
- Motor Overheating:
- Reduce load on the motor.
- Ensure adequate ventilation around the motor.
- Check for any obstructions preventing free rotation.
If these steps do not resolve the issue, please contact customer support for further assistance.
8. Warranty and Support
For warranty information and customer support, please refer to the documentation provided with your purchase or contact the seller directly. Keep your proof of purchase for any warranty claims.
Manufacturer: YC Yier
Date First Available: October 2, 2023