1. Introduction
Thank you for choosing the Trust Halyx 5-in-1 USB-C Hub. This manual provides essential information for the proper setup, operation, and maintenance of your device. This hub is designed to expand the connectivity of your PC, laptop, or MacBook Pro by adding four USB-C data ports and one USB-C Power Delivery (PD) port.
2. Product Overview
The Trust Halyx 5-in-1 USB-C Hub (Model 25136) features a durable aluminum housing and a compact design. It connects to your host device via an integrated 10cm USB-C cable.
2.1 Key Features
- 5-Port Connectivity: Adds 4 USB-C data ports and 1 USB-C Power Delivery port.
- 100W USB-C PD Power Port: Allows pass-through charging for your laptop (additional charger required).
- High-Speed Data Transfer: Supports data transfer speeds up to 5 Gbps.
- Durable Design: Constructed with an aluminum housing for enhanced durability.
- Plug and Play: No drivers required for most operating systems.
2.2 Package Contents
- Trust Halyx 5-in-1 USB-C Hub
- User Manual (this document)

Image: The Trust Halyx 5-in-1 USB-C Hub showing its five convenient ports and integrated USB-C cable.

Image: A detailed view of the five USB-C ports on the Trust Halyx hub, including the Power Delivery port.
3. Setup Instructions
Follow these steps to set up your Trust Halyx 5-in-1 USB-C Hub:
- Connect to Host Device: Plug the integrated USB-C cable of the hub into an available USB-C port on your PC, laptop, or MacBook Pro.
- Power Connection (Optional): If you wish to charge your laptop through the hub, connect your laptop's USB-C power adapter to the dedicated 100W USB-C PD port on the hub. Note: An additional charger is required for pass-through charging.
- Connect Peripherals: Plug your USB-C devices (e.g., external drives, keyboards, mice, other USB-C accessories) into the four USB-C data ports on the hub.
- Verify Connection: Your operating system should automatically detect the hub and connected devices. No additional drivers are typically needed.

Image: The Trust Halyx hub connected to a laptop, demonstrating how to plug in additional USB-C devices.

Image: The 100W USB-C Power Delivery port on the Trust Halyx hub, with a power cable connected for laptop charging.
4. Operating Instructions
Once connected, the Trust Halyx hub operates as a direct extension of your computer's USB-C capabilities.
4.1 Connecting Devices
- Simply plug your USB-C peripherals into any of the four available USB-C data ports.
- The hub supports data transfer speeds of up to 5 Gbps, suitable for most external storage devices, keyboards, mice, and other accessories.
4.2 Power Delivery Functionality
- The dedicated USB-C PD port allows you to charge your laptop while using the hub. Connect your laptop's original USB-C power adapter to this port.
- The hub supports up to 100W pass-through power delivery. Ensure your power adapter is compatible with your laptop's charging requirements.

Image: A complete workstation setup utilizing the Trust Halyx hub to connect various peripherals to a laptop and external monitor.
5. Maintenance and Care
To ensure the longevity and optimal performance of your Trust Halyx USB-C Hub, follow these guidelines:
- Cleaning: Use a soft, dry cloth to clean the hub. Avoid liquid cleaners or abrasive materials.
- Storage: Store the hub in a cool, dry place when not in use. Its compact size makes it suitable for travel.
- Handling: Avoid dropping the hub or subjecting it to strong impacts. Do not bend the integrated cable excessively.
- Temperature: Operate the hub within normal room temperatures. Avoid extreme heat or cold.
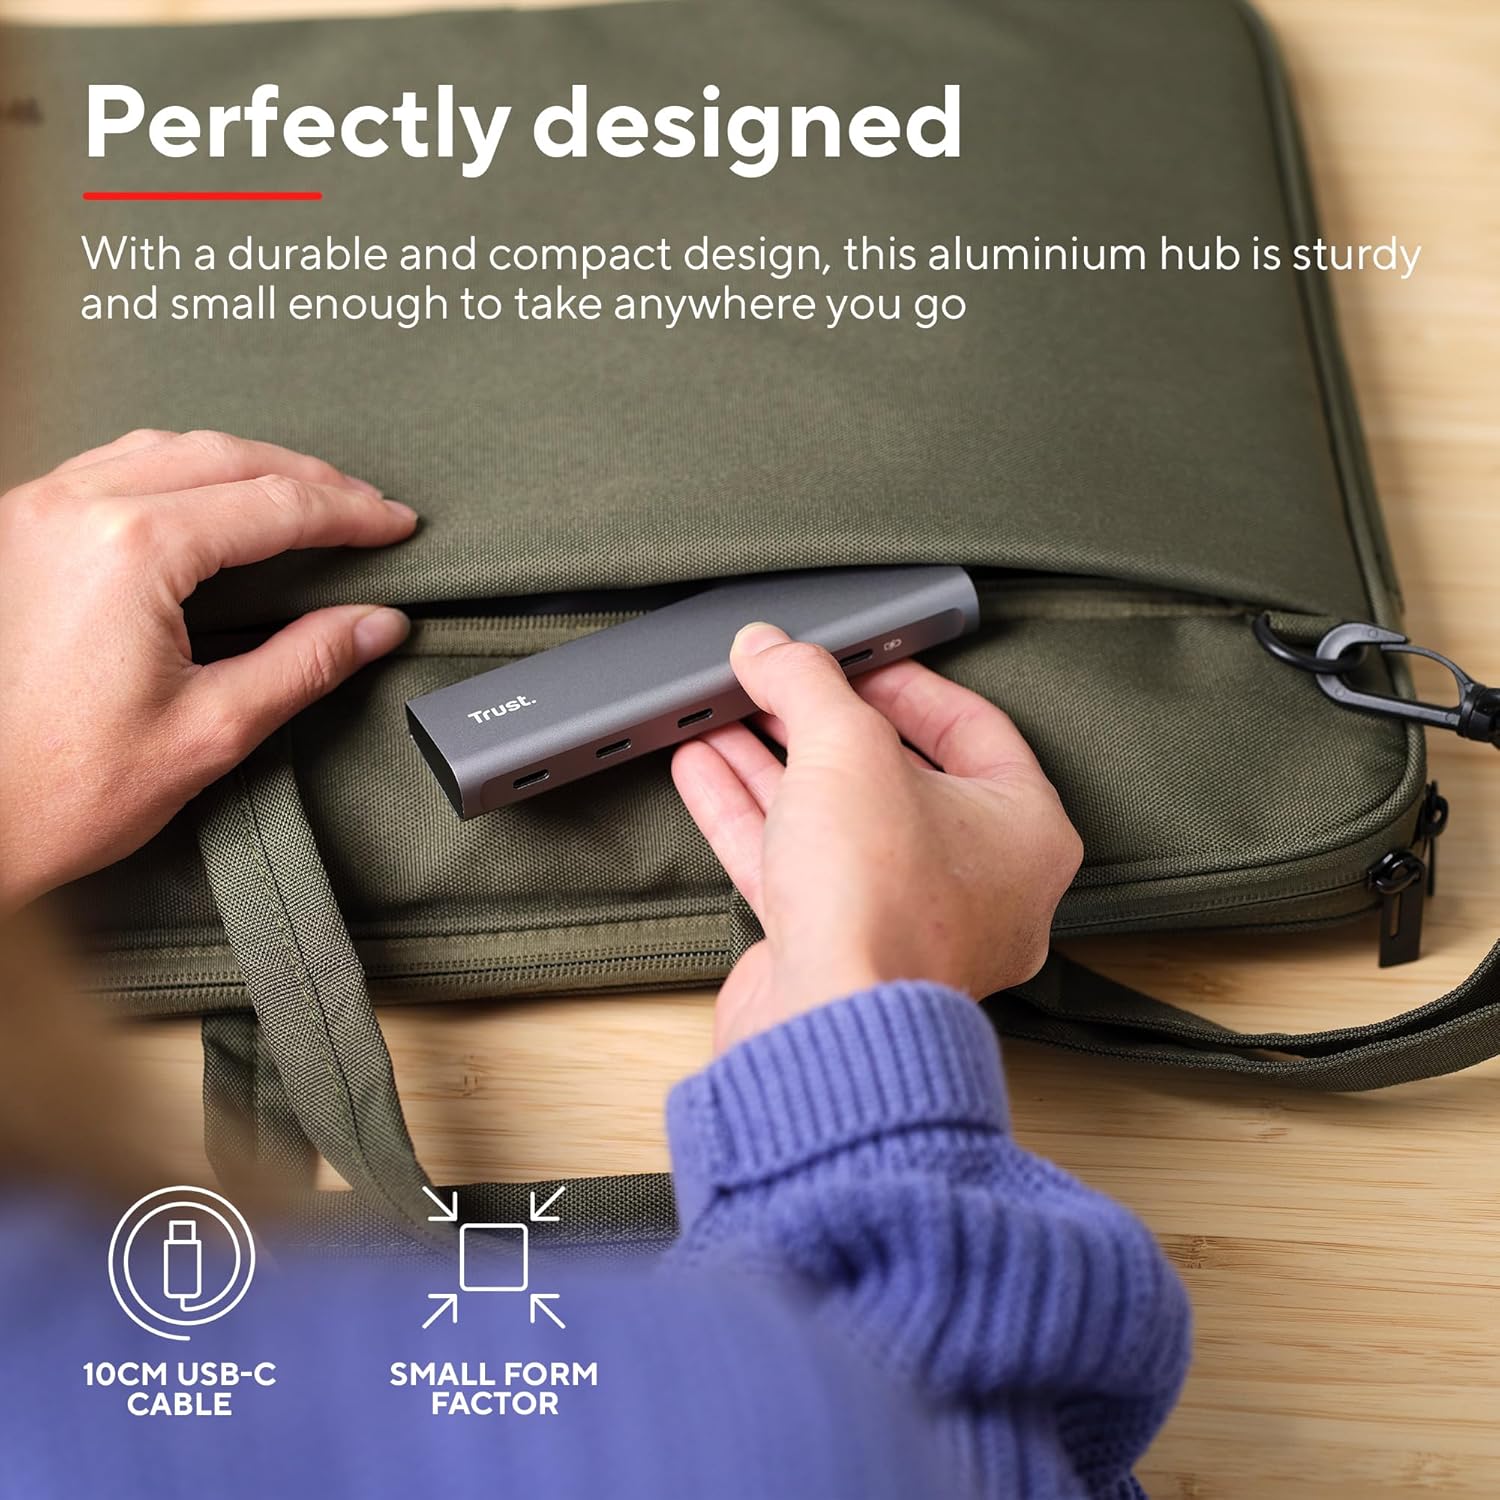
Image: The compact and durable design of the Trust Halyx hub, shown being placed into a laptop bag for portability.
6. Troubleshooting
If you encounter issues with your Trust Halyx USB-C Hub, refer to the following common solutions:
6.1 Devices Not Detected
- Check Connections: Ensure the hub's USB-C cable is securely plugged into your host device and that peripherals are firmly connected to the hub.
- Restart Host Device: Sometimes, a simple restart of your computer can resolve detection issues.
- Test Peripherals Directly: Connect the peripheral directly to your computer's USB-C port (if available) to confirm it is functioning correctly.
- Try Different Port: If your computer has multiple USB-C ports, try connecting the hub to a different one.
6.2 Charging Not Working
- Verify Power Adapter: Ensure your USB-C power adapter is correctly connected to the hub's PD port and is capable of providing sufficient power for your laptop.
- Check Laptop Compatibility: Confirm your laptop supports USB-C Power Delivery for charging.
- Cable Integrity: Ensure the USB-C cable from your power adapter to the hub is not damaged.
6.3 Slow Data Transfer
- Device Compatibility: Ensure the connected peripheral supports USB 3.0 (5 Gbps) speeds. Older USB 2.0 devices will operate at their native slower speeds.
- Host Port Speed: Verify that the USB-C port on your computer supports USB 3.0 or higher data transfer rates.
- Avoid Overloading: While the hub provides multiple ports, extremely demanding devices might perform better when connected directly to the host device if possible.
7. Specifications
| Feature | Detail |
|---|---|
| Model Number | 25136 |
| Brand | Trust |
| Connectivity | 1x USB-C Host Connector (integrated cable), 4x USB-C Data Ports, 1x USB-C Power Delivery Port |
| Data Transfer Speed | Up to 5 Gbps (USB 3.0) |
| Power Delivery | Up to 100W pass-through charging |
| Housing Material | Aluminum |
| Cable Length | 10 cm |
| Dimensions (LxWxH) | 1.26 x 5 x 0.63 inches (32 x 127 x 16 mm) |
| Weight | 2.86 ounces (81 grams) |
| Compatible Operating Systems | Chrome OS, Windows 10 or 11, macOS 11, 12 or 13 |
8. Warranty and Support
For warranty information and technical support, please refer to the official Trust website or contact their customer service directly. Keep your proof of purchase for warranty claims.
Online Support: www.trust.com/support