WARM TECH WTRIC2000-7
WARM TECH Ceramic Inertia Radiator 2000W - Model WTRIC2000-7 User Manual
Model: WTRIC2000-7 | Brand: WARM TECH
1. Introduction
Thank you for choosing the WARM TECH Ceramic Inertia Radiator. This manual provides essential information for the safe and efficient operation, installation, and maintenance of your new heater. Please read all instructions carefully before use and retain this manual for future reference.
Important Safety Instructions
- Ensure the power supply voltage matches the rating label on the appliance.
- Do not cover the radiator, as this can cause overheating.
- Keep flammable materials away from the heater.
- Do not operate the heater with a damaged cord or plug.
- This appliance is for indoor use only.
- Always disconnect the power before cleaning or performing maintenance.
- Do not insert objects into any openings.
- Supervise children and individuals with reduced capabilities near the appliance.
2. Product Features
The WARM TECH WTRIC2000-7 Ceramic Inertia Radiator is designed for efficient and comfortable heating. Key features include:
- 2000W Heating Power: Provides powerful and consistent heat output.
- Ceramic Heating Element: Utilizes a ceramic core for long-lasting, gentle, and uniform heat distribution.
- 4 Operating Modes: Comfort, ECO, Frost-Free, and Standby/Sensor modes for versatile heating control.
- 7-Day Programmable Timer: Allows for customized heating schedules throughout the week.
- LCD Display with Thermostat: Easy-to-read digital display for temperature setting and mode selection, with a temperature range of 7°C to 30°C.
- Horizontal Design: Space-saving and aesthetically pleasing for various room layouts.
- Wall Mount Installation: Designed for secure and stable wall mounting.
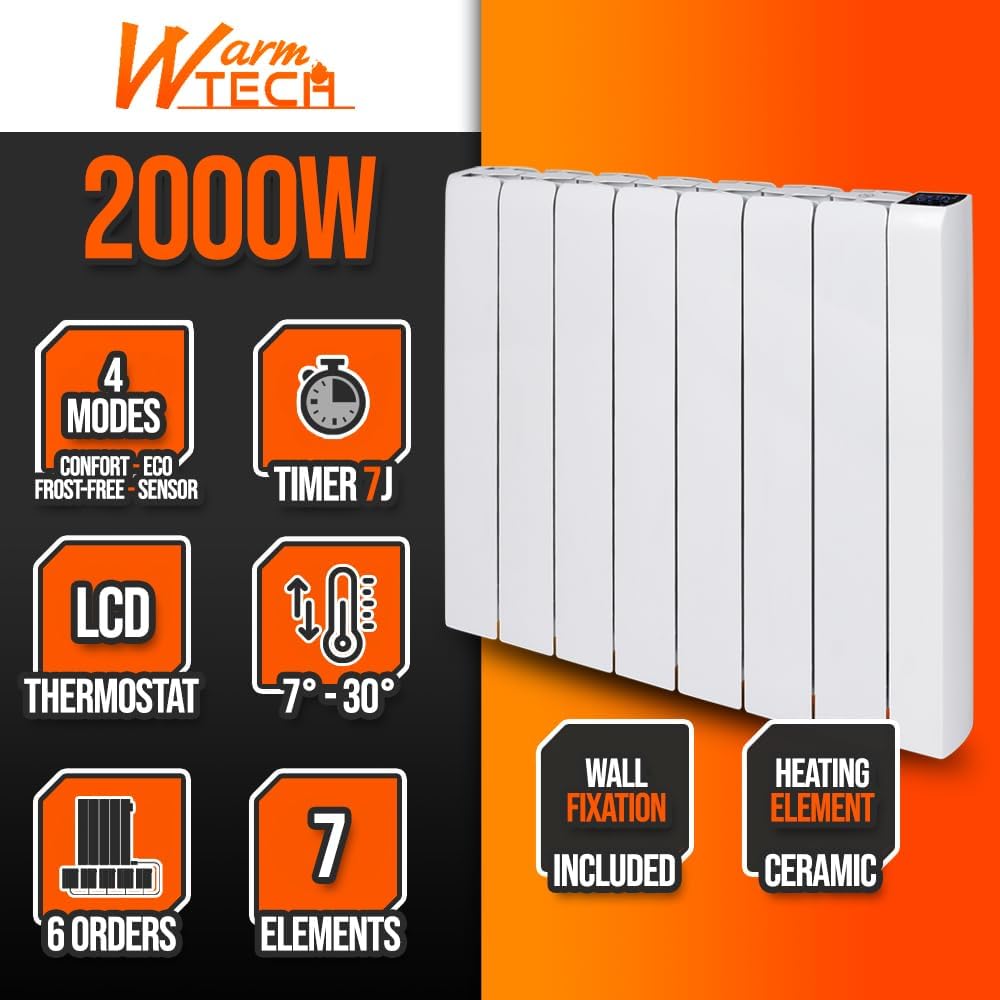
Image 2.1: Overview of the WARM TECH radiator's key features, including 4 modes, 7-day timer, LCD thermostat, 7-30°C temperature range, and ceramic heating element.
3. Setup and Installation
This radiator is designed for wall-mounted installation. Ensure the installation location is suitable and follows all local electrical and safety regulations.
3.1 Unpacking
- Carefully remove the radiator from its packaging.
- Check for any signs of damage. If damaged, do not install or operate the unit and contact your retailer.
- Ensure all components are present: radiator unit, wall mounting bracket, screws, and instruction manual.
3.2 Wall Mounting
- Choose a suitable wall location, ensuring adequate clearance from furniture, curtains, and other obstructions. Maintain a minimum distance of 15 cm from the floor and 30 cm from the ceiling.
- Mark the drilling points on the wall using the provided mounting bracket as a template.
- Drill holes at the marked points and insert appropriate wall plugs (if necessary, depending on wall material).
- Secure the wall mounting bracket to the wall using the provided screws. Ensure it is level and firmly attached.
- Carefully lift the radiator and hook it onto the wall mounting bracket. Ensure it is securely seated.
- Connect the electrical wiring according to local regulations. The radiator typically requires connection to a dedicated electrical circuit. Refer to the wiring diagram (if provided in the physical manual) for neutral, phase, and pilot wire connections. Professional installation by a qualified electrician is recommended for wiring.
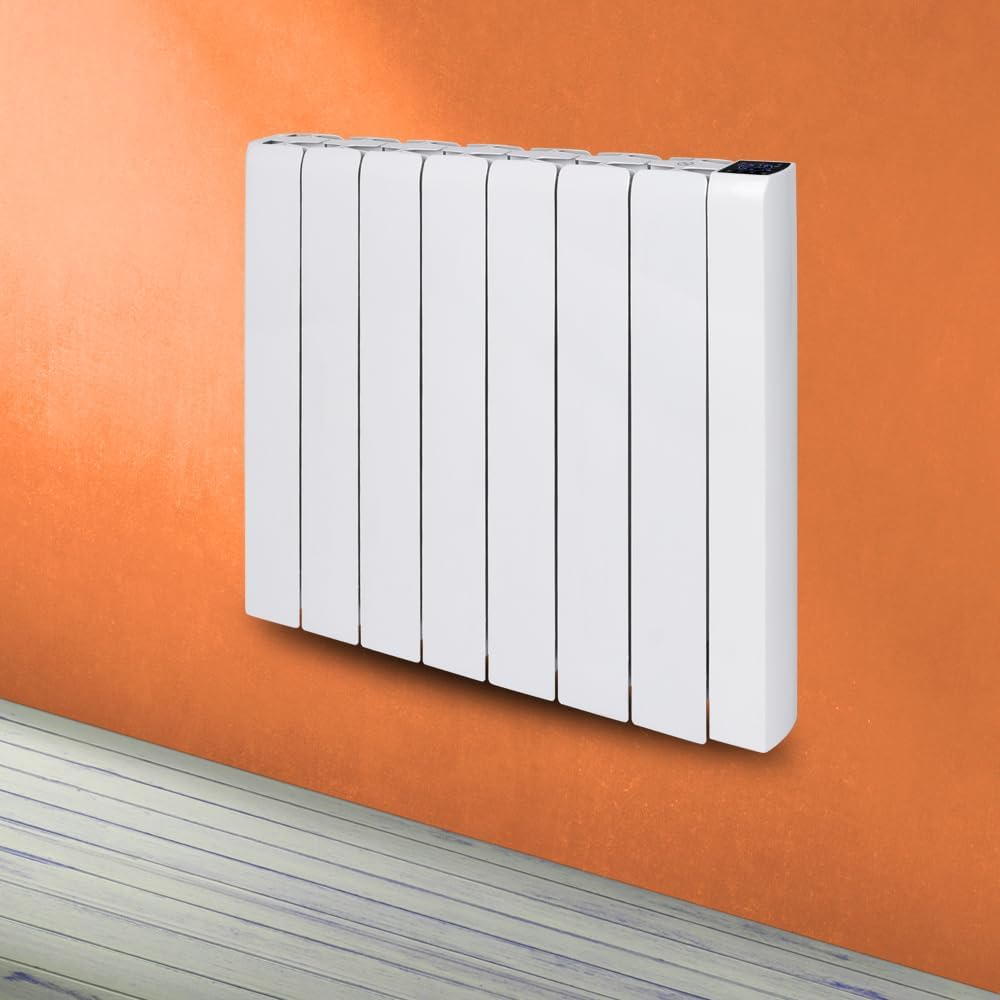
Image 3.1: The WARM TECH radiator securely mounted on a wall, demonstrating its horizontal orientation.

Image 3.2: Illustration showing the approximate dimensions of the radiator (57cm height, 79.3cm width, 8cm depth) and a cutaway view highlighting the internal ceramic stone heating element.
4. Operating Instructions
Familiarize yourself with the control panel and LCD display for optimal use of your radiator.

Image 4.1: Close-up of the radiator's LCD display and control buttons, showing various icons for modes, timer, and temperature settings.
4.1 Power On/Off
- To turn on the radiator, press the Power button on the control panel. The LCD display will illuminate.
- To turn off, press the Power button again. The display will turn off, and heating will cease.
4.2 Mode Selection
Press the Mode button to cycle through the available heating modes:
- Comfort Mode: Maintains a comfortable set temperature. Ideal for occupied rooms.
- ECO Mode: Operates at a slightly lower temperature than Comfort mode, offering energy savings while maintaining a comfortable ambient temperature.
- Frost-Free Mode: Maintains a minimum temperature (typically around 7°C) to prevent freezing in unoccupied spaces.
- Standby/Sensor Mode: The radiator will only activate if the room temperature drops below a certain threshold, or can be used as a low-power standby.
4.3 Temperature Adjustment
In Comfort or ECO mode, use the Up and Down arrow buttons to set your desired temperature between 7°C and 30°C. The selected temperature will be displayed on the LCD.
4.4 7-Day Programmable Timer
The 7-day timer allows you to program specific heating schedules for each day of the week. Refer to the detailed programming section in your physical manual for step-by-step instructions on setting daily and weekly schedules. Generally, this involves:
- Pressing the Timer button to enter programming mode.
- Selecting the day of the week.
- Setting the desired start and end times for heating periods.
- Choosing the operating mode (Comfort, ECO) for each programmed period.
- Saving the settings.
5. Maintenance
Regular maintenance ensures the longevity and efficient operation of your radiator.
5.1 Cleaning
- Always unplug the radiator and allow it to cool completely before cleaning.
- Wipe the exterior surfaces with a soft, damp cloth. Do not use abrasive cleaners, solvents, or harsh chemicals, as these can damage the finish.
- Ensure no water enters the internal components.
- Dust accumulation can reduce efficiency. Periodically use a soft brush or vacuum cleaner to remove dust from the vents and surfaces.
5.2 Storage
If storing the radiator for an extended period, ensure it is clean and dry. Store it in a cool, dry place, preferably in its original packaging, to protect it from dust and damage.
6. Troubleshooting
If you encounter issues with your radiator, consult the following table before contacting customer support.
| Problem | Possible Cause | Solution |
|---|---|---|
| Radiator does not turn on. | No power supply; Power button not pressed; Overheat protection activated. | Check power outlet and circuit breaker; Press the Power button; Unplug, let cool for 30 minutes, then restart. |
| No heat output. | Incorrect mode selected; Temperature setting too low; Timer program active. | Select Comfort or ECO mode; Increase the set temperature; Check timer settings. |
| Radiator makes unusual noises. | Normal expansion/contraction sounds; Loose mounting. | Minor clicking/creaking is normal during heating/cooling; Ensure radiator is securely mounted. If noises are loud or persistent, discontinue use and contact support. |
| Display not working. | No power; Display fault. | Check power supply; If power is present and display remains off, contact customer support. |
If the problem persists after attempting these solutions, please contact WARM TECH customer support.
7. Specifications
| Feature | Detail |
|---|---|
| Brand | WARM TECH |
| Model Number | WTRIC2000-7 |
| Heat Output | 2000 Watts |
| Heating Element Type | Ceramic |
| Operating Modes | 4 (Comfort, ECO, Frost-Free, Standby/Sensor) |
| Timer | 7-Day Programmable |
| Temperature Range | 7°C - 30°C |
| Installation Type | Wall Mount |
| Usage | Indoor |
| Dimensions (approx.) | Height: 57 cm, Width: 79.3 cm, Depth: 8 cm |
8. Warranty and Support
For detailed warranty information, please refer to the warranty card included with your product or visit the official WARM TECH website. Keep your proof of purchase for any warranty claims.
If you require technical assistance, spare parts, or have questions not covered in this manual, please contact WARM TECH customer support through their official channels. Contact details can typically be found on the product packaging or the manufacturer's website.
Note: Availability of spare parts information is not provided in the product data. Please consult the manufacturer directly for spare parts inquiries.
Ask a question about this manual
Ask about setup, troubleshooting, compatibility, parts, safety, or missing instructions. Manuals+ will review the question and use this page’s manual context to help answer it.