
Introduction
This manual provides essential instructions for the safe and efficient operation, setup, and maintenance of your QUEMARQUE Industrial Straight Stitch Sewing Machine, Model DD-6150. Please read this manual thoroughly before using the machine to ensure proper function and to prevent injury.
The QUEMARQUE DD-6150 is designed for heavy-duty sewing tasks, particularly suitable for thick materials such as leather, rubber, and canvas. It performs straight stitch operations and is compatible with nylon, polyester, and cotton threads.
Important Safety Instructions
- Always disconnect the machine from the power source before cleaning, lubricating, or performing any maintenance.
- Keep fingers away from all moving parts, especially the needle, presser foot, and handwheel, during operation.
- Never operate the machine with damaged parts or if it is not functioning correctly.
- Use only recommended accessories and attachments.
- Ensure adequate lighting in your workspace.
- Wear appropriate safety devices, such as eye protection, during operation.
- Keep children and pets away from the machine during operation.
- This machine requires a separate clutch motor, table, and energy-saving belt motor (not included) for full operation. Ensure these components are installed correctly and safely.
Setup and Assembly
1. Unpacking and Inspection
Carefully remove all components from the packaging. Inspect all parts for any signs of damage. Refer to the included parts list to ensure all accessories are present.

Figure 1: All components included with the QUEMARQUE Industrial Straight Stitch Sewing Machine, Model DD-6150, laid out for inspection.
2. Machine Head Overview and Dimensions
Familiarize yourself with the main machine head and its dimensions. The machine head (Model 6150) is designed for freestanding mounting onto a compatible sewing table.
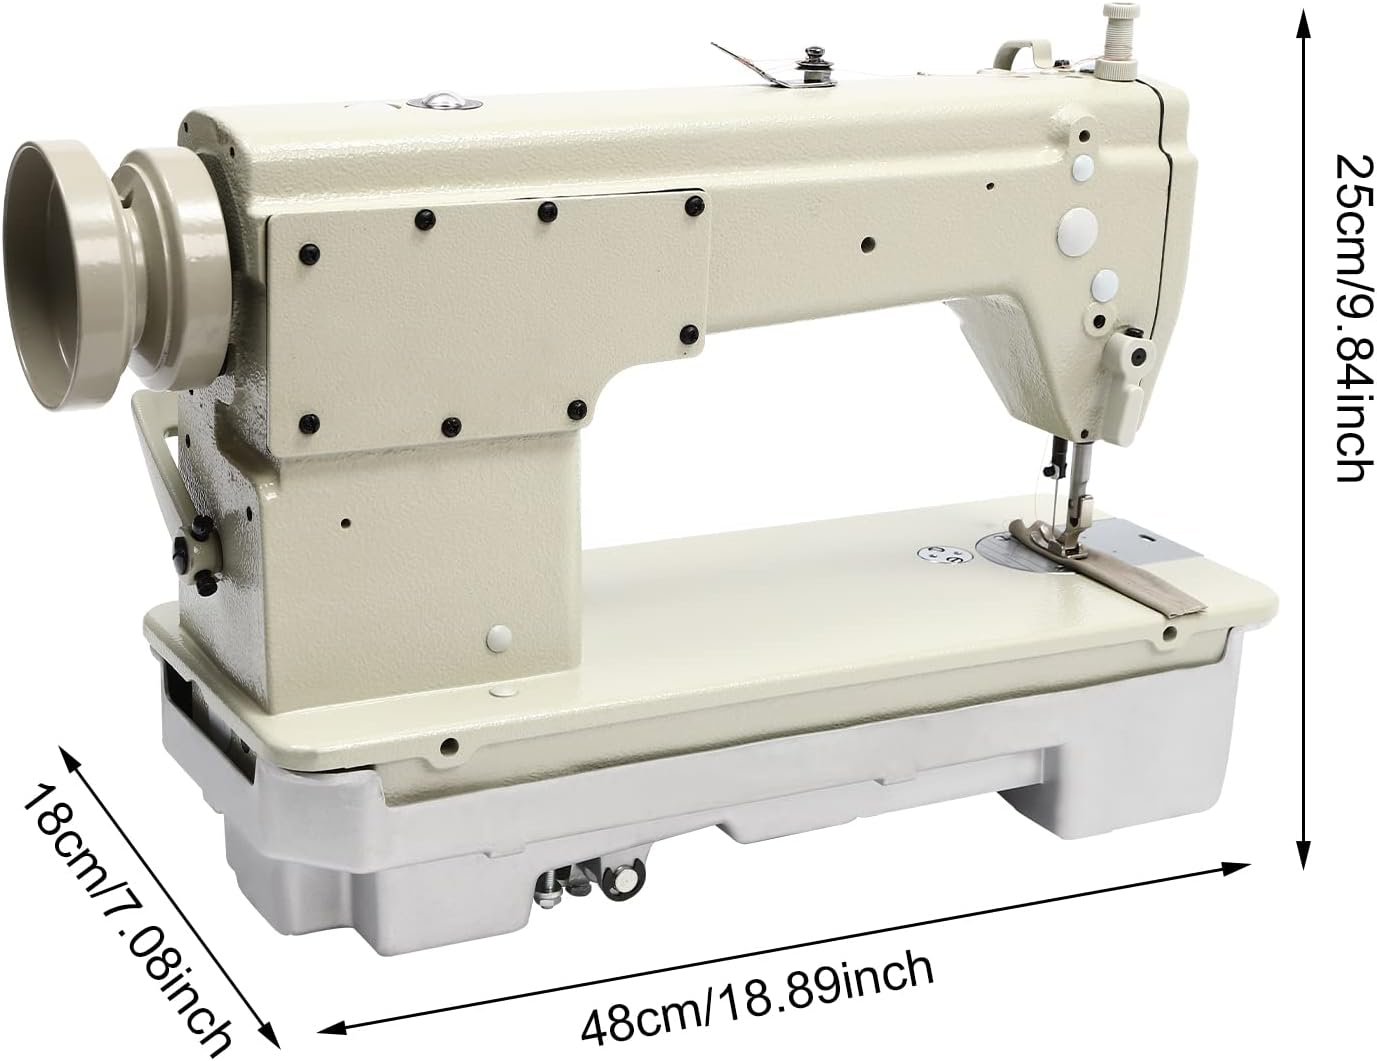
Figure 2: Dimensions of the QUEMARQUE Industrial Straight Stitch Sewing Machine head.
3. Installing the Oil Pan
The machine head sits on an oil pan, which collects excess oil and provides a stable base. Ensure the oil pan is clean and correctly positioned on your sewing table before placing the machine head.

Figure 3: The oil pan component, which forms the base for the machine head.
4. Motor and Table Installation (Not Included)
This industrial sewing machine requires a separate clutch motor, a dedicated sewing table, and an energy-saving belt motor for operation. Refer to the installation instructions provided with your motor and table for proper assembly. Ensure all electrical connections are made by a qualified professional.
5. Thread Stand Assembly
Assemble the wire frame (thread stand) according to the diagrams in the separate assembly guide. The height of the wire frame is approximately 55cm (21.65in).
6. Initial Lubrication
Before first use, fill the oil pan with appropriate sewing machine oil to the indicated level. Refer to the machine head for specific lubrication points and instructions.
Operating Instructions
1. Powering On/Off
Once the motor is installed and connected, use the power switch on the motor unit to turn the machine on or off. Always ensure the machine is off when not in use or during maintenance.
2. Adjusting Stitch Length
The stitch length can be adjusted using the stitch length dial located on the machine head. Turn the dial to select the desired stitch length, typically indicated by numbers (e.g., 1-5). The maximum sewing length is 0.5cm (0.197in).

Figure 4: Adjusting the stitch length using the numbered dial.
3. Threading the Machine
Follow the numbered thread guides on the machine, starting from the thread stand, through the tension discs, take-up lever, and finally through the needle eye. Ensure the thread is seated correctly in all guides to prevent tangling and skipped stitches.
4. Bobbin Winding and Insertion
Place an empty bobbin on the bobbin winder spindle. Guide the thread from the spool through the bobbin tension disc and around the bobbin. Engage the winder and operate the machine at a moderate speed until the bobbin is full. Insert the wound bobbin into the bobbin case, ensuring the thread feeds smoothly.
5. Adjusting Thread Tension
Adjust the upper thread tension using the tension dial. For the bobbin thread, adjust the small screw on the bobbin case. Proper tension results in balanced stitches on both sides of the fabric. Turn clockwise to increase tension, counter-clockwise to decrease.
6. Replacing Presser Feet
To change the presser foot, raise the needle to its highest position and lift the presser foot lever. Loosen the screw holding the presser foot and replace it with the desired foot. Tighten the screw securely. A manual presser foot wrench is provided to manually lift the presser foot by turning it 90° to the right to hold the bobbin for easy use.
7. Sewing Operation
Place the fabric under the presser foot. Lower the presser foot. Slowly start the machine, guiding the fabric gently. The machine is suitable for various thick materials, including leather, rubber, and canvas.

Figure 5: The industrial sewing machine ready for operation with examples of suitable materials.
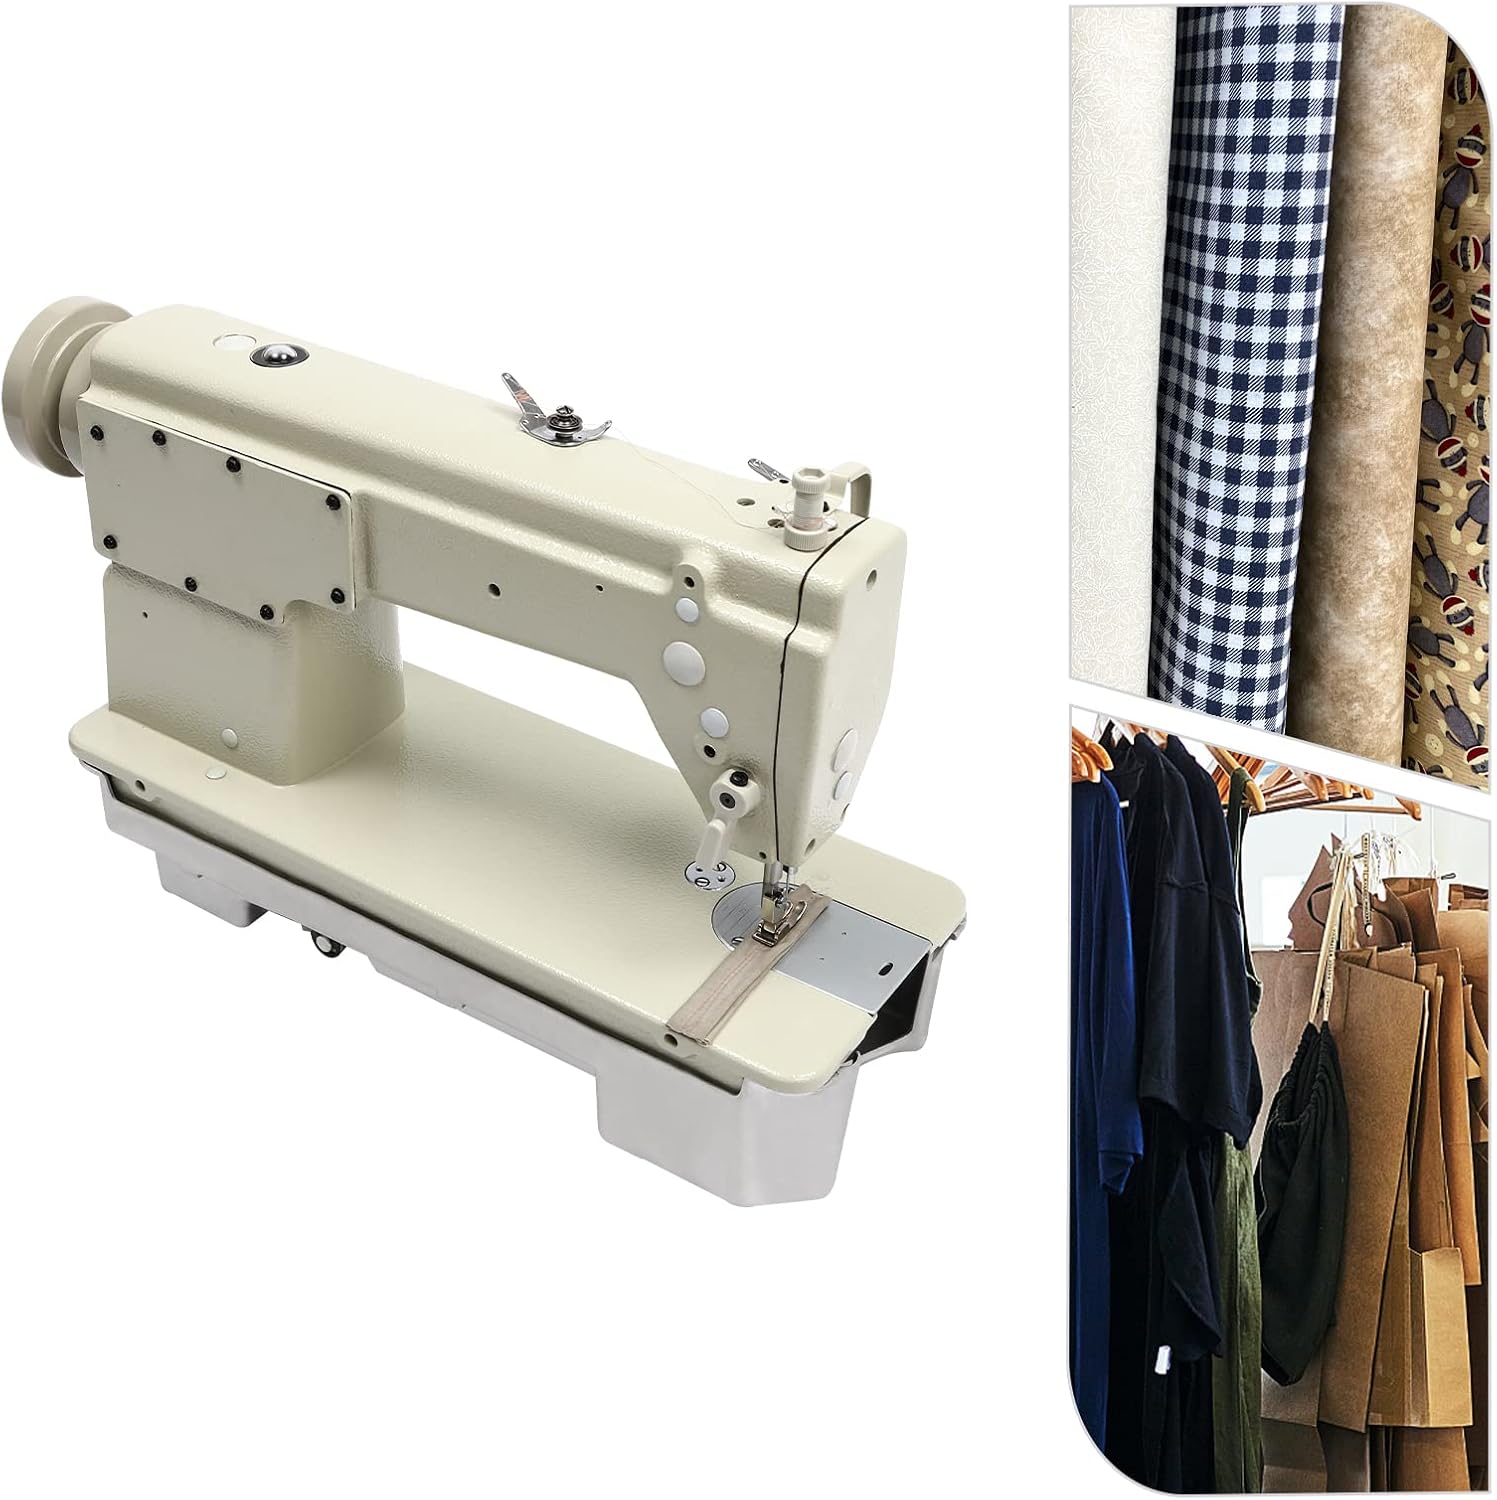
Figure 6: The machine's versatility with various fabric types.
Maintenance
Regular maintenance ensures the longevity and optimal performance of your sewing machine. Always disconnect power before performing maintenance.
1. Cleaning
- Lint and Dust: Regularly remove lint and dust from the bobbin area, feed dogs, and tension discs using a small brush or vacuum cleaner.
- Surface Cleaning: Wipe down the exterior of the machine with a soft, damp cloth. Avoid harsh chemicals.
2. Lubrication
Check the oil level in the oil pan regularly and refill as needed with high-quality sewing machine oil. Apply a few drops of oil to designated lubrication points (refer to the machine's specific oiling diagram, usually found under the machine head or in a separate guide) every few hours of continuous operation or as recommended.
3. Needle Replacement
Replace the needle frequently, especially when sewing thick materials or if you notice skipped stitches or fabric damage. Use only industrial-grade needles appropriate for your machine and the type of material being sewn. Ensure the needle is inserted correctly with the flat side facing the back.
Troubleshooting
This section addresses common issues you might encounter. For problems not listed here, consult a qualified technician.
| Problem | Possible Cause | Solution |
|---|---|---|
| Skipped Stitches | Incorrect needle, bent needle, improper threading, incorrect tension. | Replace needle with correct type/size. Re-thread machine. Adjust tension. |
| Thread Breakage | High tension, poor quality thread, burrs on needle plate/hook, incorrect needle. | Reduce tension. Use quality thread. Check for burrs and smooth if found. Replace needle. |
| Uneven Stitches | Incorrect tension, worn feed dogs, inconsistent fabric feeding. | Adjust tension. Ensure fabric is fed evenly without pulling or pushing. Inspect feed dogs. |
| Machine Not Starting | No power, motor issue, safety switch engaged. | Check power connection. Consult motor manual. Ensure all covers are closed. |
Specifications
| Feature | Detail |
|---|---|
| Model Number | DD-6150 |
| Machine Head | 6150 |
| Mounting Type | Freestanding (requires table) |
| Material | Iron (High-temperature Spray Painting) |
| Sewing Line Type | Straight Line (1 Kind) |
| Maximum Sewing Length | 0.5 cm (0.197 in) |
| Product Dimensions (L x W x H) | 48 x 18 x 25 cm (18.89 x 7.08 x 9.84 inches) |
| Height of Wire Frame (Thread Stand) | Approx. 55 cm (21.65 in) |
| Compatible Threads | Nylon, Polyester, Cotton |
| Power Source | Fuel Powered (Requires external motor, not included) |
| Color | White |
| Net Weight | 25.5 kg (56.22 lbs) |
Warranty and Support
For warranty information or technical support, please refer to the documentation provided at the time of purchase or contact QUEMARQUE customer service. Keep your purchase receipt for warranty claims.