
Towallmark Heat press machine
Towallmark 11-in-1 Heat Press Machine User Manual
Model: Heat press machine | Brand: Towallmark
1. Introduction
This user manual provides comprehensive instructions for the safe and efficient operation of your Towallmark 11-in-1 Professional Sublimation Heat Press Machine. This versatile machine is designed for transferring colorful pictures and characters onto various materials, including T-shirts, caps, ceramic plates, mugs, and more. Please read this manual thoroughly before operating the machine to ensure proper use and to prevent damage or injury.

Figure 1.1: The Towallmark 11-in-1 Heat Press Machine and its included accessories.
2. Safety Instructions
WARNING: Failure to follow these safety instructions may result in electric shock, fire, or serious injury.
- Always operate the heat press machine on a stable, heat-resistant surface.
- Keep hands and fingers away from the heating element during operation. The surface becomes extremely hot.
- Ensure proper ventilation in the work area to dissipate heat and fumes.
- Do not leave the machine unattended while it is powered on or heating.
- Unplug the machine from the power outlet when not in use or before cleaning and maintenance.
- Do not immerse the machine or its electrical components in water or other liquids.
- Use only the attachments and accessories provided or approved by the manufacturer.
- Keep children and pets away from the machine during operation.
- In case of malfunction or unusual noise/smell, immediately turn off and unplug the machine. Contact customer support.
3. Package Contents
Verify that all items listed below are included in your package:
- 12"x 15" T-shirt heat press (1 unit)
- Hat press (1 unit)
- Mug heat press 11oz (2 units)
- Mug heat press 6oz (1 unit)
- Mug heat press 9oz (1 unit)
- Mug press (12oz, Cone) (1 unit)
- Aluminum bottle heating pad (1 unit)
- Shoes press (1 unit)
- Flat heat press (8" & 10") (2 units)
- Adhesive tape (1 roll)
- Thermal sublimation paper (20 pieces)
- Screwdriver (1 unit)
- Thermal insulation pad (2 units)
- Product manual (1 unit)

Figure 3.1: Overview of the 11-in-1 multi-function attachments.
4. Product Overview and Components
Familiarize yourself with the main parts of your heat press machine:

Figure 4.1: Labeled components of the Heat Press Machine.
- Handle: Used to open and close the heating platen.
- Lift Knob: Adjusts the pressure of the heating platen.
- Button: Control panel buttons for setting temperature and time.
- Overload Protector: Safety feature to prevent electrical overload.
- Power Socket: Connection point for the power cord.
- Power Switch: Turns the machine on/off.
- Aviation Connector: Connects various heating attachments to the main unit.
- Column: Supports the upper assembly and allows for swing-away motion.
- Pedestal: The base of the machine.
- Heating Plate: The upper platen that heats up and applies pressure.
- Placement: The lower platen or surface where items are placed for pressing.
5. Setup
- Unpacking: Carefully remove all components from the packaging. Retain packaging for future storage or transport.
- Placement: Place the heat press machine on a sturdy, flat, and heat-resistant surface. Ensure there is adequate space around the machine for ventilation and safe operation, especially for the 360° swing-away function.
- Attachment Installation:
- For the T-shirt/flat press, ensure the main heating platen is securely attached.
- For other attachments (hat, mug, plate, shoe), connect them to the main unit using the aviation connector. Ensure a firm connection.
- Power Connection: Plug the power cord into the power socket on the machine, then into a grounded electrical outlet.
- Initial Pressure Adjustment: Before heating, adjust the pressure knob to ensure the upper and lower platens meet with appropriate pressure for your material. Turn clockwise for more pressure, counter-clockwise for less.
6. Operating Instructions
6.1. Digital Control Panel
The machine features an intelligent LCD digital control panel for precise temperature and time settings.
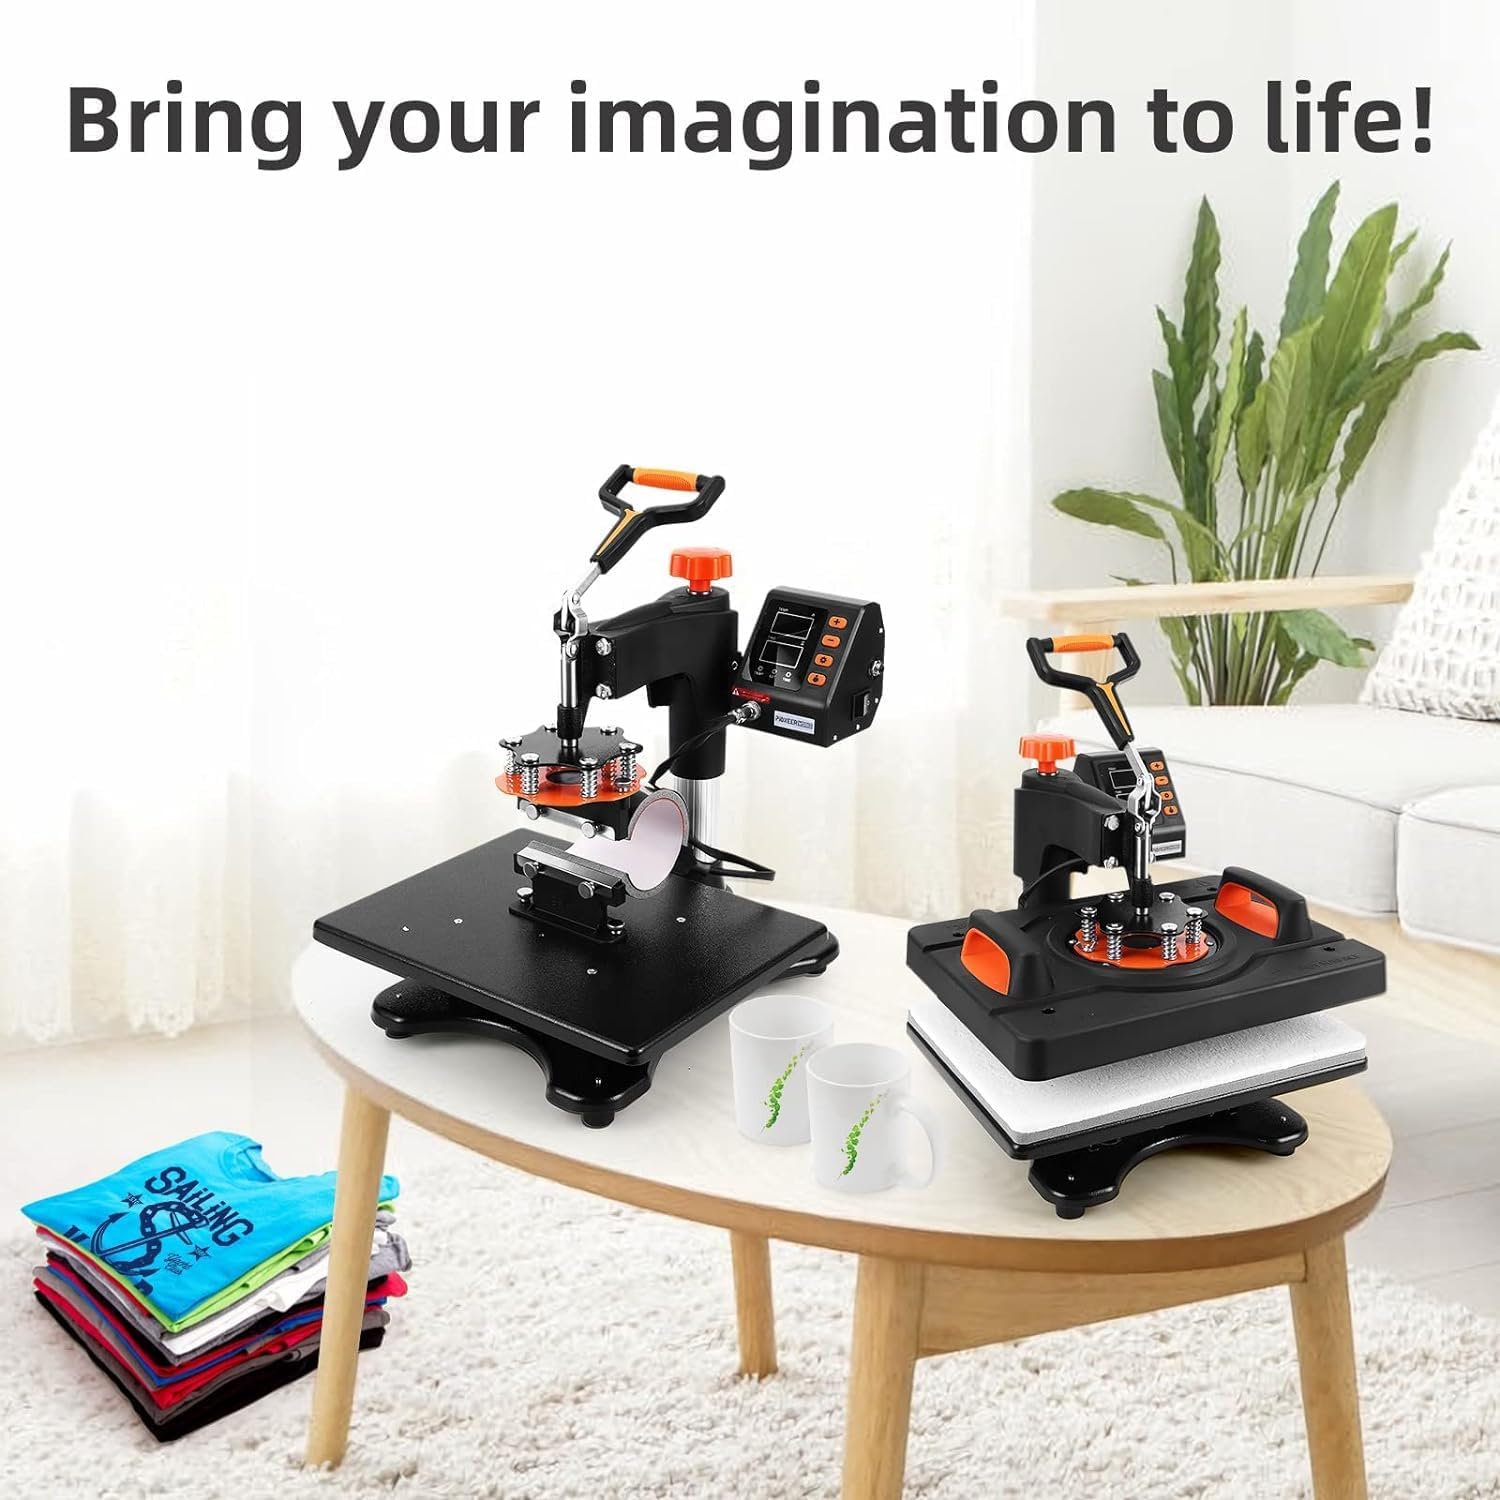
Figure 6.1: Digital Control Panel with Temperature and Time Settings.
- Temperature Range: 0-482°F (0-250°C)
- Time Range: 0-999 seconds
- Buttons:
- +: Increase value
- -: Decrease value
- SETUP: Enter setting mode for temperature and time.
- MODE: Switch between 3 preset modes or manual setting.
- Counting Function: The machine can track the number of presses.
- Alarm: An audible alarm will sound when the preset time is completed.
6.2. General Operation Steps
- Power On: Turn on the main power switch. The digital display will illuminate.
- Set Temperature and Time:
- Press the SETUP button to toggle between temperature and time settings.
- Use the + and - buttons to adjust the desired temperature and time.
- Press SETUP again to confirm settings. The machine will begin heating to the set temperature.
- Alternatively, use the MODE button to select one of the 3 preset modes for common applications (e.g., T-shirt, Cap, Mug, Shoes).
- Prepare Item: Place your item (e.g., T-shirt, mug) on the appropriate lower pad/attachment. Ensure it is flat and centered.
- Position Design: Place your transfer design (sublimation paper, vinyl, etc.) onto the item, ensuring it is correctly aligned. You may use heat-resistant tape to secure it.
- Lower Heating Platen: Swing the heating platen over the item (if using swing-away design) and lower the handle to apply pressure. The timer will start automatically once the platen is fully closed and pressure is applied.
- Wait for Alarm: The machine will count down the set time. Once the time expires, an alarm will sound.
- Remove Item: Lift the handle to release pressure and swing the heating platen away from the item. Carefully remove the hot item and the transfer paper. Allow the item to cool before handling further.

Figure 6.2: Basic steps for heat pressing.
6.3. 360° Swing-Away Design and Pressure Adjustment
The 360° swing-away design allows the heating element to be safely moved aside, reducing the chances of accidental contact and protecting your hands. The adjustable height and multi-spring pressure knob ensure the two plates fit together perfectly, guaranteeing quality transfers.

Figure 6.3: 360° Swing-Away Function.
To adjust pressure:
- Turn the orange pressure adjustment knob located on top of the heating platen.
- Turn clockwise for increased pressure, counter-clockwise for decreased pressure.
- Adjust pressure based on the thickness of the material being pressed.
6.4. Using Different Attachments
The 11-in-1 machine comes with various attachments for different items. Ensure the correct attachment is securely installed before operation.
- T-shirt/Cloth Press (12"x15"): Use the main flat platen for T-shirts, fabrics, and other flat items.
- Hat/Cap Press: Attach the curved platen for pressing designs onto hats and caps.
- Mug Presses (11oz, 6oz, 9oz, 12oz Cone): Select the appropriate mug wrap for your mug size and shape. Ensure the mug is placed firmly within the wrap.
- Plate Presses (8" & 10"): Use the circular plate attachments for ceramic plates.
- Shoes Heating Pad: Utilize this attachment for custom shoe designs.
- Aluminum Bottle Heating Pad: For transferring designs onto aluminum bottles.
Always refer to your transfer material's specific temperature and time recommendations for optimal results.
7. Maintenance
- Cleaning:
- Always unplug the machine and allow it to cool completely before cleaning.
- Wipe the exterior surfaces with a soft, damp cloth. Do not use abrasive cleaners or solvents.
- For the heating platen, if residue builds up, use a non-abrasive cleaner specifically designed for heat press platens. Avoid scratching the surface.
- Storage: Store the machine in a dry, dust-free environment when not in use.
- Inspection: Periodically inspect the power cord, plugs, and heating elements for any signs of damage or wear. Do not operate the machine if any damage is found.
8. Troubleshooting
| Problem | Possible Cause | Solution |
|---|---|---|
| Machine does not power on. | Power cord not plugged in; Power switch off; Blown fuse/tripped circuit breaker. | Ensure power cord is securely plugged into machine and outlet; Turn power switch to ON; Check household circuit breaker/fuse box. |
| Machine not heating up. | Temperature not set; Heating element malfunction; Loose connection. | Verify temperature setting on control panel; Check aviation connector for secure fit; Contact customer support if issue persists. |
| Transfer is faded or incomplete. | Insufficient temperature; Insufficient time; Insufficient pressure; Incorrect transfer paper/material. | Increase temperature or time; Adjust pressure knob for more pressure; Ensure correct transfer material is used and follow its instructions. |
| Transfer is scorched or blurry. | Too high temperature; Too long time; Excessive pressure. | Decrease temperature or time; Reduce pressure; Use a Teflon sheet or parchment paper for protection. |
| Attachments not working. | Loose aviation connector; Faulty attachment. | Ensure the aviation connector is fully inserted and tightened; Test with another attachment if possible; Contact customer support. |
9. Specifications
| Feature | Specification |
|---|---|
| Model | Heat press machine |
| Brand | Towallmark |
| Main Platen Size | 12" x 15" |
| Temperature Range | 0-482°F (0-250°C) |
| Time Range | 0-999 seconds |
| Rotation Angle | 360° Swing-Away |
| Control Type | LCD Digital Control |
| Product Dimensions | 30"L x 20"W x 33"H |
| Item Weight | 49.9 pounds |
| Material | Ceramic (heating element coating) |
| Color | Black |
| UPC | 196336778932 |

Figure 9.1: Product Dimensions.
10. Warranty and Support
Towallmark products are manufactured to high-quality standards. For any questions, technical assistance, or warranty claims, please contact Towallmark customer support through the retailer's platform or the official brand website. Please have your product model number and purchase date available when contacting support.
For the latest information and support, please visit the Towallmark Store on Amazon.
Ask a question about this manual
Ask about setup, troubleshooting, compatibility, parts, safety, or missing instructions. Manuals+ will review the question and use this page’s manual context to help answer it.