1. Product Overview
This instruction manual provides essential information for the installation, operation, and maintenance of your PartCatalog PC-140790 Rear Disc Brake Rotor. This OE replacement part is designed to fit and function just like the original equipment (OE) part, manufactured to OE specifications for an exact fit and smooth operation.
Key Features:
- Includes 1 (One) Disc Brake Rotor.
- Designed to meet or exceed original equipment performance and quality standards.
- Direct replacement for specific vehicle makes and models, ensuring straightforward installation.
- Engineered for optimal performance and perfect compatibility.

Figure 1: Front view of the PartCatalog PC-140790 Rear Disc Brake Rotor.
2. Compatibility and Fitment
This disc brake rotor is specifically designed for certain vehicle models. It is crucial to verify that your vehicle is listed in the fitment chart below to ensure proper compatibility and performance. If your vehicle is not listed, this part will not fit.

Figure 2: Official Fitment Chart for PC-140790.
Compatible Vehicles:
| Years | Make | Model |
|---|---|---|
| 2017-2019 | Mercedes-Benz | GLE43 AMG |
Always cross-reference with your vehicle's specific requirements and existing part numbers to ensure a perfect match.
3. Installation (Setup)
Installation of brake components requires specialized tools and knowledge. For safety and proper function, it is highly recommended that this disc brake rotor be installed by a qualified automotive technician.
General Installation Guidelines (Professional Installation Recommended):
- Safety First: Ensure the vehicle is securely lifted and supported on jack stands. Disconnect the battery if working near electrical components. Wear appropriate personal protective equipment (PPE).
- Remove Wheel: Loosen lug nuts, lift vehicle, remove wheel.
- Remove Brake Caliper: Carefully unbolt and remove the brake caliper, supporting it to avoid stressing the brake hose. Do not let it hang by the hose.
- Remove Old Rotor: Remove any retaining screws or clips, then slide the old rotor off the wheel hub. If stuck, use a rubber mallet to gently tap it loose.
- Clean Hub Surface: Thoroughly clean the wheel hub mounting surface to remove any rust, dirt, or debris. A clean surface is critical for proper rotor seating and to prevent runout.
- Install New Rotor: Carefully slide the new PartCatalog disc brake rotor onto the wheel hub, ensuring it sits flush against the mounting surface.
- Reinstall Brake Caliper: Reinstall the brake caliper and secure all bolts to manufacturer's torque specifications.
- Reinstall Wheel: Mount the wheel and hand-tighten lug nuts. Lower the vehicle and torque lug nuts to manufacturer's specifications.
- Brake System Check: Pump the brake pedal several times to ensure the caliper pistons are seated against the new pads and rotor. Check brake fluid level.
- Test Drive: Perform a cautious test drive in a safe area to confirm proper brake function.

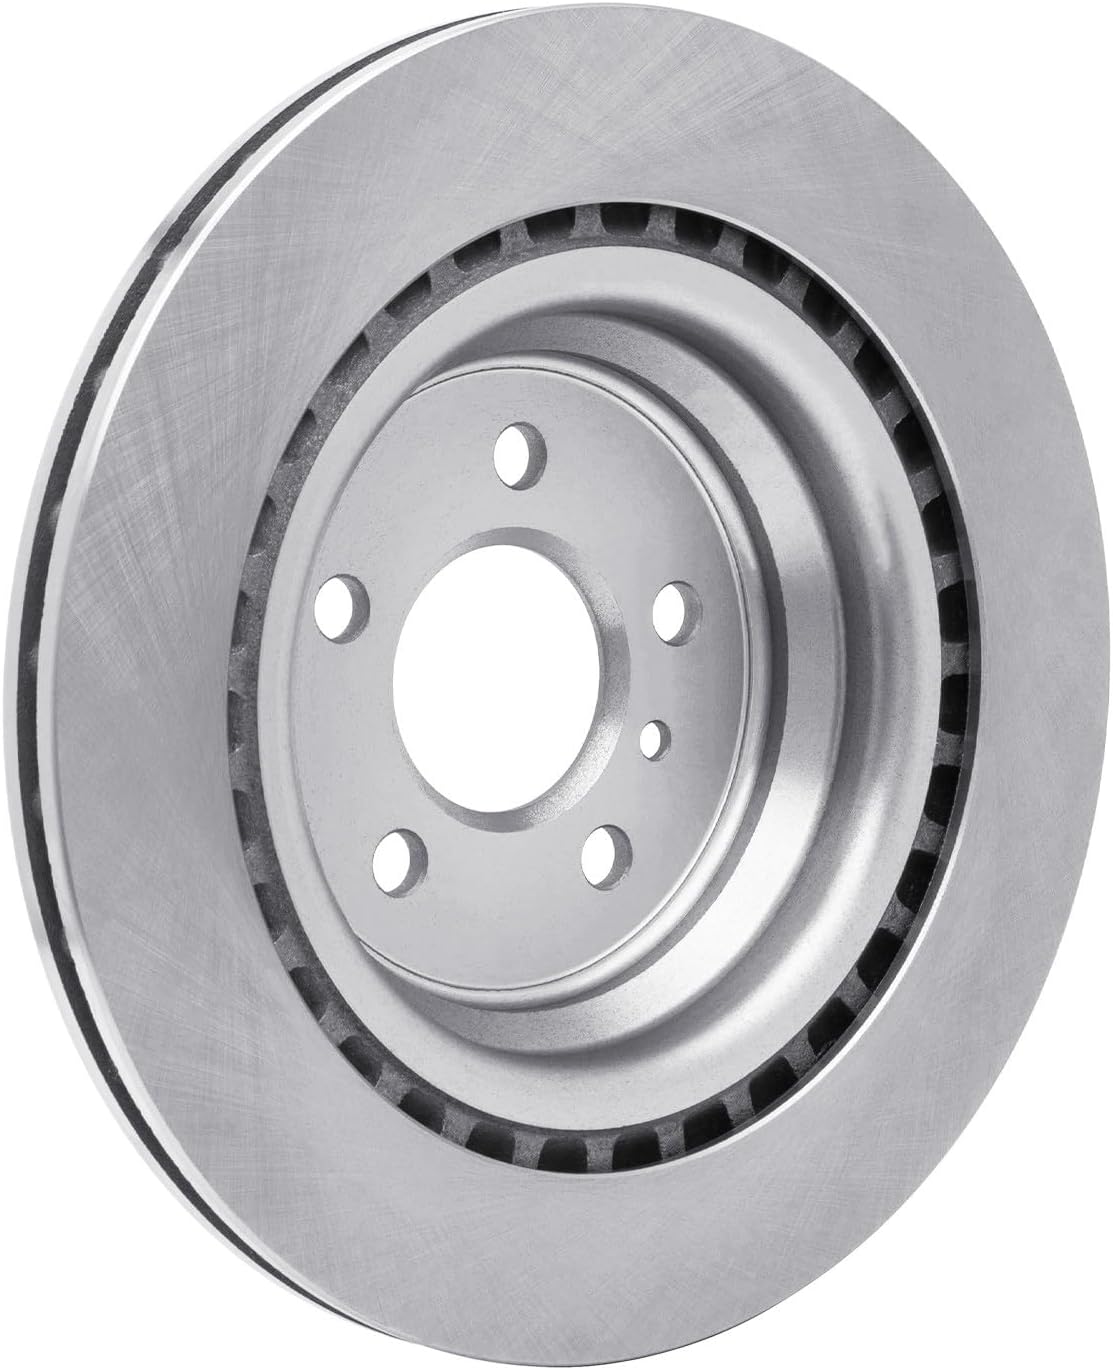
Figure 3 & 4: Side and angled views of the brake rotor, illustrating its design.
4. Operation
The disc brake rotor is a critical component of your vehicle's braking system. When the brake pedal is pressed, the brake pads clamp down on the rotor, creating friction that slows and stops the vehicle. Proper operation relies on the rotor's ability to dissipate heat and maintain a consistent friction surface.
Break-in Procedure (Bedding-in):
After new brake rotors and pads are installed, a proper break-in procedure is essential to ensure optimal performance and longevity. This process, often called "bedding-in," transfers a thin, even layer of friction material from the brake pads onto the rotor surface.
- Find a safe, open area with minimal traffic.
- Accelerate to approximately 35 mph (55 km/h).
- Apply moderate braking pressure to slow down to about 5 mph (8 km/h). Do not come to a complete stop.
- Release the brakes and drive for a short distance (approx. 30 seconds) to allow the brakes to cool.
- Repeat this process 8-10 times.
- After the last stop, drive for several minutes without braking to allow the entire brake system to cool down completely.
Avoid hard braking or prolonged braking (e.g., long downhill descents) for the first 200-300 miles (320-480 km) after installation to allow the components to fully seat.
5. Maintenance
Regular inspection and maintenance are crucial for the safety and performance of your vehicle's braking system. While brake rotors are designed for durability, they are wear items and require periodic checks.
Recommended Maintenance Schedule:
- Every 6 months or 6,000 miles (10,000 km): Have your brake system, including rotors, inspected by a qualified technician. This should coincide with tire rotations.
- Visual Inspection: Look for signs of wear such as deep grooves, cracks, discoloration (blue/purple spots indicating overheating), or excessive rust.
- Thickness Measurement: Rotors have a minimum thickness specification. If the rotor wears below this limit, it must be replaced. This measurement requires specialized tools.
- Cleaning: Keep the rotor surface clean from excessive dirt, oil, or grease. Use appropriate brake cleaner if necessary.
Always replace brake rotors in pairs (both left and right on the same axle) to ensure balanced braking performance.
6. Troubleshooting
If you experience any issues with your braking system after installing new rotors, consult this troubleshooting guide. Many issues can be related to improper installation or other brake system components.
| Symptom | Possible Cause | Solution |
|---|---|---|
| Brake Pulsation/Vibration: Steering wheel shakes or pedal pulsates during braking. | Rotor runout (warping), uneven pad material transfer, improper hub cleaning. | Inspect rotor for runout; re-bed brakes; ensure hub is clean before installation; replace rotor if severely warped. |
| Squealing/Grinding Noise: High-pitched squeal or harsh grinding sound. | New pads/rotors bedding-in (squeal); worn brake pads (grinding); foreign object. | Allow for break-in period; inspect brake pads for wear; check for debris between pad and rotor. |
| Reduced Braking Performance: Longer stopping distances, spongy pedal. | Air in brake lines, worn pads, contaminated rotor surface, brake fluid issues. | Bleed brake lines; inspect and replace pads; clean rotor surface; check brake fluid level and condition. |
If troubleshooting steps do not resolve the issue, seek professional automotive service immediately.
7. Specifications
- Manufacturer: PartCatalog
- Brand: PartCatalog
- Manufacturer Part Number: PC-140790
- Position: Rear
- ASIN: B0CJSN2X55
- First Available: September 25, 2023

Figure 5: Top view of the PartCatalog PC-140790 Rear Disc Brake Rotor.
8. Warranty and Support
PartCatalog stands behind the quality of its products. This disc brake rotor is covered by a return policy that allows for refund or replacement within 30 days of purchase, subject to the terms and conditions of the seller.
For any questions regarding installation, compatibility, or product performance, please contact PartCatalog customer support through the retailer where the product was purchased. Please have your model number (PC-140790) and purchase details ready when contacting support.
For more information, you may visit the PartCatalog brand page on Amazon.