1. Introduction
The NEJE Y-Axis Extension Kit is designed to significantly expand the working area of your NEJE Max 4 and NEJE 3 Max V2 laser engraver. This kit allows for engraving and cutting of larger materials, enhancing the versatility and efficiency of your laser machine. The robust aluminum alloy construction ensures stability and precision, maintaining the performance standards of the original engraver.
2. Package Contents
Verify that all components listed below are included in your package:
- 2 x 1150mm Black V-Track Profile
- 1 x 3m Timing Belt
- 8 x M6x12 Screws


3. Setup and Installation
Follow these steps to install the Y-Axis Extension Kit onto your NEJE laser engraver.
3.1 Disassembly of Original Frame
- Unscrew the screws located at the four corners of the original frame.
- Carefully remove the 750 mm X-axis, the two 460 mm Y-axes, and the front and rear plates.
3.2 Assembly of the Extension Kit
- Assemble the new 1030 mm Y-axis profiles.
- Pull the timing belt through the top hole of the Y-axis frame.
- Guide the belt through the roller mechanism.
- Arrange the belt within the Y-axis, ensuring it is neither too tight nor too loose.
- Secure the screws to fix the new frame components in place.


3.3 Software Settings (LightBurn)
After physical installation, adjust the software settings to recognize the expanded working area:
- Open LightBurn software.
- Navigate to the "Devices" list and select your NEJE Max 4 or NEJE 3 Max V2 device.
- Edit the device settings to update the Y-Axis length to 1030 mm.
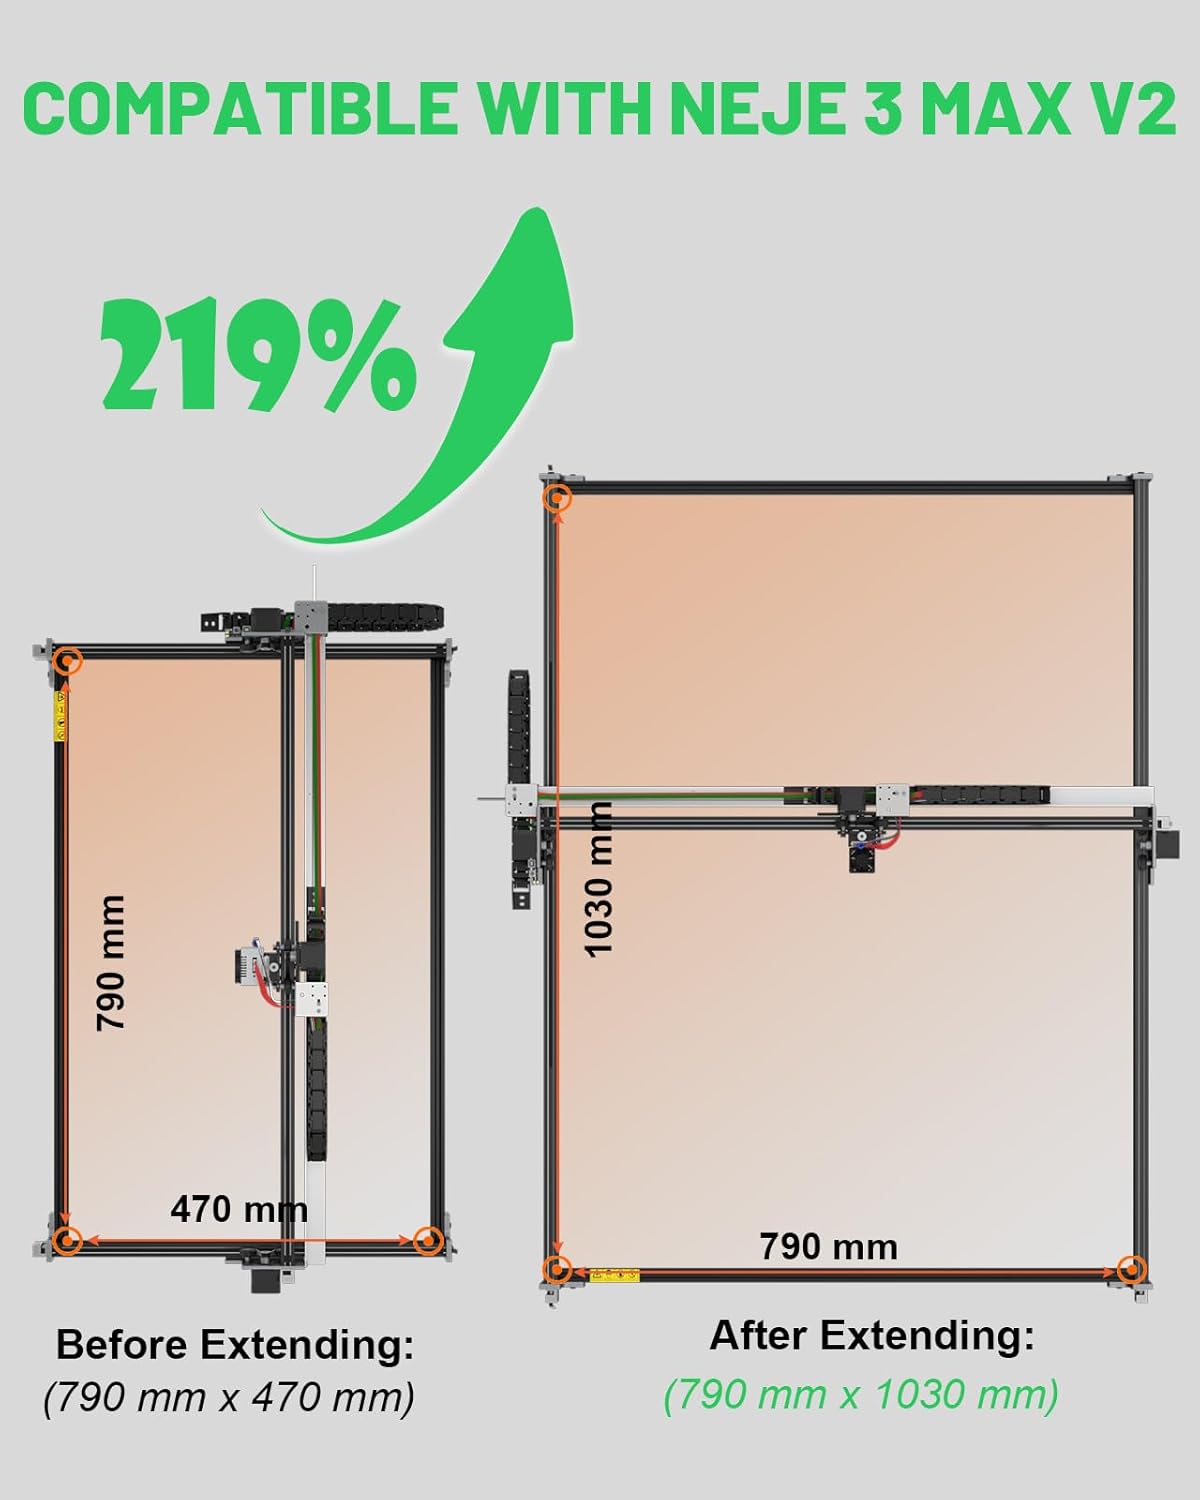
- Confirm the X-Axis length remains 750 mm (for Max 4) or 790 mm (for 3 Max V2).
- Save the changes and restart LightBurn for the new settings to take effect.
4. Operating the Extended Engraver
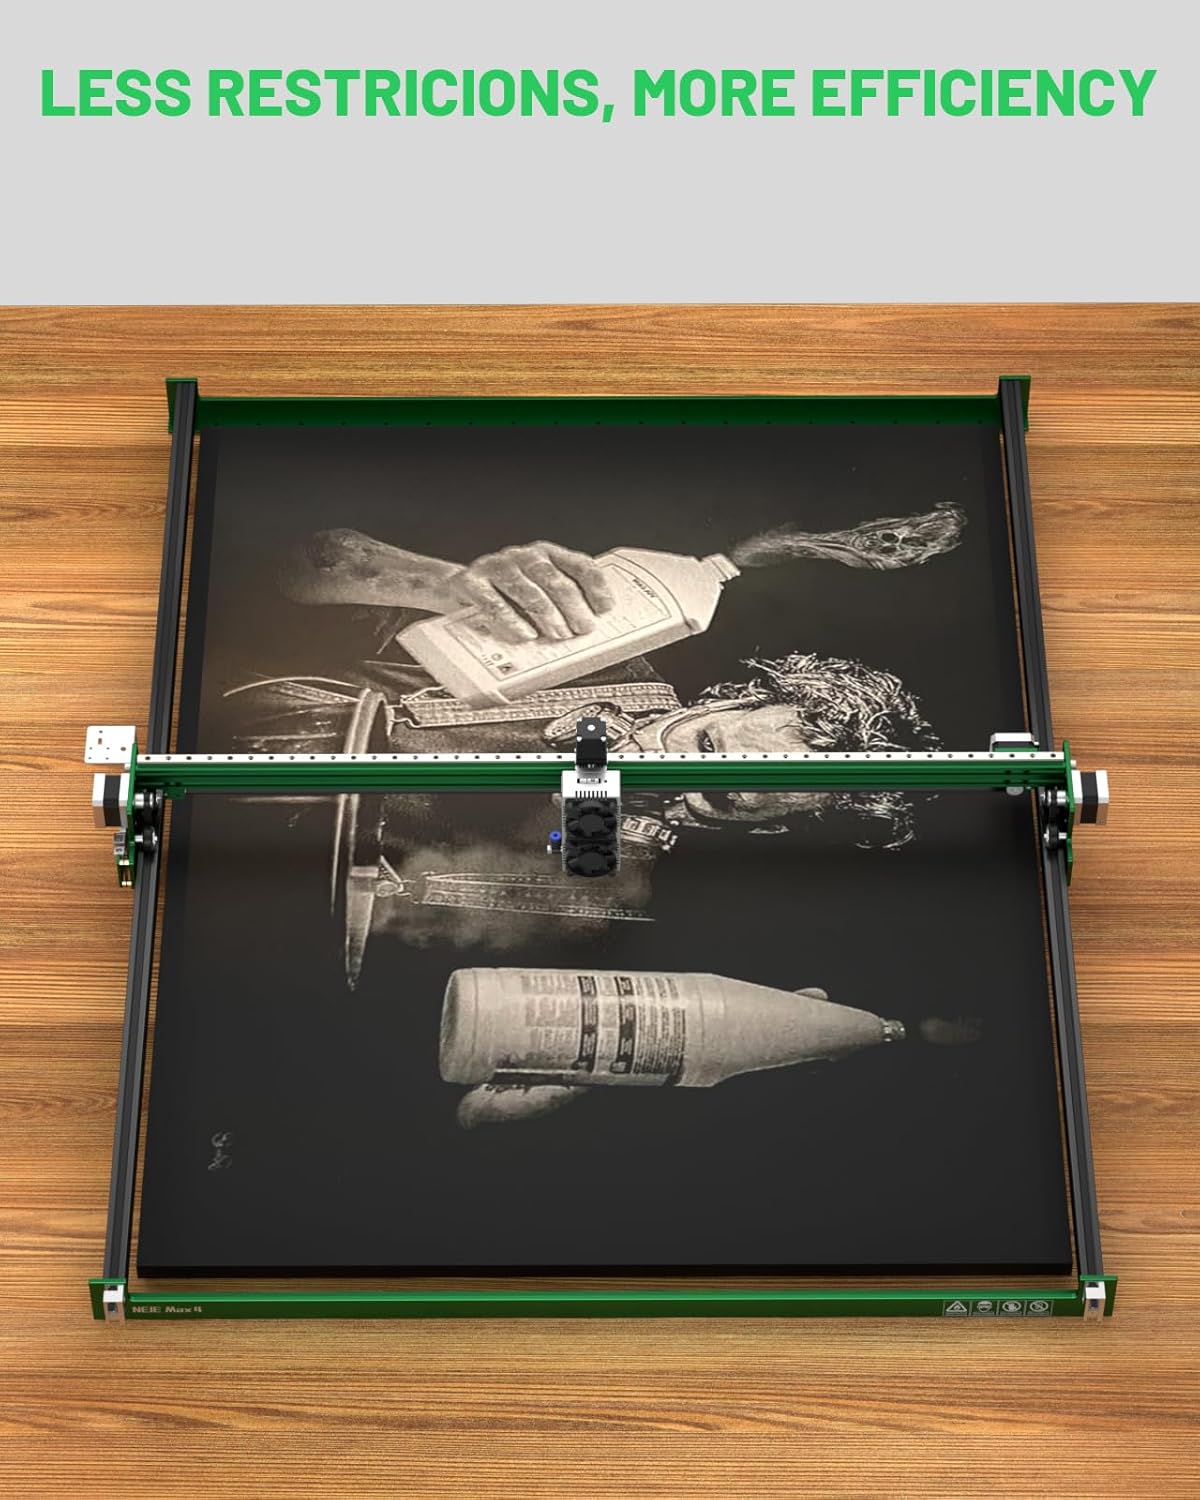
With the Y-axis extension kit installed and software configured, your laser engraver now offers a significantly larger working area. This allows for:
- Processing longer materials without repositioning.
- Creating larger designs or multiple smaller designs in a single job.
- Increased efficiency for batch production.
Always refer to your primary NEJE laser engraver manual for general operating procedures, safety guidelines, and material compatibility.
5. Maintenance
Regular maintenance ensures the longevity and optimal performance of your Y-Axis Extension Kit and laser engraver.
- Cleaning: Periodically clean the V-track profiles and timing belt to remove dust and debris that can affect smooth operation. Use a soft, dry cloth.
- Belt Tension: Check the timing belt tension regularly. It should be taut enough to prevent slipping but not so tight as to cause excessive wear on the motor or bearings. Adjust as needed, referring to the assembly instructions.
- Screw Tightness: Ensure all screws, especially those securing the frame and motor mounts, remain tight. Loose screws can lead to instability and reduced engraving precision.
6. Troubleshooting
If you encounter issues after installing the Y-Axis Extension Kit, consider the following:
- Movement Issues: If the Y-axis movement is rough or inconsistent, check the timing belt for proper tension and ensure the V-track profiles are clean and free of obstructions. Verify that all rollers move freely.
- Incorrect Working Area: If the software does not reflect the expanded working area, re-check the LightBurn software settings as described in Section 3.3. Ensure the Y-Axis length is correctly set to 1030 mm and the software has been restarted.
- Loose Connections: Inspect all electrical connections and mechanical fasteners. A loose connection can cause intermittent operation or reduced performance.
For further assistance, refer to the support information provided in Section 8.
7. Specifications
| Feature | Detail |
|---|---|
| Product Dimensions | 46.46 x 2.76 x 2.76 inches |
| Item Model Number | NEJE00669 |
| Item Weight | 4.09 pounds |
| Manufacturer | ShenZhen ZhiXinJie Technology.,Ltd |
| Material | High-quality aluminum alloy |
| Expanded Working Area (NEJE Max 4) | 750mm x 1030mm |
| Expanded Working Area (NEJE 3 Max V2) | 790mm x 1030mm |
8. Warranty and Support
NEJE provides professional technical support for its products. If you have any questions or require assistance with your Y-Axis Extension Kit, please visit the official NEJE support website. For warranty information, please refer to the documentation included with your original NEJE laser engraver or contact NEJE customer service directly.


