1. Introduction
The MZHWDYDAN DMX 384 2.4G Wireless Lighting Controller is a universal intelligent lighting control console designed for managing DMX512-compatible lighting fixtures. It provides comprehensive control over various lighting effects for professional and event applications.
This controller is capable of managing up to 12 individual lighting fixtures, each with up to 32 DMX channels, totaling 384 control channels. It supports the creation of up to 240 programmable scenes across 30 banks and 6 chase banks, each containing up to 240 steps. Programs can be activated via music, MIDI input, automatic sequencing, or manual operation. Multiple chases can be executed simultaneously.

Figure 1.1: MZHWDYDAN DMX 384 2.4G Wireless Lighting Controller and included power adapter.
2. Setup
Follow these steps to set up your DMX 384 2.4G Wireless Lighting Controller:
- Power Connection: Connect the provided DC9V-12V power adapter to the controller's power input port. Ensure the power supply is within the 110-240Vac, 50-60Hz range.
- DMX Output Connection: Connect a standard 3-pin XLR DMX cable from the controller's DMX output port to the DMX input of your first lighting fixture. Daisy-chain additional DMX fixtures as required.
- Wireless DMX Antenna: Attach the 2.4G wireless DMX antenna to the designated port on the controller for wireless DMX functionality.
- Microphone (Optional): The controller features a built-in microphone for music-triggered modes. No external connection is typically needed for this function.
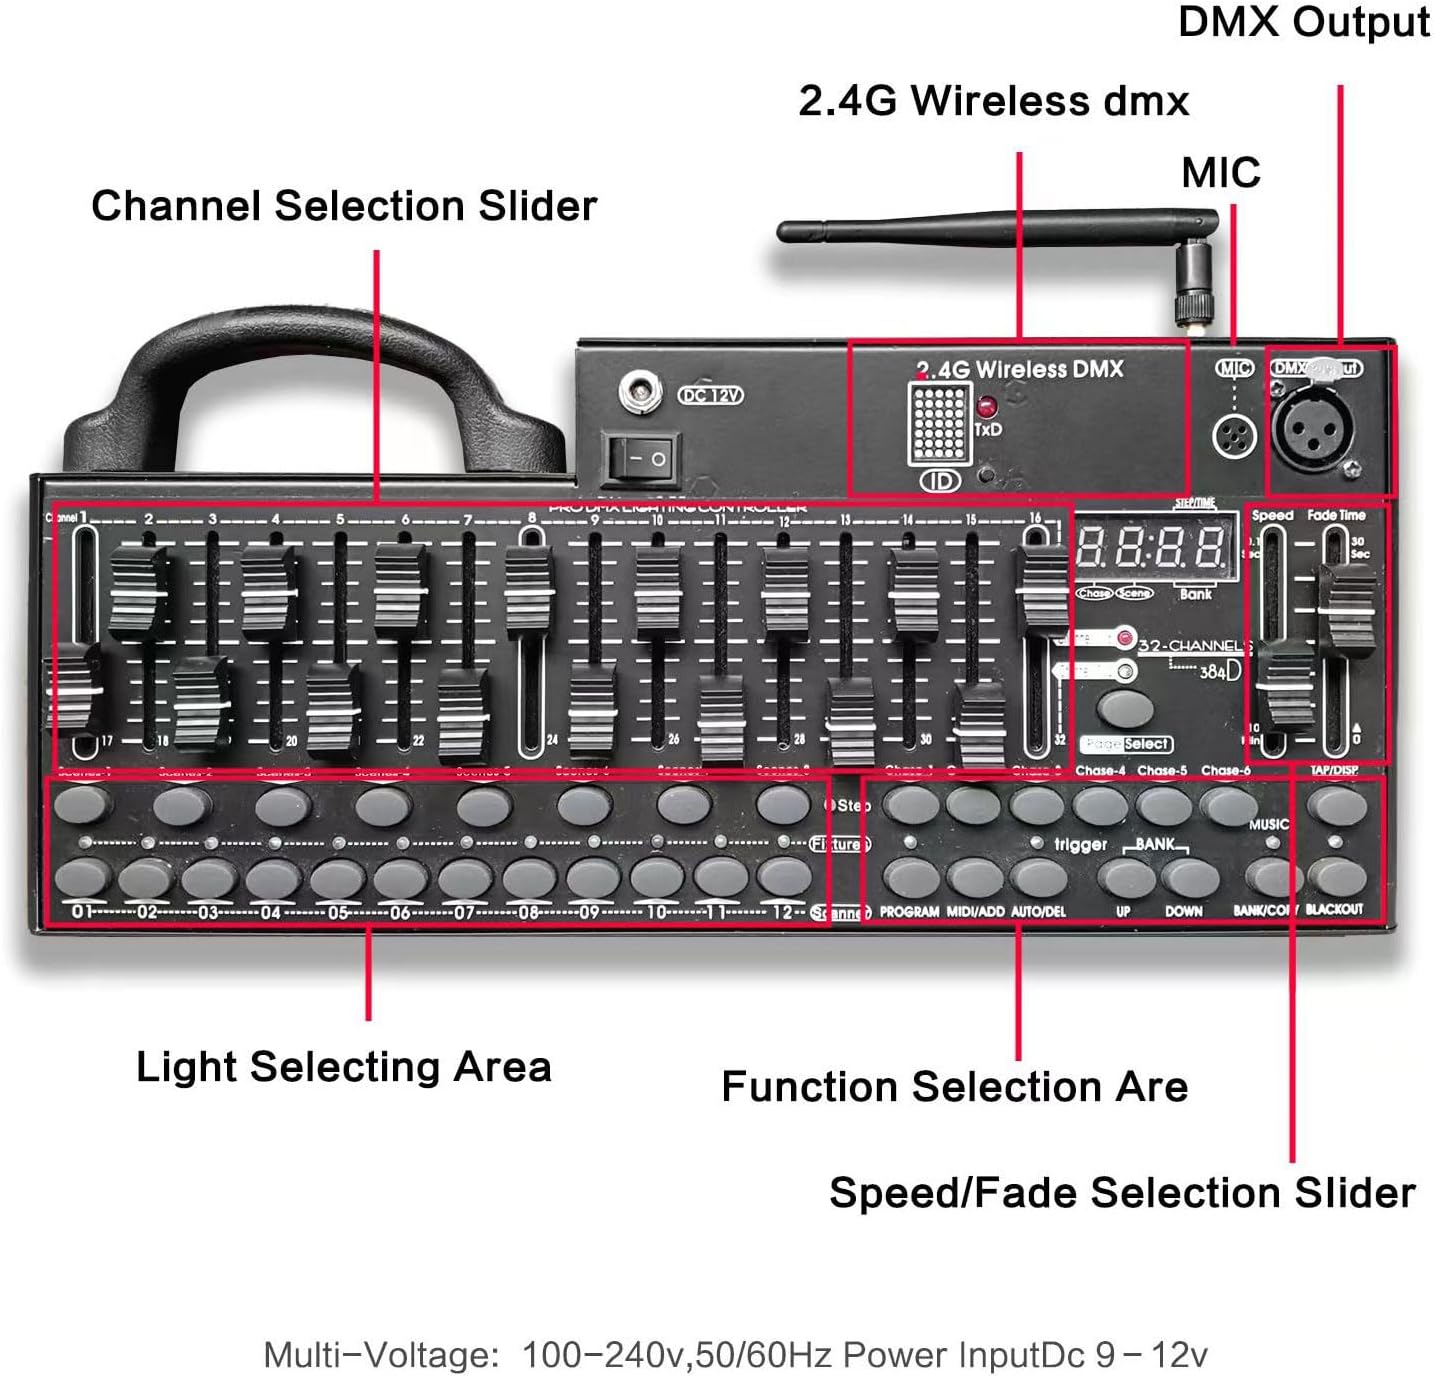
Figure 2.1: Key components and connection points on the DMX 384 Controller.
3. Operating Instructions
The DMX 384 controller offers various modes for comprehensive lighting control:
3.1. Fixture Selection and Channel Control
- Selecting Fixtures: Use the 'Light Selecting Area' buttons (01-12) to select the desired intelligent lighting fixtures you wish to control.
- Channel Sliders: The 16 sliders provide direct control over DMX channels. Each fixture can utilize up to 32 channels, which are typically mapped across these sliders. Refer to your fixture's manual for specific DMX channel assignments.
- Channel Selection: Use the 'CHANNEL 1-16' and 'CHANNEL 17-32' buttons to switch between the two sets of 16 channels for fixtures requiring more than 16 channels.
3.2. Scene Programming
The controller supports 30 banks, each containing 8 programmable scenes (total 240 scenes).
- Select Fixtures: Choose the fixtures you want to include in the scene.
- Adjust Channels: Use the sliders to set the desired DMX values for each selected fixture.
- Select Bank: Use the 'BANK UP' and 'BANK DOWN' buttons to choose one of the 30 banks.
- Record Scene: Press the 'PROGRAM' button, then select one of the 8 'SCENE' buttons to save the current lighting state.
3.3. Chase Programming
The controller allows for 6 chases, each with up to 240 steps (scenes).
- Enter Program Mode: Press the 'PROGRAM' button.
- Select Chase: Choose one of the 'CHASE 1-6' buttons.
- Add Scenes: Select a previously programmed scene (from any bank) and press the 'ADD' button to add it as a step in the chase. Repeat for all desired steps.
- Set Fade Time and Speed: Use the 'FADE TIME' and 'SPEED' sliders to adjust the transition time between steps and the overall chase speed.
- Exit Program Mode: Press the 'PROGRAM' button again to save the chase.
3.4. Playback Modes
- Manual Mode: Directly control channels using sliders or trigger individual scenes.
- Auto Mode: Activate programmed chases to run automatically. Adjust speed and fade time using dedicated sliders.
- Music Mode: The built-in microphone detects audio, triggering scenes or chases in sync with music.
- MIDI Control: The controller supports MIDI input for triggering banks, chases, and blackout functions via external MIDI devices.
3.5. Blackout Function
Press the 'BLACKOUT' button to instantly turn off all DMX output, effectively turning off all connected lights. Press it again to restore the previous state.
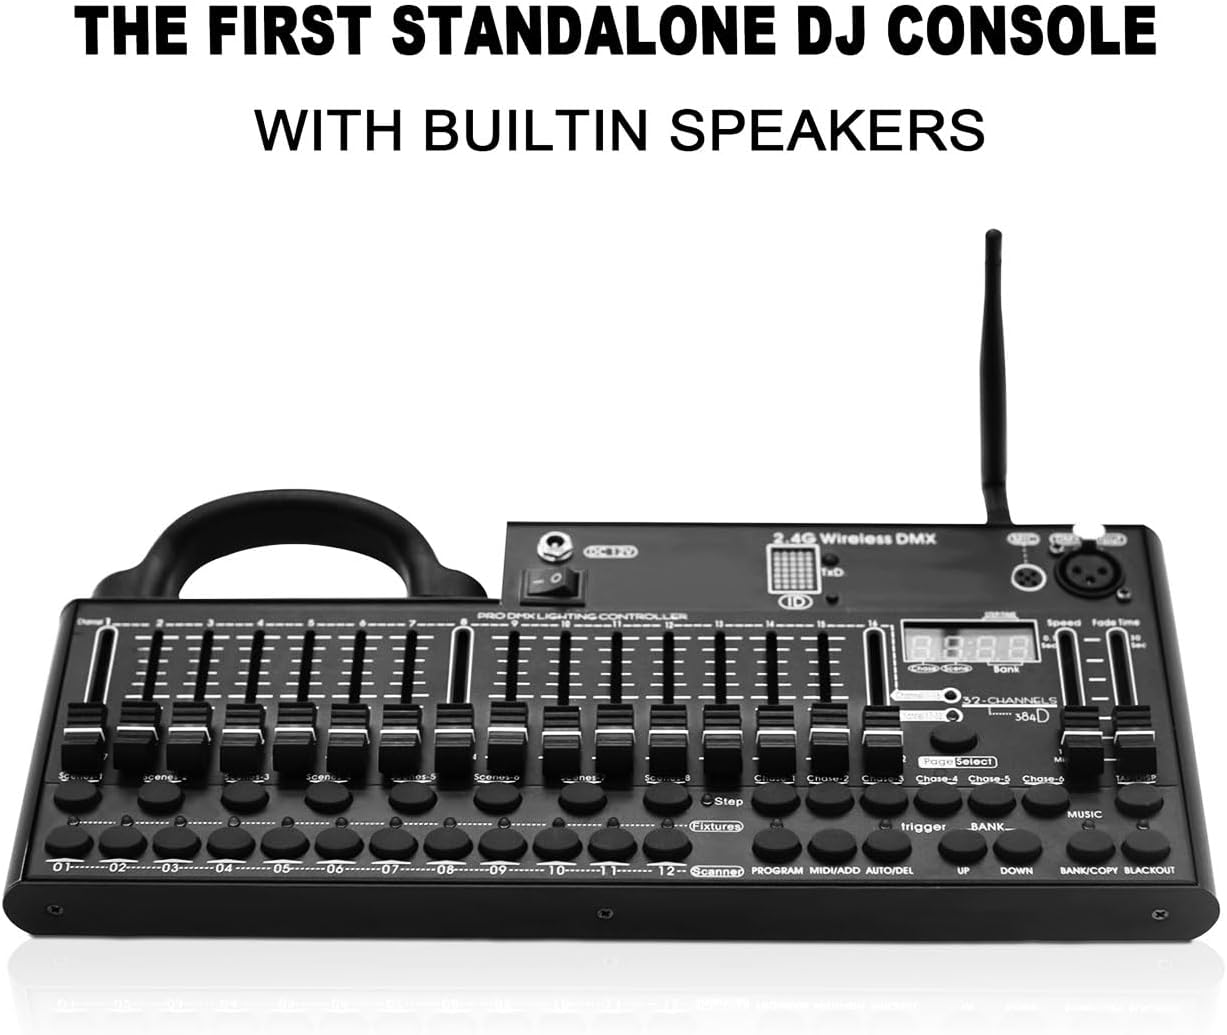
Figure 3.1: Operational features including smooth faders and power options.

Figure 3.2: Example of the DMX 384 controller used with different types of DMX lighting fixtures.
4. Maintenance
To ensure the longevity and optimal performance of your DMX 384 controller, follow these maintenance guidelines:
- Cleaning: Regularly wipe the surface of the controller with a soft, dry cloth. Avoid using abrasive cleaners, solvents, or harsh chemicals, as these can damage the finish and internal components.
- Dust Protection: Keep the controller free from dust and debris. Consider using a dust cover when the unit is not in use.
- Storage: Store the controller in a cool, dry environment away from direct sunlight, extreme temperatures, and high humidity.
- Cable Inspection: Periodically check all cables (power, DMX) for any signs of wear, damage, or loose connections. Replace damaged cables immediately.
5. Troubleshooting
If you encounter issues with your DMX 384 controller, consider the following common troubleshooting steps:
- No Power: Ensure the power adapter is securely connected to both the controller and a working power outlet. Verify the power switch on the controller is in the 'ON' position.
- Lights Not Responding:
- Check all DMX cable connections between the controller and fixtures.
- Verify that the DMX addresses of your lighting fixtures are correctly set and do not conflict.
- Ensure the correct fixtures are selected on the controller.
- Confirm that the DMX channels being adjusted on the controller correspond to the functions you intend to control on the fixtures.
- Intermittent Control: Check for loose DMX connections or damaged cables. Ensure there is no excessive electrical interference nearby.
- Wireless DMX Issues: Ensure the 2.4G wireless DMX antenna is properly attached and that there are no significant obstructions between the controller and wireless receivers.
For further assistance or if you do not understand the operation, please contact customer service. Reference tutorial videos may be available upon request.
6. Specifications
| Feature | Specification |
|---|---|
| Model Number | DMX 384 2.4g |
| Control Channels | 384 CH |
| Controllable Fixtures | 12 (up to 32 channels each) |
| Scene Banks | 30 banks x 8 scenes (240 scenes total) |
| Chase Banks | 6 chases (up to 240 steps each) |
| Power Supply | 110-240Vac, 50-60Hz (DC9V-12V) |
| Electric Current | No less than 500mA |
| Power Consumption | 10W |
| Control Signal | DMX512 |
| DMX In/Out | 3-pin XLR |
| Wireless Connectivity | 2.4G Wireless DMX |
| MIDI Control | Yes |
| Music Mode | Built-in microphone |
| Product Dimensions (L x W x H) | 14.2" x 6.3" x 2.0" (36cm x 16cm x 5cm) |
| Product Weight | 4.1 lbs (1.86 kg) |

Figure 6.1: Physical dimensions of the DMX 384 Controller.
7. Warranty and Support
Specific warranty information for the MZHWDYDAN DMX 384 2.4G Wireless Lighting Controller is not provided in the available product data. Please refer to your purchase documentation or contact the seller directly for warranty details.
For technical support, operational questions, or if you require further assistance, please contact MZHWDYDAN customer service. They may be able to provide additional reference tutorial videos or guidance.