1. Introduction
Product Overview
The Auskang 5000mAh Slim Portable Charger is designed for convenience and portability, featuring a built-in USB-C cable for charging compatible devices. Its ultra-thin and lightweight design makes it ideal for everyday carry and travel, ensuring your devices stay powered on the go.
Key Features
- Built-in USB-C Cable: Directly charges iPhone 15/16/17, USB-C Android devices, headphones, keyboards, tablets, and other USB-C compatible devices. (Note: Not compatible with iPhone 14 Series and older models).
- Ultra-Thin Design: Measures only 0.27 inches thick, with dimensions of 4.96 x 2.63 x 0.26 inches, and weighs just 4.6 oz. Easily fits into pockets, wallets, or small bags.
- 5000mAh Capacity: Provides sufficient power for daily use, supporting long video calls, gaming, or multitasking.
- LED Indicator Lights: Four LED lights display the remaining battery capacity (0%, 30%, 60%, 100%).
- Safety Protection: Equipped with multiple safety features including over current, short circuit, over voltage, and over charge protection.
Package Contents
- Auskang 5000mAh Slim Portable Charger (Model WT-H362)
- USB-A to USB-C Charging Cable (for recharging the power bank)
- User Manual

Image: The Auskang portable charger's sleek design and compact dimensions, shown alongside a smartphone for scale. It measures 4.96 x 2.63 x 0.26 inches and weighs 4.6 oz.

Image: Demonstrating the charger's pocket-friendly design, easily fitting into clothing pockets for convenient carrying.
Video: A quick visual overview of the ultra-thin USB-C portable charger, showcasing its compact size and features.
2. Setup
Charging the Power Bank
- Connect the provided USB-A to USB-C charging cable to a compatible USB power adapter (not included).
- Insert the USB-C end of the cable into the USB-C input/output port on the side of the power bank.
- The LED indicator lights will illuminate and blink to show the charging progress. All four LEDs will be solid when fully charged.
Charging Your Device
- Locate the built-in USB-C cable on the side of the power bank.
- Gently pull out the built-in USB-C connector.
- Plug the USB-C connector directly into your compatible device's charging port.
- The power bank will automatically begin charging your device. The LED indicators will show the remaining power.
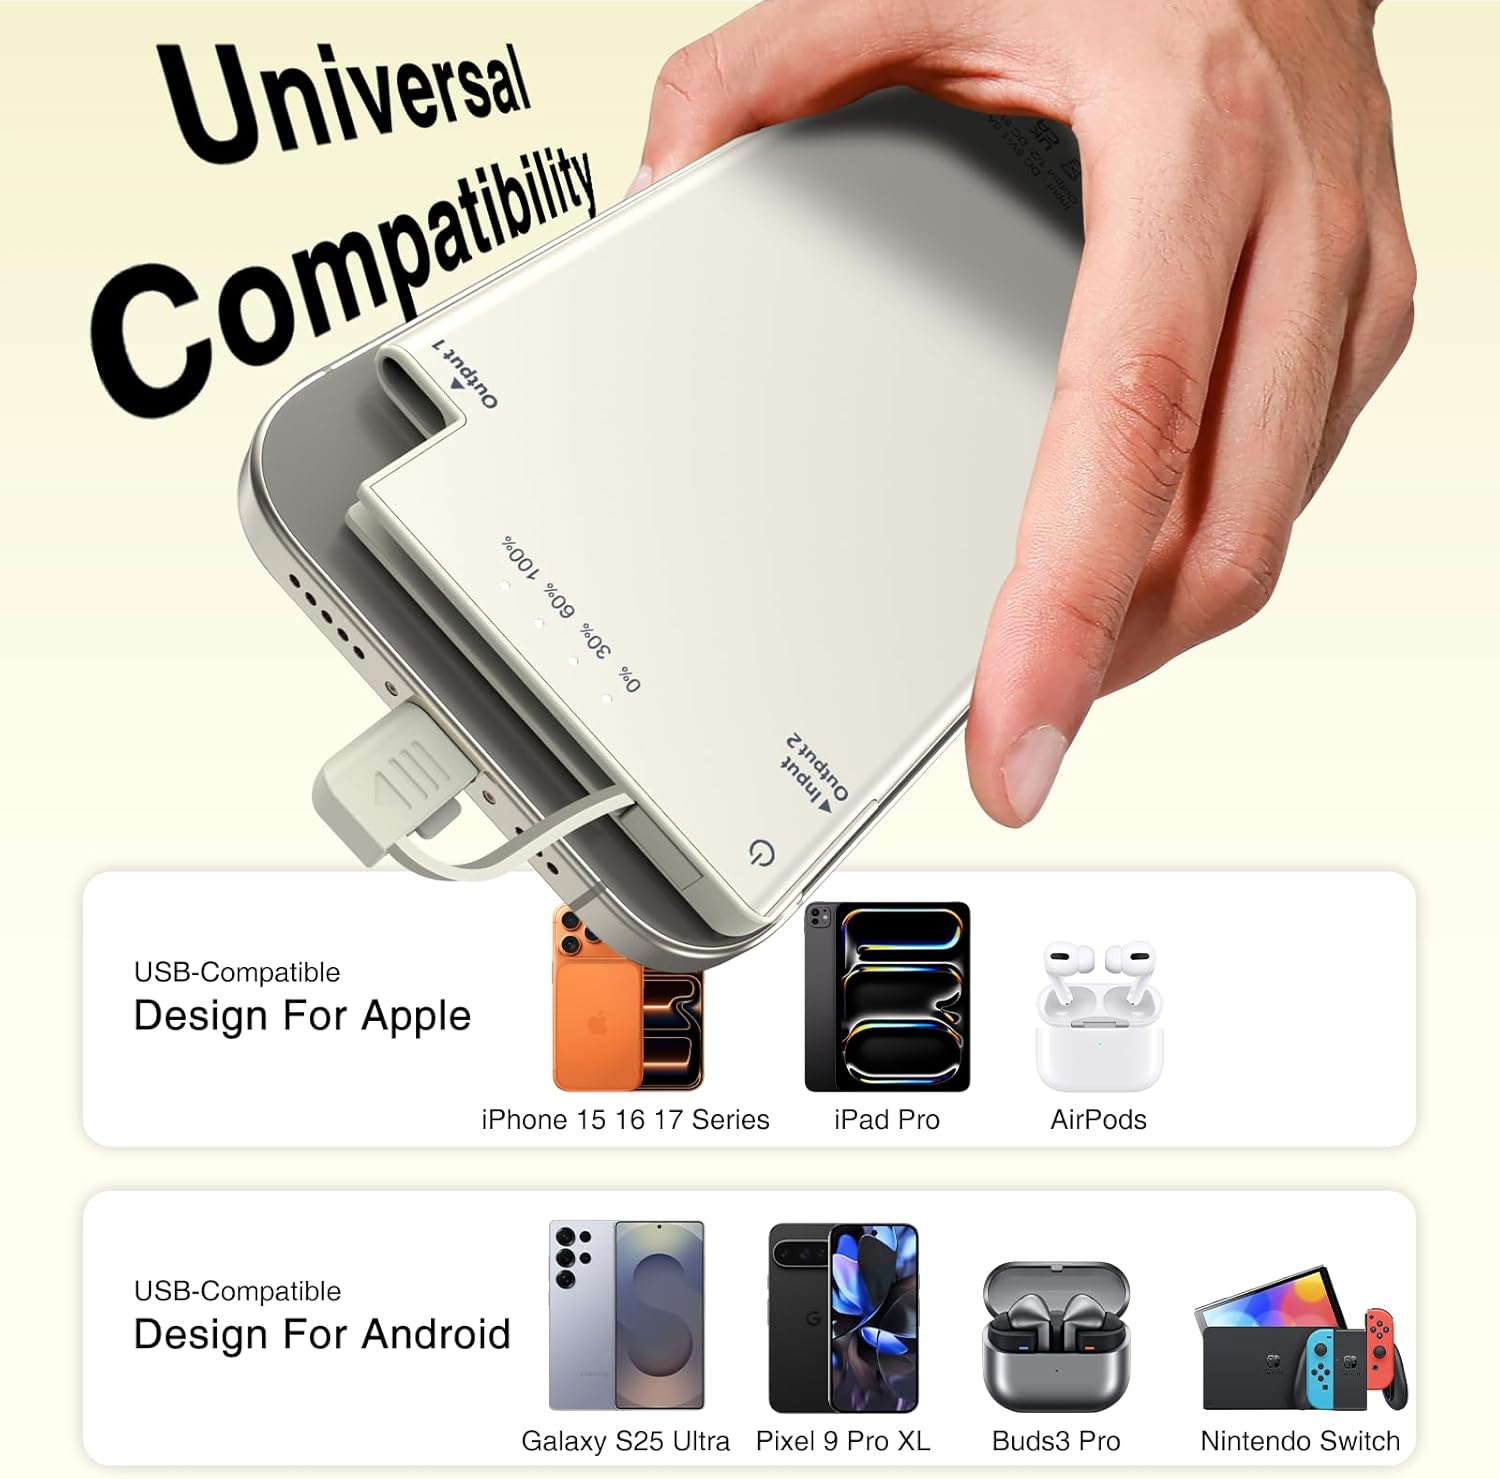
Image: The portable charger's built-in USB-C cable connected to a smartphone, illustrating its universal compatibility with a range of USB-C devices.
Video: A demonstration of the portable charger's built-in USB-C cable, highlighting its convenience for charging multiple device types.
Video: A user demonstrating the ease of use and convenience of the Auskang power bank with its integrated charging cable.
3. Operating Instructions
Power On/Off
The power bank typically activates automatically when a device is connected. To manually check the battery level or activate, press the power button located on the side.
Checking Battery Level
Press the power button once to view the current battery level via the four LED indicator lights:
- 1 LED: 0-25% capacity
- 2 LEDs: 25-50% capacity
- 3 LEDs: 50-75% capacity
- 4 LEDs: 75-100% capacity
Simultaneous Charging
The power bank features both a built-in USB-C cable and a USB-C input/output port. This allows for charging two devices simultaneously, or for recharging the power bank while it charges a device. Note that charging speed may be reduced when multiple devices are connected.
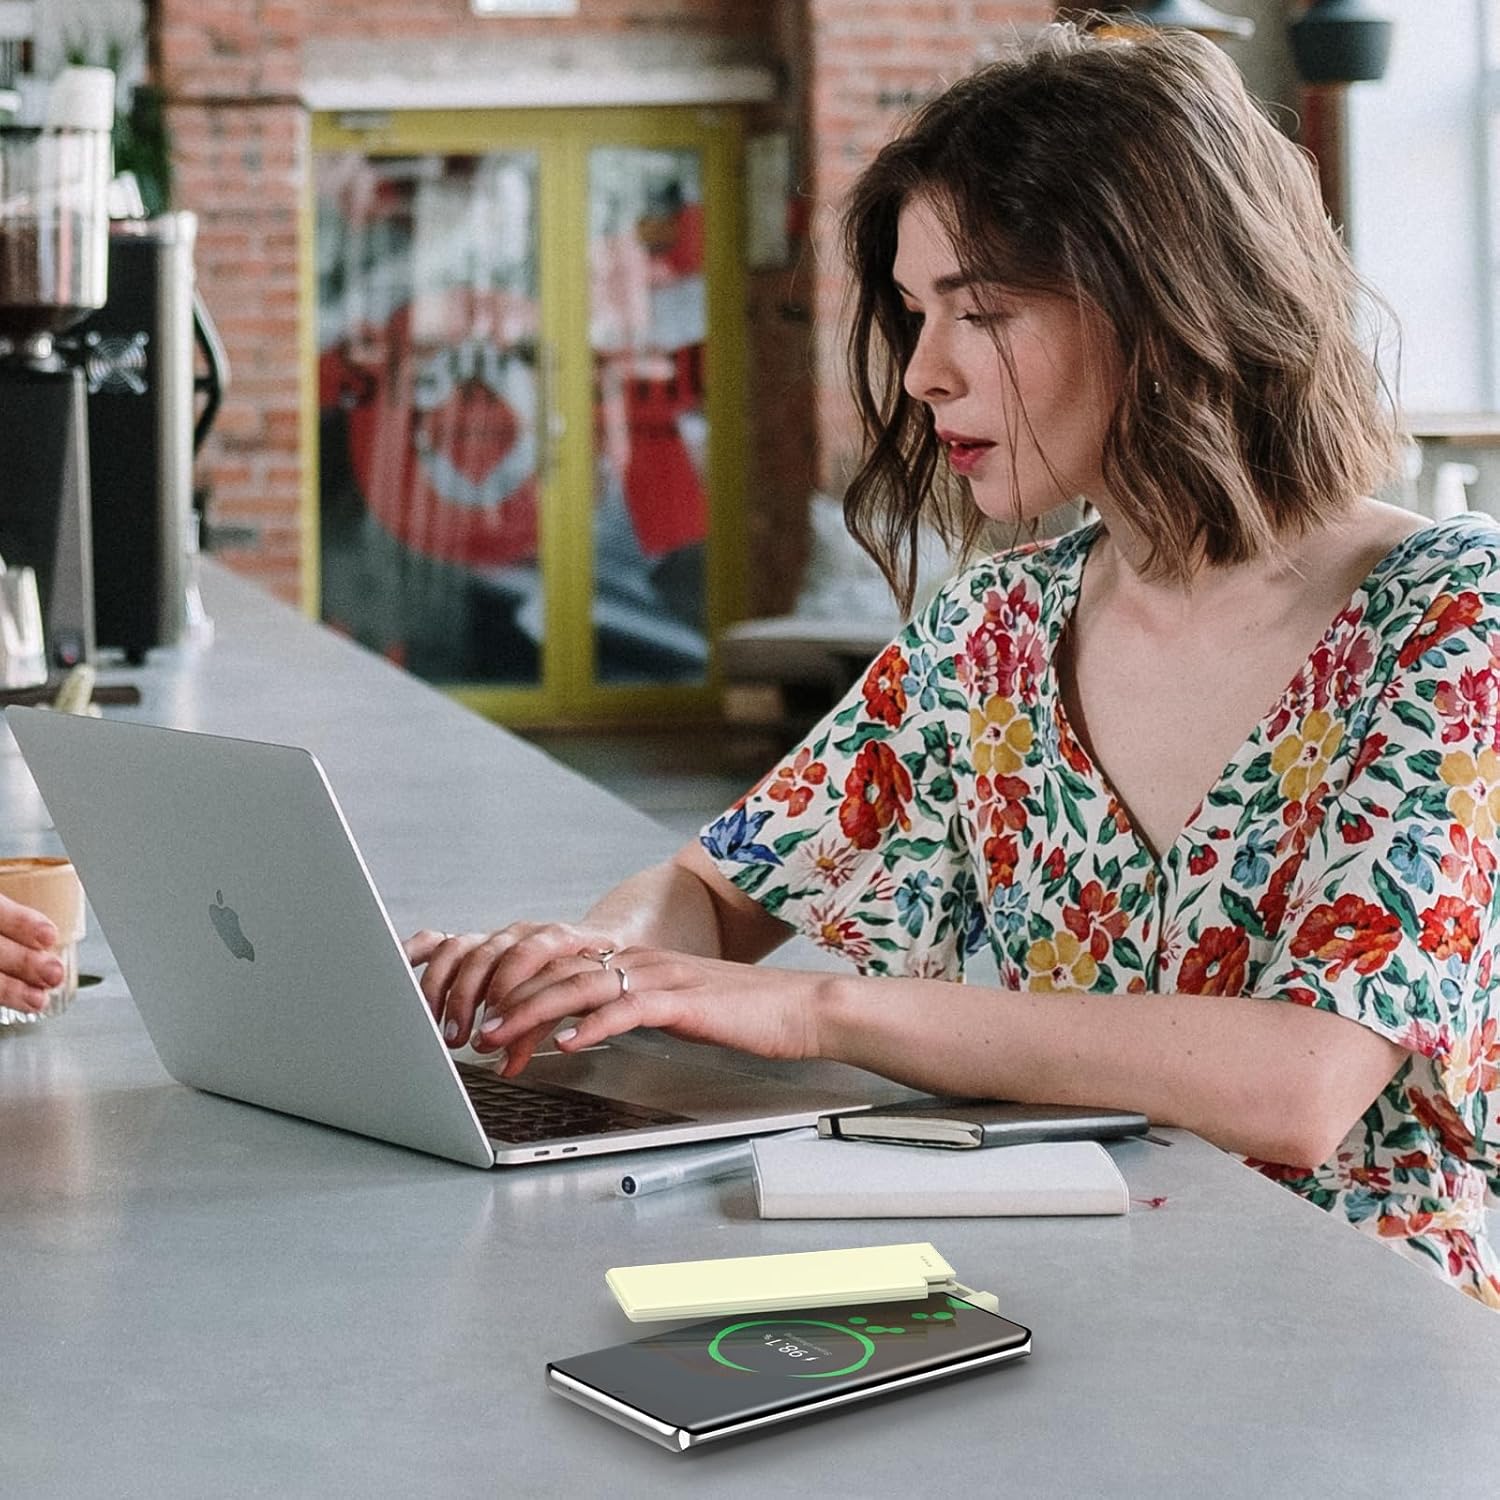
Image: The portable charger in action, providing power to a smartphone, illustrating its practical use during daily activities.

Image: A user enjoying their phone while it charges with the Auskang power bank, highlighting its convenience for outdoor and travel use.
4. Maintenance
Care and Cleaning
- Keep the power bank dry. Do not expose it to moisture or liquids.
- Clean the device with a soft, dry cloth. Avoid using harsh chemicals or abrasive materials.
- Ensure the built-in cable and ports are free from dust and debris.
Storage
- Store the power bank in a cool, dry place away from direct sunlight and extreme temperatures.
- For long-term storage, charge the power bank to approximately 50-75% capacity and recharge every 3-6 months to maintain battery health.
5. Troubleshooting
Power Bank Not Charging
- Ensure the charging cable is securely connected to both the power bank's USB-C input and the power adapter.
- Verify that the power adapter is functioning correctly and plugged into a live power outlet.
- Try using a different USB-C charging cable or power adapter.
Device Not Charging
- Confirm that your device is compatible with USB-C charging and is not an iPhone 14 series or older model requiring a Lightning connector.
- Ensure the built-in USB-C cable is fully inserted into your device's charging port.
- Check if the power bank has sufficient charge by pressing the power button.
- If using the additional USB-C port, ensure your external cable is functional.
Slow Charging
- Charging multiple devices simultaneously may reduce individual charging speeds.
- Ensure your power adapter for recharging the power bank provides adequate output (e.g., 5V/2A or higher for faster charging).
6. Specifications
| Model Number | WT-H362 |
| Battery Capacity | 5000 Milliamp Hours |
| Product Dimensions | 4.94 x 2.6 x 0.27 inches |
| Item Weight | 4.6 ounces |
| Connector Type | Built-in USB Type C, USB Type C Input/Output Port |
| Special Features | Built-in Cable, LED Indicator Lights, Lightweight, Pocket Size, Slim |
7. Safety Information
Please read and follow all safety instructions to prevent damage to the device or injury.
- Do not expose the power bank to extreme temperatures (above 65°C/149°F) or direct sunlight.
- Do not disassemble, crush, or puncture the device.
- Keep away from water, fire, and corrosive materials.
- Do not use if the power bank is damaged, swollen, or leaking.
- Keep out of reach of children.
- Dispose of the power bank responsibly according to local regulations.

Image: Visual representation of the power bank's integrated safety features, ensuring secure charging for your devices.
8. Warranty and Support
For warranty information and customer support, please refer to the documentation included with your purchase or contact Auskang customer service directly. Keep your proof of purchase for any warranty claims.