Introduction
Thank you for choosing the Cangaroo Mia Electric Breast Pump. This device is designed to provide gentle and efficient expression of breast milk. Please read this manual thoroughly before first use to ensure proper operation, maintenance, and safety.
Safety Information
- Always inspect all components before each use for any damage or wear. Discard and replace any damaged parts.
- Ensure all parts that come into contact with breast milk are thoroughly cleaned and sterilized before first use and after each subsequent use.
- Do not immerse the motor unit in water or other liquids. Clean with a damp cloth only.
- Keep the device out of reach of children.
- Use only the original power adapter and USB cable provided with the device.
- Do not use while bathing or showering.
- If you experience pain or discomfort during pumping, stop immediately and consult a healthcare professional.
Package Contents
The Cangaroo Mia Electric Breast Pump package includes the following items:
- 1x Electric Breast Pump Motor Unit
- 1x Breast Shield with Silicone Nozzle
- 1x 180 ml Baby Bottle with Bottle Ring and Lid
- 1x 0+ Nipple
- 1x USB Charging Cable
- 1x AC Adapter (Charger)
- 1x Air Tube
- 1x Protective Cover for Breast Shield

Image: All components included in the Cangaroo Mia Electric Breast Pump package.
Product Components
Familiarize yourself with the different parts of your breast pump:
- Motor Unit: The main control unit with LCD touch screen.
- Breast Shield: The part that comes into contact with the breast.
- Silicone Nozzle: Soft silicone insert for comfort and seal.
- Bottle Connector: Connects the breast shield to the milk collection bottle.
- Milk Collection Bottle: 180 ml capacity bottle.
- Air Tube: Connects the breast shield assembly to the motor unit.
- Nipple and Bottle Ring: For feeding directly from the collection bottle.
- USB Charging Port: Located on the motor unit for charging.
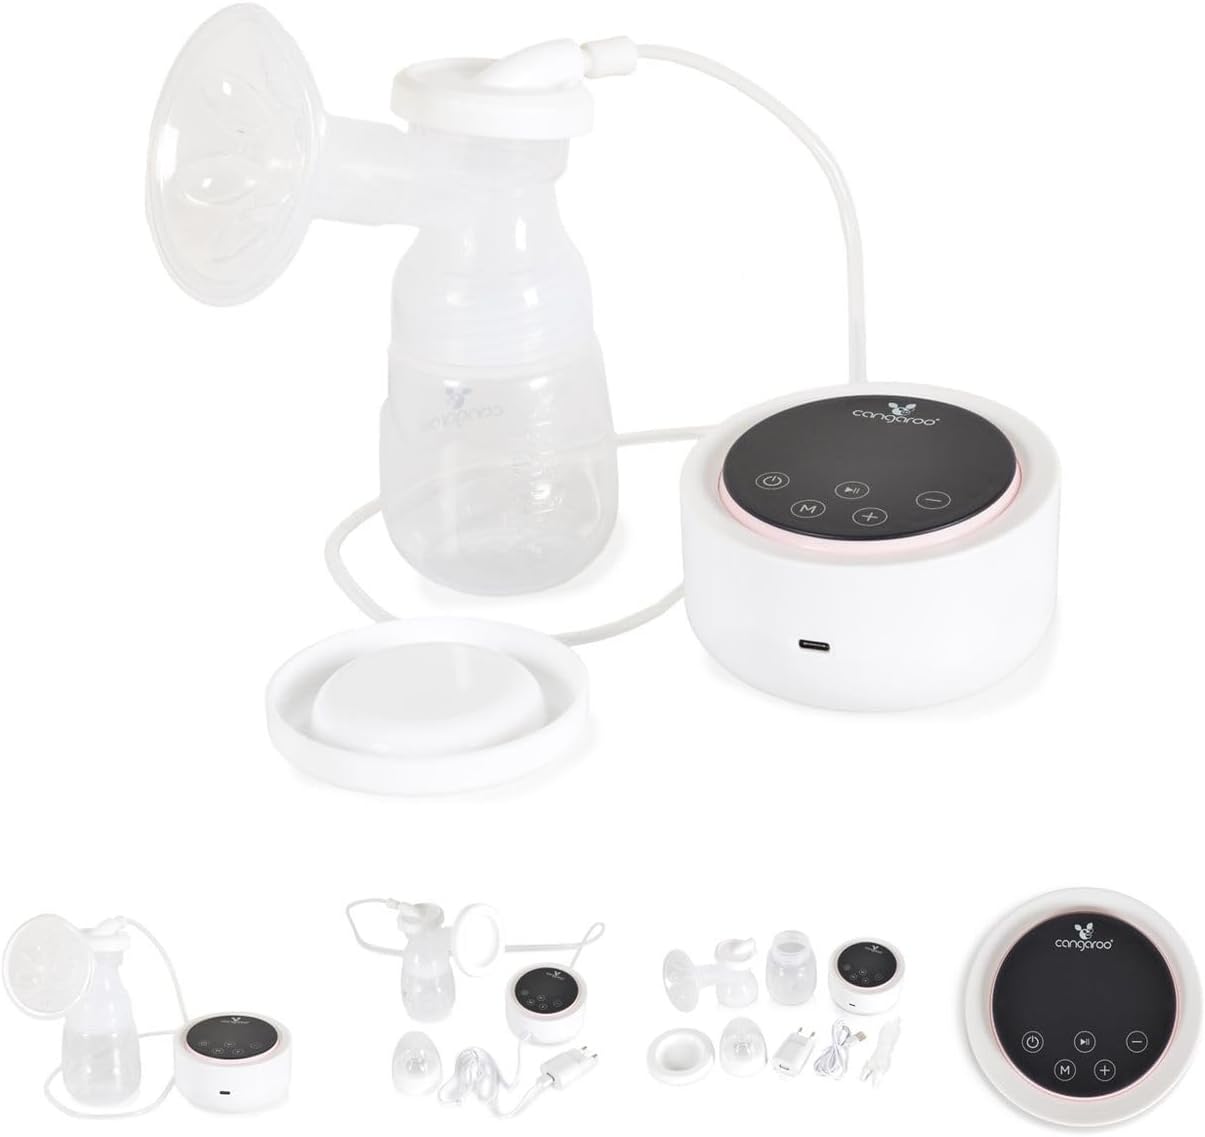
Image: Assembled Cangaroo Mia Electric Breast Pump.
Setup
1. Initial Cleaning and Sterilization
- Before first use, disassemble all parts that come into contact with breast milk (breast shield, silicone nozzle, bottle connector, milk collection bottle, nipple, bottle ring).
- Wash these parts thoroughly with warm soapy water.
- Rinse well with clean water.
- Sterilize by boiling in water for 5 minutes or using a steam sterilizer.
- Allow all parts to air dry completely on a clean surface.
- The motor unit and air tube should not be washed or sterilized. Wipe the motor unit with a damp cloth.
2. Assembly
- Insert the silicone nozzle into the breast shield, ensuring a snug fit.
- Attach the breast shield assembly to the bottle connector.
- Screw the milk collection bottle onto the bottle connector.
- Connect one end of the air tube to the breast shield assembly and the other end to the air port on the motor unit.

Image: Detailed view of the breast shield and bottle assembly.
3. Charging the Motor Unit
- Before first use, fully charge the motor unit.
- Connect the USB charging cable to the motor unit's charging port and the other end to the AC adapter.
- Plug the AC adapter into a power outlet.
- The charging indicator on the LCD screen will show charging status. A full charge takes approximately 2 hours.
Operating Instructions
1. Getting Started
- Ensure the breast pump is clean and correctly assembled.
- Sit comfortably and relax. Place the breast shield centrally over your nipple, ensuring a good seal against your breast.
2. Using the Control Panel

Image: LCD Touch Screen Control Panel.
- Power Button (⏻): Press to turn the pump ON/OFF.
- Mode Button (M): Press to switch between the 3 functions:
- Massage Mode: Gentle stimulation to encourage milk let-down (9 levels).
- Pumping Mode: For milk expression (9 levels).
- Combined Mode: Alternates between massage and pumping for efficient expression.
- Intensity Adjustment Buttons (+ / -): Use these buttons to increase or decrease the intensity level (1-9) within the selected mode.
- Play/Pause Button (⏸): Press to start or pause the pumping session.
3. Pumping Session
- Press the Power button to turn on the pump. It will usually start in Massage Mode.
- Adjust the massage intensity using the + / - buttons until comfortable. Stay in this mode for 2-3 minutes to stimulate milk flow.
- Press the Mode button (M) to switch to Pumping Mode or Combined Mode.
- Adjust the pumping intensity to a comfortable and effective level. You should feel a gentle pull, not pain.
- Pump for approximately 15-20 minutes per breast, or until milk flow significantly slows down.
- To pause the session, press the Play/Pause button. Press again to resume.
- When finished, press the Power button to turn off the pump.
- Carefully remove the breast shield from your breast.
Cleaning and Maintenance
After Each Use:
- Disassemble all parts that came into contact with breast milk.
- Wash immediately with warm soapy water. Use a soft brush for hard-to-reach areas.
- Rinse thoroughly with clean water.
- Sterilize these parts daily (or as recommended by your healthcare provider) by boiling for 5 minutes or using a steam sterilizer.
- Allow all parts to air dry completely on a clean drying rack or paper towel.
- Wipe the motor unit with a clean, damp cloth. Do not immerse in water.
- Store all dry components in a clean, dry place.
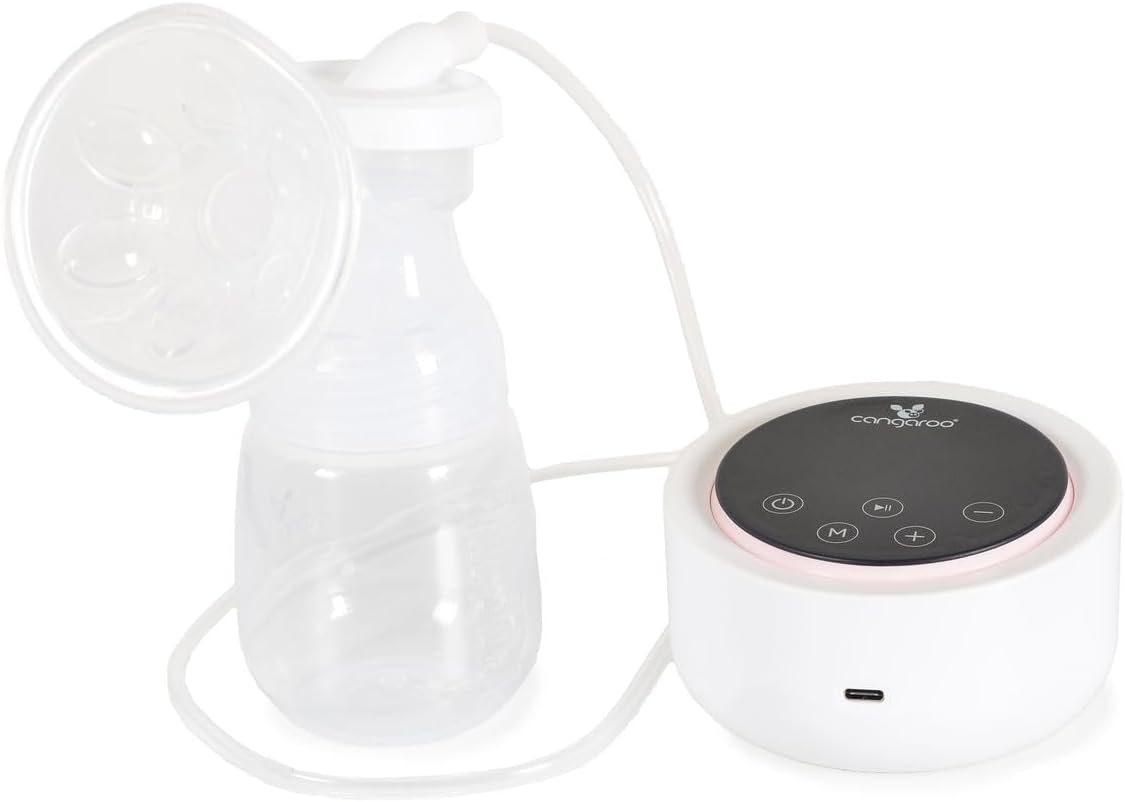
Image: Disassembled parts ready for cleaning.
Troubleshooting
| Problem | Possible Cause | Solution |
|---|---|---|
| No suction or weak suction. |
|
|
| Pump does not turn on. |
|
|
| Pain or discomfort during pumping. |
|
|
Specifications
| Model Number | 110203 |
| Product Dimensions | 6 x 13 x 18 cm (L x W x H) |
| Weight | 1 kg (product), 1.5 kg (shipping) |
| Bottle Capacity | 180 ml |
| Nipple Size | 0+ |
| Power Input (Charger) | AC 100-240 V, 50-60 Hz |
| Power Output (Charger) | DC: 5 V / 1 A |
| Power Consumption | 5 W |
| Battery Voltage | 3.7 V - 2000 mAh |
| Charging Time | Approximately 2 hours |
| Functions | Massage, Pumping, Combined (9 levels each) |
| Display | LCD Touch Screen |
Warranty and Support
For warranty information and customer support, please refer to the warranty card included in your product packaging or visit the official Cangaroo website. Keep your proof of purchase for warranty claims.
If you have any questions or require assistance with your Cangaroo Mia Electric Breast Pump, please contact Cangaroo customer service.