1. Introduction
This manual provides essential information for the safe and efficient installation, operation, and maintenance of your FLTXNY POWER 1000W 48V Vertical Axis Wind Turbine with MPPT Controller. Please read this manual thoroughly before installation and operation to ensure optimal performance and longevity of the product.
The vertical axis wind turbine features a unique vertical blade design with a triangular double pivot point, concentrating main force points in the hub. This design minimizes issues such as blade loss or breakage. Its horizontal rotation and aircraft wing design contribute to low noise operation, making it suitable for various environments without disturbing nearby residents. The turbine is designed for high efficiency, effectively utilizing wind speeds from 2.5 to 25 m/s, and offers a smaller rotation radius compared to other windmill types, saving space while maintaining energy generation.
2. Safety Information
WARNING: Improper installation or operation can lead to serious injury or equipment damage. Always follow safety guidelines.
- Ensure all electrical connections are made by a qualified electrician.
- Wear appropriate personal protective equipment (PPE) during installation, including gloves, safety glasses, and a hard hat.
- Do not attempt to install or service the turbine during high winds or adverse weather conditions.
- Verify that the mounting structure is strong enough to support the weight and wind load of the turbine.
- Keep children and unauthorized personnel away from the installation area.
- Always disconnect power before performing any maintenance or inspection.
3. Package Contents
Verify that all components are present and undamaged upon unpacking. If any items are missing or damaged, contact your supplier immediately.
- 3 x Blades
- 1 x Generator
- 1 x Bolts & Nuts set
- 1 x Main shaft and arms
- 1 x MPPT Controller
- 1 x DN25 Flange
Note: The wind turbine pole (mast) is not included. Please prepare a 6-10 meter mast according to the DN25 flange dimensions, or contact your supplier for assistance.

Image: Visual representation of the package contents, including blades, generator, bolts, main shaft, MPPT controller, and DN25 flange.
4. Specifications
| Parameter | Value |
|---|---|
| Rated Power | 1000W |
| Rated Voltage | 48V |
| Rated Wind Speed | 13 m/s |
| Start-up Wind Speed | 1.4 m/s |
| Survival Wind Speed | 40 m/s |
| Wind Wheel Diameter | 31.5 inches |
| Blades Length | 51.2 inches |
| Top Net Weight | 61.7 lbs |
| Generator Type | 3-phase permanent magnet synchronous generator |
| Blades Material | Aluminum alloy |
| Shell Material | Aluminum alloy |
| Permanent Magnet Material | Rare Earth NdFeB |
| Working Temperature | -40 to 80°C |
| Service Life | More than 20 years |

Image: A visual summary of the wind turbine's technical specifications.
5. Setup and Installation
Proper installation is crucial for the performance and safety of your wind turbine. It is recommended to have professional assistance for installation.
5.1 Site Selection
Choose a location with consistent and unobstructed wind flow. Avoid areas with significant obstacles like tall buildings or trees that could create turbulence or block wind. The mast height should be sufficient to clear surrounding obstacles.

Image: Wind Turbine Installation Height Diagram, showing how height and proximity to obstacles affect wind flow (Ideal, Fair, Poor).
5.2 Mast Preparation
Prepare a sturdy mast (not included) with a DN25 flange for mounting. Ensure the mast is securely anchored to the ground according to local building codes and engineering standards.

Image: DN25 Flange Diagram, detailing dimensions for mast compatibility.
5.3 Turbine Assembly
- Attach the main shaft and arms to the generator hub using the provided bolts and nuts.
- Carefully mount the three blades onto the arms, ensuring they are securely fastened.
- Connect the assembled turbine to the DN25 flange on the prepared mast.
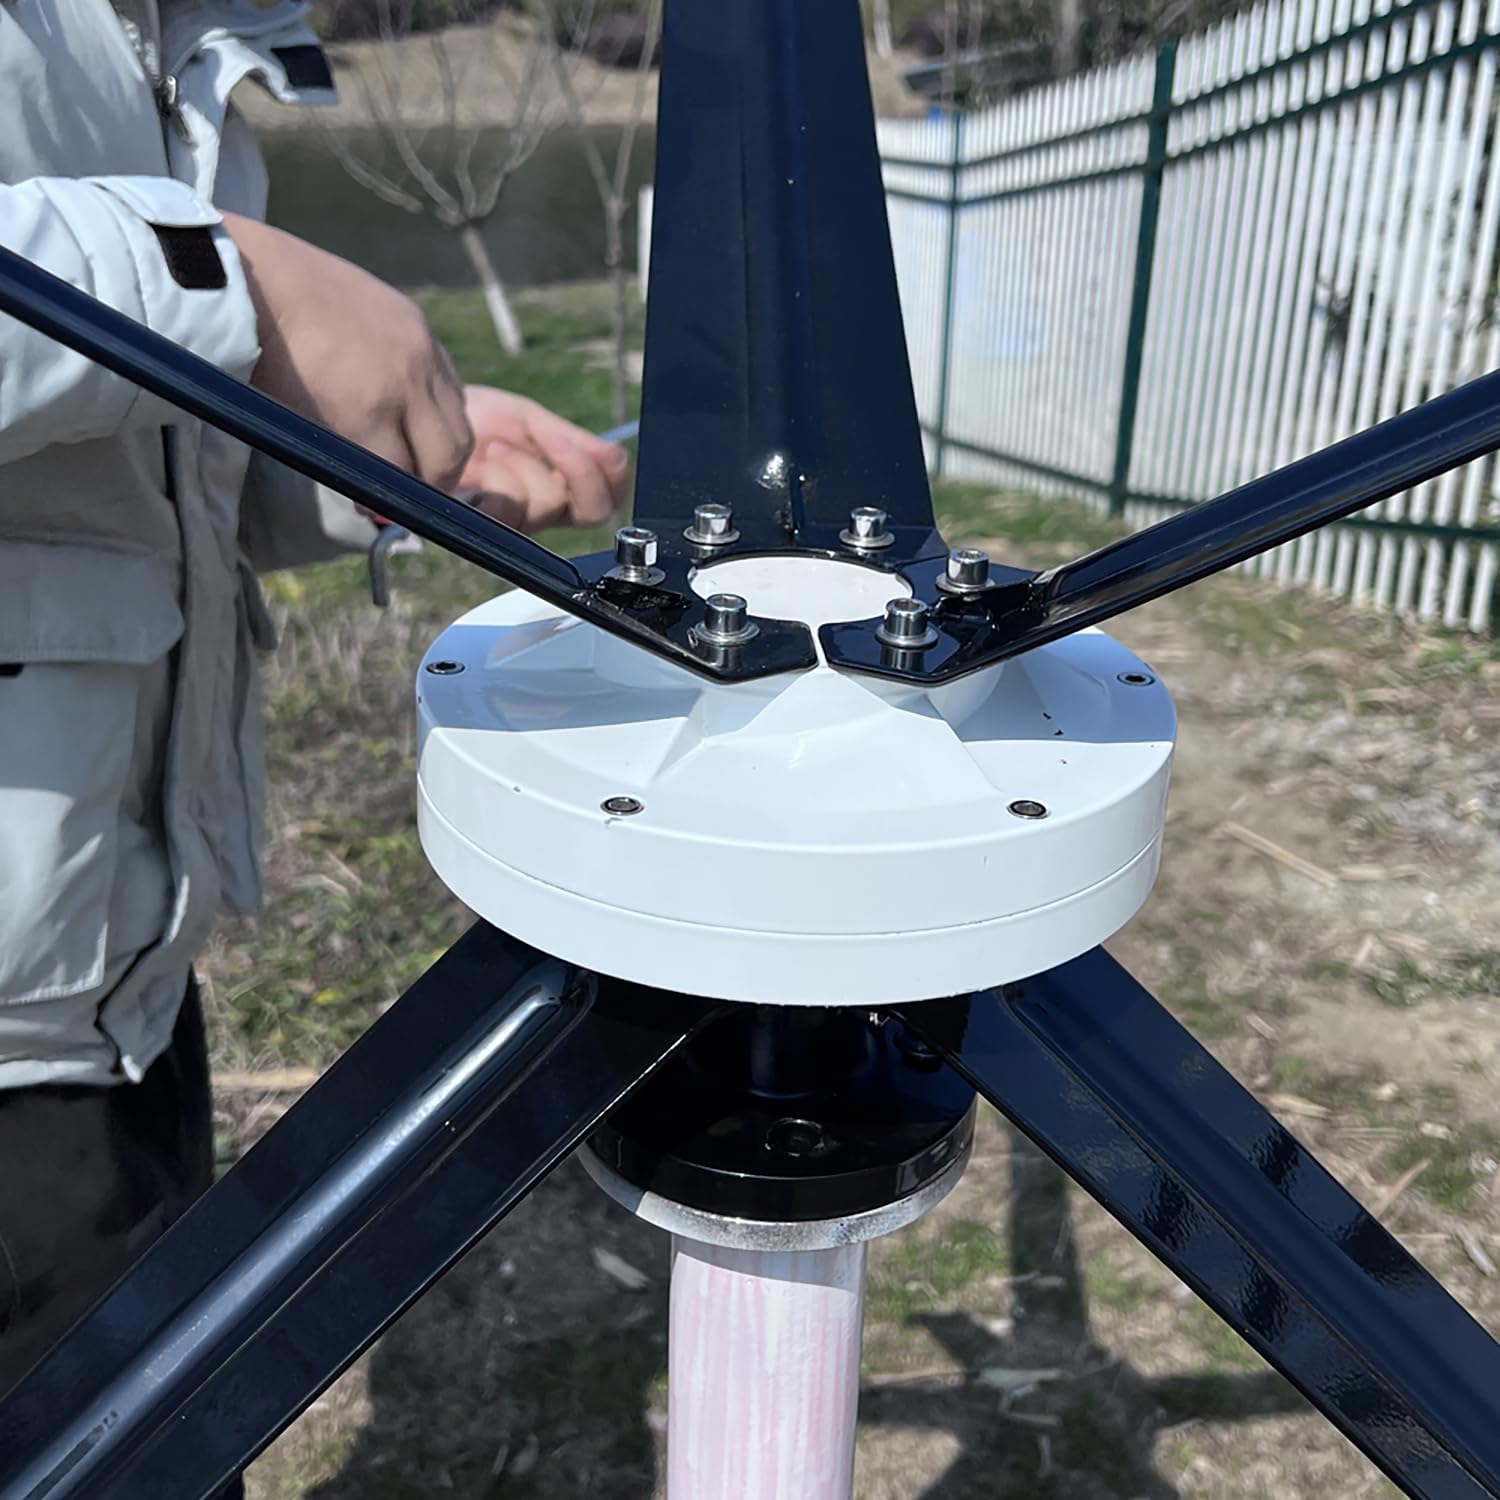
Image: Close-up of the turbine hub, showing the secure attachment points for the blades.

Image: Two people working together to assemble the wind turbine, demonstrating the installation process.
5.4 Electrical Connections
The wind turbine is designed for off-grid systems and requires connection to an MPPT charge controller, a storage battery, and an inverter for AC loads. Follow the wiring diagram carefully.

Image: System Diagram illustrating the electrical connections from the wind generator to the MPPT controller, storage battery, inverter, and finally to an AC load.
- Connect the three-phase output wires from the wind generator to the input terminals of the MPPT charge controller.
- Connect the MPPT charge controller to the 48V storage battery bank. Ensure correct polarity.
- Connect the inverter to the storage battery bank.
- Connect your AC loads to the output of the inverter.
IMPORTANT: Ensure all connections are tight and insulated to prevent short circuits and electrical hazards. Consult a qualified electrician if you are unsure about any wiring steps.
6. Operating Instructions
Once properly installed and connected, the FLTXNY POWER wind turbine operates automatically. The MPPT (Maximum Power Point Tracking) controller optimizes power output from the turbine to efficiently charge the 48V battery bank.
- The turbine will begin to rotate and generate power when the wind speed reaches the start-up wind speed of 1.4 m/s.
- The MPPT controller continuously adjusts the load to extract maximum power from the wind, even during varying wind conditions.
- The controller also protects the battery from overcharging and the turbine from over-speeding in high winds.
- Monitor the charge controller display (if applicable) for system status, battery voltage, and charging current.
- The inverter converts the DC power from the battery bank into usable AC power for your household or farm appliances.
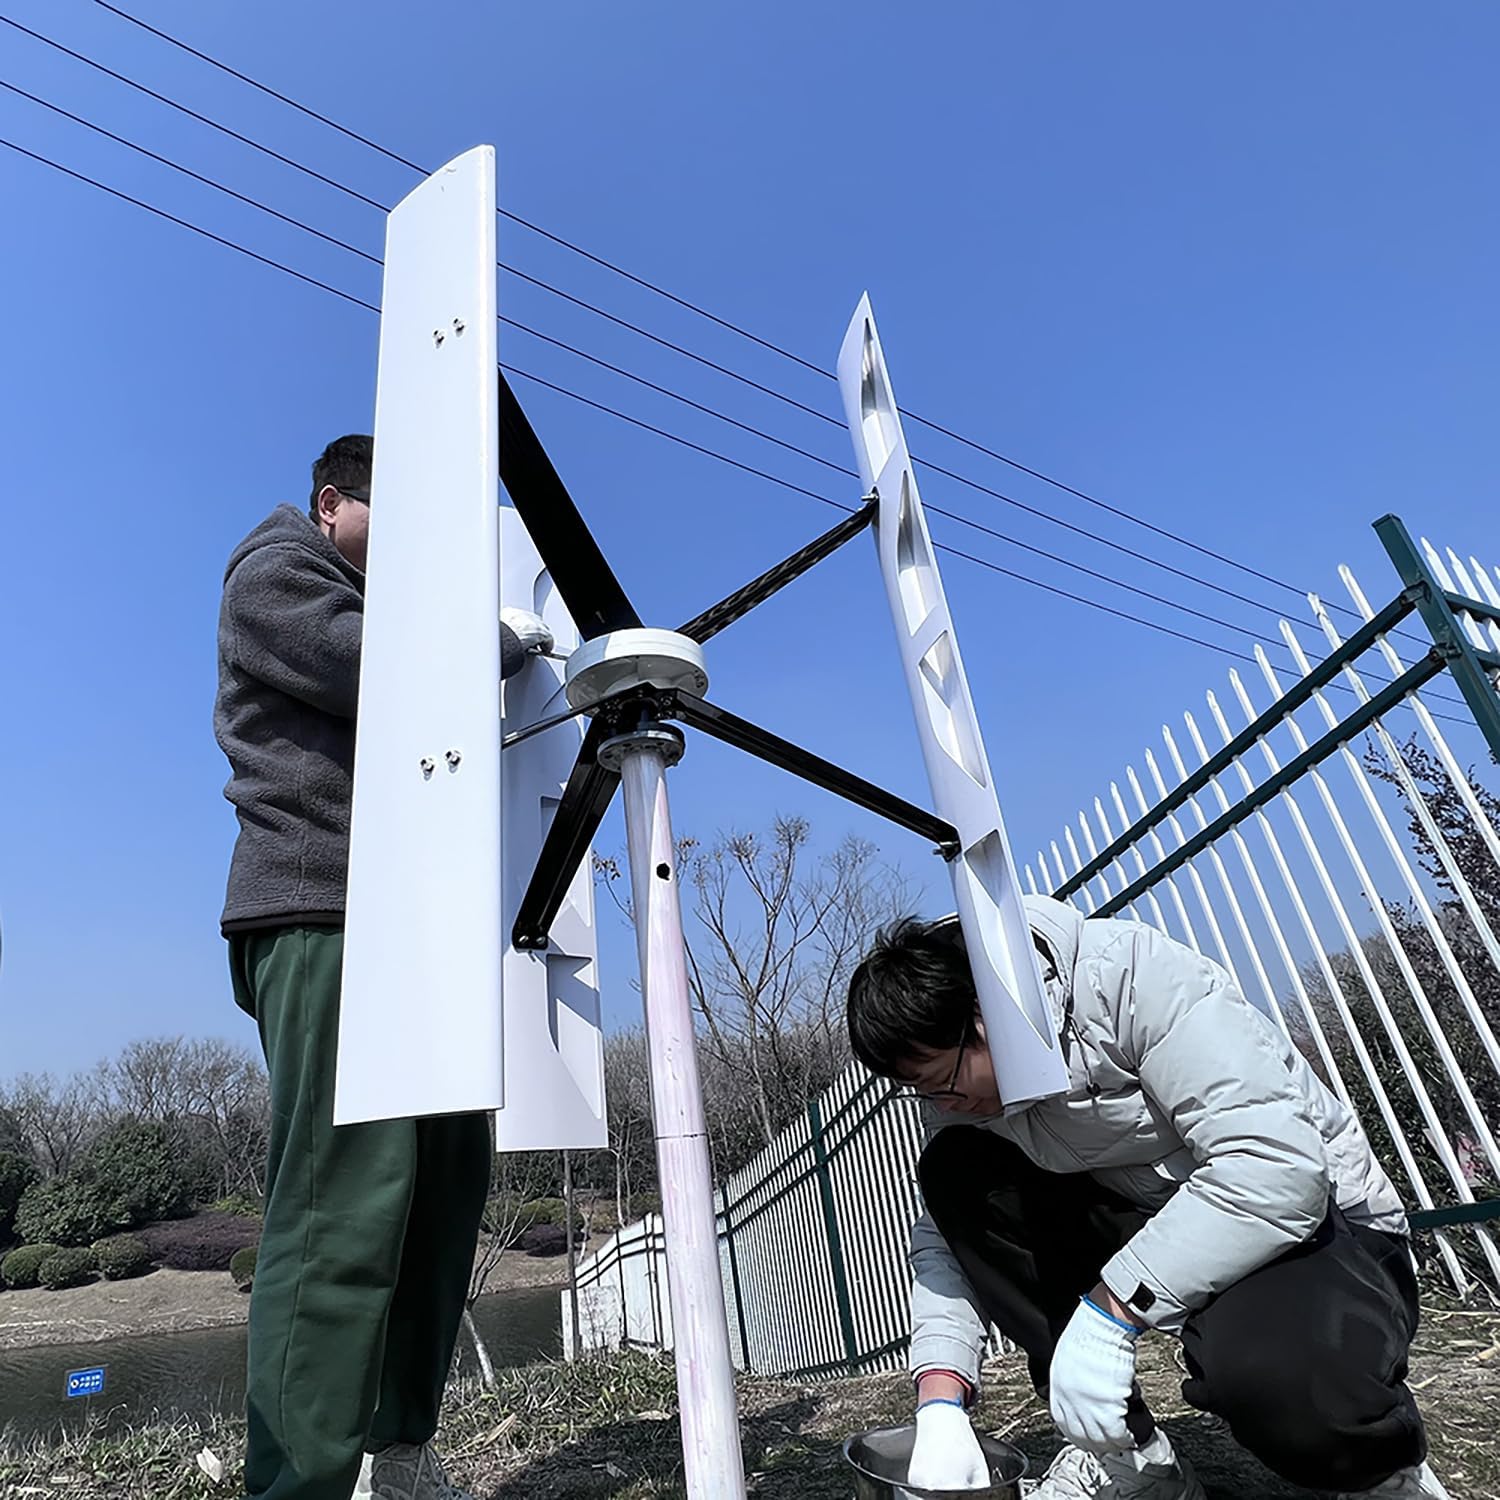
Image: An installed vertical axis wind turbine operating in an outdoor environment.
7. Maintenance
Regular maintenance ensures the long-term reliability and performance of your wind turbine.
- Monthly: Visually inspect the blades for any cracks, damage, or debris accumulation. Clean the blades if necessary. Check all visible bolts and nuts for tightness.
- Quarterly: Inspect the mast and guy wires (if applicable) for corrosion, damage, or loosening. Ensure the mast is plumb and stable.
- Annually: Check electrical connections for corrosion or wear. Ensure the MPPT controller is functioning correctly. Inspect the generator for any unusual noises or vibrations.
- After Storms: Perform a thorough inspection of the entire system after severe weather events.
CAUTION: Always shut down the turbine and disconnect power before performing any maintenance or inspection. Use appropriate safety gear.
8. Troubleshooting
This section addresses common issues you might encounter with your wind turbine system.
| Problem | Possible Cause | Solution |
|---|---|---|
| No power output | Low wind speed Loose electrical connections Controller fault Damaged generator | Check wind conditions Inspect and tighten all wiring Check controller display for error codes; consult manual or support Contact support for inspection/repair |
| Turbine not rotating | Insufficient wind Brake engaged (if applicable) Bearing issue Obstruction | Wait for higher wind speeds Ensure brake is disengaged Inspect for resistance; contact support Remove any debris or obstructions |
| Unusual noise or vibration | Loose components Damaged blades Bearing wear | Inspect and tighten all bolts Check blades for damage; replace if necessary Contact support for inspection/repair |
| Battery not charging | Controller fault Battery issues Incorrect wiring | Check controller status Test battery voltage and health Verify all connections according to diagram |
9. Warranty & Support
FLTXNY POWER products are manufactured to high-quality standards. For specific warranty details, please refer to the warranty card included with your product or contact your point of purchase. Keep your purchase receipt as proof of purchase.
For technical support, troubleshooting assistance, or spare parts, please contact FLTXNY POWER customer service. Provide your product model number and a detailed description of the issue when contacting support.
Contact Information: (Please refer to your product packaging or official website for the most current contact details.)