1. Product Overview
This manual provides instructions for the EagleNav Android 13 Car Radio, model WB-CA-XTF15072C. This unit is designed for specific Ford vehicle models, offering advanced multimedia and navigation features.
Compatible Vehicle Models:
- Ford F150: 2004-2008
- Ford F250/F350: 2006-2014
- Ford E250/E350: 2009-2014
- Ford Edge: 2007-2010
- Ford Taurus/Sable: 2008-2009
- Ford Fusion/Milan: 2006-2009
- Ford Focus/Montego/Freestyle: 2005-2007
- Ford Explorer (U251): 2006-2010
- Ford Escape: 2008-2012
- Ford Expedition: 2007-2014
- Ford MKX: 2007-2009
- Ford Mark LT: 2006-2008
- Ford Mustang: 2005-2009

Image: EagleNav Android 13 Car Radio installed in a compatible Ford vehicle dashboard, showing the unit before and after installation.
2. Package Contents
Verify all components are present before beginning installation.

Image: Diagram showing the various cables and accessories included with the car radio unit.
- EagleNav Android 13 Car Radio Unit
- Power Connector
- RCA Cable
- Reversing Cable
- Antenna
- GPS Antenna
- CANBUS Decoder
- USB Cables (x2)
- Crowbar Tool
- Microphone
3. Installation Guide
3.1 Wiring Diagram
Refer to the following diagram for proper wiring connections. Incorrect wiring can prevent the unit from powering on or functioning correctly.

Image: Comprehensive wiring diagram illustrating connections for power, speakers, CANBUS, GPS, and camera inputs.
3.2 CANBUS and 8PIN Cable Connection
Ensure the CANBUS and 8PIN cables are connected correctly. The unit may not power on if these connections are improper.

Image: Detailed view of the CANBUS and 8PIN cable connections, highlighting the distinction between high and low version adapters.
Note: The difference between the high-end interface and the low-end interface is crucial for proper functionality:
- HIGH: If your original vehicle supports steering wheel control, connect to the high-end interface (the interface near the protocol box).
- LOW: If your original vehicle does not support steering wheel control, connect to the low-end interface (the interface near the car connector).
Failure to connect correctly will result in the unit failing to power on.
3.3 General Installation Steps
- Carefully remove the existing car radio unit and dashboard trim using the provided crowbar tool.
- Connect the power harness, RCA cables, and other necessary wires according to the wiring diagram.
- Connect the GPS antenna and external microphone.
- If installing a reversing camera, connect its signal cable to the designated input.
- Secure the new EagleNav unit into the dashboard opening.
- Test all functions (power, audio, steering wheel controls, CarPlay/Android Auto, GPS) before fully reassembling the dashboard.
- Reinstall the dashboard trim.
4. Operating Instructions
4.1 Wireless CarPlay / Android Auto
The unit supports wireless CarPlay and Android Auto for seamless smartphone integration.
Video: Demonstration of CarPlay function operation, showing connection via Bluetooth and Wi-Fi, and interface navigation.
To connect:
- Ensure Bluetooth and Wi-Fi are enabled on your smartphone.
- On the car radio, navigate to the "Zlink" application.
- Pair your phone with the car radio via Bluetooth. The car radio's Bluetooth name is typically "Car BT".
- Confirm the pairing request on your phone.
- Once connected via Bluetooth, the system will prompt you to enable CarPlay or Android Auto, which will then utilize Wi-Fi for data transfer.

Image: The car radio displaying the Wireless CarPlay and Android Auto interfaces, demonstrating phone mirroring and app access.
4.2 Steering Wheel Control (SWC)
If your vehicle supports steering wheel controls and you connected the high-end interface during installation, you can program the unit to respond to your vehicle's steering wheel buttons.
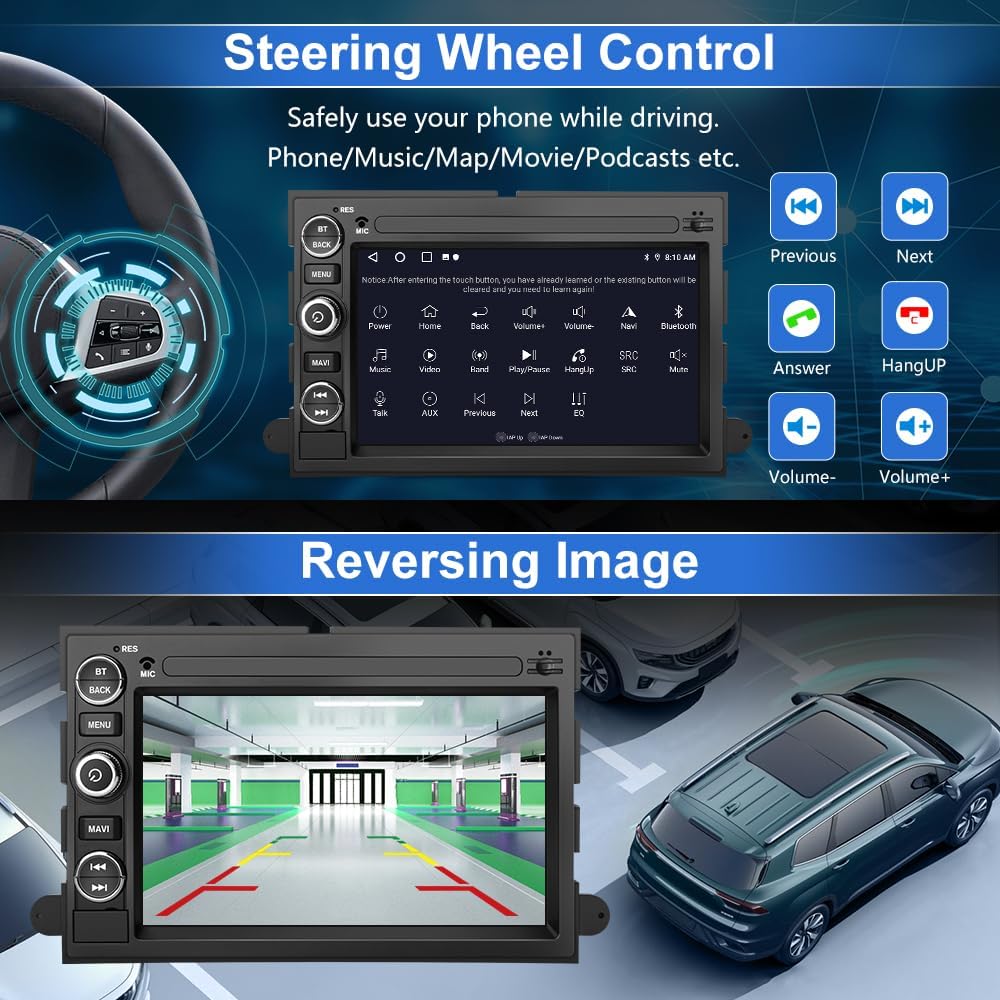
Image: The car radio interface displaying options for programming steering wheel controls and a view of the reversing camera display.
To program SWC:
- Go to the "Steering Wheel Control" settings on the unit.
- Follow the on-screen instructions to assign functions (e.g., volume up/down, track skip, answer/hang up calls) to your steering wheel buttons.
4.3 GPS Navigation & Wi-Fi
The unit features a built-in GPS module and Wi-Fi connectivity.
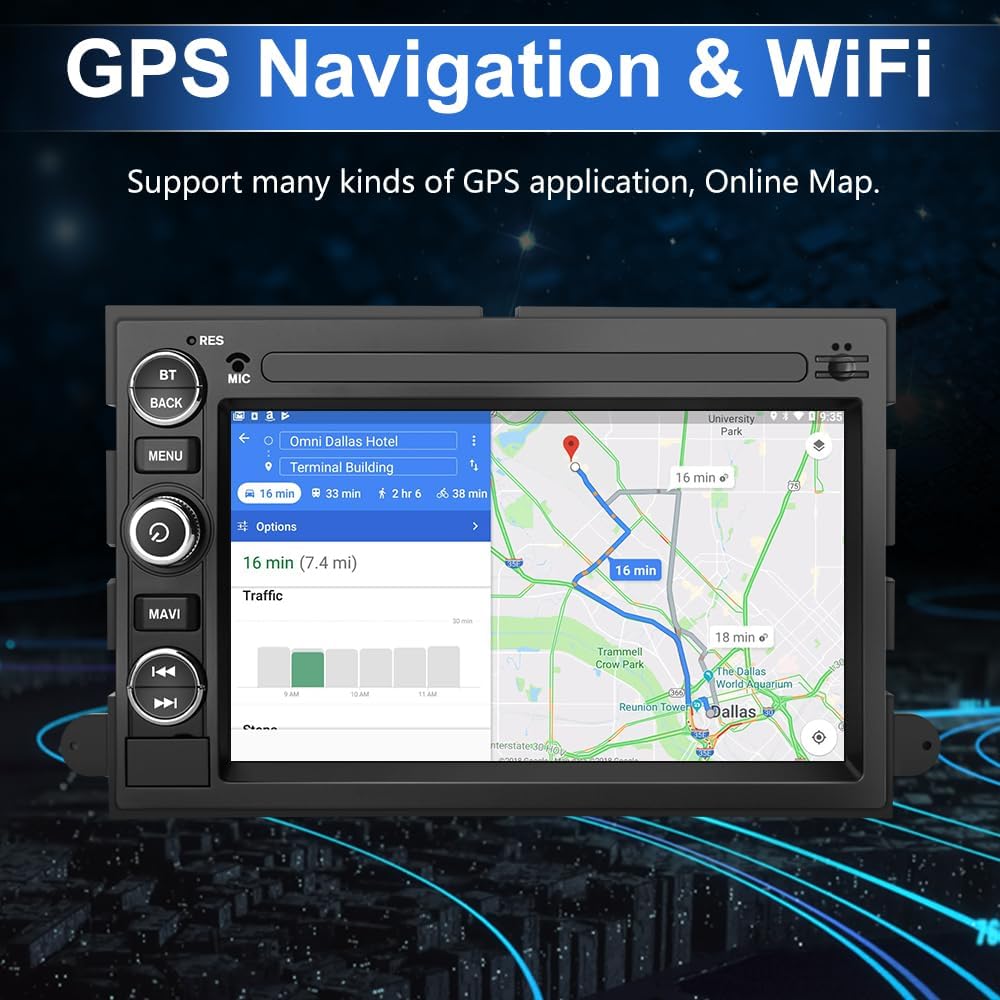
Image: The car radio screen showing a GPS navigation map with route information.
- GPS: Supports online navigation applications available on the Play App Market. Ensure the GPS antenna is properly connected for optimal signal reception.
- Wi-Fi: Connect to a Wi-Fi hotspot (e.g., from your smartphone) to access online features, download apps, and stream content.
4.4 Bluetooth Functions
Utilize Bluetooth for hands-free calling and audio streaming.
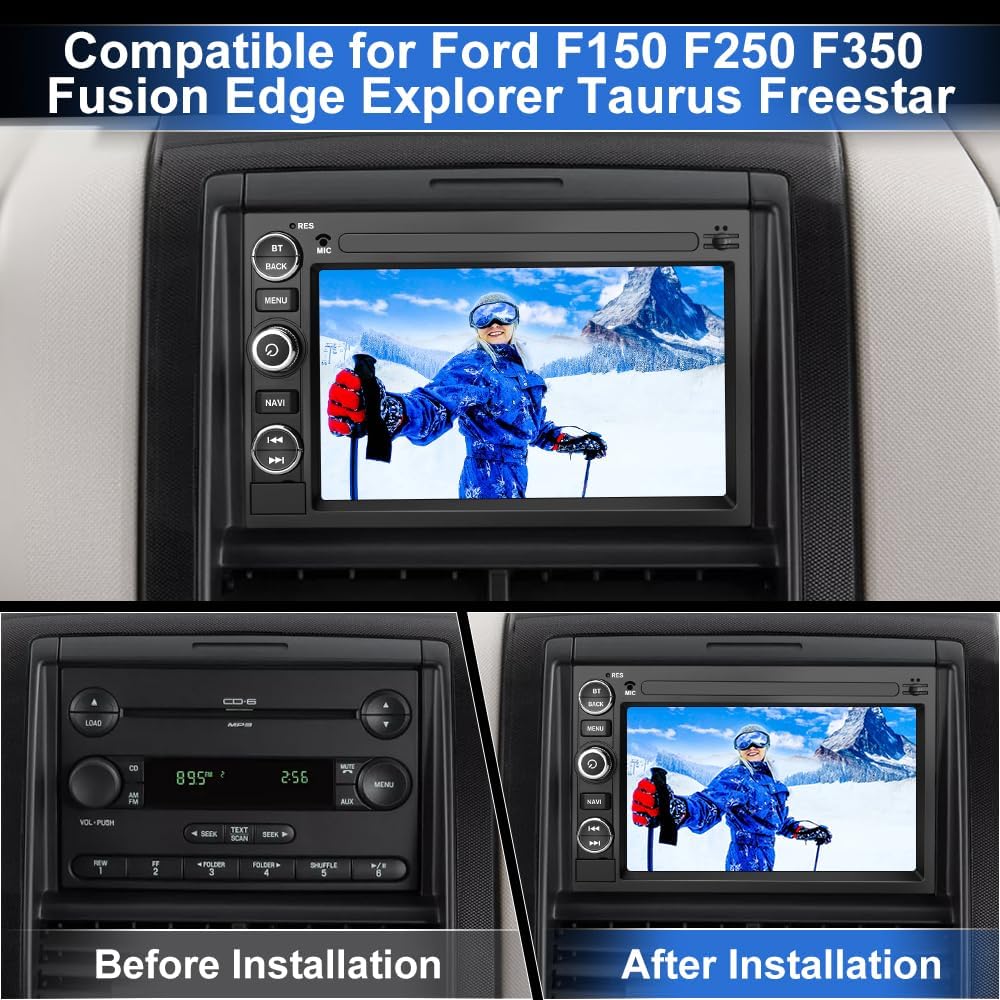
Image: The car radio displaying the Bluetooth hands-free calling interface with a dial pad.
- Hands-Free Calling: Pair your phone via Bluetooth to make and receive calls directly from the car radio.
- Bluetooth Music: Stream audio from your paired smartphone to the car radio.
4.5 FM/RDS Radio & DSP
Access FM radio stations with RDS (Radio Data System) for station information and enjoy enhanced audio quality with the built-in Digital Sound Processor (DSP).

Image: The car radio displaying the FM radio interface with station presets and the DSP equalizer settings for audio customization.
4.6 Reversing Assistance
Connect a rear reversing camera (sold separately) to utilize the reversing assistance feature.

Image: The car radio screen displaying the view from a connected reversing camera with dynamic parking guidelines.
When the vehicle is shifted into reverse, the unit will automatically display the camera feed, providing visual assistance for parking and maneuvering.
5. Maintenance
- Cleaning: Use a soft, dry cloth to clean the screen and unit. Avoid abrasive cleaners or solvents.
- Software Updates: Periodically check for software updates through the unit's settings or the manufacturer's website to ensure optimal performance and access to new features.
- Temperature: Avoid exposing the unit to extreme temperatures, which can affect its performance and lifespan.
6. Troubleshooting
| Problem | Possible Cause | Solution |
|---|---|---|
| Unit does not power on. | Incorrect CANBUS or 8PIN cable connection. Power supply issue. | Verify CANBUS and 8PIN cables are connected correctly (refer to Section 3.2). Check vehicle's fuse box for blown fuses. Ensure power cables are securely connected. |
| Steering Wheel Controls not working. | Incorrect interface connection (low instead of high). Not programmed. | Ensure the high-end interface was used during installation if your vehicle supports SWC. Access SWC settings to program buttons (refer to Section 4.2). |
| CarPlay/Android Auto not connecting. | Bluetooth/Wi-Fi issues. Phone not paired. | Ensure Bluetooth and Wi-Fi are active on your phone. Re-pair your phone with the unit via Bluetooth. Check Zlink app settings. |
| Poor GPS signal. | GPS antenna not properly installed or obstructed. | Ensure the GPS antenna is securely connected and placed in an unobstructed location (e.g., on the dashboard with a clear view of the sky). |
| Sound quality is poor. | Speaker wiring issues. DSP settings. | Check speaker connections. Adjust DSP equalizer settings (refer to Section 4.5). |
7. Specifications
- Model Number: WB-CA-XTF15072C
- Operating System: Android 13
- Display Size: 7 Inches
- Resolution: 800 x 480
- Connectivity: Bluetooth, Wi-Fi
- Special Features: Android Auto, Apple CarPlay, Built-In Bluetooth, Built-In Wi-Fi, GPS, FM/RDS Radio, DSP, Steering Wheel Control, Reversing Assistance
- Item Weight: 2.86 pounds
- Package Dimensions: 11.46 x 9.61 x 4.02 inches
- Audio Output Mode: Stereo
- Mounting Type: Dashboard Mount
8. Warranty and Support
The EagleNav Android 13 Car Radio comes with a 2-year warranty.
For installation or usage issues, please contact customer support with your vehicle model, year, a description of the problem, and relevant photos.
Customer Support Email: EagleNav-us@outlook.com

Image: EagleNav brand logo.

Image: EagleNav customer support team ready to assist.