1. Introduction
This manual provides essential information for the proper installation, operation, maintenance, and troubleshooting of your OLUNCLE 2-in-1 Carbon Monoxide (CO) and Smoke Alarm. Please read this manual thoroughly before installation and retain it for future reference. This device is designed to detect both carbon monoxide gas and smoke, providing early warning of potential hazards in your home.

Image 1: Front view of the OLUNCLE 2-in-1 Carbon Monoxide and Smoke Alarm.
2. Key Features
- Dual Detection: Detects both carbon monoxide and smoke, eliminating the need for separate devices.
- Accurate Detection: Equipped with dual high-stability sensors for enhanced sensitivity and accuracy.
- LCD Screen: Provides clear, easy-to-read information on carbon monoxide levels.
- Loud Alarm: Features an 85dB alarm to ensure prompt notification in case of danger.
- Easy Installation: Designed for simple, drill-free installation.

Image 2: Functional description of the alarm's components.

Image 3: Visual representation of the 2-in-1 CO and smoke detection.
3. Package Contents
Verify that all items are present in the package:
- OLUNCLE 2-in-1 CO & Smoke Alarm Unit
- Mounting Bracket
- AA Batteries (Quantity: 2)
- Mounting Screws and Wall Plugs
- Instruction Manual

Image 4: Contents included in the product package.
Video 1: A demonstration of the accessories included in the CO & Smoke Detectors packaging box.
4. Installation
4.1 Battery Installation
- Remove the mounting bracket from the back of the alarm unit by twisting it counter-clockwise.
- Insert the two AA batteries into the battery compartment, ensuring correct polarity (+/-). The unit will emit a beep to confirm successful battery insertion.
- Reattach the mounting bracket to the alarm unit by aligning the notches and twisting clockwise until it locks securely.
4.2 Mounting Location
Choose a central location on the ceiling or high on a wall, away from corners, windows, doors, and vents. Avoid placing near cooking appliances, heating vents, or in areas with high humidity.
4.3 Mounting the Alarm
- Hold the mounting bracket against the chosen surface and mark the positions for the drill holes.
- Drill holes at the marked positions and insert the wall plugs.
- Secure the mounting bracket to the wall or ceiling using the provided screws.
- Align the alarm unit with the mounted bracket and twist clockwise until it clicks into place.

Image 5: Simple installation process showing battery insertion and mounting.

Image 6: Detail of the mounting bracket and hardware.

Image 7: Securing the alarm unit to the bracket.
Video 2: A demonstration of the simple installation process for the Carbon Monoxide Detector.

Image 8: Recommended installation locations within a home.
5. Operating Instructions
5.1 Power On
Once batteries are correctly installed, the alarm will automatically power on and perform a self-test. The LCD screen will activate.
5.2 Normal Operation
During normal operation, the LCD screen will display '0 ppm' for carbon monoxide levels. The green 'POWER' indicator light will flash periodically.
5.3 Testing the Alarm
Press and hold the 'TEST' button for approximately 5 seconds. The alarm will sound a loud 85dB signal, and the LCD screen will display a test value (e.g., '363 ppm') to confirm proper functioning of both the CO and smoke detection circuits. Release the button to stop the test.

Image 9: Testing the alarm unit.
5.4 Alarm Conditions
- Carbon Monoxide Alarm: If CO levels exceed safe thresholds, the alarm will sound, the red 'ALARM' indicator will flash, and the LCD will display the detected CO concentration.
- Smoke Alarm: If smoke is detected, the alarm will sound, and the red 'ALARM' indicator will flash.
- Low Battery Warning: The unit will chirp periodically, and the LCD may display 'Lb' or a similar low battery indicator. Replace batteries immediately.
- Fault Warning: If a fault is detected, the yellow 'FAULT' indicator will light up, and the unit may chirp. Refer to the troubleshooting section.

Image 10: Alarm activation with LCD display in a kitchen setting.
Video 3: Demonstration of the alarm's sensitivity and timely alerts for smoke detection.
Video 4: Overview of the 2-in-1 CO and Smoke Detectors, highlighting sensitivity and timely alerts.

Image 11: The alarm provides accurate and timely alerts.
6. Maintenance
6.1 Cleaning
Clean the alarm regularly (at least once a month) using a soft, damp cloth. Do not use cleaning solvents or chemicals, as these can damage the sensor. Avoid spraying air fresheners, hair spray, or other aerosols near the alarm.
6.2 Battery Replacement
When the low battery warning sounds, replace both AA batteries immediately. Use only recommended battery types.
6.3 Regular Testing
Test the alarm weekly by pressing the 'TEST' button to ensure it is functioning correctly.
7. Troubleshooting
| Problem | Possible Cause | Solution |
|---|---|---|
| Alarm chirps periodically | Low battery | Replace batteries immediately. |
| Alarm sounds without apparent smoke/CO | False alarm due to steam, cooking fumes, or dust; high CO levels. | Ventilate the area. If CO is suspected, evacuate and call emergency services. Clean the alarm. |
| Alarm does not respond to test button | No power; faulty unit. | Check battery installation. Replace batteries. If issue persists, contact support. |
| 'FAULT' indicator lights up | Internal fault. | Perform a test. If the fault persists, the unit may need replacement. |
8. Specifications
- Brand: OLUNCLE
- Model Number: OL-905
- Power Source: Battery Powered (2 x AA Zinc Carbon batteries)
- Alarm Volume: 85dB
- Detection Type: Carbon Monoxide & Smoke
- Display: LCD Screen
- Product Dimensions: 4.96"D x 1.81"W x 4.65"H
- Item Weight: 3.68 ounces

Image 12: Product dimensions.
9. Important Safety Information
- Never ignore any alarm. Investigate the cause and take appropriate action.
- Do not paint the alarm unit. Paint can clog the sensor openings and interfere with proper operation.
- Regularly test your alarm as described in this manual.
- Replace the alarm unit every 10 years from the date of manufacture, even if it appears to be working.
- This device is not a substitute for proper maintenance of fuel-burning appliances, including adequate ventilation systems.
- In case of a CO alarm, immediately move to fresh air outdoors or open doors/windows. Call emergency services.
- In case of a smoke alarm, ensure everyone evacuates the premises and call emergency services from a safe location.
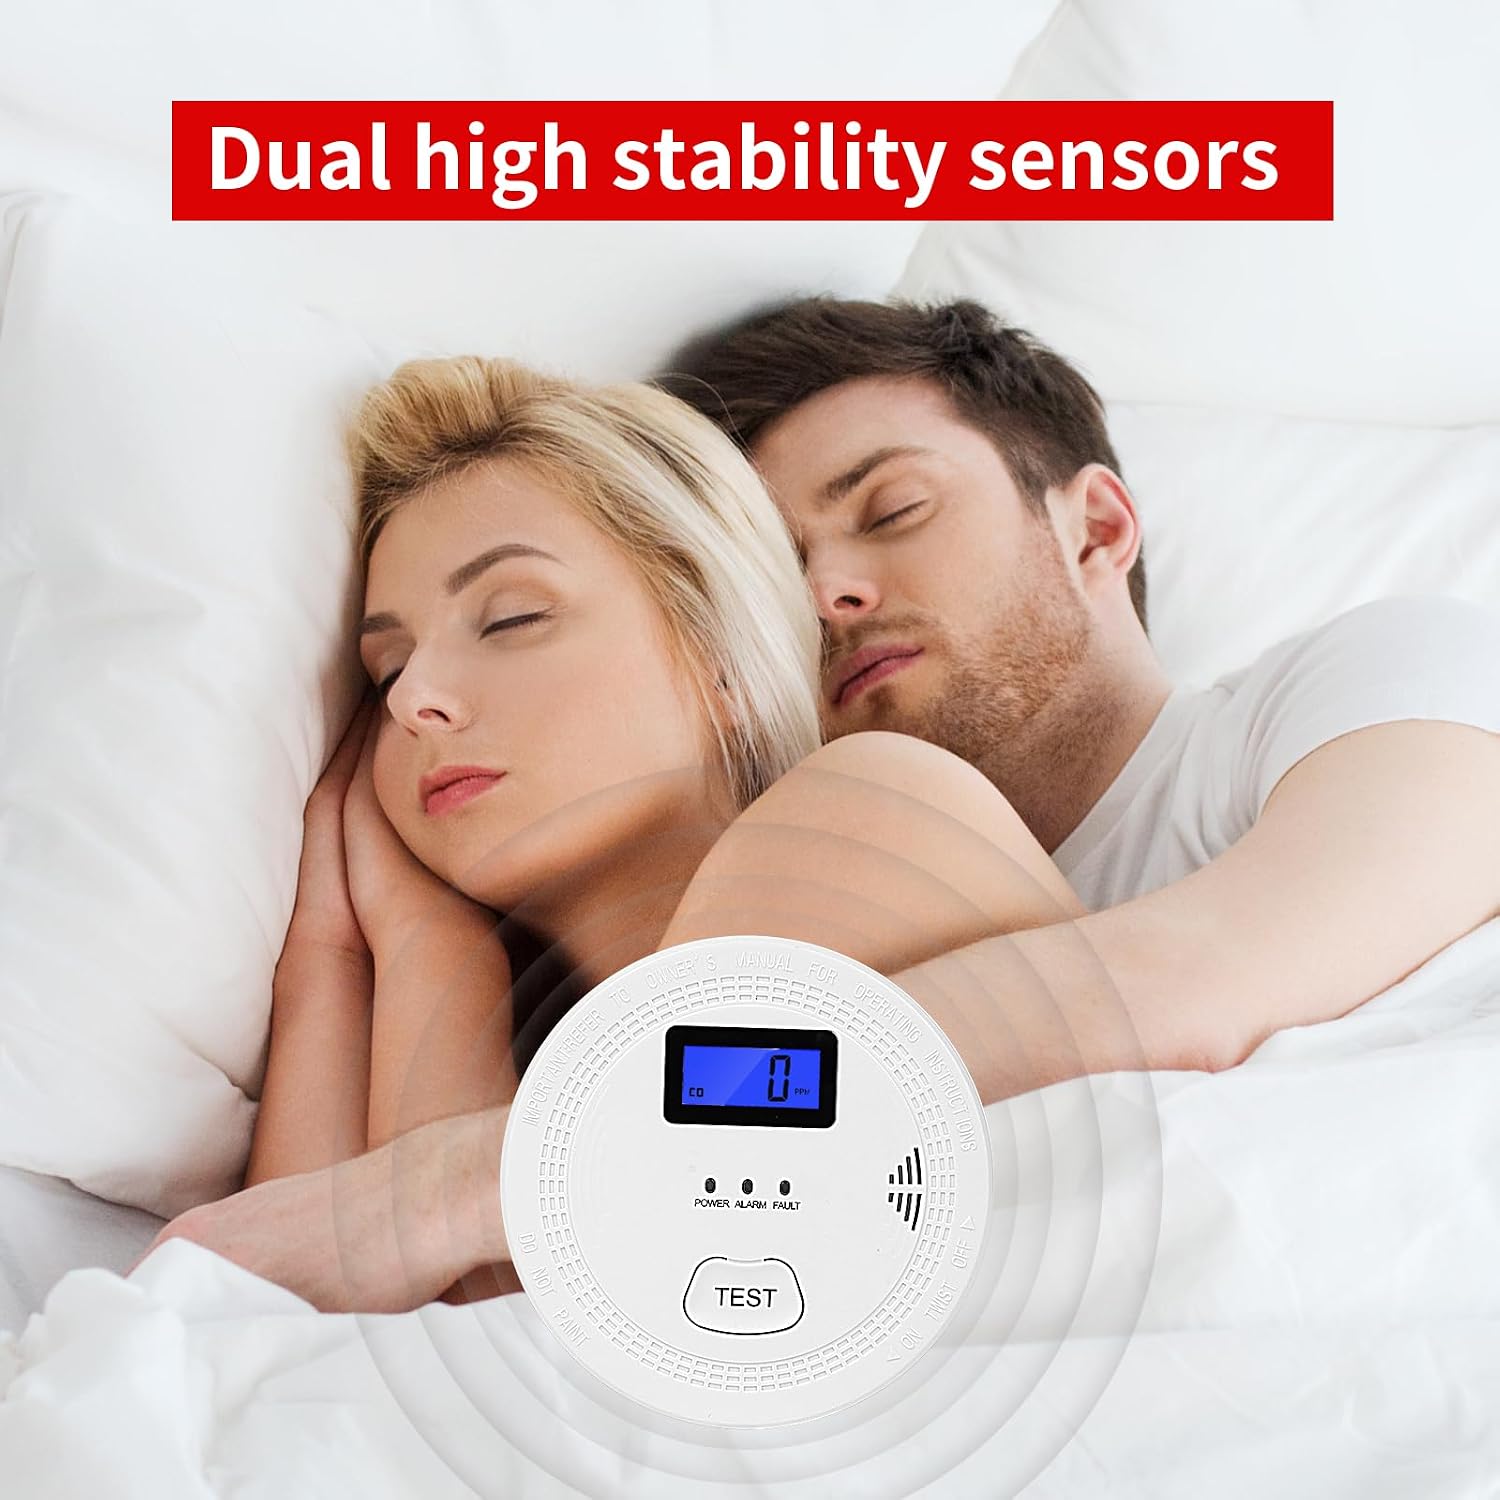
Image 13: Dual high stability sensors provide protection.
10. Warranty and Support
OLUNCLE products are designed for reliability and performance. For warranty information, technical support, or to report any issues, please refer to the contact information provided with your purchase or visit the official OLUNCLE website. Keep your purchase receipt as proof of purchase for warranty claims.
For further assistance, you may visit the OLUNCLE Store on Amazon.