1. Introduction
This manual provides detailed instructions for the installation, operation, and maintenance of your Yoidesu FHD 1080P Front and Rear Dash Cam. Please read this manual thoroughly before using the device to ensure proper functionality and safety. This dash cam is designed to record clear driving footage, offering features such as 24-hour parking monitoring, night vision, and a wide-angle lens.
2. Product Overview
The Yoidesu Dash Cam system includes a main front camera unit and a rear camera, designed for comprehensive vehicle surveillance. Key features include Wi-Fi connectivity for mobile phone interaction, automatic loop video recording, 24-hour parking monitoring, and cell phone preview/download capabilities.
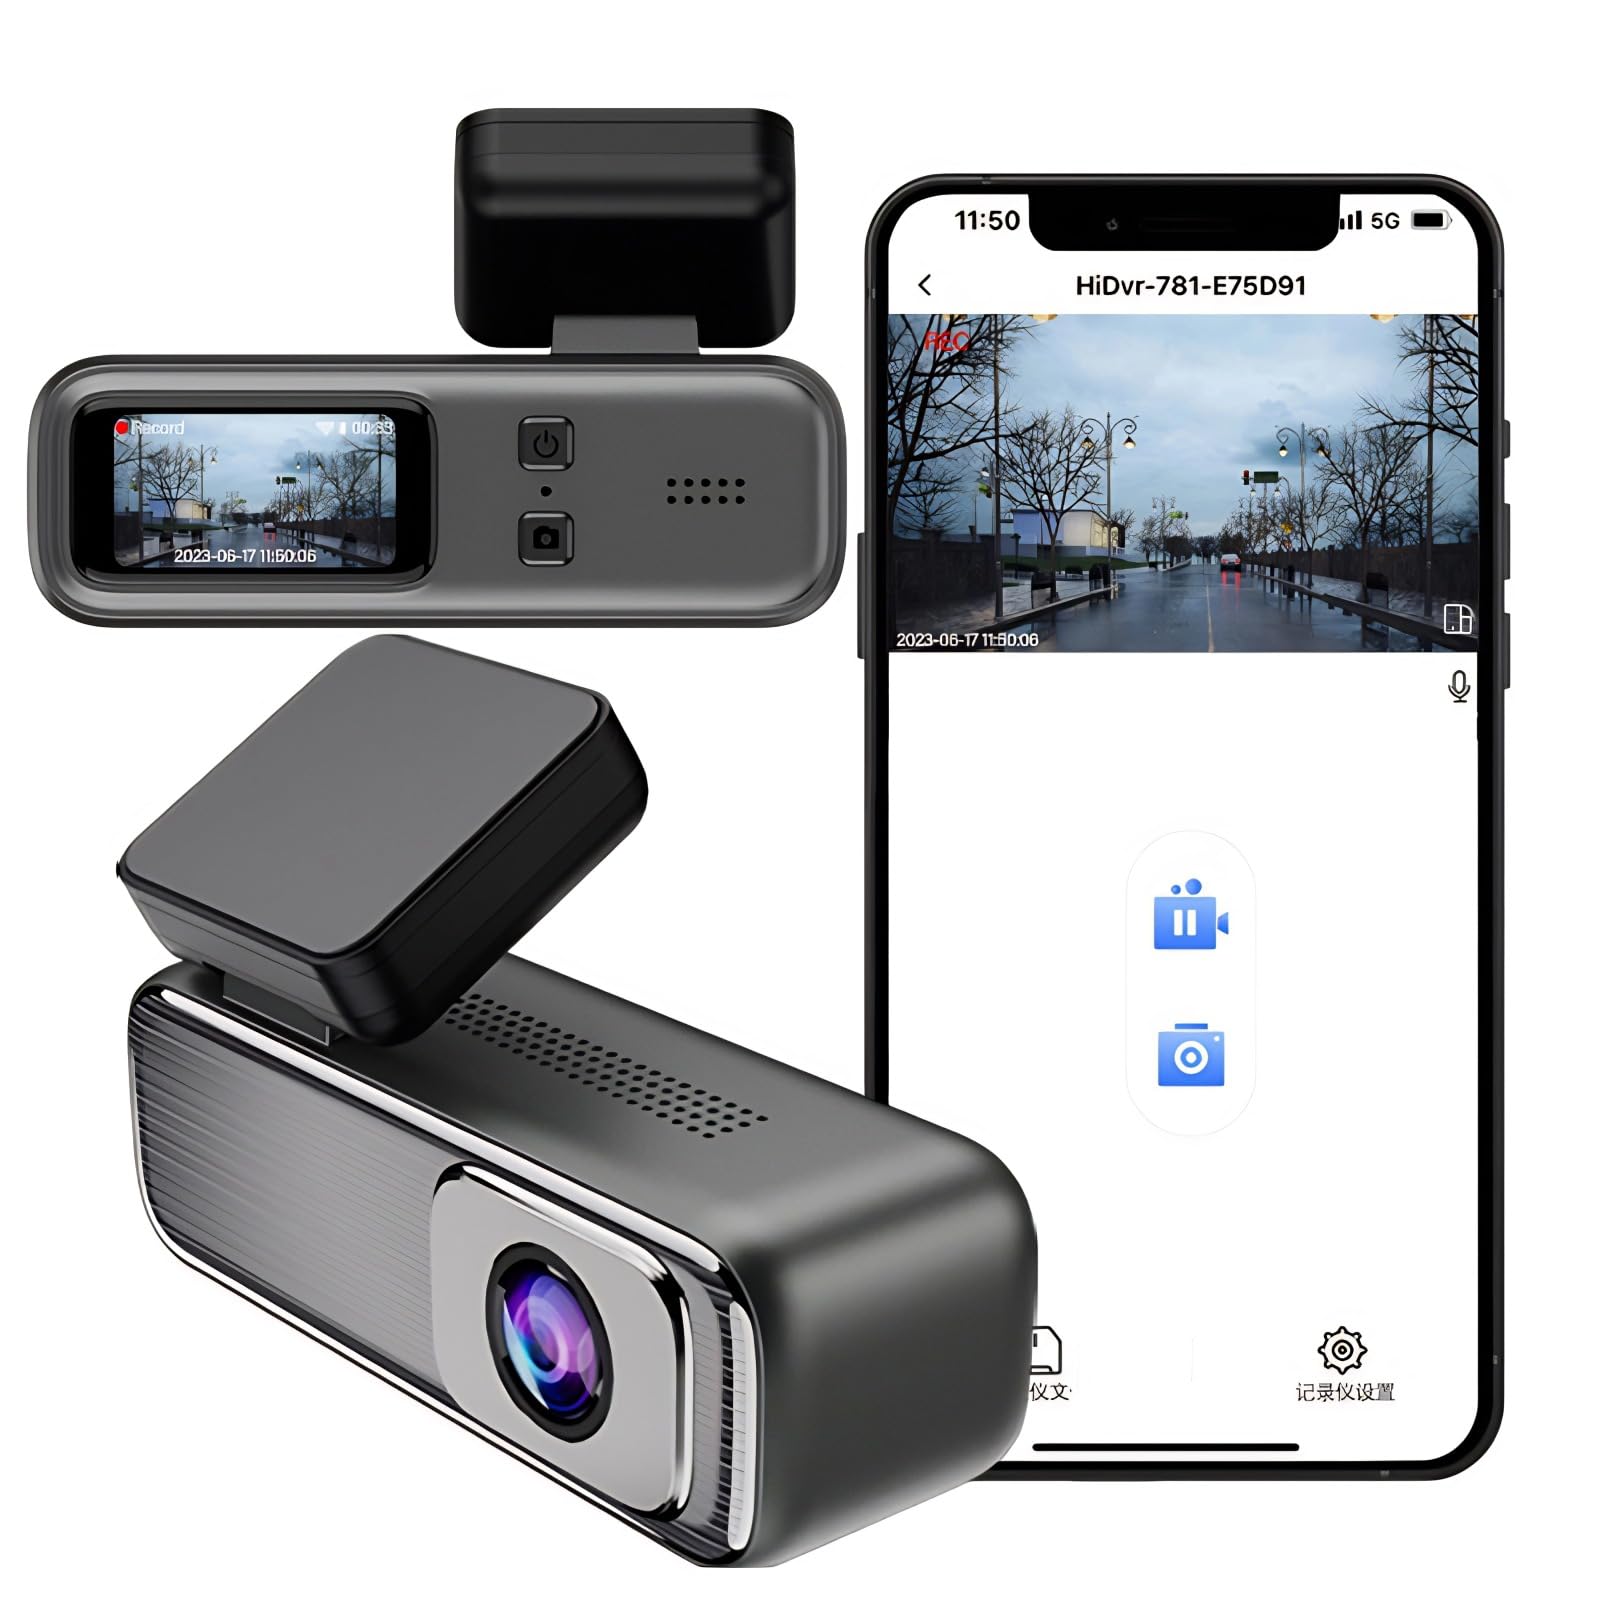
Image 2.1: Overview of the Yoidesu Front and Rear Dash Cam, highlighting Wi-Fi connectivity, loop recording, 24H parking monitoring, and cell phone preview/download.
3. Setup and Installation
3.1 Mounting the Dash Cam
The dash cam utilizes a suction mount for secure attachment to your vehicle's windshield. Ensure the windshield surface is clean and dry before mounting for optimal adhesion.
- Clean the desired area on your windshield.
- Attach the suction cup mount to the main dash cam unit.
- Press the suction cup firmly against the windshield and engage the locking mechanism.
- Adjust the camera angle to ensure a clear view of the road ahead.
- Mount the rear camera on the rear windshield, ensuring it has a clear view.
3.2 Wiring Diagram
Proper wiring is crucial for the dash cam's functionality, especially for features like 24-hour parking monitoring. The device connects via a USB-C power cord. For continuous power and parking monitoring, a hardwire kit is required to connect to your vehicle's fuse box.

Image 3.1: Detailed wiring diagram illustrating how to connect the dash cam's power cord to the vehicle's fuse box and battery for continuous power supply.
Important: Before connecting the hardwire kit, ensure the engine is off and disconnect the negative terminal of the vehicle's battery to prevent short circuit accidents.
- Connect the USB-C power cord to the dash cam.
- Connect the ignition cord (red) to an ACC fuse in your vehicle's fuse box.
- Connect the battery cord (yellow) to a BAT+ fuse in your vehicle's fuse box.
- Connect the earth cord (black) to a metal part of the fuse box or vehicle chassis for a negative power supply.
3.3 MicroSD Card Installation
A MicroSD card (not included) is required for recording. Insert a high-speed (Class 10 or higher) MicroSD card into the designated slot on the dash cam. Format the card within the dash cam settings before first use.
4. Operating Instructions
4.1 Power On/Off
The dash cam will automatically power on and begin recording when your vehicle's ignition is turned on. It will power off automatically when the ignition is turned off.
4.2 FHD 1080P Video Recording
The dash cam supports Full HD 1080P video recording for both front and rear cameras, capturing clear driving images. Recording starts automatically upon power-up.

Image 4.1: Visual representation of the dash cam's FHD 1080P video recording feature, showing clear front and rear views.
4.3 Loop Recording
The dash cam features loop recording. When the memory card is full, the system will automatically overwrite the oldest video files to ensure continuous recording without manual intervention.
4.4 24-Hour Parking Monitoring
With the hardwire kit installed, the dash cam can monitor your vehicle's surroundings for 24 hours. If any abnormal vibration is detected while the vehicle is shut down, the recorder will automatically activate and record to protect vehicle safety.

Image 4.2: Example scenario demonstrating the 24-hour parking monitor feature, showing a vehicle being monitored while parked.
4.5 HD Night Vision
Equipped with a night vision function, the dash cam can capture clear images even at night or in low-light environments, enhancing safety during nighttime driving and parking.

Image 4.3: A split image demonstrating the clarity of recordings during the day and with HD Night Vision at night.
4.6 170° Wide Angle Lens
The dash cam features a 170-degree A+ grade high-resolution ultra-wide-angle lens, allowing it to capture a broader view of the road and surroundings, minimizing blind spots.

Image 4.4: An overhead view illustrating the extensive coverage provided by the 170-degree wide-angle lens.
4.7 G-Sensor
The integrated G-sensor automatically detects sudden shakes or collisions and locks the current video footage to prevent it from being overwritten by loop recording, ensuring critical event evidence is preserved.
4.8 Wi-Fi Connectivity and App
Connect your dash cam to your smartphone via Wi-Fi. This allows for live preview of recordings, playback of stored videos, and downloading footage directly to your phone using the dedicated mobile application.
4.9 High-Definition IPS Display
The dash cam is equipped with a 1.47-inch IPS screen, providing a clear display to monitor the recording status and review footage directly on the device.
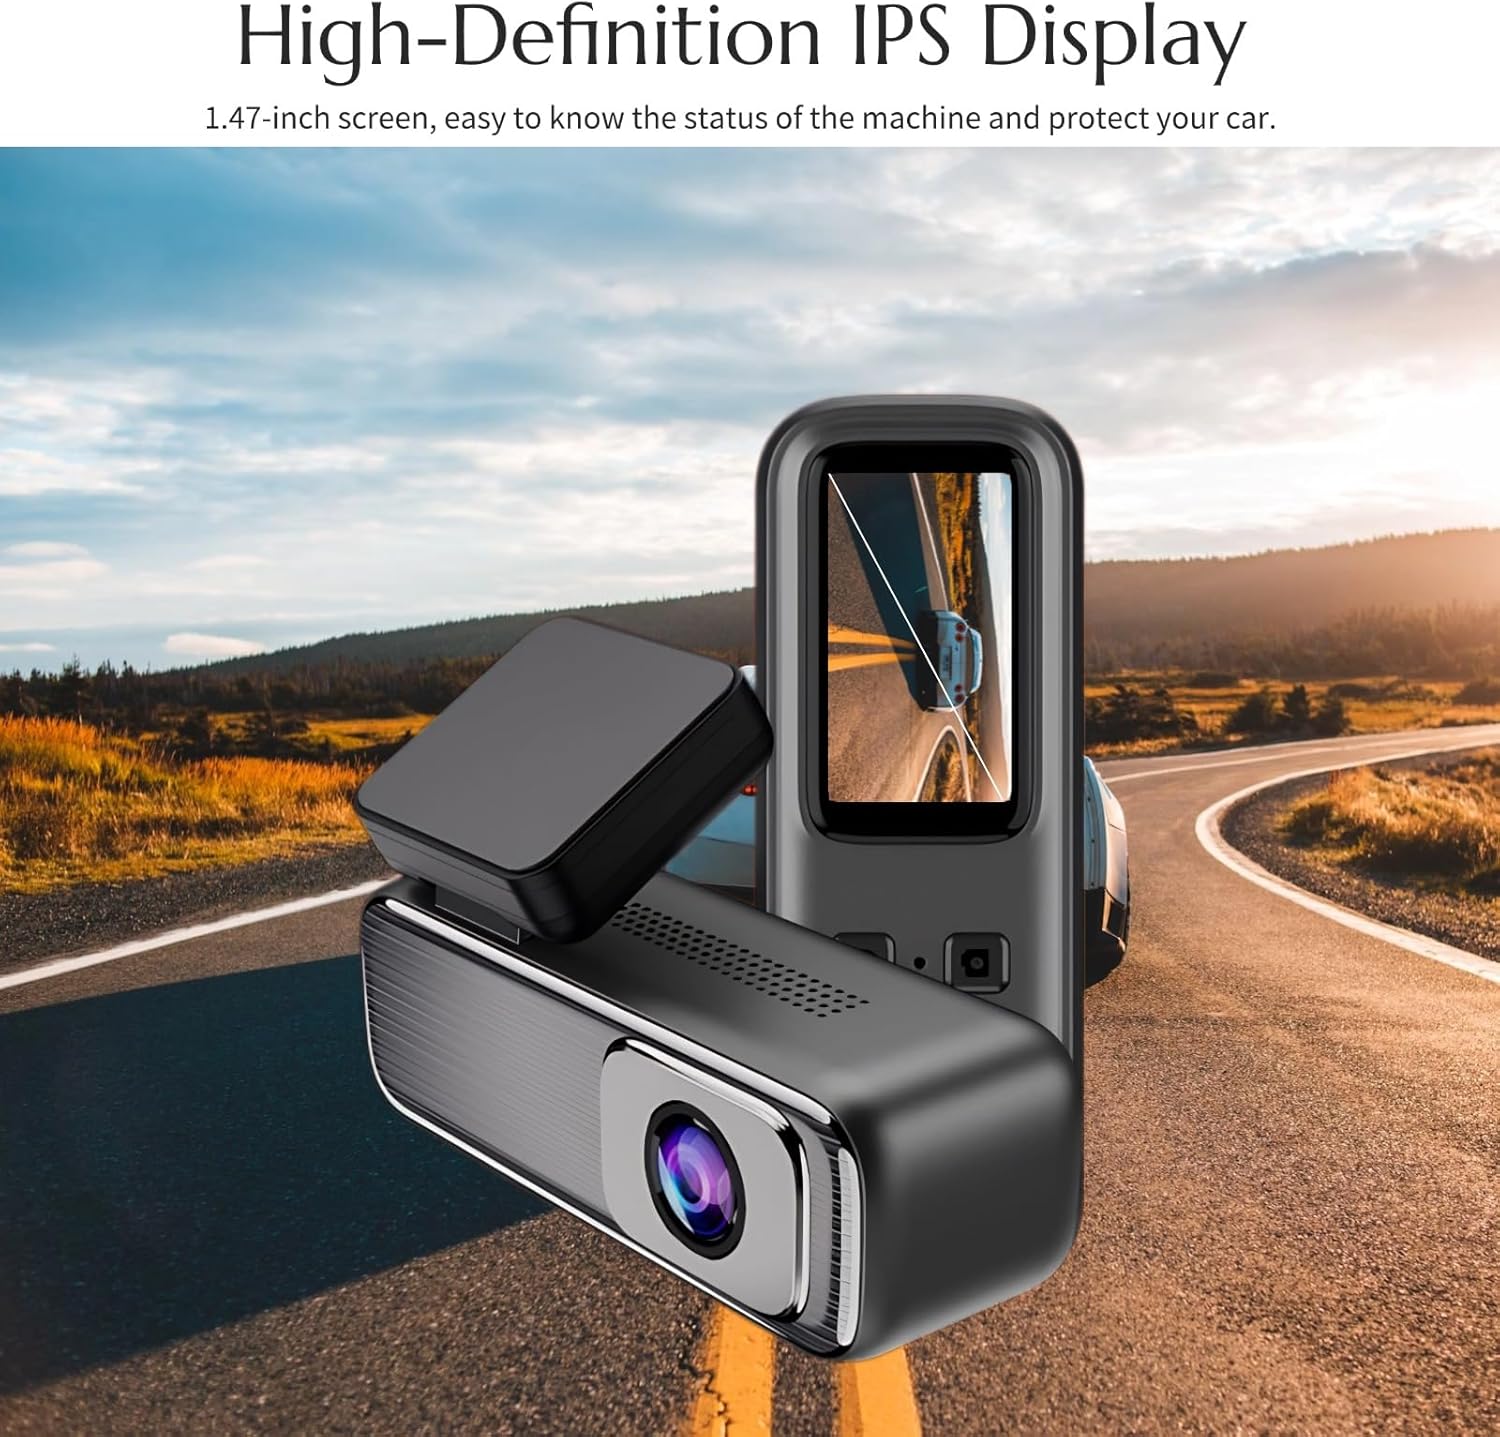
Image 4.5: The dash cam featuring its 1.47-inch high-definition IPS display, showing a clear view of the road.
4.10 H.265 Technology for Efficient Transmission
The dash cam utilizes H.265 video compression technology, which efficiently transmits high-quality sound and picture videos while significantly reducing bandwidth and storage space requirements compared to older H.264 technology.

Image 4.6: An infographic illustrating the efficiency of H.265 technology, showing a 50% reduction in storage space occupancy and bandwidth compared to H.264.
5. Maintenance
5.1 Cleaning the Lenses
Regularly clean the front and rear camera lenses with a soft, lint-free cloth to ensure clear video quality. Avoid using abrasive cleaners that could scratch the lens surface.
5.2 MicroSD Card Management
It is recommended to format the MicroSD card every 2-4 weeks to maintain optimal recording performance and prevent data corruption. Back up any important files before formatting.
5.3 Device Care
Avoid exposing the dash cam to extreme temperatures or direct sunlight for prolonged periods when the vehicle is parked, as this can affect its lifespan and performance.
6. Troubleshooting
- Dash cam does not power on: Check the power connection. Ensure the USB-C cable is securely plugged in and the vehicle's power outlet is functional. If using a hardwire kit, verify connections to the fuse box and battery.
- Recording stops unexpectedly: Ensure the MicroSD card is inserted correctly and is not full. Format the MicroSD card. Use a high-speed (Class 10 or higher) MicroSD card from a reputable brand.
- Poor video quality: Clean the camera lenses. Ensure the protective film has been removed from the lenses. Check the recording resolution settings.
- Wi-Fi connection issues: Ensure the dash cam's Wi-Fi is enabled. Restart both the dash cam and your smartphone. Make sure you are within range of the dash cam's Wi-Fi signal.
- Parking monitor not working: Verify that the hardwire kit is correctly installed and providing continuous power. Check the G-sensor sensitivity settings.
7. Specifications
| Feature | Detail |
|---|---|
| Brand | Yoidesu |
| Model Number | Yoidesuimhgxt12kb |
| Video Resolution | FHD 1080P (Front and Rear) |
| Lens Angle | 170 degrees (Ultra Wide Angle) |
| Display Size | 1.47 inches |
| Connectivity | Wi-Fi |
| Mounting Type | Suction Mount |
| Special Features | Night Vision, G-Sensor, 24H Parking Monitor, Loop Recording, H.265 Compression |
| Power Source | Vehicle Power (USB-C, Hardwire Kit for 24H monitoring) |
| Dimensions | 20.9 x 12 x 5.6 cm; 440 g (Package) |
8. Warranty and Support
8.1 Warranty Information
Yoidesu products are covered by a standard manufacturer's warranty. Please refer to your purchase documentation or contact customer support for specific warranty terms and conditions. Keep your proof of purchase for warranty claims.
8.2 Customer Support
For technical assistance, troubleshooting, or warranty inquiries, please contact Yoidesu customer support through the retailer where you purchased the product or visit the official Yoidesu website for contact details. When contacting support, please have your product model number (Yoidesuimhgxt12kb) and purchase information ready.
