Introduction
This user manual provides detailed instructions for the iSetchi Phone Holder with Qi Wireless Car Charger. This device is designed to securely hold your mobile phone in your vehicle while providing convenient wireless fast charging. Featuring an infrared sensor for automatic clamping and multiple mounting options, it ensures a hands-free and safe experience for navigation, communication, and media use on the road.
Package Contents

Image: Package contents laid out with numbers indicating each item.
- 1x Car charger with infrared sensor (Main Holder Unit)
- 1x Dashboard/window suction cup mount
- 1x Air vent clamp
- 1x Adjustment knob
- 1x Dashboard sticker (for suction cup attachment)
- 1x 3M dashboard adhesive pad
- 1x USB-C cable (1 meter long)
- 1x Quick Charge 3.0 car charger (12V)
- 1x User Manual
Setup and Installation
The iSetchi Phone Holder offers versatile mounting options to suit your vehicle and preference. Please follow the steps below for proper installation.
1. General Assembly
- Unscrew the adjustment knob from the main holder unit.
- Place the adjustment knob over the ball joint of your chosen mounting accessory (suction cup, air vent clamp, or dashboard adhesive mount).
- Insert the ball joint into the socket on the back of the main holder unit.
- Tighten the adjustment knob clockwise until the holder is securely attached to the mount, allowing for rotation but preventing accidental detachment.
2. Mounting Options

Image: Overview of the three primary mounting methods.
A. Air Vent Mount
- Attach the air vent clamp to the main holder unit as described in General Assembly.
- Locate a suitable air vent in your vehicle. Ensure the vent blades are horizontal and sturdy.
- Gently push the clamp onto one of the air vent blades until it is securely fastened. The clamp features anti-slip rubbers for a firm grip.

Image: Secure air vent mounting with clamp hook and anti-slip rubbers.
B. Suction Cup Mount (Window/Dashboard)
- Attach the suction cup mount to the main holder unit.
- Choose a clean, flat, and smooth surface on your windshield or dashboard. Clean the surface thoroughly before application.
- Press the suction cup firmly against the chosen surface and push down the lever to create a vacuum seal.
- For textured dashboards, use the provided dashboard sticker as a base for the suction cup. Peel off the protective film and adhere it to the dashboard, then attach the suction cup to the sticker.

Image: Flexible suction cup mount with adjustable features.
C. Dashboard Adhesive Mount
- Attach the dashboard adhesive mount (with the 3M adhesive pad) to the main holder unit.
- Clean the desired dashboard surface thoroughly.
- Peel off the protective film from the 3M adhesive pad and firmly press the mount onto the dashboard for at least 30 seconds. Allow 24 hours for the adhesive to fully cure before placing a phone in the holder.
3. Power Connection
- Connect the provided USB-C cable to the USB-C port on the bottom of the main holder unit.
- Plug the other end of the USB-C cable into the Quick Charge 3.0 car charger.
- Insert the Quick Charge 3.0 car charger into your vehicle's 12V power outlet (cigarette lighter socket). The holder is now powered and ready for use.
Operating Instructions
1. Automatic Clamping and Wireless Charging

Image: Infrared sensor for automatic clamping.
- When the holder is powered, its infrared sensor is active.
- Bring your Qi-compatible smartphone close to the holder. The side clamps will automatically open.
- Place your phone into the holder. The clamps will automatically close, securing your phone and initiating wireless charging.
- To remove your phone, gently touch one of the touch-sensitive buttons located on the sides of the holder. The clamps will open, allowing you to retrieve your device.
- Emergency Release: In case of power loss, the holder is designed to allow one manual opening cycle to retrieve your phone.
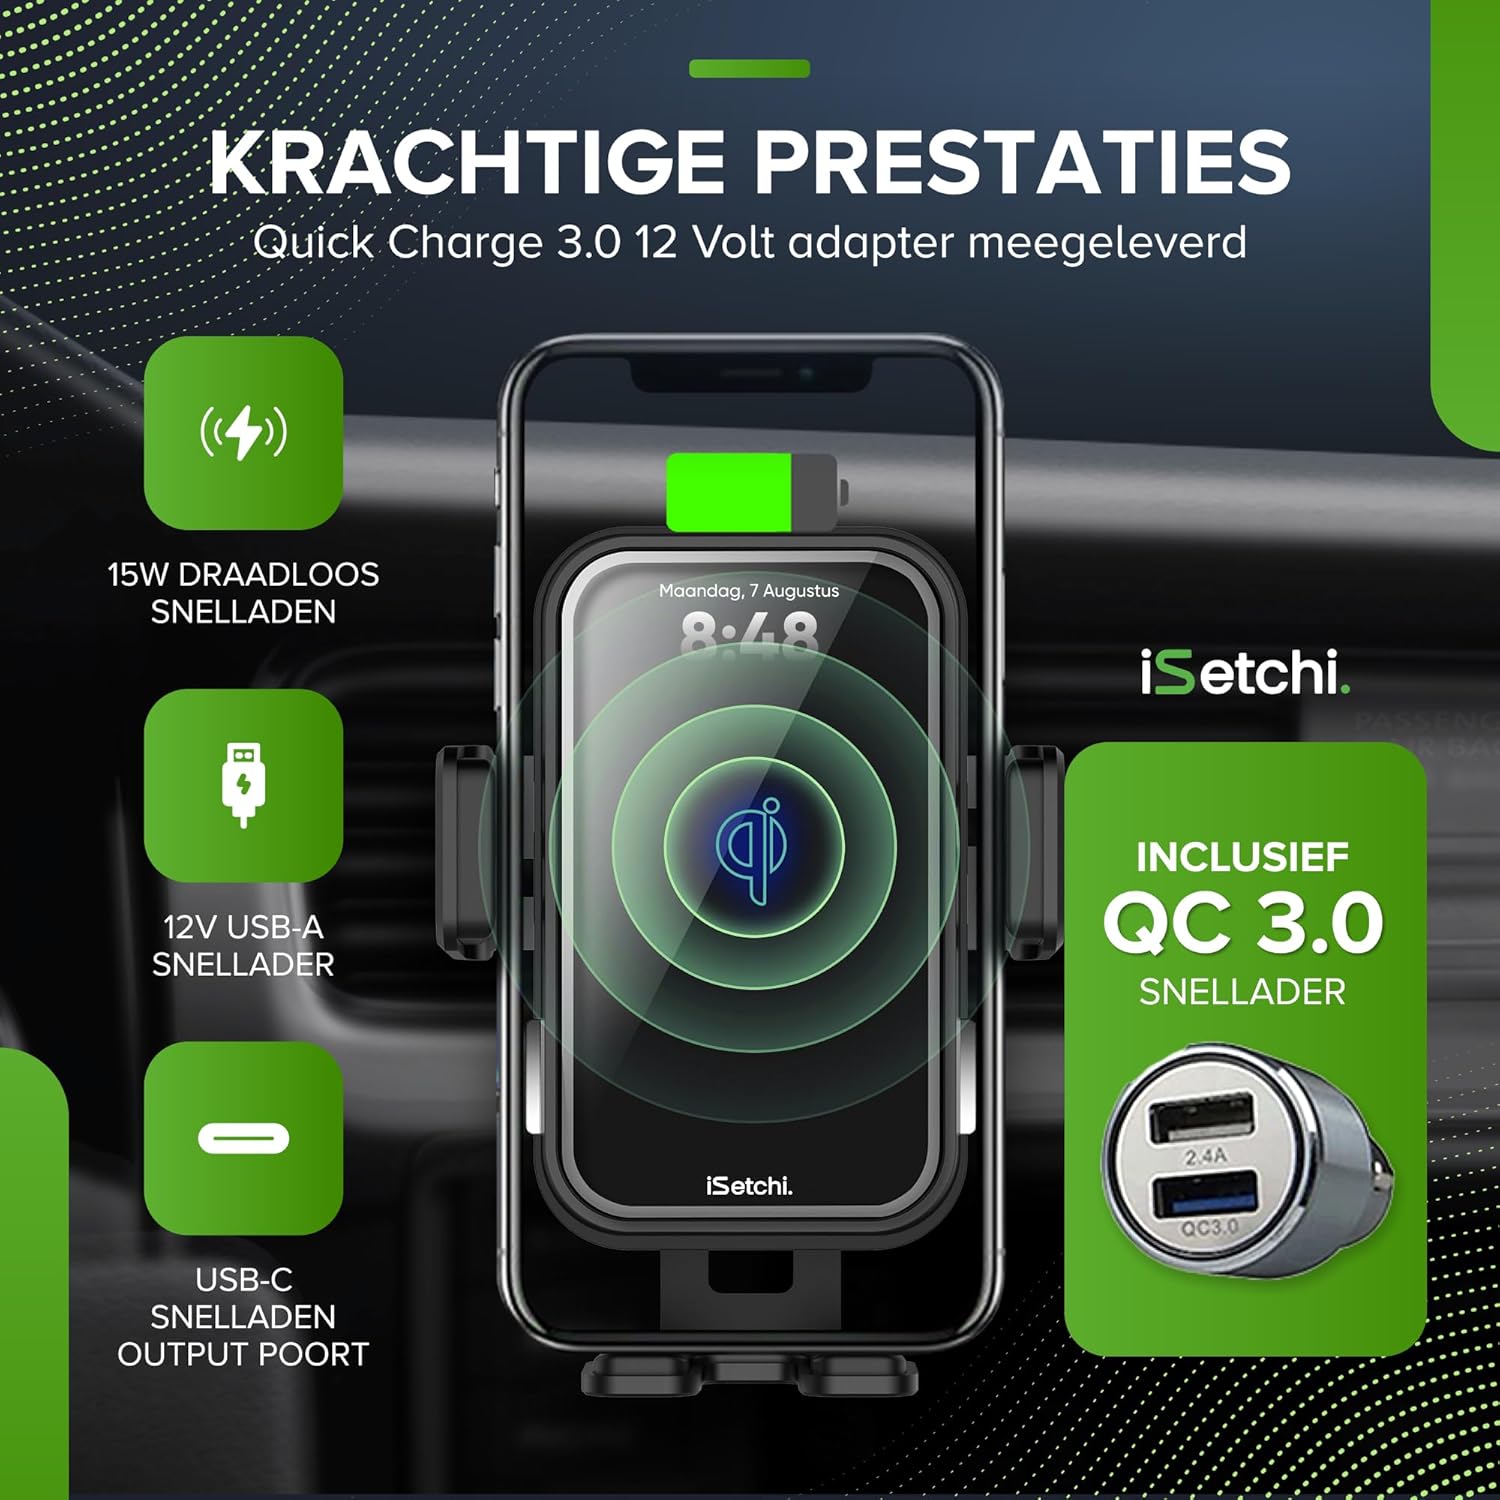
Image: 15W wireless fast charging and included QC 3.0 charger.
2. Adjusting Viewing Angle
- The holder features a 360-degree rotatable ball joint, allowing you to adjust your phone to portrait or landscape orientation.
- Loosen the adjustment knob slightly to reposition the holder, then tighten it to secure the desired angle.
- The suction cup mount also offers adjustable height, angle, and length for optimal positioning.

Image: 360-degree rotation for flexible viewing angles.
Maintenance
- Cleaning: Use a soft, dry cloth to clean the surface of the phone holder. Avoid using abrasive cleaners or harsh chemicals, as these can damage the finish or electronic components.
- Suction Cup: If the adhesion of the suction cup weakens over time, rinse it with warm water and let it air dry. This can restore its stickiness.
- Cable Care: Ensure the USB-C cable is not bent sharply or pinched, as this can damage the cable and affect charging performance.
Troubleshooting
| Problem | Possible Cause | Solution |
|---|---|---|
| Phone not charging wirelessly. |
|
|
| Holder arms not opening/closing automatically. |
|
|
| Holder is not stable on the mounting surface. |
|
|
Specifications
- Brand: iSetchi
- Model: X5
- Wireless Charging Output: 15 Watt
- Input Voltage (Car Charger): 12 Volt
- Car Charger USB Ports: 2 (1x USB-A Quick Charge 3.0, 1x USB-A 2.4A)
- Holder Connector Type: USB-C
- Material: Plastic
- Special Features: Infrared Sensor Automatic Clamping, Qi Wireless Fast Charging, Quick Charge 3.0 Support, Overload Protection, Short-circuit Protection, 360-degree Rotation, Magsafe-compatible (for charging alignment).
- Mounting Types: Air Vent, Suction Cup (Window/Dashboard), Dashboard Adhesive
- Compatible Devices: Mobile phones (Qi-compatible)
Warranty and Support
The iSetchi Phone Holder comes with a 2-year full warranty from the date of purchase. This warranty covers manufacturing defects and ensures the product functions as intended under normal use.
For any questions, technical assistance, or warranty claims, please contact iSetchi customer service. Our support team is available 24/7 to assist you.
Please retain your proof of purchase for warranty validation.