Akai AKAI ACP940K-J
AKAI ACP940K-J Portable Air Conditioner User Manual
Model: AKAI ACP940K-J | Brand: Akai
1. Introduction
Thank you for choosing the AKAI ACP940K-J Portable Air Conditioner. This manual provides essential information for the safe and efficient operation, maintenance, and troubleshooting of your appliance. Please read this manual thoroughly before use and retain it for future reference.
Important Safety Information
- Always connect the unit to a grounded power outlet.
- Do not operate the unit with a damaged power cord or plug.
- Ensure proper ventilation around the unit to prevent overheating.
- Keep children and pets away from the unit during operation.
- Do not block air inlets or outlets.
- Unplug the unit before cleaning or performing any maintenance.
2. Product Overview
The AKAI ACP940K-J is a portable air conditioner designed to provide cooling for indoor spaces. It features a compact design with integrated wheels for easy mobility.
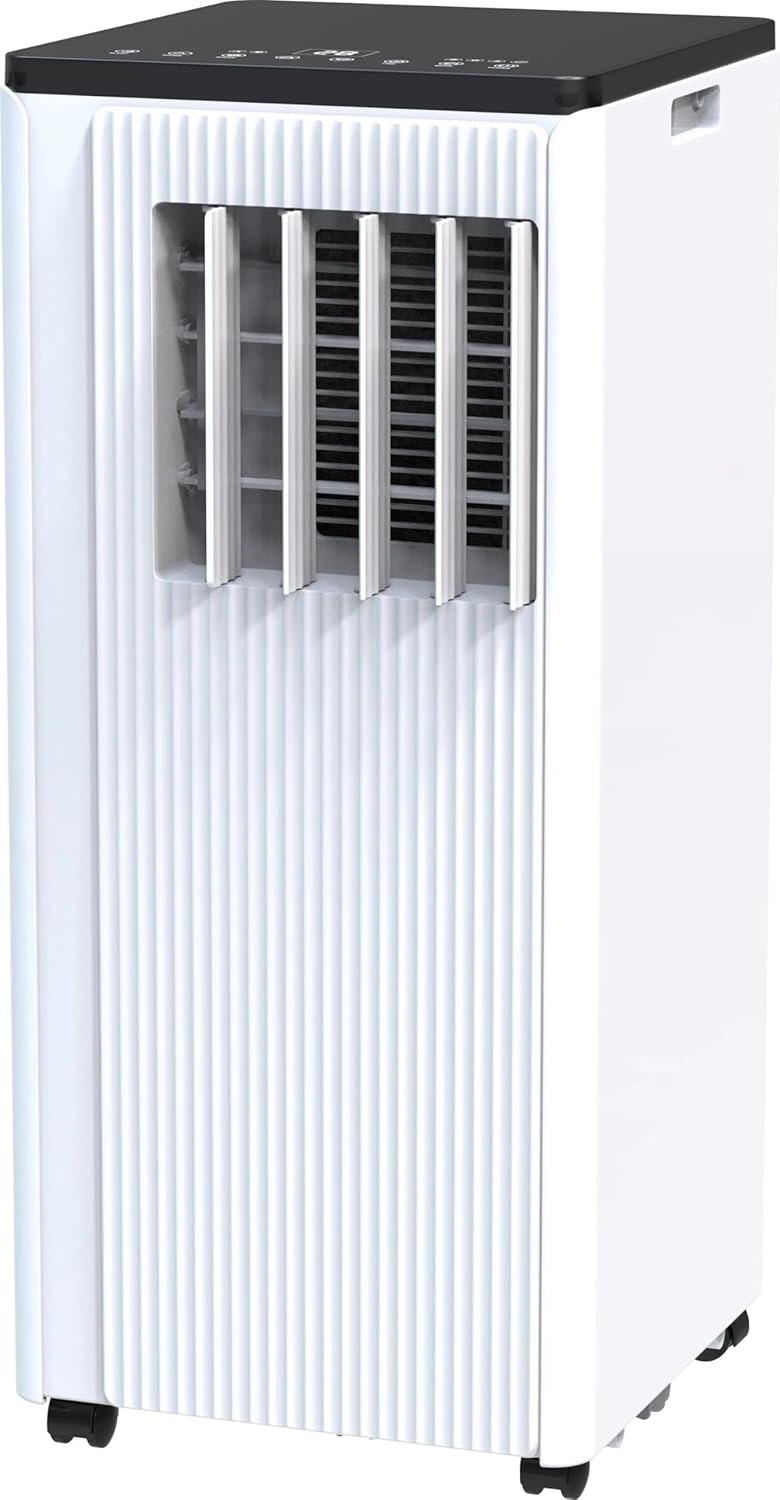
Figure 2.1: Front view of the AKAI ACP940K-J Portable Air Conditioner. The unit is white with a black top panel. It features vertical louvers on the front for air output and casters at the base for mobility. A handle is visible on the side for easy transport.
Main Components:
- Control Panel: Located on the top of the unit for manual operation.
- Air Outlet Louvers: Adjustable louvers on the front for directing airflow.
- Air Intake Grille: Typically located on the rear or side, with an air filter inside.
- Exhaust Air Outlet: Connection point for the exhaust hose.
- Drainage Port: For continuous drainage or manual emptying of condensed water.
- Casters: Wheels at the base for easy movement.
- Power Cord: For connecting to an electrical outlet.
3. Setup
3.1 Unpacking
Carefully remove the air conditioner and all accessories from the packaging. Retain the original packaging for future storage or transport.
3.2 Placement
Place the unit on a flat, stable surface. Ensure there is at least 30 cm (12 inches) of clear space around the unit for proper air circulation. Do not place the unit near heat sources or in direct sunlight.
3.3 Window Kit Installation
The portable air conditioner requires an exhaust hose to vent hot air outside. Follow these general steps for window kit installation:
- Attach the exhaust hose to the exhaust air outlet on the back of the unit.
- Extend the window sealing plate to fit your window opening.
- Insert the exhaust hose adapter into the opening of the window sealing plate.
- Close the window securely around the sealing plate to minimize air leakage.
- Ensure the exhaust hose is as short and straight as possible to maximize cooling efficiency.
3.4 Power Connection
Plug the power cord into a standard, grounded electrical outlet. Ensure the voltage matches the specifications of the unit (230 Volts AC).
4. Operating Instructions
Familiarize yourself with the control panel and remote control (if included) before operating the unit.
4.1 Control Panel Functions
- Power Button: Turns the unit ON or OFF.
- Mode Button: Cycles through operating modes: Cool, Fan, Dry (Dehumidify).
- Temperature Up/Down Buttons: Adjusts the desired temperature in Cool mode.
- Fan Speed Button: Selects fan speed (Low, Medium, High).
- Timer Button: Sets the auto-on or auto-off timer.
- Sleep Mode Button: Activates a quieter, energy-saving mode for nighttime operation.
4.2 Operating Modes
- Cool Mode: Provides cooling. Set desired temperature and fan speed.
- Fan Mode: Circulates air without cooling. Select fan speed.
- Dry (Dehumidify) Mode: Removes moisture from the air. Fan speed is typically fixed to low in this mode.
4.3 Temperature and Fan Speed Adjustment
In Cool mode, use the temperature buttons to set your desired room temperature. In Cool or Fan mode, use the fan speed button to select the appropriate airflow.
4.4 Timer Function
Press the Timer button to set a specific time for the unit to automatically turn ON or OFF. Refer to the display for timer settings.
5. Maintenance
Regular maintenance ensures optimal performance and extends the lifespan of your air conditioner. Always unplug the unit before cleaning.
5.1 Air Filter Cleaning
The air filter should be cleaned every two weeks or more frequently depending on usage and air quality. A dirty filter can reduce cooling efficiency and airflow.
- Locate and remove the air filter from the back or side grille.
- Wash the filter with warm, soapy water. Rinse thoroughly.
- Allow the filter to air dry completely before reinstalling. Do not expose to direct sunlight.
5.2 Water Drainage
The unit collects condensed water during operation. When the internal water tank is full, the unit may stop operating and display an indicator. The AKAI ACP940K-J has a drainage port located low on the unit, which can make emptying challenging. It is recommended to elevate the unit slightly or use a shallow pan for collection.
- Place a shallow pan or container under the drainage port.
- Remove the drain plug/cap.
- Allow all water to drain completely.
- Replace the drain plug/cap securely.
For continuous drainage, connect a suitable drain hose (not included) to the continuous drainage port and route it to a floor drain or larger container.
5.3 Storage
Before long-term storage, drain all water from the unit, clean the air filter, and allow the unit to run in Fan mode for a few hours to dry the internal components. Store the unit upright in a dry, cool place, preferably in its original packaging.
6. Troubleshooting
Before contacting customer support, refer to the following table for common issues and their solutions.
| Problem | Possible Cause | Solution |
|---|---|---|
| Unit does not turn on. | No power; power cord unplugged; circuit breaker tripped. | Check power connection; reset circuit breaker. |
| Unit is not cooling effectively. | Dirty air filter; exhaust hose not properly installed; room too large; windows/doors open. | Clean air filter; ensure exhaust hose is sealed; close windows/doors; consider room size. |
| Unit is noisy. | Normal compressor operation; unit not on a flat surface; internal components vibrating. | Ensure unit is on a flat surface; some noise is normal for portable ACs. |
| Water leakage. | Drain plug loose; internal water tank full. | Ensure drain plug is secure; drain water from the unit. |
7. Specifications
| Feature | Detail |
|---|---|
| Model Name | AKAI ACP940K-J |
| Cooling Capacity | 9000 British Thermal Units |
| Energy Efficiency Ratio (SEER) | 2.61 |
| BEE Star Rating | 2 stars |
| Voltage | 230 Volts (AC) |
| Filter Type | Prefilter |
| Power Source | AC Adapter |
| Form Factor | Portable |
| Color | White |
8. Warranty and Support
This product is subject to standard warranty terms. For specific details regarding warranty coverage and return policies, please refer to the purchase documentation or contact your retailer. Generally, products can be returned within 30 days of receipt if you change your mind, and specific procedures apply for defective or damaged products.
For technical support or service inquiries, please contact the manufacturer or your authorized dealer. Have your model number (AKAI ACP940K-J) and purchase date ready when contacting support.
Ask a question about this manual
Ask about setup, troubleshooting, compatibility, parts, safety, or missing instructions. Manuals+ will review the question and use this page’s manual context to help answer it.