1. Introduction
Thank you for choosing the Roroom LV003 DIY Miniature Dollhouse Kit. This kit provides a detailed and engaging crafting experience, allowing you to construct a miniature magical house. This manual contains essential information for assembly, operation, and maintenance to ensure a successful and enjoyable building process.
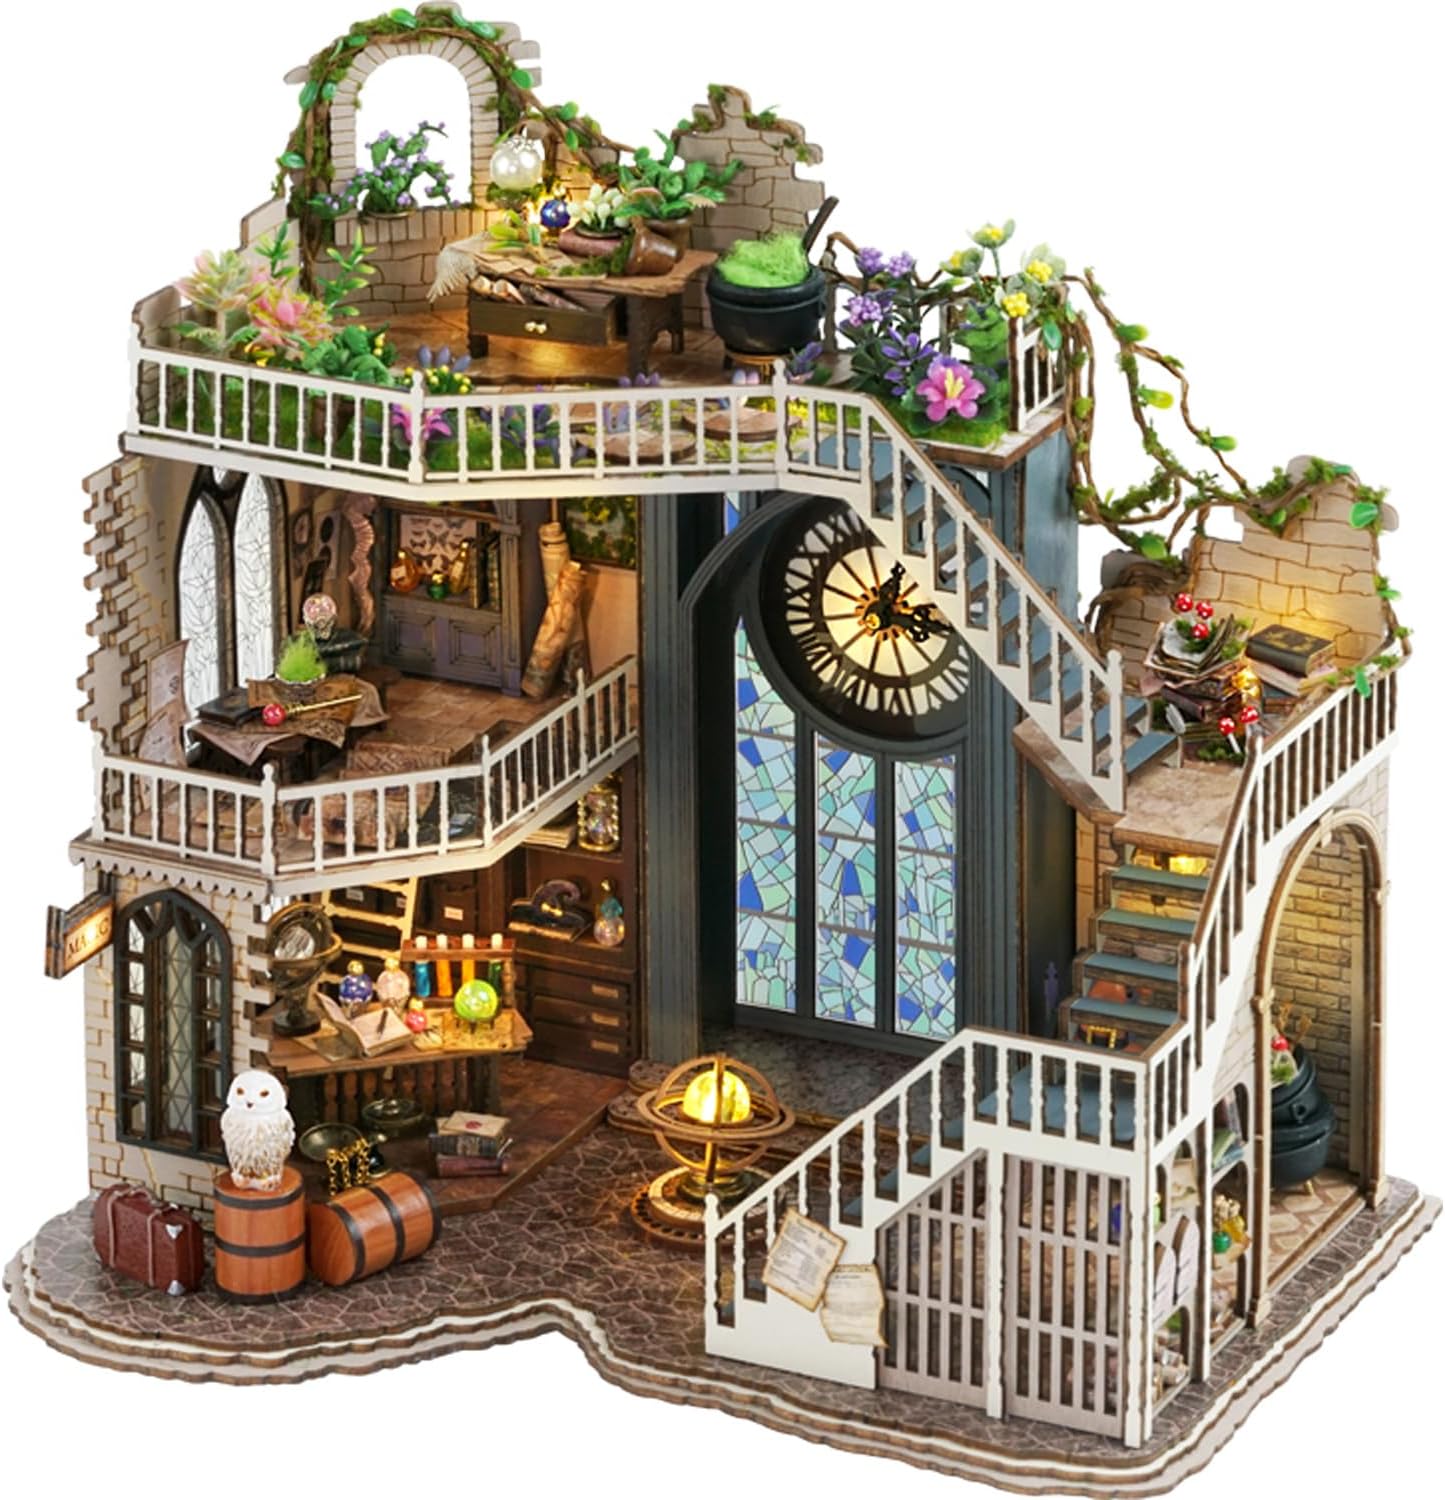
Image 1: Completed Roroom LV003 Miniature Dollhouse Kit.
2. Safety Information
- This product is suitable for individuals 14 years of age and older.
- Contains small parts. Keep out of reach of young children to prevent choking hazards.
- Exercise caution when using sharp tools such as scissors or utility knives during assembly.
- Ensure proper ventilation when using adhesives.
3. Package Contents
The Roroom LV003 DIY Miniature Dollhouse Kit includes the following components:
- Pre-cut wooden pieces for the dollhouse structure and furniture.
- Paper cutouts and fabric pieces for decoration.
- LED light components for illumination.
- Music movement mechanism.
- Dust-proof cover.
- Various miniature ornaments and accessories (e.g., plants, bottles, books).
- English instruction manual with step-by-step guidance.
The kit is designed to be comprehensive, containing all necessary accessories and furniture as depicted in the product images.
4. Setup and Required Tools
Before beginning assembly, prepare your workspace and gather the necessary tools:
4.1 Workspace Preparation
- Choose a clean, well-lit, and spacious area.
- Protect your work surface with a mat or old newspaper.
- Keep all small parts organized to prevent loss.
4.2 Tools Not Included (Required for Assembly)
- Silicone liquid glue: Essential for adhering various components.
- 2x AAA batteries: Required for powering the LED lights.
- Scissors or utility knife: For cutting paper and other materials.
- Tweezers: Highly recommended for handling small parts with precision.
- Ruler and pencil: For measuring and marking.
5. Assembly Instructions
The assembly process involves carefully following the English instruction manual provided with the kit. All scattered parts have positioning numbers to guide you. Patience is key for a successful build.
5.1 General Assembly Tips
- Read through the instructions: Familiarize yourself with the entire process before starting.
- Organize parts: Group similar parts together and refer to the numbering system.
- Apply glue sparingly: Use just enough glue to secure parts without excess.
- Allow drying time: Let glued sections dry completely before moving to the next step to ensure stability.
- Test electrical components: Before final installation, test LED lights with batteries to ensure they function correctly.
5.2 Step-by-Step Assembly Overview
The manual will guide you through constructing each section of the dollhouse, including the base, walls, floors, furniture, and decorative elements. Pay close attention to the diagrams and part numbers.

Image 2: Front view of the assembled dollhouse.

Image 3: Detailed view of miniature elements.

Image 4: Further intricate details of the dollhouse interior.
5.3 Assembly Demonstration Video
For visual guidance, please refer to the official assembly demonstration video provided by Roroom. This video illustrates key steps and techniques for building your miniature dollhouse.
Video 1: Official Roroom DIY Miniature Dollhouse Assembly Guide. This video provides a visual walkthrough of the assembly process, highlighting various components and their placement within the miniature house.
6. Operating Instructions
6.1 LED Lights
The kit includes LED lights to illuminate your miniature dollhouse. Once assembly is complete and batteries are installed (2x AAA, not included), connect the wiring according to the instructions. A switch typically controls the lights. Ensure all connections are secure for proper functionality.
6.2 Music Movement
The included music movement can be activated manually or integrated into the design as per the instruction manual. Follow the specific steps to install and operate the music box, adding an auditory element to your creation.
7. Maintenance
To preserve the appearance and longevity of your Roroom LV003 Miniature Dollhouse, follow these maintenance guidelines:
- Dusting: Regularly dust the dollhouse using a soft brush or a can of compressed air to remove accumulated dust. The included dust cover helps protect the model.
- Cleaning: For stubborn dirt, gently wipe surfaces with a slightly damp cloth. Avoid excessive moisture.
- Battery Replacement: Replace AAA batteries for the LED lights as needed. Remove batteries if the dollhouse will not be used for an extended period to prevent leakage.
- Handling: Handle the finished model with care to avoid damaging delicate components.
8. Troubleshooting
If you encounter issues during or after assembly, consider the following common problems and solutions:
- Missing Parts: The kits are inspected carefully before delivery. If you believe a part is missing, double-check all packaging and compare with the parts list in the manual. Contact Roroom customer support if a part is genuinely missing.
- Difficulty Assembling Small Parts: Use tweezers for precision. Ensure you are using the correct part number as indicated in the instructions.
- LED Lights Not Working:
- Check if batteries are correctly inserted and charged.
- Verify all wiring connections are secure and properly aligned.
- Ensure the power switch is in the 'ON' position.
- Parts Not Fitting: Ensure you are using the correct parts for the step. Some parts may require gentle sanding or trimming for a perfect fit. Do not force parts together.
9. Specifications
| Feature | Detail |
|---|---|
| Product Name | Roroom DIY Miniature Dollhouse Kit (Magic House) |
| Model Number | LV003 |
| Product Dimensions | 8.98 x 6.38 x 8.86 inches (22.8 x 16.2 x 22.5 cm) |
| Item Weight | 2.09 pounds (0.95 kg) |
| Scale | 1:24 |
| Materials | Wood, Paper, Plastic |
| Recommended Age | 14 years and up |
| Assembly Time | Approximately 3-4 days (varies by individual) |

Image 5: Product Information and Dimensions.
10. Warranty and Support
Specific warranty details are not provided within the product information. However, Roroom is committed to customer satisfaction.
- If you encounter any issues during assembly, have questions about the product, or require assistance with missing/damaged parts, please contact Roroom customer support directly.
- Refer to the contact information provided on the product packaging or the seller's page for the most current support channels.