Introduction
Thank you for choosing the Olelica Automatic Pet Feeder FT90. This device is designed to provide scheduled meals for your cats and dogs, ensuring they are fed consistently even when you are away. Please read this manual carefully before use to ensure proper operation and maintenance.
Safety Instructions
- This appliance is for indoor use only.
- Do not immerse the main unit in water or other liquids.
- Keep out of reach of children and pets to prevent tampering.
- Use only dry pet food with kibble sizes between 2-12mm (0.07-0.47 inches). Larger kibble may cause clogging.
- Ensure the feeder is placed on a stable, level surface.
- Always unplug the feeder before cleaning.
- Do not attempt to repair or modify the device yourself. Contact customer support for assistance.
Package Contents
- Olelica Automatic Pet Feeder Main Unit
- Food Hopper
- Food Bowl
- Power Adapter
- User Manual
Product Overview
Familiarize yourself with the components of your Olelica Automatic Pet Feeder.

Setup
1. Assembly
- Place the main unit on a flat, stable surface.
- Attach the food bowl to the base of the main unit, ensuring it clicks securely into place.
- Insert the food hopper onto the top of the main unit.
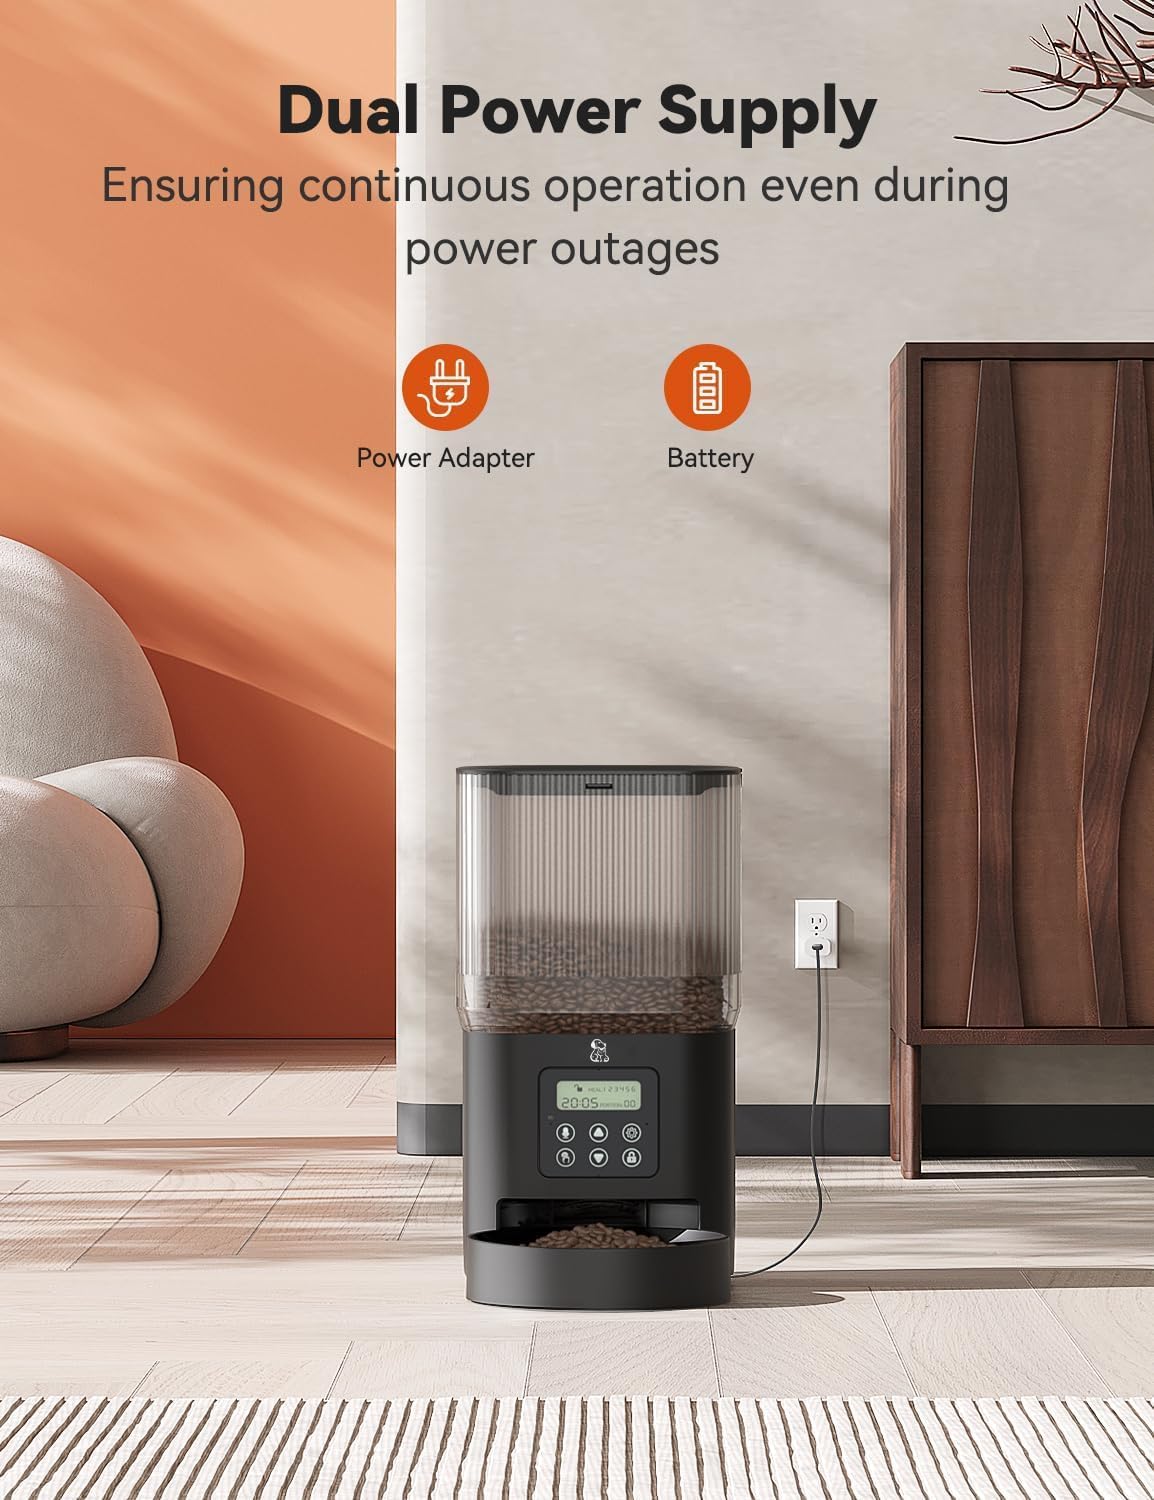
2. Power Supply
The feeder supports dual power supply for continuous operation.
- Power Adapter: Connect the power adapter to the feeder's power port and plug it into a wall outlet.
- Battery Backup: For power outage protection, install 3 D-cell batteries (not included) into the battery compartment at the bottom of the unit. The feeder will automatically switch to battery power if the main power is interrupted.
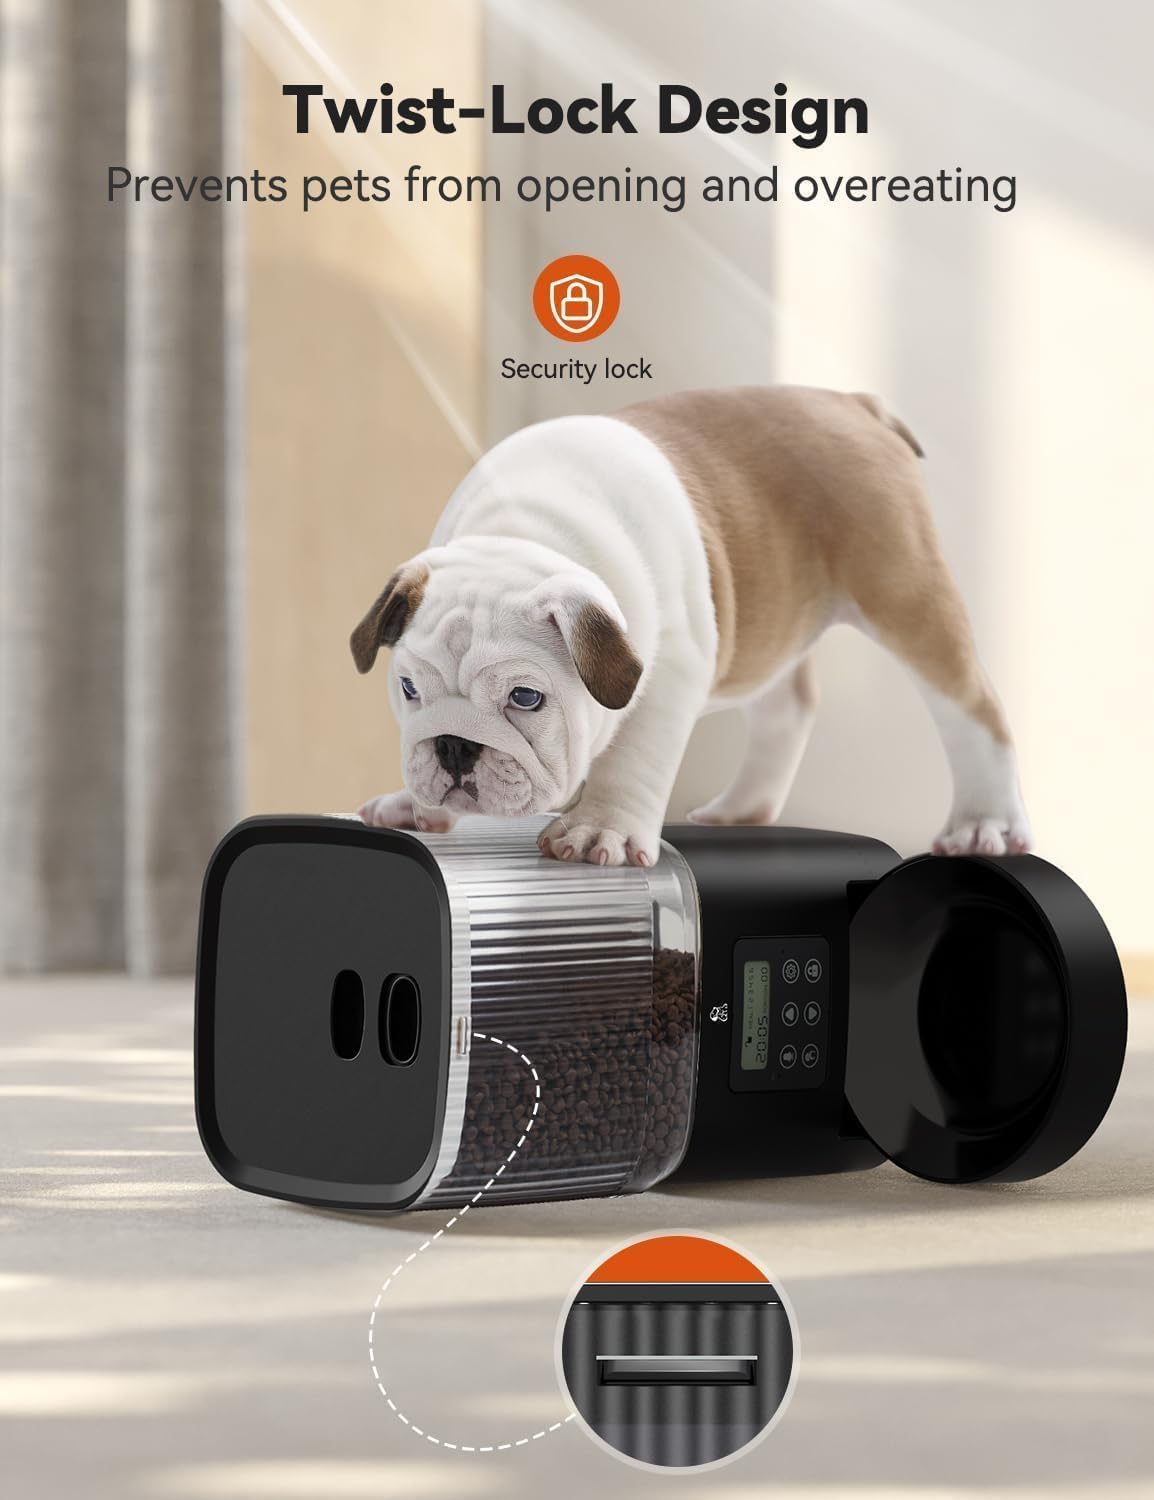
3. Fill the Food Hopper
Open the twist-lock lid on top of the feeder and pour dry pet food into the hopper. Ensure the lid is securely closed to maintain food freshness and prevent pets from accessing the food prematurely.
Operating Instructions
1. Setting the Current Time
Refer to the control panel on the feeder. Use the designated buttons (usually 'SET' and arrow keys) to set the current hour and minute. Confirm your selection to save the time.
2. Programming Meal Schedules
The feeder allows for 1 to 6 meals per day, with up to 8 portions per meal (approximately 10g per portion).
- Press the 'SET' button to enter programming mode.
- Select the meal number (e.g., M1, M2) using the arrow keys.
- Set the desired feeding time for that meal.
- Set the number of portions (1-8) for that meal.
- Repeat for all desired meals.
- Exit programming mode to save settings.
3. 10-Second Voice Recording
You can record a personalized 10-second message to call your pet at meal times.
- Locate the 'REC' button on the control panel.
- Press and hold the 'REC' button. Speak your message clearly into the microphone.
- Release the button when finished. The message will play automatically during scheduled meal times.

4. Manual Feeding
To dispense food instantly, press the manual feed button (often labeled 'MANUAL' or a paw icon). Each press typically dispenses one portion.
Maintenance and Cleaning
Regular cleaning ensures hygiene and proper functioning of your feeder. The hopper and bowl are designed for easy detachment and cleaning.
- Disassembly: Unplug the feeder. Remove the food bowl and the food hopper from the main unit.
- Cleaning: The food hopper and food bowl are dishwasher-safe. Alternatively, wash them by hand with mild soap and water. Rinse thoroughly.
- Main Unit: Wipe the main unit with a soft, damp cloth. Do not submerge the main unit in water.
- Drying: Ensure all parts are completely dry before reassembling and refilling with food.
- Reassembly: Reattach the food hopper and food bowl to the main unit.

Troubleshooting
| Problem | Possible Cause | Solution |
|---|---|---|
| Feeder not dispensing food. | Food hopper empty; food clogged; power issue; incorrect settings. | Refill hopper; check for food blockages and clear them; ensure power adapter is connected or batteries are installed; verify meal schedule settings. |
| Feeder has no power. | Power adapter unplugged; batteries depleted or incorrectly installed. | Check power adapter connection; replace batteries or ensure correct polarity. |
| Food gets stuck or clogs. | Kibble size too large; food is damp or sticky; dispenser mechanism dirty. | Use dry kibble within the recommended size (2-12mm); ensure food is dry; clean the dispenser mechanism thoroughly. |
| Time drift / Incorrect feeding times. | Internal clock deviation. | Periodically check and reset the current time on the feeder to ensure accuracy. |
| Voice recording not playing. | Recording not saved; volume too low. | Ensure the 'REC' button was held long enough and released correctly; check if there is a volume setting and adjust it. |
Specifications
- Model: FT90
- Capacity: 5 Liters / 21 Cups
- Material: BPA-free plastic
- Target Species: Cats, Dogs
- Recommended Kibble Size: 2-12mm (0.07-0.47 inches)
- Meal Schedule: 1-6 meals per day
- Portions Per Meal: 0-8 portions (approx. 10g per portion)
- Voice Recording: 10 seconds
- Power Supply: DC 5V Power Adapter, 3 x D-cell batteries (backup, not included)
- Product Dimensions: 18.03 x 18.03 x 20.32 cm (7.1 x 7.1 x 8 inches)
- Item Weight: 2.69 kg (5.93 lbs)
Warranty Information
The Olelica Automatic Pet Feeder FT90 comes with a standard manufacturer's warranty. Please refer to the warranty card included in your package or contact customer support for specific details regarding coverage and duration.
Customer Support
If you have any questions, concerns, or require assistance with your Olelica Automatic Pet Feeder FT90, please contact our customer support team. Contact details can typically be found on the product packaging or our official website.

