1. Introduction and Overview
The Fafeicy MT52 Remote Meter is a multifunctional LCD display controller designed for use with compatible solar charge controllers, such as the Viewstar series. It provides real-time data monitoring, remote control capabilities, and parameter modification for your solar power system. This manual provides essential information for the proper setup, operation, and maintenance of your MT52 Remote Meter.
2. Package Contents
Upon opening the package, please verify that all the following items are included:
- 1 x Fafeicy MT52 Remote Meter
- 1 x Connection Cable (RJ45)
- 1 Set of Mounting Accessories (screws, wall plugs, rubber stoppers)
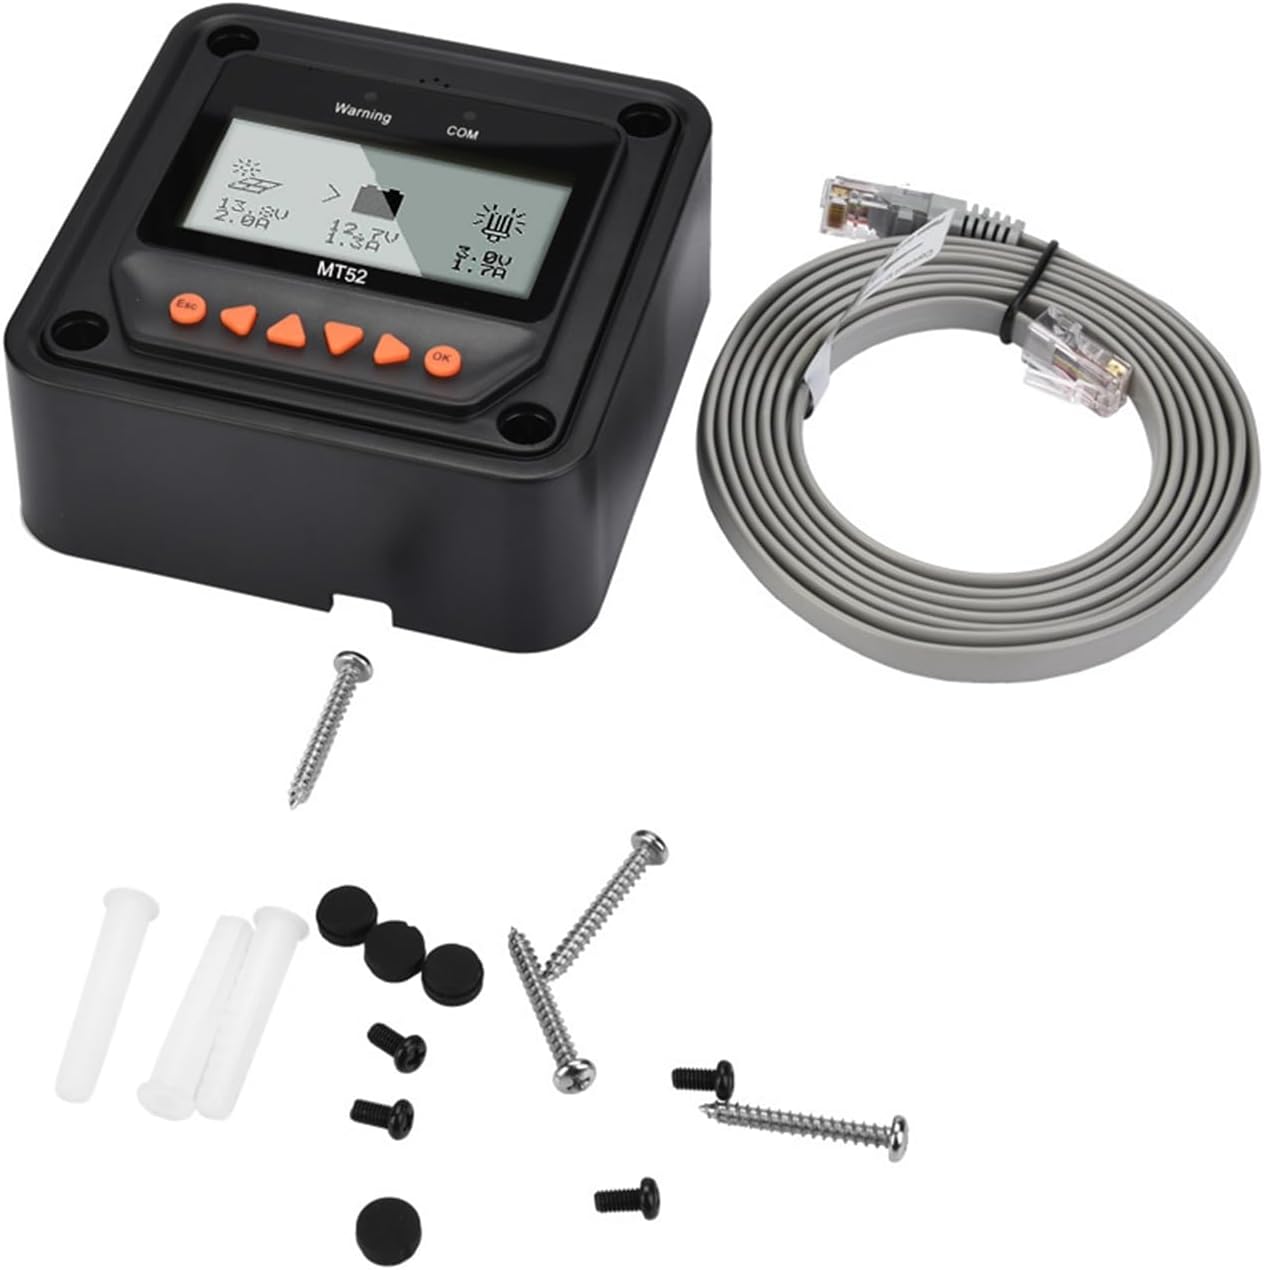
Image: The MT52 Remote Meter shown with its included connection cable and a set of mounting accessories.
3. Key Features
The MT52 Remote Meter offers a range of functionalities to enhance your solar system management:
- Multifunctionality: Enables real-time data monitoring, remote load switching, viewing of device parameters, and modification of charging and load control parameters for the connected controller.
- Simple Load Working Mode Setting: Allows configuration of load working modes directly through the meter, including manual, pure light control, light control + delay, and timing.
- Automatic Controller Identification: Automatically identifies the connected solar charge controller and displays its type, model, and relevant parameter data.

Image: The MT52 display illustrating its capability to automatically identify the connected controller and show parameter data.
- User-Friendly Interface: Features six navigation function keys for direct, convenient, and rapid operation.
- Real-time Alarms: Provides real-time display and voice alarms for connected device fault information.

Image: The MT52 display indicating a warning message, highlighting its real-time alarm functionality.
4. Setup Instructions
Follow these steps to properly set up your Fafeicy MT52 Remote Meter:
- Ensure Power Off: Before making any connections, ensure your solar charge controller is powered off to prevent damage.
- Identify Communication Port: Locate the communication port on your solar charge controller. This is typically an RJ45 Ethernet-style port.
- Connect the Cable: Insert one end of the provided connection cable into the communication port of the solar charge controller.
- Connect to MT52: Insert the other end of the connection cable into the communication port located on the back or side of the MT52 Remote Meter.
- Mount the Meter: Use the included screws and wall plugs to securely mount the MT52 in a convenient location. Ensure the display is easily visible and accessible.
- Power On: Once connected, power on your solar charge controller. The MT52 will automatically detect the controller and begin displaying its information.
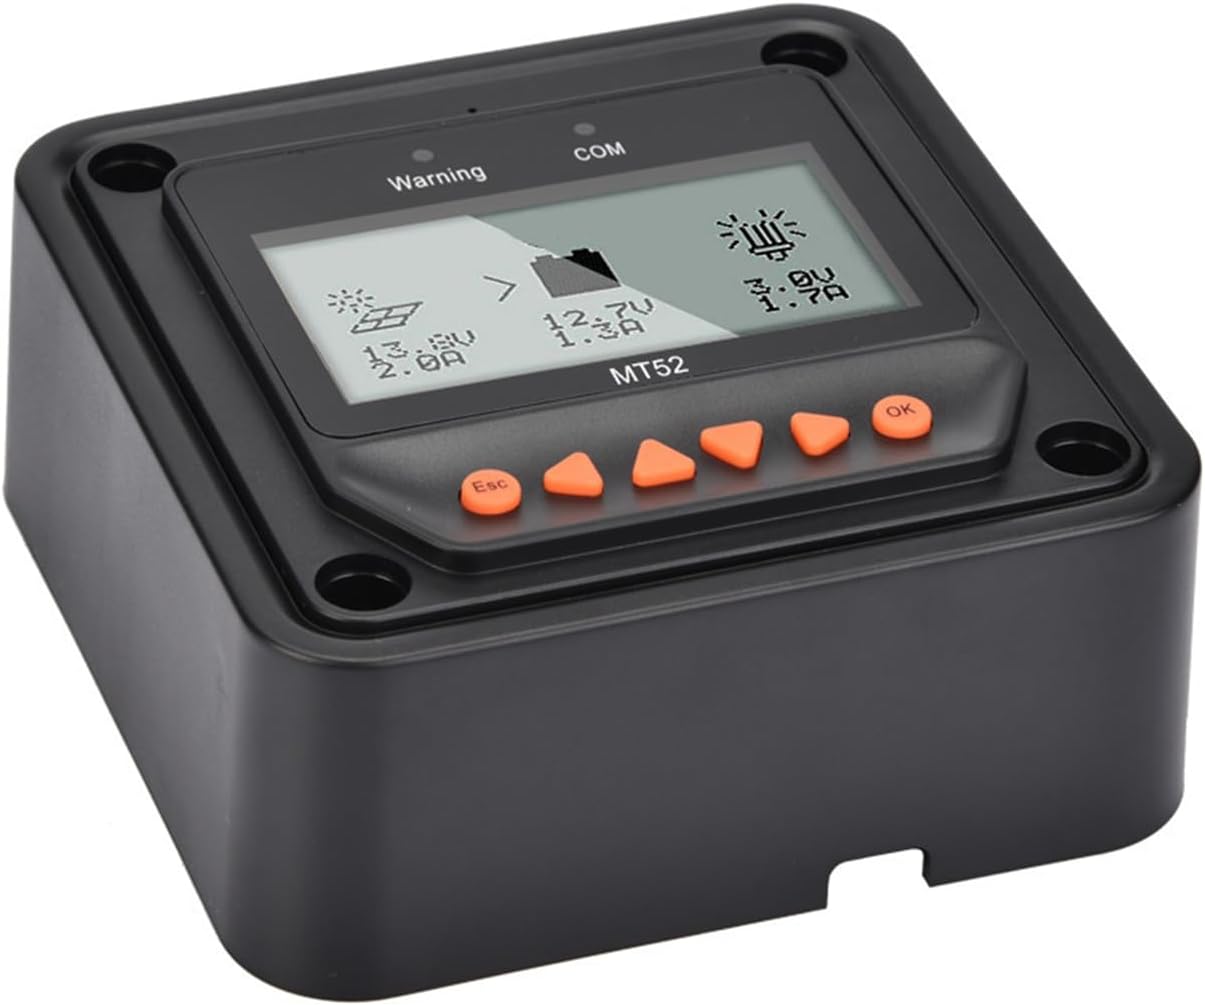
Image: An angled view of the MT52 Remote Meter, illustrating its physical form factor and display.
5. Operating Instructions
The MT52 Remote Meter features a clear LCD display and six intuitive navigation buttons for easy system monitoring and control.
5.1 Display Overview
The main screen of the MT52 typically displays critical system parameters such as battery voltage, charging current, load voltage, and load current. It also shows status icons for solar charging activity and load output status.
Image: The main display of the MT52 Remote Meter, showing real-time data like voltage and current, along with system status icons.
5.2 Navigation Buttons
- Esc: Used to exit a menu, cancel an operation, or return to the previous screen.
- Up/Down Arrows: Used to navigate through menu options or adjust numerical parameter values.
- Left/Right Arrows: Used to navigate between different display screens or categories within a menu.
- OK: Used to confirm a selection, enter a submenu, or save a parameter change.
5.3 Monitoring Data
From the main display, use the Left and Right arrow keys to cycle through various data screens. These screens may include detailed battery status, solar array information, load statistics, and historical data logs, depending on the connected controller's capabilities.
5.4 Parameter Settings
To access and modify system parameters:
- From the main screen, press the OK button to enter the main menu.
- Use the Up and Down arrow keys to navigate through the menu options and select the desired parameter category (e.g., Battery Parameters, Load Control).
- Press OK to enter the selected category.
- Use Up and Down to select a specific parameter.
- Press OK to enter edit mode for that parameter. The value will typically blink.
- Use Up and Down to adjust the value.
- Press OK to save the new value.
- Press Esc repeatedly to exit the menus and return to the main display.
5.5 Load Working Mode Setting
The MT52 allows you to configure the load working mode. Navigate to the load control settings within the parameter menu. Common options include:
- Manual: The load can be turned on or off manually via the MT52 or the controller.
- Pure Light Control: The load automatically turns on at dusk and turns off at dawn.
- Light Control + Delay: The load turns on at dusk and remains on for a user-defined duration (e.g., 2 hours, 4 hours).
- Timing: The load turns on and off at specific programmed times of the day.
6. Maintenance
The Fafeicy MT52 Remote Meter is designed for durability and requires minimal maintenance to ensure long-term performance.
- Cleaning: Periodically wipe the display screen and the casing with a soft, dry, lint-free cloth. Avoid using abrasive cleaners, solvents, or chemical sprays, as these can damage the display or housing.
- Connection Check: Regularly inspect the communication cable to ensure it remains securely connected to both the MT52 and the solar charge controller. Loose connections can lead to intermittent data display or control issues.
- Environmental Conditions: Ensure the MT52 is operated within its specified temperature and humidity ranges. Avoid exposing the device to direct sunlight for extended periods, extreme temperatures, or high humidity, which can affect its lifespan and performance.
7. Troubleshooting
If you encounter issues with your MT52 Remote Meter, refer to the following common troubleshooting steps:
- No Display/Power:
- Verify that the communication cable is correctly and securely connected at both ends (MT52 and solar charge controller).
- Ensure the solar charge controller itself is powered on and functioning correctly, as the MT52 draws its power from the controller.
- Incorrect Data Display:
- Confirm that the MT52 is connected to a compatible solar charge controller.
- Try disconnecting and reconnecting the communication cable to reset the connection.
- Ensure the controller's internal parameters are correctly set and calibrated.
- Unable to Change Parameters:
- Ensure you are in the correct menu for parameter adjustment and have pressed OK to enter edit mode.
- Some parameters may be read-only depending on the controller model or current system status (e.g., during specific charging stages).
- Always press OK to save any changes made to parameters.
- Warning/Error Messages:
- The MT52 acts as a display for the connected controller. Any warning or error messages displayed on the MT52 typically originate from the solar charge controller.
- Refer to the instruction manual of your specific solar charge controller for detailed explanations of error codes and troubleshooting steps.
8. Specifications
| Specification | Value |
|---|---|
| Model | MT52 |
| Brand | Fafeicy |
| Weight | Approx. 351g / 12.4oz |
| Manufacturer | Fafeicy |
| Part Number | Fafeicycrtqf43xpk |
| Item Type Name | Energy Controllers |
| ASIN | B0CJ11QDNJ |
9. Warranty and Support
9.1 Warranty Information
For specific warranty details regarding your Fafeicy MT52 Remote Meter, please refer to the documentation provided with your solar charge controller or contact your point of purchase. Standard warranty terms typically cover manufacturing defects for a limited period from the date of purchase. Keep your purchase receipt as proof of purchase for warranty claims.
9.2 Technical Support
If you encounter any issues, have questions, or require technical assistance with your Fafeicy MT52 Remote Meter, please contact Fafeicy customer support through their official website or the retailer from whom you purchased the product. When contacting support, please provide your product model (MT52) and a detailed description of the issue you are experiencing to facilitate a quicker resolution.