1. Safety Instructions
Please read all safety instructions carefully before operating your Techomey RV Refrigerator. Retain this manual for future reference.
- Electrical Safety: This appliance is designed for 12V/24V DC power supply ONLY. Connecting it to a 110V AC power source will cause severe damage and poses a risk of explosion or fire. Ensure the power source matches the refrigerator's voltage requirements.
- Ventilation: Ensure adequate ventilation around the refrigerator. Do not block any ventilation openings. Proper airflow is essential for efficient operation and to prevent overheating.
- Placement: Place the refrigerator on a firm, level surface. Avoid direct sunlight or heat sources. The anti-shock/shake design helps during travel, but secure placement is still important.
- Cleaning: Disconnect power before cleaning. Use a soft cloth and mild detergent. Do not use abrasive cleaners or sharp objects.
- Children: Keep children away from the refrigerator, especially when the door is open.
- Flammable Materials: Do not store explosive substances or flammable materials inside the refrigerator.
- Damage: If the power cord is damaged, it must be replaced by the manufacturer, its service agent, or similarly qualified persons to avoid a hazard.
2. Product Overview
The Techomey RV Refrigerator Model HSP-60BY1-FBA is a compact and efficient 2.2 Cu.Ft. (60L) mini fridge designed for RVs, camping, trucks, and travel. It operates on 12V or 24V DC power, offering reliable cooling without a freezer compartment. Its robust design is built to withstand the rigors of travel.
Key Features:
- Capacity: 2.2 Cu.Ft. (60L) for ample food and beverage storage.
- Temperature Range: Maintains temperatures between 32℉~50℉ (0~10℃) to keep items fresh.
- Anti-Shock/Shake Design: Engineered for durability and stability during vehicle movement.
- Reversible Door: Door opening direction can be adjusted for flexible installation.
- Energy Efficient: High-efficiency refrigerants and extra-thick insulation minimize power consumption.
- Low Noise Operation: Designed to operate quietly, ensuring a peaceful environment.
- User-Friendly LED Display: Easy temperature control and monitoring.
- Internal LED Lighting: Provides clear visibility of contents.
- Removable Door Gasket: Simplifies cleaning and maintenance.

Image 2.1: The interior of the Techomey RV Refrigerator, showcasing its storage capacity with various food items and beverages on shelves and in the door.

Image 2.2: Illustration highlighting the refrigerator's fast cooling and energy-saving capabilities, showing a snowflake icon and '2.2 Cu.Ft.' inside.

Image 2.3: The refrigerator positioned in a bedroom setting, emphasizing its low noise operation for undisturbed sleep during travel.

Image 2.4: The exterior of the refrigerator, illustrating its anti-shock and anti-shake design for enhanced durability during travel.

Image 2.5: A diagram showing the dimensions of the Techomey RV Refrigerator: 20.5 inches (depth), 17.8 inches (width), and 20.9 inches (height).
3. What's in the Box
Upon unpacking, please ensure all components are present:
- Techomey RV Refrigerator (Model HSP-60BY1-FBA)
- User Manual
If any items are missing or damaged, please contact Techomey customer support immediately.
4. Setup and Installation
4.1 Unpacking and Inspection
- Carefully remove the refrigerator from its packaging.
- Inspect the unit for any signs of shipping damage. Report any damage to your retailer or carrier immediately.
- Remove all internal packing materials and protective films.
- Allow the refrigerator to stand upright for at least 2-4 hours before connecting to power. This allows refrigerants to settle.
4.2 Placement
- Place the refrigerator on a stable, level surface to ensure proper operation and prevent vibrations.
- Ensure there is adequate space around the unit for proper ventilation (at least 2 inches on sides and back, 4 inches on top). Do not block the side ventilation grille.
- Avoid placing the refrigerator in direct sunlight or near heat-generating appliances (e.g., ovens, heaters).
- This refrigerator is designed for built-in installation. Follow specific installation guidelines for your RV or vehicle to secure the unit.

Image 4.1: A close-up view of the ventilation grille located on the side of the refrigerator, emphasizing the need for unobstructed airflow.
4.3 Reversible Door Installation
The door hinges can be reversed to open from either the left or right side, depending on your installation needs.
- Ensure the refrigerator is unplugged from the power source.
- Carefully remove the hinge covers and screws securing the door.
- Detach the door and transfer the hinge pins and stoppers to the desired side.
- Reattach the door, ensuring it is properly aligned and seals tightly.
- Secure all screws and replace hinge covers.
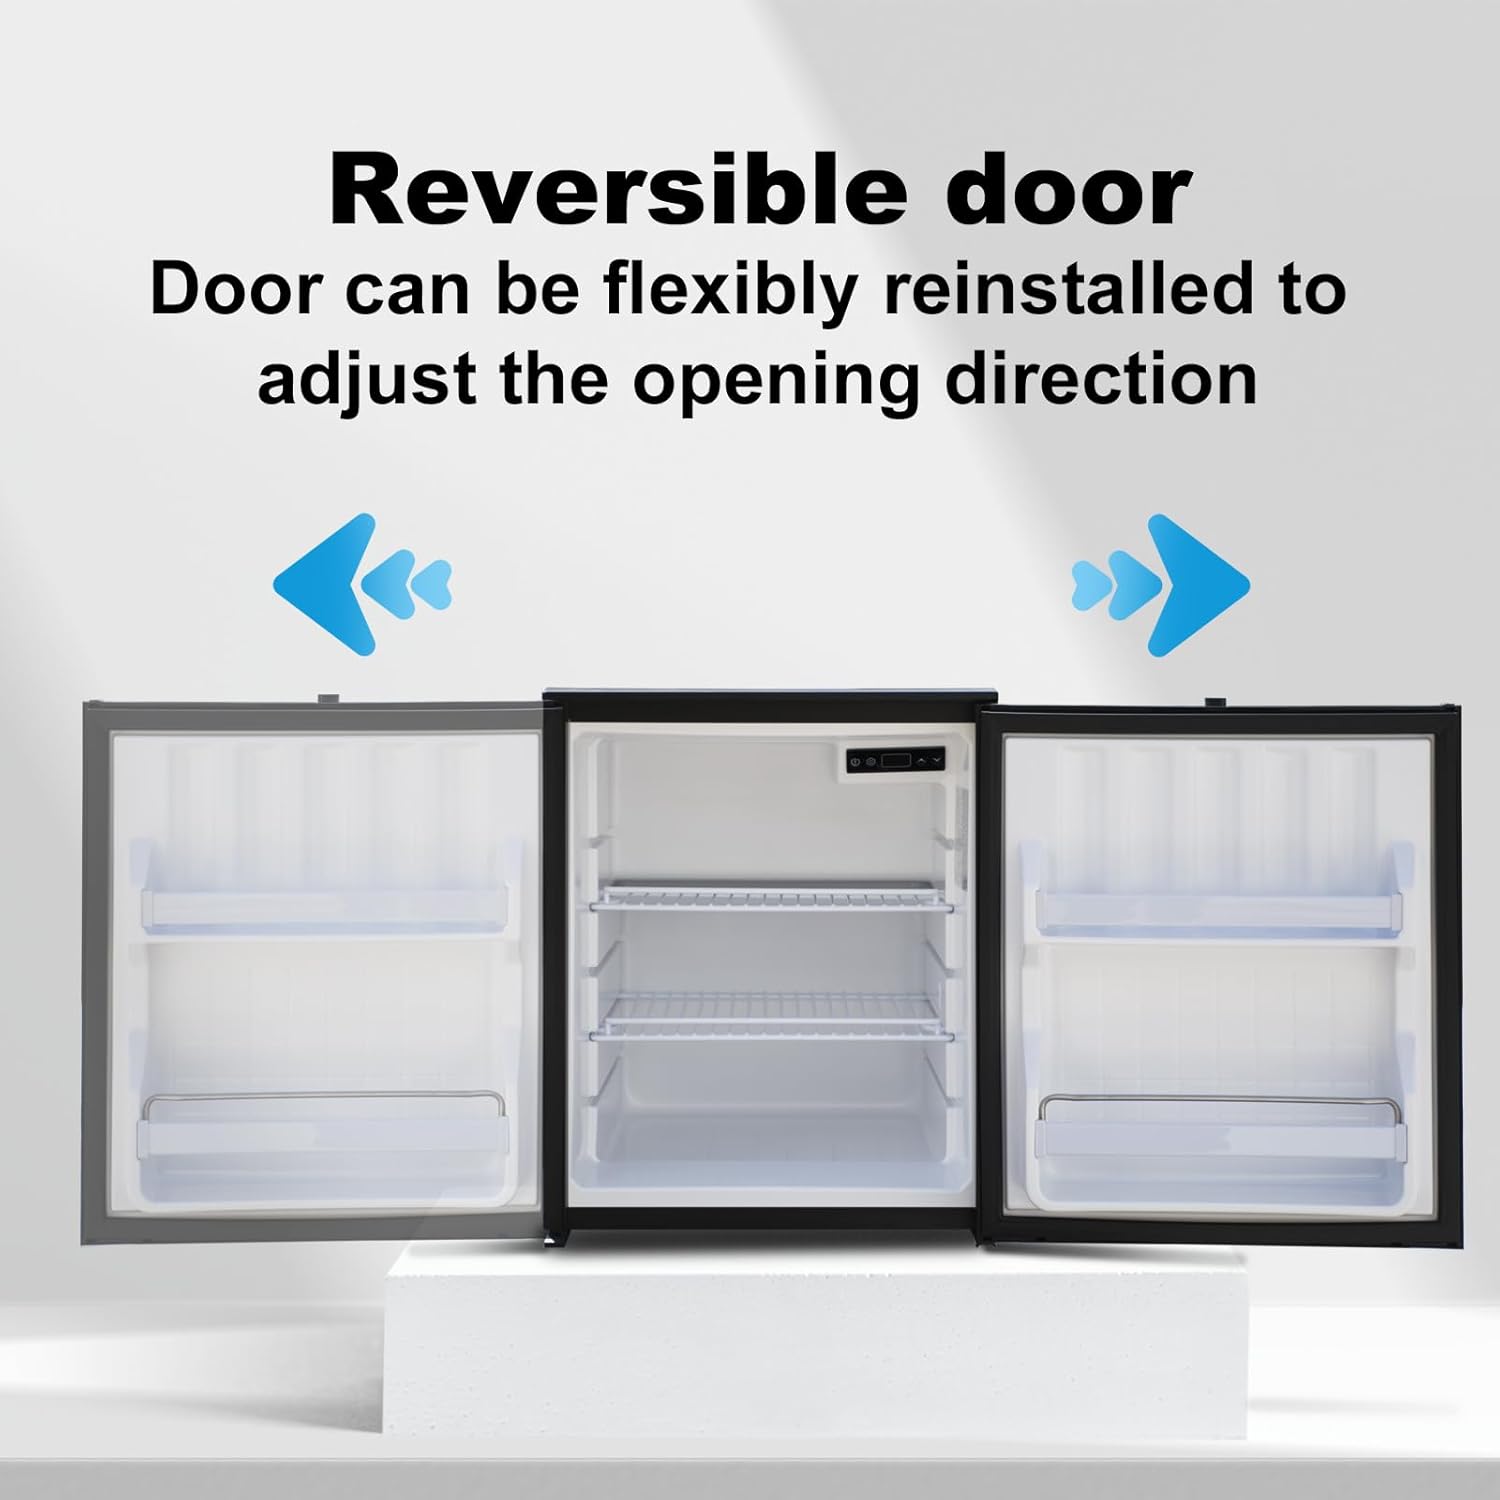
Image 4.2: An illustration demonstrating the reversible door feature, showing the door opening to both the left and right.

Image 4.3: A detailed view of the door hinge mechanism, indicating how it can be adjusted for left or right-hand opening.
4.4 Power Connection
WARNING: This refrigerator operates on 12V/24V DC power ONLY. DO NOT connect to 110V AC power. Doing so will damage the unit and void the warranty.
- Connect the refrigerator's power cable to a compatible 12V or 24V DC power outlet in your RV, car, or truck.
- Ensure the connection is secure to prevent power interruptions during travel.
5. Operating Instructions
5.1 Initial Startup
- After connecting to power, press the power button on the LED display to turn on the refrigerator.
- The display will show the current internal temperature.
- Allow the refrigerator to cool down for at least 1-2 hours before loading food items.
5.2 Temperature Control
The refrigerator features an intuitive LED display for temperature adjustment.

Image 5.1: A close-up of the LED control panel, showing power, settings, temperature display, and up/down adjustment buttons.
- Power Button (⏻): Press to turn the unit on or off.
- Settings Button (⚙): Use to access advanced settings (if applicable, refer to specific display icons).
- Temperature Adjustment (▲ / ▼): Press the up or down arrows to set your desired temperature between 32℉~50℉ (0~10℃). The display will flash the set temperature and then return to the current internal temperature.
- Sleep Mode: This refrigerator may feature a sleep mode for enhanced energy efficiency. Consult the display icons or settings for activation.
5.3 Internal LED Lighting
The built-in LED light illuminates the interior, making it easy to find items, even in low light conditions.

Image 5.2: The refrigerator interior with the LED light on, showing clear visibility of contents.
6. Maintenance
6.1 Cleaning
- Always disconnect the refrigerator from the power supply before cleaning.
- Clean the interior and exterior surfaces with a soft cloth dampened with a mild detergent solution.
- The door gasket can be easily removed for thorough cleaning. Gently pull it off, wash with warm soapy water, dry completely, and then press it back into place.
- Do not use abrasive cleaners, solvents, or sharp objects, as these can damage the surfaces.
- Regularly clean the ventilation grilles to ensure proper airflow and prevent dust buildup.
6.2 Defrosting
This refrigerator features manual defrost. Frost buildup can reduce cooling efficiency.
- Turn off the refrigerator and disconnect it from the power supply.
- Remove all food items and place them in a cooler.
- Leave the door open to allow frost to melt naturally. You can place towels at the bottom to absorb water.
- Do not use sharp objects or heating devices to speed up defrosting, as this can damage the cooling system.
- Once defrosted, clean and dry the interior thoroughly before reconnecting power and reloading food.
6.3 Long-Term Storage
If the refrigerator will not be used for an extended period:
- Defrost and clean the unit thoroughly.
- Leave the door slightly ajar to prevent odors and mold growth.
- Store in a dry, well-ventilated area.
7. Troubleshooting
Before contacting customer support, please refer to the following common issues and solutions:
| Problem | Possible Cause | Solution |
|---|---|---|
| Refrigerator does not turn on. | No power supply; loose connection; power button not pressed. | Check power connection; ensure power source is active (12V/24V DC); press power button. |
| Refrigerator is not cooling sufficiently. | Door not closed properly; excessive door openings; high ambient temperature; ventilation blocked; temperature setting too high; heavy frost buildup. | Ensure door is sealed; reduce door openings; ensure proper ventilation; lower temperature setting; manually defrost the unit. |
| Unusual noise. | Refrigerator not level; items inside rattling; normal compressor operation. | Ensure unit is on a level surface; rearrange items inside; some compressor noise is normal. |
| Water on the floor/inside. | Condensation; defrost water not draining properly. | Wipe up condensation; check and clear any drain holes (if applicable). |
If the problem persists after attempting these solutions, please contact Techomey customer support.
8. Specifications
| Feature | Detail |
|---|---|
| Brand | Techomey |
| Model Number | HSP-60BY1-FBA |
| Capacity | 2.2 Cubic Feet (60 Liters) |
| Product Dimensions (D x W x H) | 20.5 x 17.8 x 20.9 inches |
| Item Weight | 45 pounds |
| Installation Type | Built-In |
| Form Factor | Compact |
| Special Features | Adjustable Shelves, Anti-Shake, Easy to Install, Low Noise, Portable |
| Color | Black |
| Voltage | 12V/24V DC (Note: Product specifications list 240V AC, but product description and reviews indicate 12V/24V DC. Always use 12V/24V DC.) |
| Defrost System | Manual |
| Door Hinges | Reversible |
| Shelf Type | Wire |
| Number of Shelves | 1 (Adjustable) |
| Certification | Energy Star |
| Number Of Doors | 1 |
Image 8.1: The Techomey RV Refrigerator with its dimensions clearly labeled, providing a visual reference for installation planning.
9. Warranty & Support
9.1 Product Warranty
The Techomey RV Refrigerator comes with a 1-year product quality guarantee from the date of purchase. This warranty covers manufacturing defects and malfunctions under normal use.
Please retain your proof of purchase for warranty claims.
Note: Damage resulting from improper power connection (e.g., connecting to 110V AC) or misuse is not covered under warranty.
9.2 Customer Support
If you have any questions, require assistance with setup, operation, or troubleshooting, or need to make a warranty claim, please contact Techomey customer support.
For the most up-to-date contact information, please refer to the Techomey official website or your purchase documentation.
We are committed to solving your problems perfectly and ensuring your satisfaction.