Anytek G66
Anytek G66 Dash Cam User Manual
Model: G66
Introduction
Thank you for choosing the Anytek G66 Dash Cam. This device is designed to enhance your driving safety by recording your journeys with high-quality video. It features ultra-low light night vision, a 3.5-inch IPS HD touchscreen, dual camera recording, and intelligent motion detection. Please read this manual carefully before using the product to ensure proper operation and to maximize its performance.
Package Contents
Please check the package for the following items:
- 1 x Anytek G66 Dash Cam (Main Unit)
- 1 x Suction Cup Bracket
- 1 x Wired Rear Camera
- 1 x Rubber Pad
- 2 x Screws
- 1 x Car Charger
- 1 x USB Data Cable
- 1 x User Manual

Product Overview
Familiarize yourself with the main components of your Anytek G66 Dash Cam.
Main Unit (Front Camera)
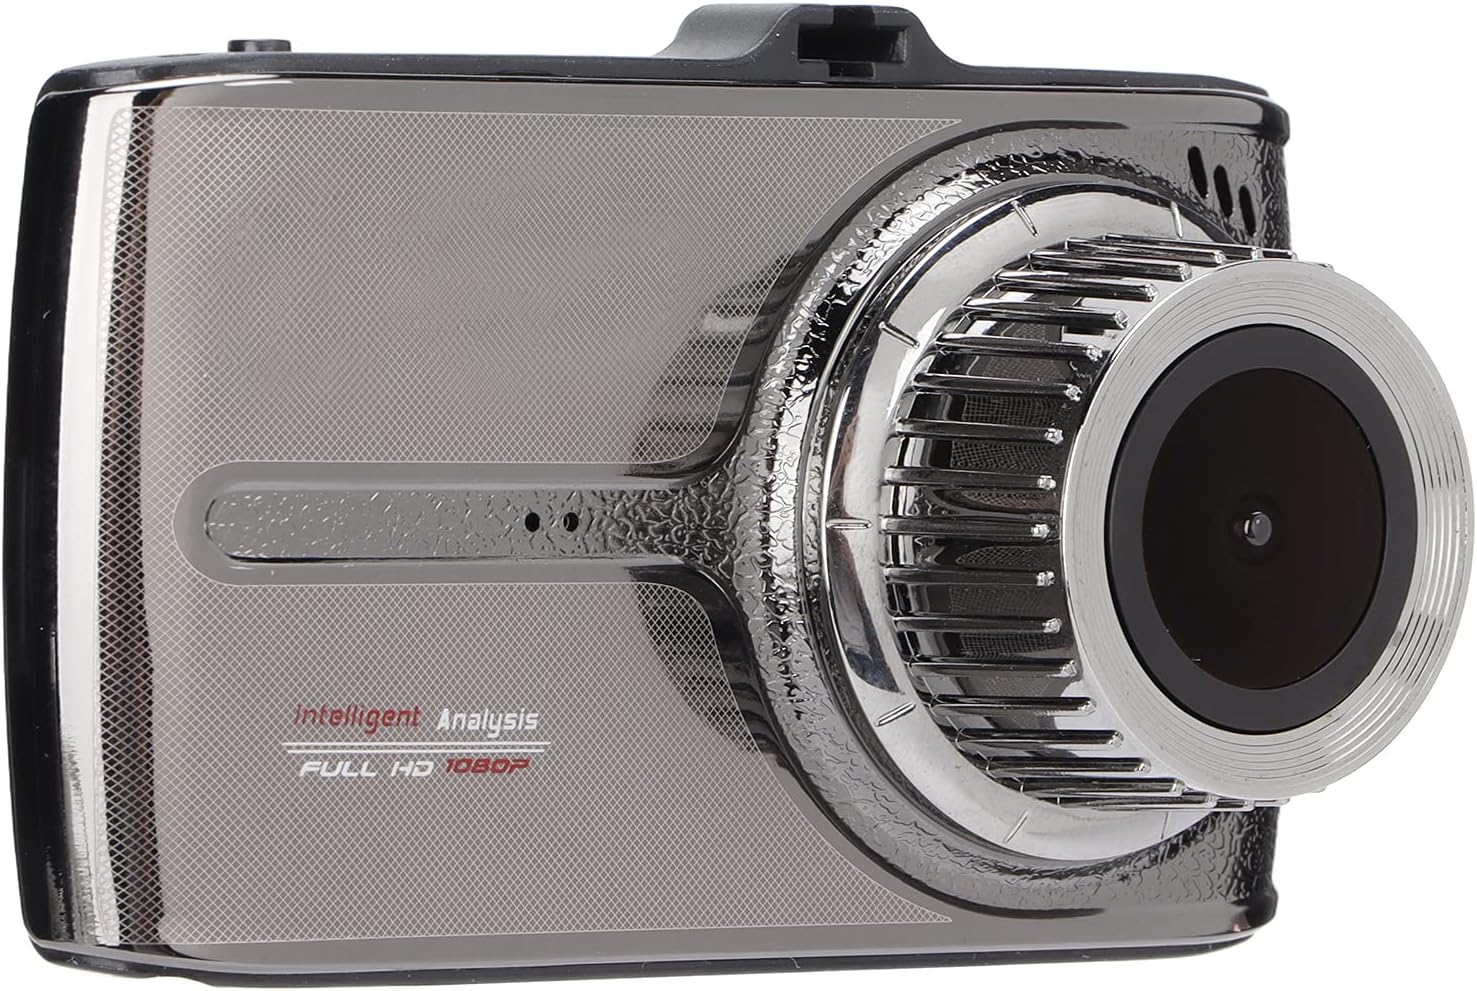
- Front Lens: 170-degree wide-angle lens for comprehensive road coverage.
- 3.5-inch IPS HD Touchscreen: For easy navigation and video playback.
- Microphone/Speaker: Built-in for audio recording and playback.
Ports and Controls

- USB Port: For power supply and data transfer.
- AV IN Port: Connects the wired rear camera.
- Power Button: To turn the device on/off.
- MicroSD Card Slot: For inserting the memory card (not shown in this specific image, but typically on the side).
- Reset Button: (Often a small pinhole, not explicitly visible in all images but common).
Rear Camera

The wired rear camera provides additional coverage, recording the view behind your vehicle.
Setup
Follow these steps to install your Anytek G66 Dash Cam in your vehicle.
1. Prepare the MicroSD Card
- Insert a Class 10 or higher MicroSD card (up to 32GB, not included) into the dash cam's MicroSD card slot.
- It is recommended to format the MicroSD card within the dash cam's settings before first use and periodically thereafter.
2. Mount the Main Unit
- Clean the windshield area where you intend to mount the dash cam.
- Attach the suction cup bracket to the main unit.
- Press the suction cup firmly against the windshield, ideally near the rearview mirror, and secure it using its locking mechanism.
- Adjust the angle of the dash cam to ensure a clear view of the road ahead.

3. Install the Rear Camera (Optional)
- Mount the wired rear camera on the rear windshield or near the license plate using the provided screws or adhesive.
- Route the rear camera cable to the main unit, ensuring it does not interfere with driving or vehicle functions.
- Connect the rear camera cable to the AV IN port on the main unit.
4. Connect Power
- Connect the car charger to the USB port on the dash cam.
- Plug the other end of the car charger into your vehicle's cigarette lighter socket.
- The dash cam will typically power on automatically when the vehicle starts and power off when the engine is turned off.
Operating Instructions
Power On/Off
- Automatic: The device powers on/off with the vehicle's ignition.
- Manual: Press and hold the Power Button to manually turn the device on or off.
Recording Modes
- Loop Recording: The dash cam continuously records video in short segments (e.g., 1, 3, or 5 minutes). When the memory card is full, the oldest unlocked files are overwritten.
- G-Sensor (Emergency Recording): In the event of a sudden impact or collision, the built-in G-sensor will automatically detect the event and lock the current video file, preventing it from being overwritten.
- Motion Detection: When enabled, the dash cam will automatically start recording if motion is detected in front of the vehicle while parked. This feature requires a continuous power supply.
Using the Touchscreen
- Tap the 3.5-inch IPS HD touchscreen to access menus, change settings, and review recorded footage.
- Swipe gestures may be supported for navigating through files or settings.
Video Playback
- Access the playback menu on the touchscreen.
- Select the desired video file to view. Both front and rear camera footage can be reviewed.
Maintenance
- Cleaning: Use a soft, dry cloth to clean the dash cam lens and screen. Avoid abrasive materials or chemical cleaners.
- MicroSD Card: Regularly format your MicroSD card (at least once a month) to ensure optimal performance and prevent data corruption. Back up important files before formatting.
- Temperature: Avoid exposing the dash cam to extreme temperatures for prolonged periods, as this can affect battery life and device performance.
- Storage: If storing the dash cam for an extended period, ensure it is fully charged and stored in a cool, dry place.
Troubleshooting
Here are solutions to common issues you might encounter:
- Device not powering on:
- Ensure the car charger is properly connected and the vehicle's cigarette lighter socket is receiving power.
- Check the USB cable for damage.
- The internal battery might be depleted; connect to power and try again.
- Recording stops or freezes:
- Format the MicroSD card.
- Ensure you are using a Class 10 or higher MicroSD card.
- The MicroSD card might be full; enable loop recording or delete old files.
- Screen not responding to touch:
- Restart the device by holding the power button or using the reset pinhole.
- Important Tip: Do not press on the screen during assembly, as this can cause damage.
- Poor video quality at night:
- Ensure the windshield and lens are clean.
- Verify that the night vision setting is enabled in the menu.
Important Note: Repairing fees may be requested for man-made damages to the device.
Specifications
| Item Type | Drive Recorder |
| Brand | Anytek |
| Model | G66 |
| Material | Metal |
| Lens | 170-degree wide angle, 6GA+ multi-layer filter analysis lens, 3 million high-definition camera |
| Video Format | H.264 MOV |
| Microphone/Speaker | Built-in |
| Battery Capacity | 200mAh Lithium battery (built-in) |
| Display | 3.5-inch IPS HD Touchscreen |
| Supported MicroSD Card | Up to 32GB (Class 10 or higher, not included) |
| Languages | English, Russian, Simplified Chinese, Traditional Chinese, Japanese, Spanish, French, Korean |
| Vehicle Fixing Device | Suction Cup Bracket |
| Item Weight | 670 g |
Warranty and Support
For warranty information or technical support, please refer to the documentation provided with your purchase or contact the seller/manufacturer directly. Keep your proof of purchase for warranty claims.