
1. Introduction
Thank you for purchasing the MAXDONE B-FN333 4-in-1 Laminator. This device is designed for both hot and cold laminating of documents up to A4 size, and includes a built-in paper cutter and corner rounder for enhanced versatility. Please read this manual thoroughly before operation to ensure safe and efficient use of the product.
2. Safety Instructions
- Always connect the laminator to a grounded power outlet.
- Do not operate the laminator with wet hands or near water.
- Keep children and pets away from the laminator during operation.
- Do not insert objects other than laminating pouches into the feed slot.
- Unplug the laminator when not in use or before cleaning.
- Allow the laminator to cool down completely before storing.
- Do not attempt to open or repair the laminator yourself. Contact qualified service personnel.
- Ensure proper ventilation around the laminator during use.
3. Package Contents
Verify that all items are present in the package:
- MAXDONE B-FN333 Laminator
- Power Cable
- Paper Cutter
- Corner Rounder
- Laminating Films (various sizes: A4, A5, A6)
- User Manual
4. Product Overview
Familiarize yourself with the components of your laminator.
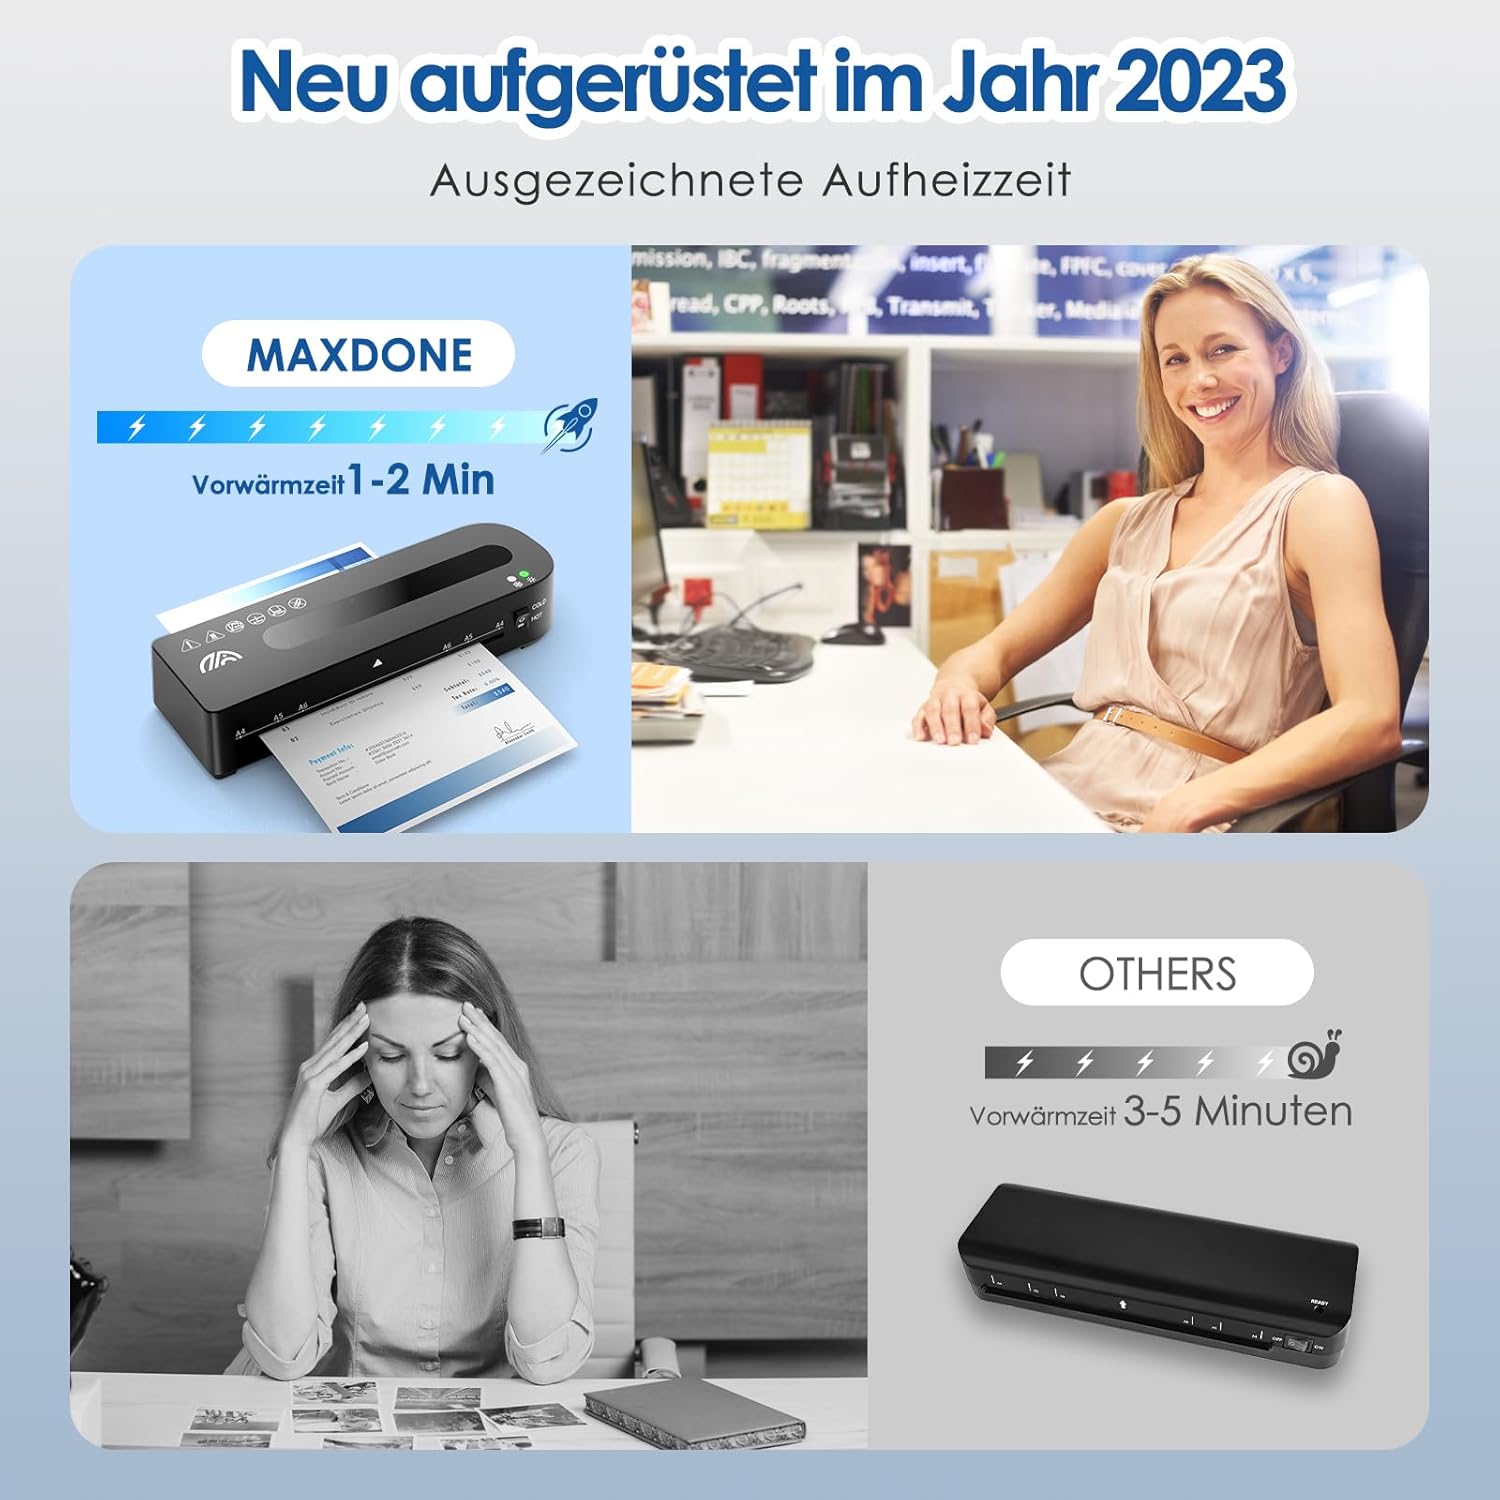
Figure 4.1: The MAXDONE B-FN333 laminator shown with its included accessories: a paper cutter, a corner rounder, and various sizes of laminating films. This image provides a comprehensive view of the product and its accompanying tools.

Figure 4.2: The MAXDONE B-FN333 laminator highlighting its rapid warm-up time of 1-2 minutes. The image shows the device ready for use, emphasizing efficiency.
5. Setup
- Place the laminator on a stable, flat surface with adequate space for document feeding and exit.
- Ensure the power switch is in the "OFF" position.
- Plug the power cable into the laminator's power port and then into a suitable electrical outlet.
- Turn the power switch to the "ON" position.
6. Operating Instructions
6.1. Hot Laminating
- Turn on the laminator and select the "HOT" mode. The indicator light will illuminate.
- Allow the laminator to warm up for approximately 1-2 minutes until the ready indicator light turns green.
- Place your document inside a laminating pouch, ensuring it is centered and there is an even border around the document.
- Insert the sealed edge of the laminating pouch straight into the feed slot until the rollers catch it.
- The laminator will automatically feed the pouch through. Do not pull or push the pouch.
- Once the pouch exits the rear, allow it to cool on a flat surface.

Figure 6.1: A visual guide demonstrating the four key steps for operating the laminator: A) Switching to HOT mode, B) Waiting for 1-2 minutes for warm-up, C) Selecting the correct laminating pouch size, and D) Inserting the pouch into the device.
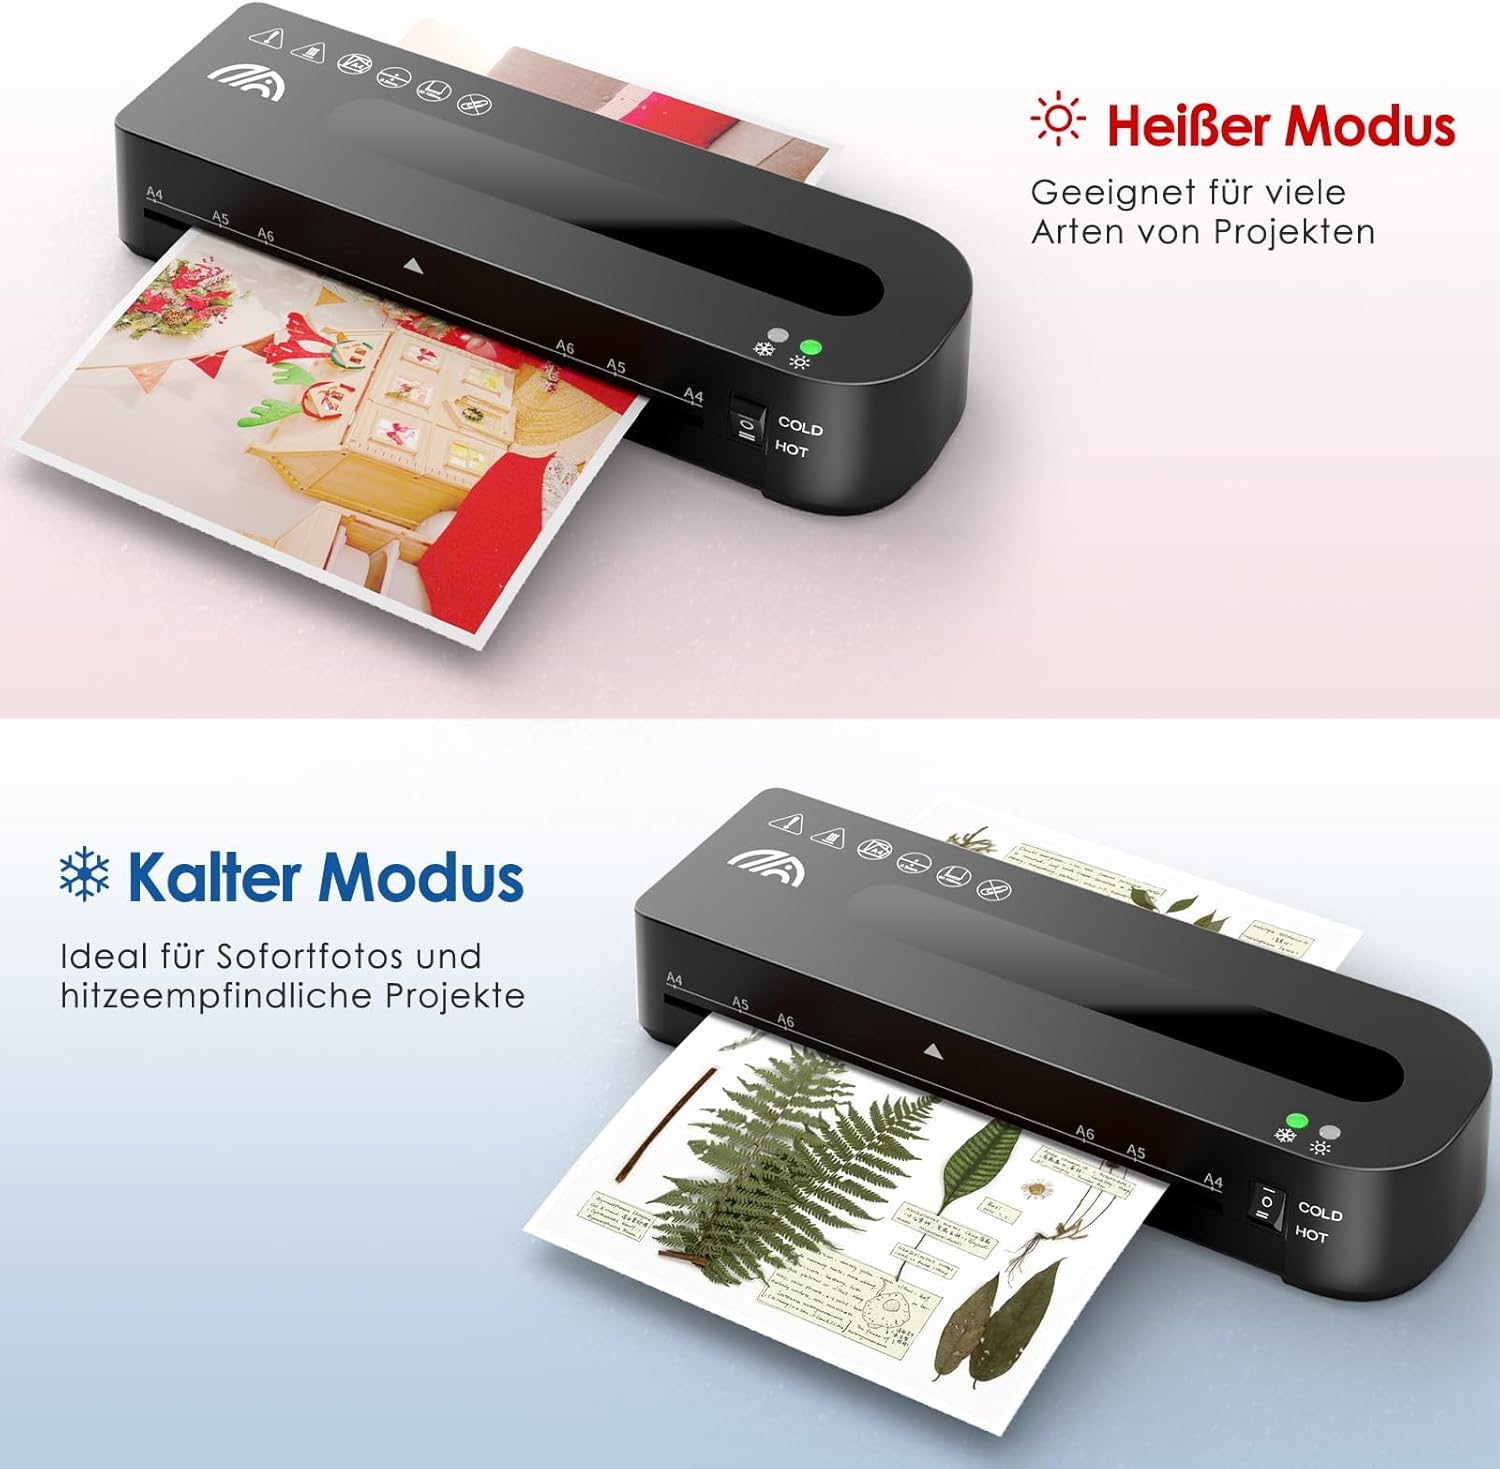
Figure 6.2: Illustration of the Hot and Cold laminating modes. The Hot mode is suitable for various projects, while the Cold mode is ideal for instant photos and heat-sensitive materials.
6.2. Cold Laminating
- Turn on the laminator and select the "COLD" mode. No warm-up time is required.
- Use self-adhesive cold laminating pouches.
- Place your document inside the cold laminating pouch.
- Insert the sealed edge of the pouch straight into the feed slot.
- The laminator will feed the pouch through, applying pressure to seal it.
6.3. ABS Release Function
In case of a paper jam or misfeed, use the ABS release lever to safely remove the pouch.
- Immediately press and hold the "ABS" release lever located on the side of the laminator.
- Gently pull the jammed pouch out of the feed slot.
- Release the "ABS" lever once the pouch is clear.

Figure 6.3: Detailed view of the ABS release lever. To use, push the lever to the left and hold it until the jammed paper or pouch can be safely pulled out from the laminator.
7. Using the Paper Cutter
The included paper cutter allows for precise trimming of documents before or after laminating.
- Place the document on the cutter's base, aligning it with the desired measurement marks.
- Hold the document firmly in place.
- Slide the cutting blade along the guide rail to trim the document.
- Exercise caution when using the paper cutter as the blade is sharp.

Figure 7.1: The included paper cutter and corner rounder. The paper cutter is shown in use, trimming a photo, while the corner rounder demonstrates how to achieve smooth, rounded edges on laminated documents.
8. Using the Corner Rounder
The corner rounder provides a professional finish by smoothing sharp corners of laminated documents.
- Insert one corner of the laminated document into the corner rounder slot.
- Press down firmly to cut and round the corner.
- Repeat for all desired corners.
9. Maintenance
- Cleaning: Ensure the laminator is unplugged and cool before cleaning. Wipe the exterior with a soft, dry cloth. Do not use abrasive cleaners or solvents.
- Roller Cleaning: Periodically run a cleaning sheet (not included) through the laminator to remove adhesive residue from the rollers.
- Storage: Store the laminator in a dry, dust-free environment when not in use.
10. Troubleshooting
| Problem | Possible Cause | Solution |
|---|---|---|
| Laminator does not turn on. | No power supply. | Check power cable connection and wall outlet. Ensure the power switch is ON. |
| Pouch jams in the laminator. | Pouch inserted incorrectly or too thick. | Press and hold the ABS release lever and gently pull out the pouch. Ensure pouch is inserted straight and is not too thick for the machine. |
| Laminated document has bubbles or is cloudy. | Insufficient heat or incorrect pouch thickness. | Ensure the laminator is fully warmed up for hot laminating. Use appropriate pouch thickness for the selected mode. |
| Laminator is slow to warm up. | Normal operation (if within 1-2 minutes). | The MAXDONE B-FN333 typically warms up in 1-2 minutes. If significantly longer, ensure proper power supply. |
11. Specifications
- Model: B-FN333
- Laminating Width Maximum: 21 cm (A4 size)
- Laminating Modes: Hot & Cold
- Warm-up Time: 1-2 minutes
- Number of Rollers: 2
- Supported Sheet Sizes: A4, A5, A6
- Dimensions: 34 x 13.1 x 9.1 cm
- Weight: 1.17 kg
- Color: Black
- Manufacturer: MAXDONE
12. Warranty and Support
For warranty information or technical support, please refer to the contact details provided with your purchase documentation or visit the official MAXDONE website. Keep your proof of purchase for warranty claims.