ROMECH ROMECH-157
ROMECH 350W Heat Gun Instruction Manual
Model: ROMECH-157
Brand: ROMECH
Introduction
Thank you for choosing the ROMECH 350W Heat Gun. This compact and versatile tool is designed for a wide range of applications, including DIY crafts, embossing, shrink wrapping, paint drying, and electronic device repair. Its dual-temperature settings and quick heating capabilities make it an essential tool for both hobbyists and professionals. Please read this manual thoroughly before operation to ensure safe and efficient use.
The ROMECH 350W Heat Gun features fast heating technology, reaching desired temperatures within seconds. It offers two adjustable temperature settings: 400°F (5.3 CFM airflow) for delicate tasks and 660°F (7 CFM airflow) for larger projects. Built-in overheating protection and a UL/ETL certified power cord ensure user safety. The lightweight, ergonomic, and pencil-shaped design provides a comfortable grip for precise application in hard-to-reach areas.

Image: The ROMECH 350W Heat Gun in red and black, shown with its two included nozzles.
Safety Information
Always follow basic safety precautions when using electrical appliances to reduce the risk of fire, electric shock, and personal injury.
- Read All Instructions: Familiarize yourself with the heat gun's operation and safety features before use.
- Keep Work Area Clean: Cluttered areas invite accidents. Ensure your workspace is well-lit and free of obstructions.
- Avoid Flammable Materials: Do not use the heat gun near flammable liquids, gases, or dust. The heat gun produces sparks and high temperatures that can ignite these materials.
- Use in Well-Ventilated Area: Ensure adequate ventilation to disperse fumes and heat.
- Do Not Touch Hot Nozzle: The nozzle and surrounding area become extremely hot during and after use. Allow the tool to cool completely before handling or storing.
- Overheating Protection: The heat gun is equipped with built-in overheating protection that automatically shuts off the device if the temperature exceeds a safe level.
- Power Cord Safety: The power cord is UL/ETL certified. Do not abuse the cord. Never carry the tool by the cord or yank it to disconnect from an outlet. Keep the cord away from heat, oil, sharp edges, or moving parts.
- Store Safely: When not in use, store the heat gun in a dry, secure place out of reach of children.
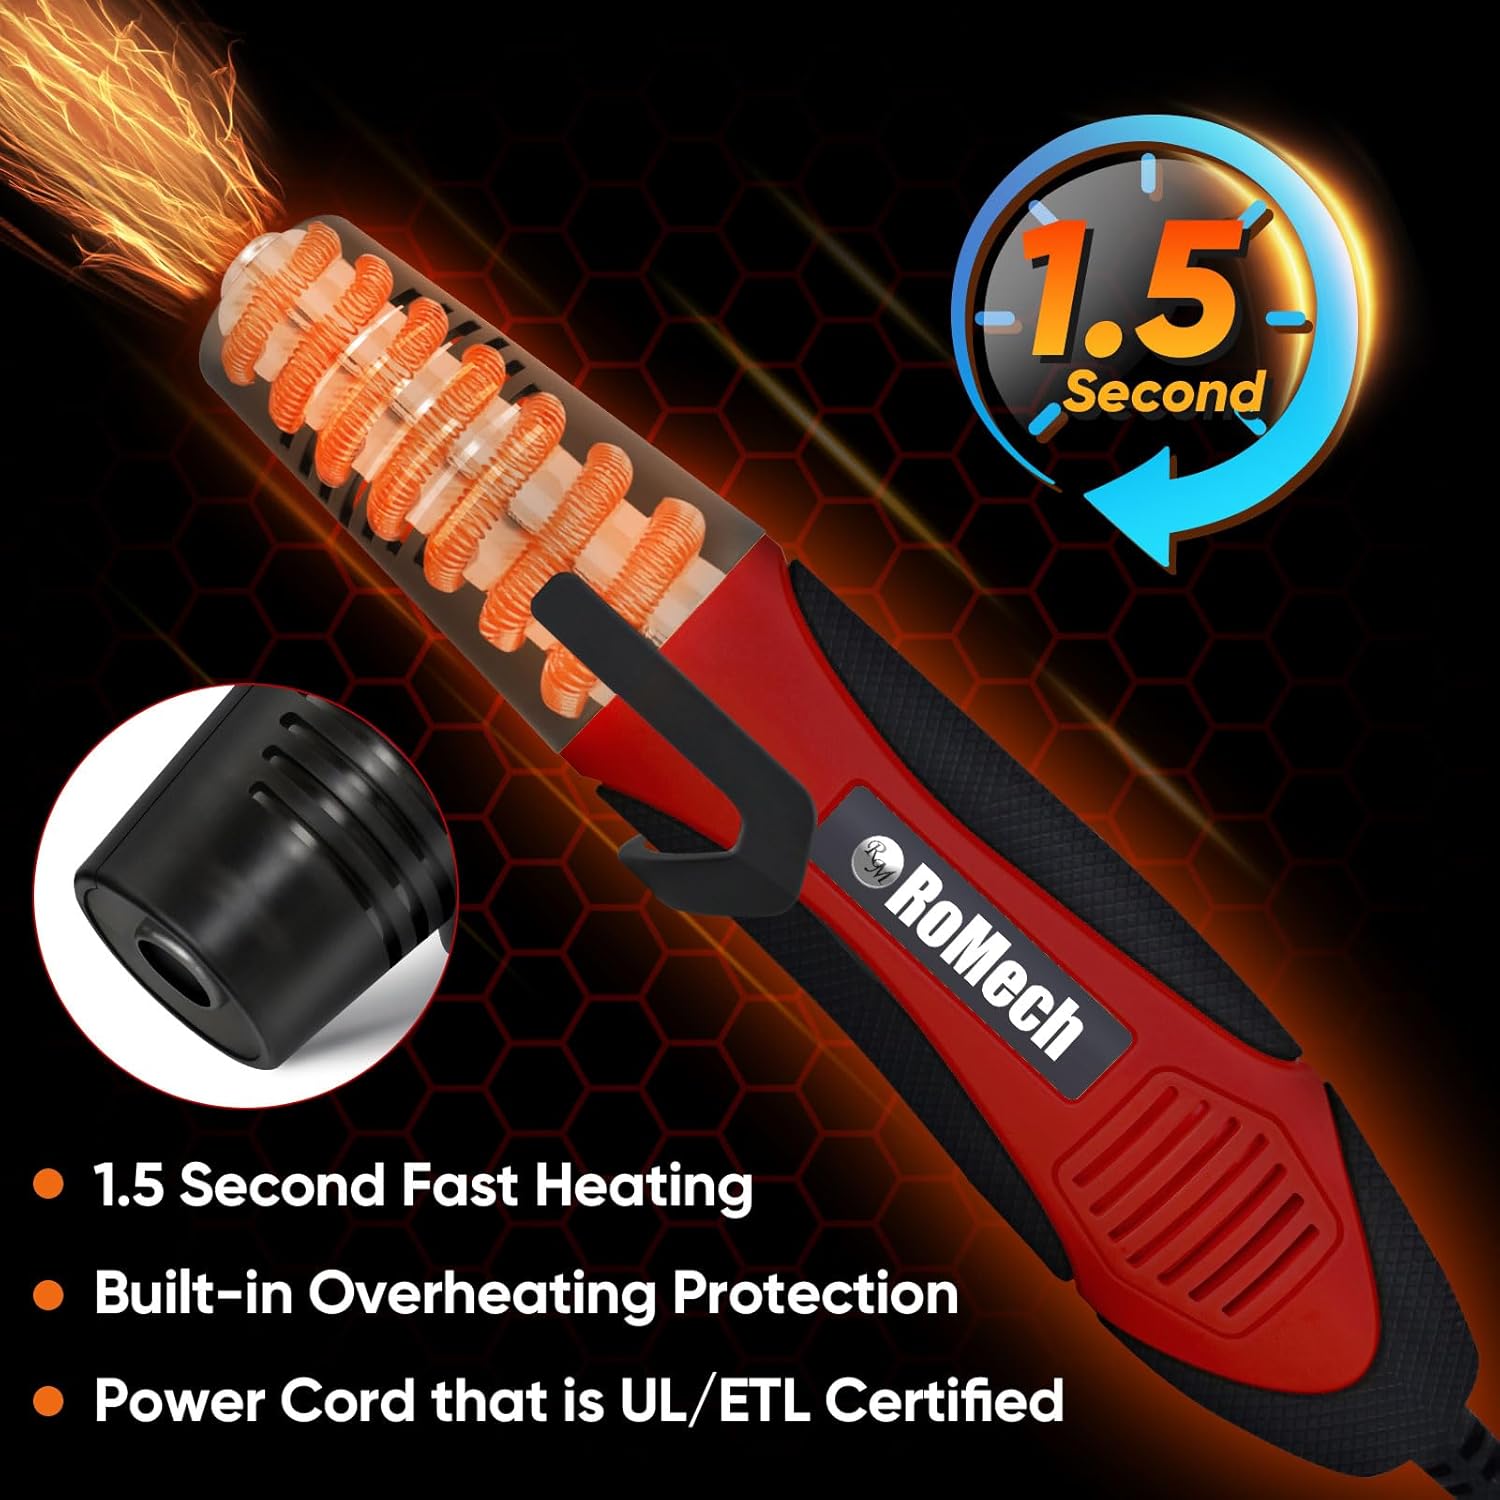
Image: An illustration highlighting the heat gun's 1.5-second fast heating, built-in overheating protection, and UL/ETL certified power cord.
What's in the Box
Your ROMECH 350W Heat Gun package includes the following items:
- ROMECH 350W Heat Gun (Red)
- Flat Nozzle
- Reflector Nozzle
- Instruction Manual

Image: A visual representation of the heat gun, its packaging, instruction manual, and the two included nozzles (flat and reflector).
Setup
Before using your ROMECH Heat Gun, ensure it is properly set up for your task.
- Choose the Right Nozzle: Select either the Flat Nozzle for broader heat distribution or the Reflector Nozzle for concentrating heat around objects (e.g., for shrink tubing).
- Attach Nozzle: Gently push the chosen nozzle onto the heat gun's outlet until it clicks securely into place. Ensure it is firmly attached before operation.
- Position the Heat Gun: The heat gun features a built-in stand for stable, hands-free operation. Flip out the stand and place the heat gun on a stable, heat-resistant surface.
- Connect to Power: Plug the heat gun's UL/ETL certified power cord into a standard electrical outlet.
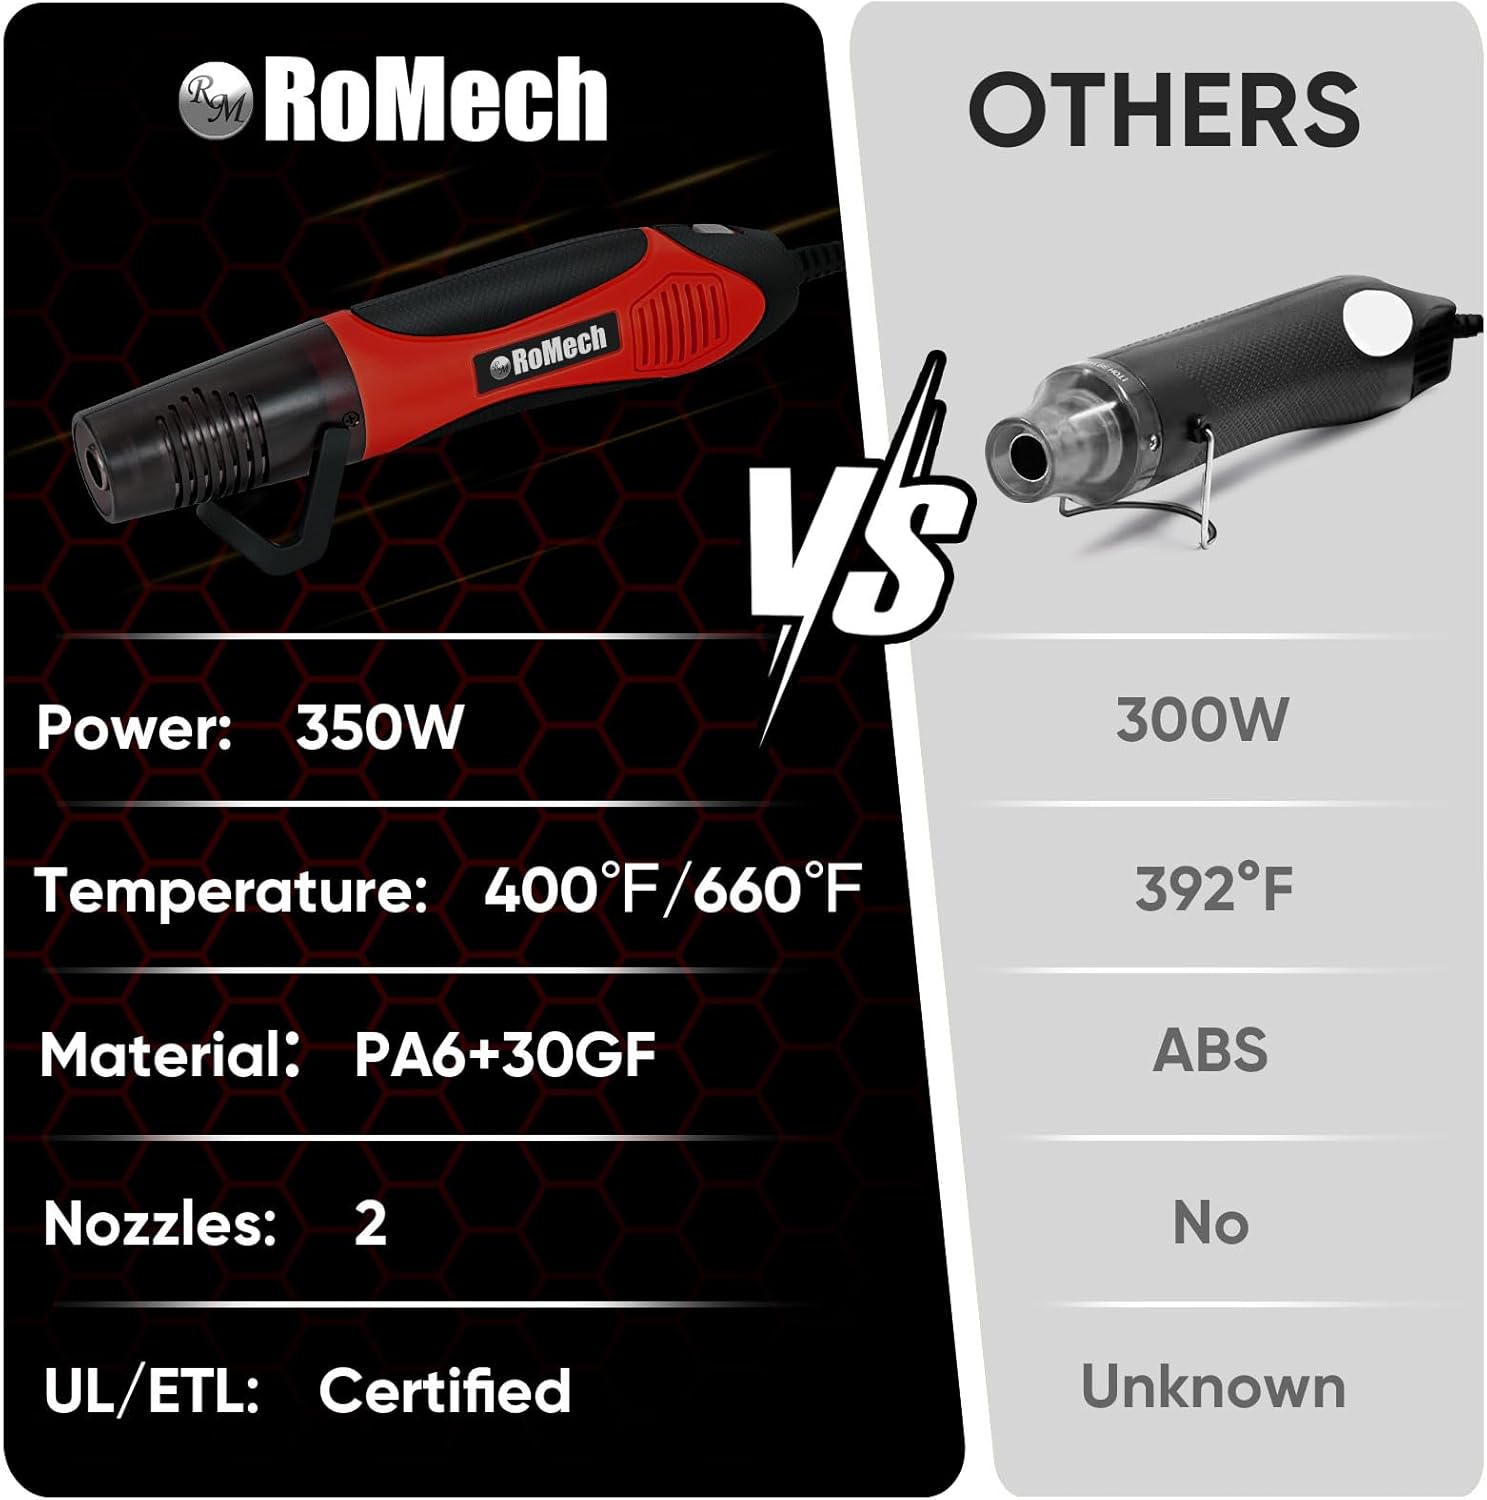
Image: Close-up view of the two accessory nozzles: a Flat Nozzle for wide heat application and a Reflector Nozzle for focused heat, demonstrating their use in different DIY scenarios.
Operating Instructions
The ROMECH 350W Heat Gun offers two temperature settings for various applications.
- Power On: Locate the power switch on the handle. Slide the switch to the first position (Level I) for the lower temperature setting.
- Select Temperature:
- Level I: Provides 400°F with 5.3 CFM (150L/MIN) airflow. Ideal for delicate work such as embossing, drying watercolors, or gentle heating.
- Level II: Slide the switch to the second position for 660°F with 7 CFM (200L/MIN) airflow. Suitable for larger-scale projects like shrink wrapping, paint removal, or soldering.
- Application: Direct the hot air flow towards your desired work area. Maintain a safe distance to prevent damage to the material or overheating.
- Power Off: When finished, slide the switch back to the 'OFF' position. Allow the heat gun to cool down completely on its stand before storing.

Image: A diagram illustrating the two temperature settings (Level I: 400°F, 5.3 CFM; Level II: 660°F, 7 CFM) and their corresponding airflow patterns.

Image: A collage demonstrating various uses of the heat gun, including repairing electronics, removing paint, making candles, and craft embossing.
Video: An official product video showcasing the ROMECH Mini Heat Gun, its features, and various applications in a concise overview.
Maintenance
Proper maintenance ensures the longevity and optimal performance of your heat gun.
- Cleaning: After each use, ensure the heat gun is unplugged and completely cool. Wipe the exterior with a clean, damp cloth. Do not use abrasive cleaners or solvents.
- Nozzle Care: Remove the nozzles and clean any residue from them. Ensure the air vents are clear of dust and debris to maintain proper airflow.
- Storage: Store the heat gun in a dry, dust-free environment. Use the built-in stand to keep the hot nozzle elevated and prevent damage to surfaces.
- Cord Inspection: Regularly inspect the power cord for any signs of damage, cuts, or fraying. If damaged, do not use the heat gun and contact customer support.
Troubleshooting
If you encounter any issues with your ROMECH Heat Gun, refer to the table below for common problems and solutions.
| Problem | Possible Cause | Solution |
|---|---|---|
| Heat gun does not turn on. | No power supply; switch in OFF position. | Check if plugged in correctly; ensure switch is set to Level I or II. |
| Heat gun stops working during use. | Overheating protection activated. | Unplug the unit and allow it to cool down for at least 15-20 minutes before restarting. Ensure air vents are clear. |
| Insufficient heat output. | Incorrect temperature setting; blocked air vents. | Ensure switch is on Level II for higher heat; clear any obstructions from air vents. |
| Nozzle is difficult to attach/remove. | Residue buildup or improper alignment. | Ensure the nozzle and heat gun outlet are clean. Align properly and apply gentle pressure. |
Specifications
Detailed technical specifications for the ROMECH 350W Heat Gun.
| Feature | Detail |
|---|---|
| Model Number | ROMECH-157 |
| Power | 350 Watts |
| Temperature Settings | Level I: 400°F (5.3 CFM / 150L/MIN) Level II: 660°F (7 CFM / 200L/MIN) |
| Material | PA6+GF30 (Impact-resistant body), Copper (Internal components) |
| Weight | 12.8 ounces |
| Dimensions | 10.63 x 3.54 x 2.52 inches (Package) |
| Safety Features | Overload Protection, UL/ETL Certified Power Cord, Protective Nozzle Guard |
| Included Nozzles | 2 (Flat Nozzle, Reflector Nozzle) |
| Country of Origin | China |

Image: A comparison chart highlighting the ROMECH heat gun's specifications (350W power, 400°F/660°F temperature, PA6+30GF material, 2 nozzles, UL/ETL certified) against generic alternatives.
Warranty & Support
ROMECH is committed to the quality of its products. Your ROMECH 350W Heat Gun comes with a comprehensive warranty and dedicated customer support.
- Warranty: We provide a 12-month warranty from the date of purchase. This warranty covers manufacturing defects and issues arising from normal use.
- Money-Back Guarantee: Enjoy a 30-day money-back guarantee if you are not satisfied with your purchase.
- Customer Support: For any questions, concerns, or warranty claims, please contact ROMECH customer service. Our team is dedicated to providing 100% satisfaction and risk-free shopping.
For further assistance, please visit the official ROMECH Store on Amazon: ROMECH Store
Ask a question about this manual
Ask about setup, troubleshooting, compatibility, parts, safety, or missing instructions. Manuals+ will review the question and use this page’s manual context to help answer it.