1. Product Overview
This manual provides instructions for the Timegyro Digital Alarm Clock, a versatile timekeeping device featuring both battery and DC power options, switchable LCD/LED display, adjustable brightness, and an alarm with snooze functionality. It is designed for indoor use and offers 12-hour and 24-hour time display modes.
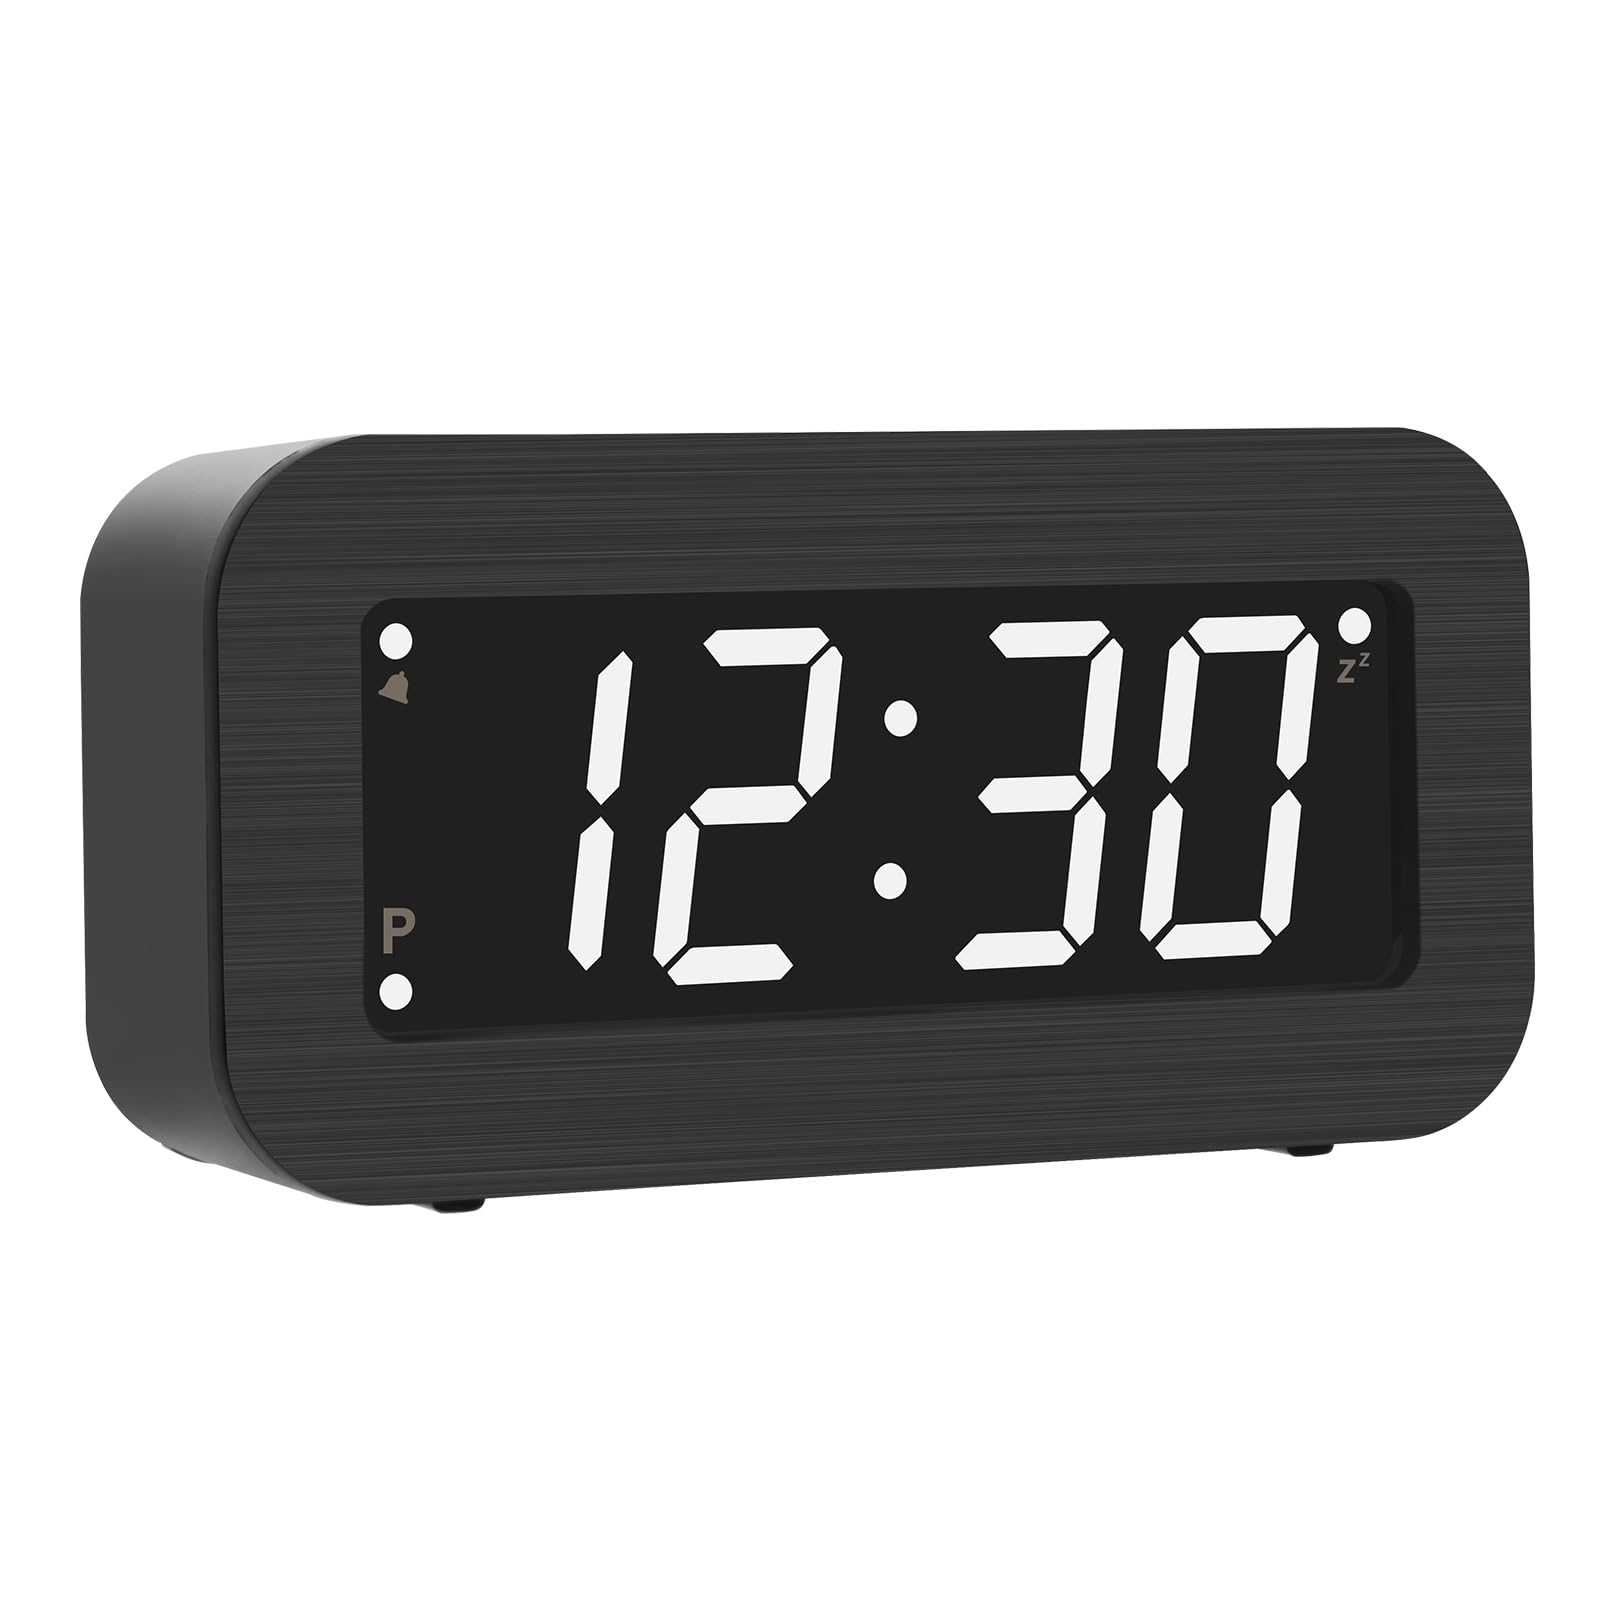
Image: Front view of the Timegyro Digital Alarm Clock displaying 12:30 with white digits.
2. Setup
2.1 Powering the Clock
The Timegyro Digital Alarm Clock can be powered in two ways:
- Battery Operation: Insert 2xAA batteries for basic operation or 4xAA batteries for extended use (up to 1 year or more for LED display, over 2 years for LCD display). Ensure correct polarity.
- DC Cable Operation: Connect the included 5V DC cable to the DC5V port on the back of the clock and plug it into a compatible USB power adapter (not included).

Image: Rear view of the clock, illustrating the battery compartment for 4xAA batteries and the DC5V input port. A DC cable is shown next to it.

Image: The alarm clock on a desk, highlighting its dimensions and the DC5V charging port. Text indicates recommending 4xAA batteries for longer use.
2.2 Initial Time Setting
Upon first power-up or after battery replacement, the clock may display a default time. Follow the operating instructions to set the correct time.
2.3 Wall Mounting (Optional)
The clock features a hanging hole on the back for wall mounting. Ensure the clock is securely mounted to prevent falling.

Image: Close-up of the back of the alarm clock, showing the circular hanging hole for wall mounting.
3. Operating Instructions
3.1 Setting Time (Hour/Minute)
- Press the TIME SET button on the back of the clock. The hour digits will flash.
- Use the HOUR button to adjust the hour.
- Press TIME SET again. The minute digits will flash.
- Use the MIN button to adjust the minutes.
- Press TIME SET a third time to confirm and exit time setting mode.
3.2 12/24 Hour Mode Selection
To switch between 12-hour and 24-hour display modes:
- Press the 12/24Hr button on the back of the clock.
- In 12-hour mode, "PM" will be displayed for afternoon hours. There is no "AM" indicator.

Image: The alarm clock showing examples of 10:30 in 12-hour format and 22:30 in 24-hour format.
3.3 Setting the Alarm
- Press the AL SET button on the back of the clock. The alarm hour digits will flash.
- Use the HOUR button to adjust the alarm hour.
- Press AL SET again. The alarm minute digits will flash.
- Use the MIN button to adjust the alarm minutes.
- Press AL SET a third time to confirm and exit alarm setting mode.
3.4 Turning Alarm On/Off
To activate or deactivate the alarm:
- Press the AL ON/OFF button on the top of the clock. An alarm icon will appear on the display when the alarm is active.

Image: The alarm clock displaying 07:30, with indicators pointing to the AL ON/OFF button for alarm control and the SNOOZE/AL STOP button for snooze.
3.5 Snooze Function
When the alarm sounds:
- Press the large SNOOZE/AL STOP button on the top of the clock to activate snooze. The alarm will pause for 7 minutes and then sound again.
- The snooze function can be repeated up to 3 times.
- To stop the alarm completely, press any other button on the back of the clock, or let it ring for its full duration.

Image: The alarm clock displaying 07:30 with a hand pressing the SNOOZE/AL STOP button. A graphic illustrates the 7-minute snooze duration repeating 3 times.
3.6 Display Mode (LED/LCD) and Brightness Adjustment
The clock offers switchable display modes and brightness levels:
- Use the HIGH-LOW-LCD switch on the back of the clock to select:
- HIGH: Bright LED display.
- LOW: Dimmer LED display.
- LCD: Energy-saving LCD display. In this mode, pressing the Snooze button will temporarily illuminate the LED display for 10 seconds.
- Automatic Dimming: In LED mode, the clock automatically dims from 8:00 PM to 6:00 AM.
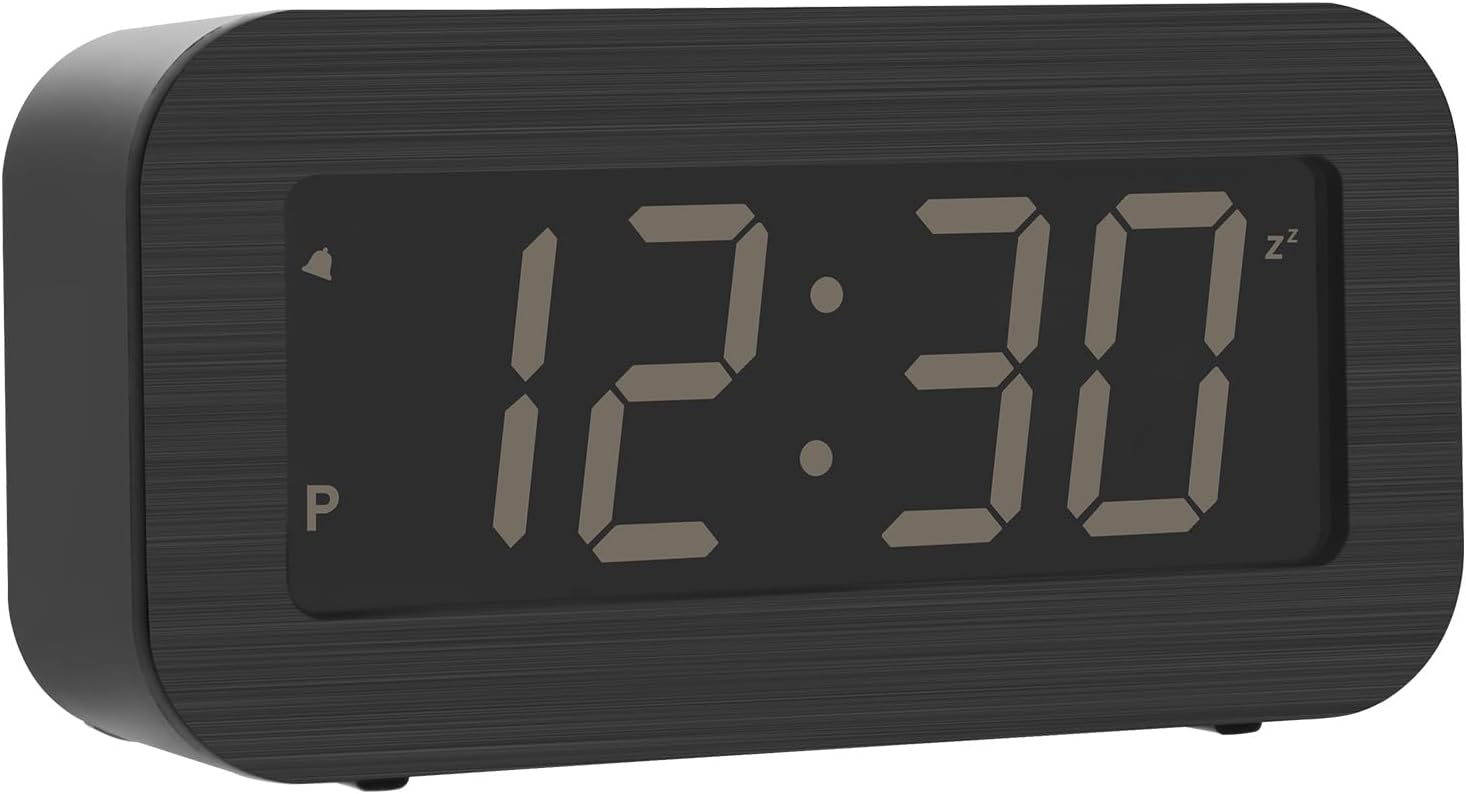
Image: Two views of the alarm clock, demonstrating the difference between the dimmer LCD display and the brighter LED display.

Image: The alarm clock displaying time, with an inset showing the HIGH, LOW, and LCD switch on the side for brightness and display mode control.

Image: The alarm clock displaying time, illustrating the automatic switch from bright LED display during the day to dimmer LCD display between 8:00 PM and 6:00 AM.
3.7 Flashing Dots Between Numbers
To enable or disable the flashing dots between the hour and minute digits:
- Press and hold the MIN AL ON/OFF button for 2 seconds. This will toggle the flashing dots on or off.
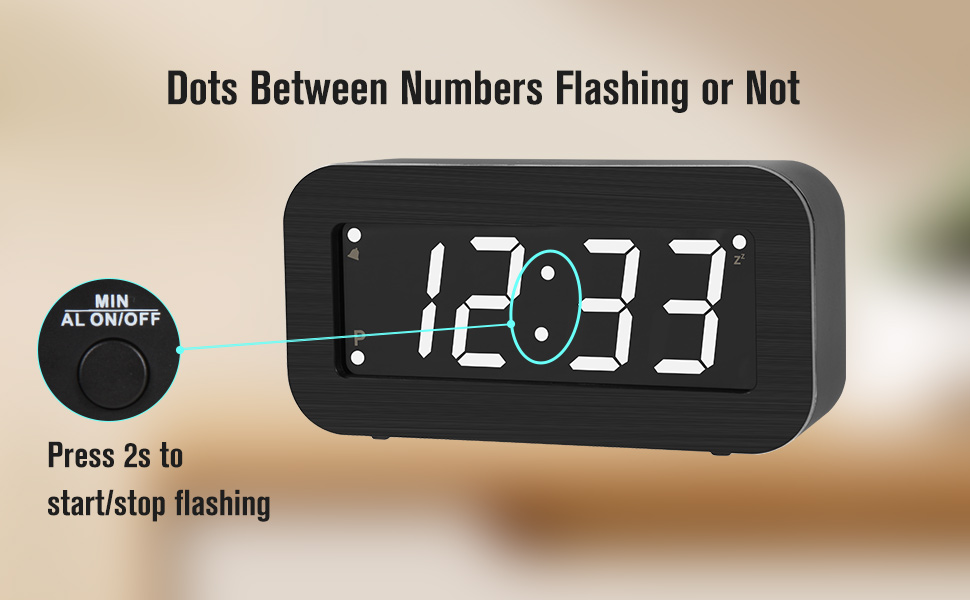
Image: The alarm clock displaying 12:33 with flashing dots, indicating to press the MIN AL ON/OFF button for 2 seconds to start or stop the flashing.
4. Maintenance
4.1 Cleaning
Wipe the clock with a soft, dry cloth. Do not use abrasive cleaners or solvents, as these may damage the finish or display.
4.2 Battery Replacement
When the display becomes dim or the clock stops functioning correctly on battery power, replace all batteries with new AA alkaline batteries. Ensure correct polarity during installation.
5. Troubleshooting
- Display is blank or dim:
- Check battery levels and replace if necessary.
- Ensure the DC cable is securely connected if using external power.
- Verify the HIGH-LOW-LCD switch is not set to LCD if you expect an LED display.
- Note that the LED display automatically dims between 8:00 PM and 6:00 AM.
- Alarm does not sound:
- Ensure the alarm is activated (alarm icon visible on display).
- Check that the alarm time is set correctly.
- The alarm sound may be faint for some users.
- Time is incorrect:
- Re-set the time following the "Setting Time" instructions.
- Ensure the 12/24Hr mode is set to your preference.
6. Specifications
| Brand | Timegyro |
| Model | B0CHV6D8JR |
| Display Type | Digital (LCD/LED Switchable) |
| Power Source | Battery Operated (2xAA or 4xAA, not included) / DC 5V Cable (included) |
| Special Features | Alarm, Snooze, Dual LED Brightness, 12/24Hr Mode, Auto-Dimming, Charging Port |
| Product Dimensions | 5.31"W x 2.75"H |
| Material | Acrylonitrile Butadiene Styrene (ABS) |
| Weight | 0.17 Kilograms |
7. Warranty and Support
For warranty information or technical support, please refer to the product packaging or contact the manufacturer directly through their official website or customer service channels. Keep your purchase receipt for warranty claims.