
waveshare ESP32-S3 Mini Development Board
Waveshare ESP32-S3 Mini Development Board User Manual
Model: ESP32-S3 Mini Development Board
1. Introduction
The Waveshare ESP32-S3 Mini Development Board is a compact and powerful microcontroller board based on the ESP32-S3FH4R2 dual-core processor. Designed for embedded applications, it integrates 2.4GHz Wi-Fi and Bluetooth 5 (LE) connectivity, along with onboard memory and a rich set of GPIO pins. This manual provides essential information for setting up, operating, and troubleshooting your development board.

Image 1.1: Top view of the Waveshare ESP32-S3 Mini Development Board, highlighting its compact size and USB-C port.
2. Key Features
- Equipped with Xtensa 32-bit LX7 dual-core processor, operating at up to 240MHz main frequency.
- Supports 2.4GHz Wi-Fi (802.11 b/g/n) and Bluetooth 5 (LE) for versatile wireless communication.
- Built-in 512KB SRAM and 384KB ROM, with onboard 4MB Flash memory and 2MB PSRAM for ample storage and processing.
- Castellated module design with an onboard ceramic antenna, suitable for direct soldering onto carrier boards.
- Features flexible clock and independent module power supply settings to optimize for low power consumption scenarios.
- Integrated USB serial port full-speed controller and 24 configurable GPIO pins.
- Multiple peripheral interfaces: 4x SPI, 2x I2C, 3x UART, 2x I2S, 2x ADC.
3. Technical Specifications
| Feature | Detail |
|---|---|
| Processor | Xtensa 32-bit LX7 dual-core (ESP32-S3FH4R2) |
| Main Frequency | Up to 240MHz |
| Wireless Connectivity | 2.4GHz Wi-Fi (802.11 b/g/n), Bluetooth 5 (LE) |
| SRAM | 512KB |
| ROM | 384KB |
| Flash Memory | 4MB |
| PSRAM | 2MB |
| GPIO Pins | 24 (configurable) |
| Interfaces | 4x SPI, 2x I2C, 3x UART, 2x I2S, 2x ADC, USB Type-C |
| Antenna | Onboard ceramic antenna |
| Power Supply | Flexible, independent settings for low power consumption |
4. Board Overview
This section details the main components and their locations on the ESP32-S3 Mini Development Board.

Image 4.1: Labeled components on the ESP32-S3 Mini Development Board.
- ESP32-S3FH4R2 Dual-Core Processor: The main processing unit, operating up to 240MHz.
- USB Type-C Port: Used for power supply, data communication, and programming.
- ME6217C33M5G Low Dropout (LDO) Regulator: Provides stable 3.3V power, up to 800mA (Max).
- WS2812 RGB LED: An addressable RGB LED for visual feedback.
- 2.4G Ceramic Antenna: Integrated antenna for Wi-Fi and Bluetooth connectivity.
- BOOT Button: Used to enter download mode for flashing firmware.
- RESET Button: Resets the board.
- ESP32-S3FH4R2 Pins: General Purpose Input/Output pins for connecting peripherals.
5. Pin Definition
The ESP32-S3 Mini Development Board offers a variety of pins for different functions. Refer to the diagram below for a detailed pinout, including UART, PWM, I2S, ADC, I2C, and SPI interfaces.

Image 5.1: Detailed pinout diagram of the ESP32-S3 Mini Development Board.
The diagram illustrates the various functions assigned to each pin, enabling flexible integration with external components and sensors. Note that GPIO21 is typically used for the onboard WS2812 RGB LED.
6. Setup Instructions
6.1. Software Environment
The ESP32-S3 Mini Development Board supports various programming environments, including C/C++ (using Arduino IDE or ESP-IDF) and MicroPython. Comprehensive SDKs, development resources, and tutorials are available from Espressif and Waveshare to assist with development.
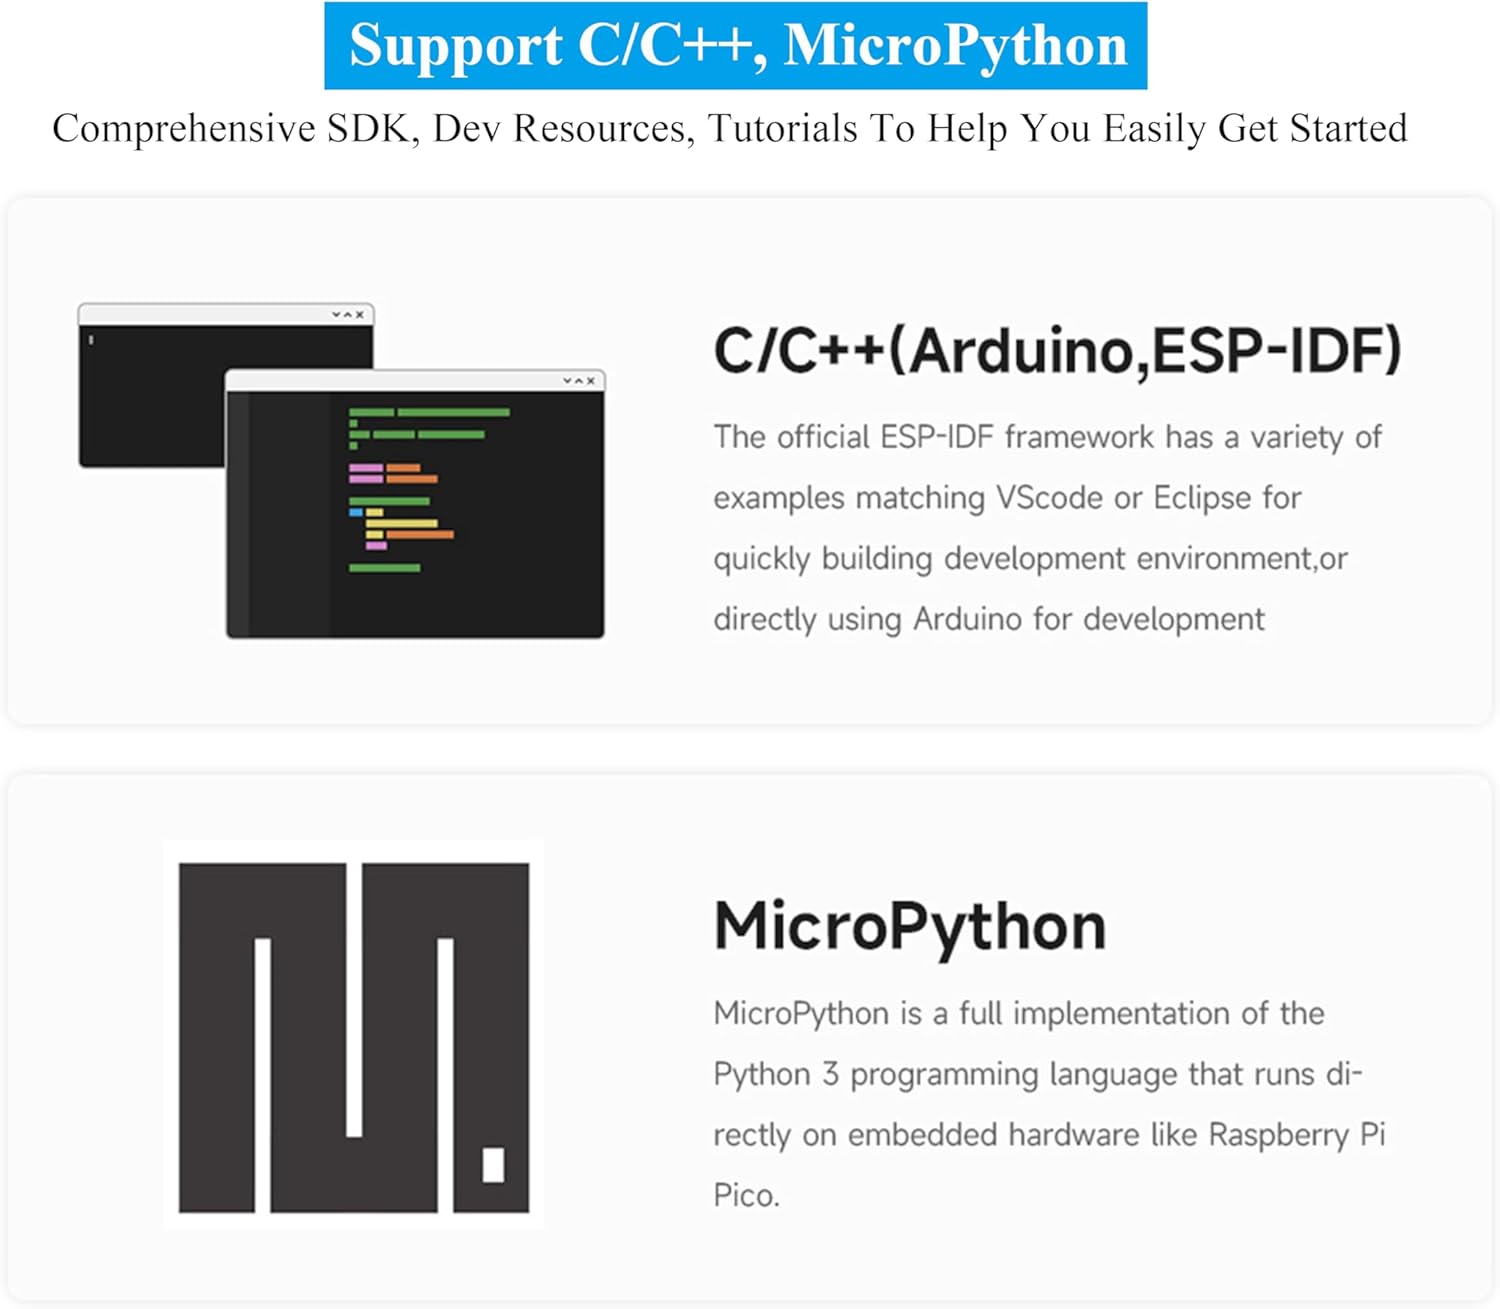
Image 6.1: Visual representation of C/C++ (Arduino, ESP-IDF) and MicroPython development support.
6.2. Connecting the Board
- Connect the ESP32-S3 Mini Development Board to your computer using a USB Type-C data cable.
- Ensure the necessary drivers for the USB serial port are installed on your operating system.
- Open your preferred Integrated Development Environment (IDE), such as Arduino IDE or VSCode with ESP-IDF extension.
7. Operating Instructions
7.1. Uploading Firmware
To upload code (firmware) to the ESP32-S3 Mini Development Board, follow these steps:
- Prepare your code in your chosen IDE (e.g., Arduino IDE).
- Before initiating the upload process, press and hold the BOOT button (labeled 6 in Image 4.1) on the board.
- While holding the BOOT button, connect the USB Type-C data cable to your computer (if not already connected) or initiate the upload from your IDE.
- Once the upload process begins, you can release the BOOT button.
- After the code is successfully uploaded, you may need to press the RESET button (labeled 7 in Image 4.1) to run the new firmware.
7.2. Using the Serial Monitor
To view serial output from your program:
- Ensure your board is connected and running your program.
- Open the Serial Monitor in your IDE.
- If the monitor does not display output, press the RESET button on the board to restart the program and initiate serial communication.
8. Outline Dimensions
The physical dimensions of the ESP32-S3 Mini Development Board are provided below for integration planning.

Image 8.1: Outline dimensions of the ESP32-S3 Mini Development Board (Unit: mm).
- Width: Approximately 18.00 mm
- Length: Approximately 23.50 mm
9. Troubleshooting
- Board Not Detected / Upload Errors: Ensure the USB Type-C cable is a data cable and not just a charging cable. Verify that the correct board and port are selected in your IDE. Remember to hold the BOOT button during the upload process as described in Section 7.1.
- Serial Monitor Issues: If the serial monitor shows garbled text or no output, check the baud rate setting in your IDE to ensure it matches the baud rate configured in your code. Pressing the RESET button after upload can also help initiate serial communication.
- Firmware Not Running After Upload: After a successful upload, press the RESET button to ensure the new firmware starts executing.
- Issues Saving Files or Loading Libraries (MicroPython): Refer to the official MicroPython documentation for ESP32-S3 for specific instructions on file management and library installation. Ensure sufficient memory is available.
- Board Gets Warm: Some warmth during operation is normal, especially under heavy load or when using Wi-Fi/Bluetooth. Excessive heat might indicate a short circuit or incorrect wiring. Disconnect power immediately and inspect connections.
- General Instability: Ensure your power supply is stable and sufficient. Check all connections for proper contact. Consult the Waveshare Wiki or Espressif documentation for known issues and solutions.
10. Package Contents
The standard package for the ESP32-S3 Mini Development Board includes:
- ESP32-S3-Zero x1
11. Support and Resources
For further assistance, detailed documentation, and community support, please refer to the following resources:
- Waveshare Wiki: The official Waveshare website often provides extensive documentation, examples, and tutorials for their products.
- Espressif Documentation: For in-depth technical details on the ESP32-S3 chip, including datasheets, programming guides, and SDKs, visit the official Espressif website.
- Community Forums: Online forums and communities dedicated to ESP32 development can be valuable resources for troubleshooting and project ideas.
Related documentsESP32-S3 Mini Development Board


Ask a question about this manual
Ask about setup, troubleshooting, compatibility, parts, safety, or missing instructions. Manuals+ will review the question and use this page’s manual context to help answer it.