Introduction
Thank you for choosing the Hzuaneri 8-Tier Vertical Shoe Rack. This manual provides essential information for the safe assembly, operation, and maintenance of your new shoe rack. Please read it thoroughly before use and retain it for future reference.

Image: The Hzuaneri 8-Tier Vertical Shoe Rack, featuring a greige and black design, suitable for various home environments.
Safety Information
- For safety reasons, always attach the product to the wall using the tilt protection kit supplied.
- For safety reasons, children must not climb on or play with the product.
- Do not exceed the maximum weight capacity of 11 lb (5 kg) per shelf or 88 lb (40 kg) total.
- Ensure all screws and fasteners are securely tightened before use.
Package Contents
Please verify that all components are present before beginning assembly:
- 1 x Shoe Rack (disassembled components)
- 1 x Accessory Kit (screws, connectors, etc.)
- 1 x Anti-Tip Kit (wall anchors, strap)
- 1 x Instruction Manual (this document)
Specifications
| Model Name | Vertical Shoe Rack |
| Model Number | SR04305B |
| Dimensions (D x W x H) | 11.8" x 10.4" x 53.2" (30cm x 26.4cm x 135.1cm) |
| Number of Shelves | 8 |
| Material | Engineered Wood, Metal |
| Color | Greige and Black |
| Weight Limit (per shelf) | 11 lb (5 kg) |
| Total Weight Capacity | 88 lb (40 kg) |
| Installation Type | Freestanding |

Image: Detailed product dimensions and individual shelf weight capacity.
Setup (Assembly Instructions)
Assembly is straightforward. Each part is clearly labeled to simplify the process. An accessory kit and anti-tip kit are included.
- Unpack Components: Carefully remove all parts from the packaging. Lay them out and compare them against the included parts list to ensure nothing is missing or damaged.
- Attach Non-Slip Mats: Secure the provided non-slip mats to the bottom of the base frame to protect your floor and enhance stability.
- Assemble Frame: Connect the metal frame pieces according to the instructions, using the screws from the accessory kit. Ensure all connections are firm.
- Install Shelves: Place the engineered wood shelves onto the frame. The shelves are designed to fit securely.
- Attach Hooks: If desired, attach the two metal hooks to the top side rails of the rack for hanging items.
- Install Anti-Tip Kit: For safety, always secure the shoe rack to a wall using the provided anti-tip kit. Follow the specific instructions included with the kit for proper installation.


Image: Components for safety and convenience, including the anti-tip kit, hooks, and non-slip mats.
Operating Instructions
The Hzuaneri Vertical Shoe Rack is designed for versatile storage in various spaces.
- Shoe Storage: Utilize the 8 tiers to organize shoes of various sizes. The narrow design is ideal for small spaces like entryways, living rooms, bedrooms, corridors, and garages.
- Adjustable Shelves: The shelves can be adjusted to accommodate items of different heights, such as boots or taller decorative objects. This allows for customization based on your storage needs.
- Multi-purpose Use: Beyond shoes, the rack can function as a plant stand, a display shelf for photos or books, or for storing other small items.
- Integrated Hooks: The two hooks on the top side of the rack provide additional storage for hanging items like umbrellas, keys, or small bags.

Image: Illustration of how shelves can be adjusted to create different height clearances for various items.
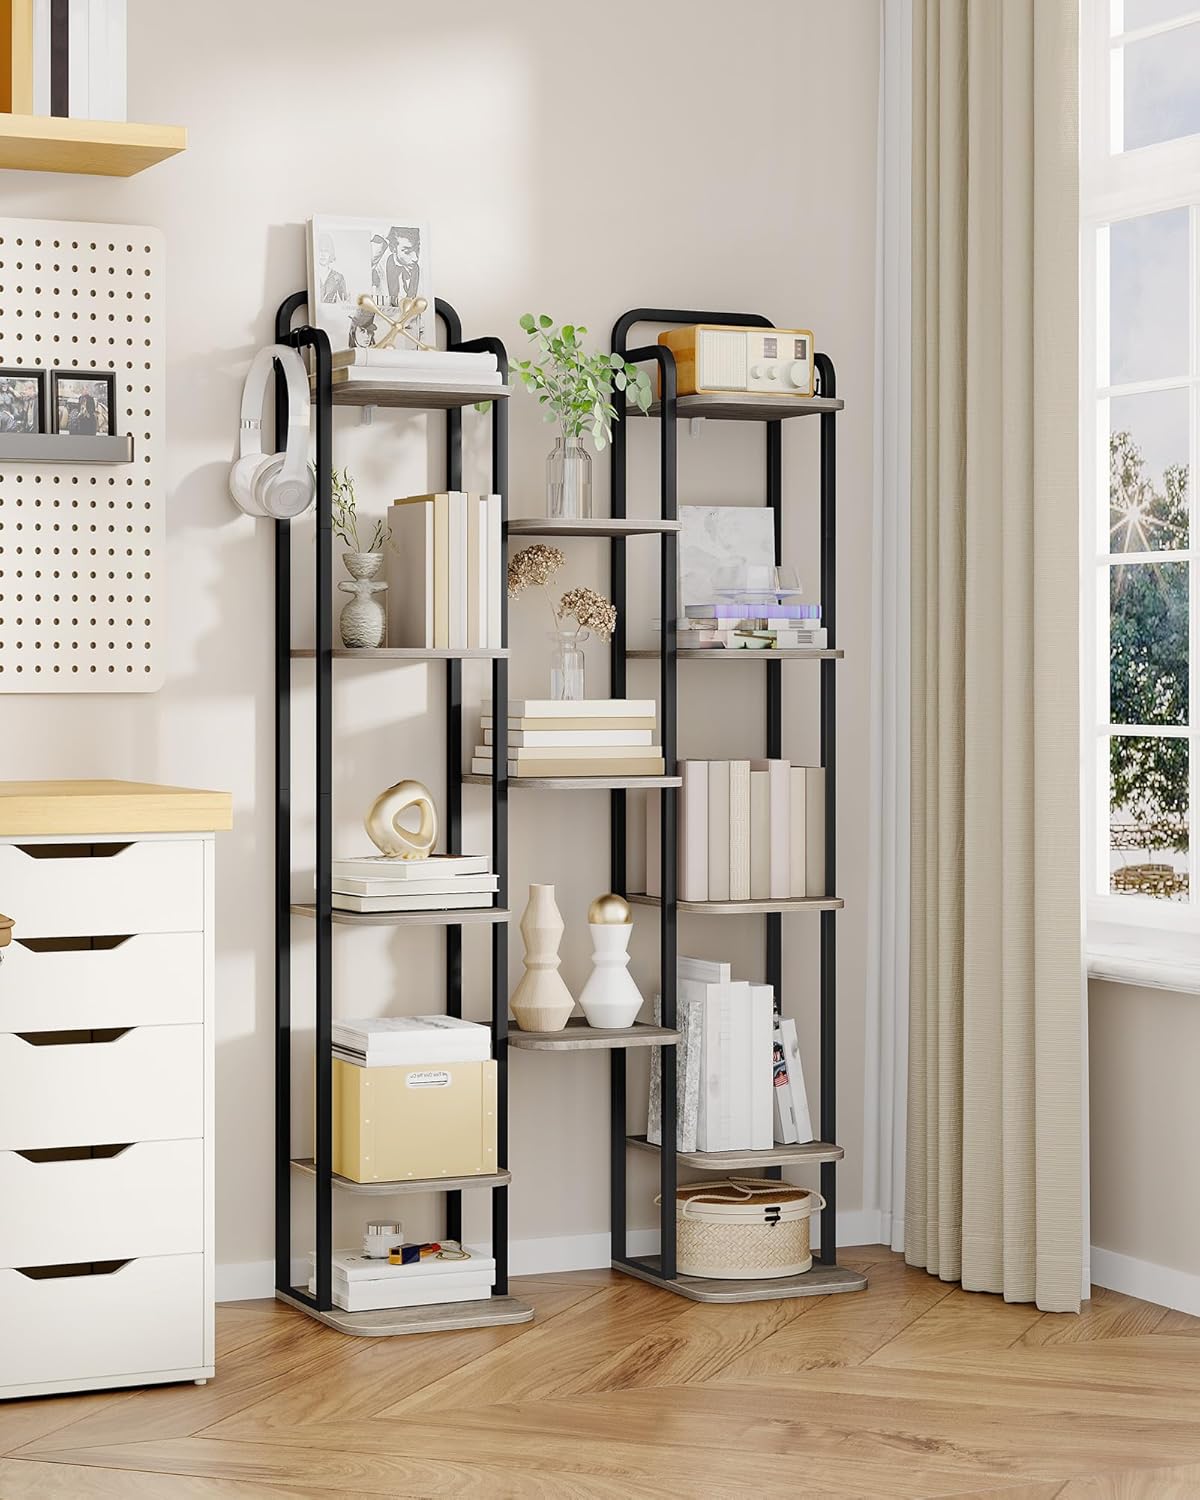
Image: The shoe rack repurposed as a versatile storage unit for books and decorative items, demonstrating its adaptability.
Maintenance
To ensure the longevity and appearance of your shoe rack:
- Cleaning: Wipe the surfaces with a dry cloth. Avoid using harsh chemicals or abrasive cleaners that may damage the finish.
- Regular Inspection: Periodically check all screws and connections to ensure they remain tight. Re-tighten if necessary.
- Stability: Ensure the anti-tip kit remains securely fastened to the wall.
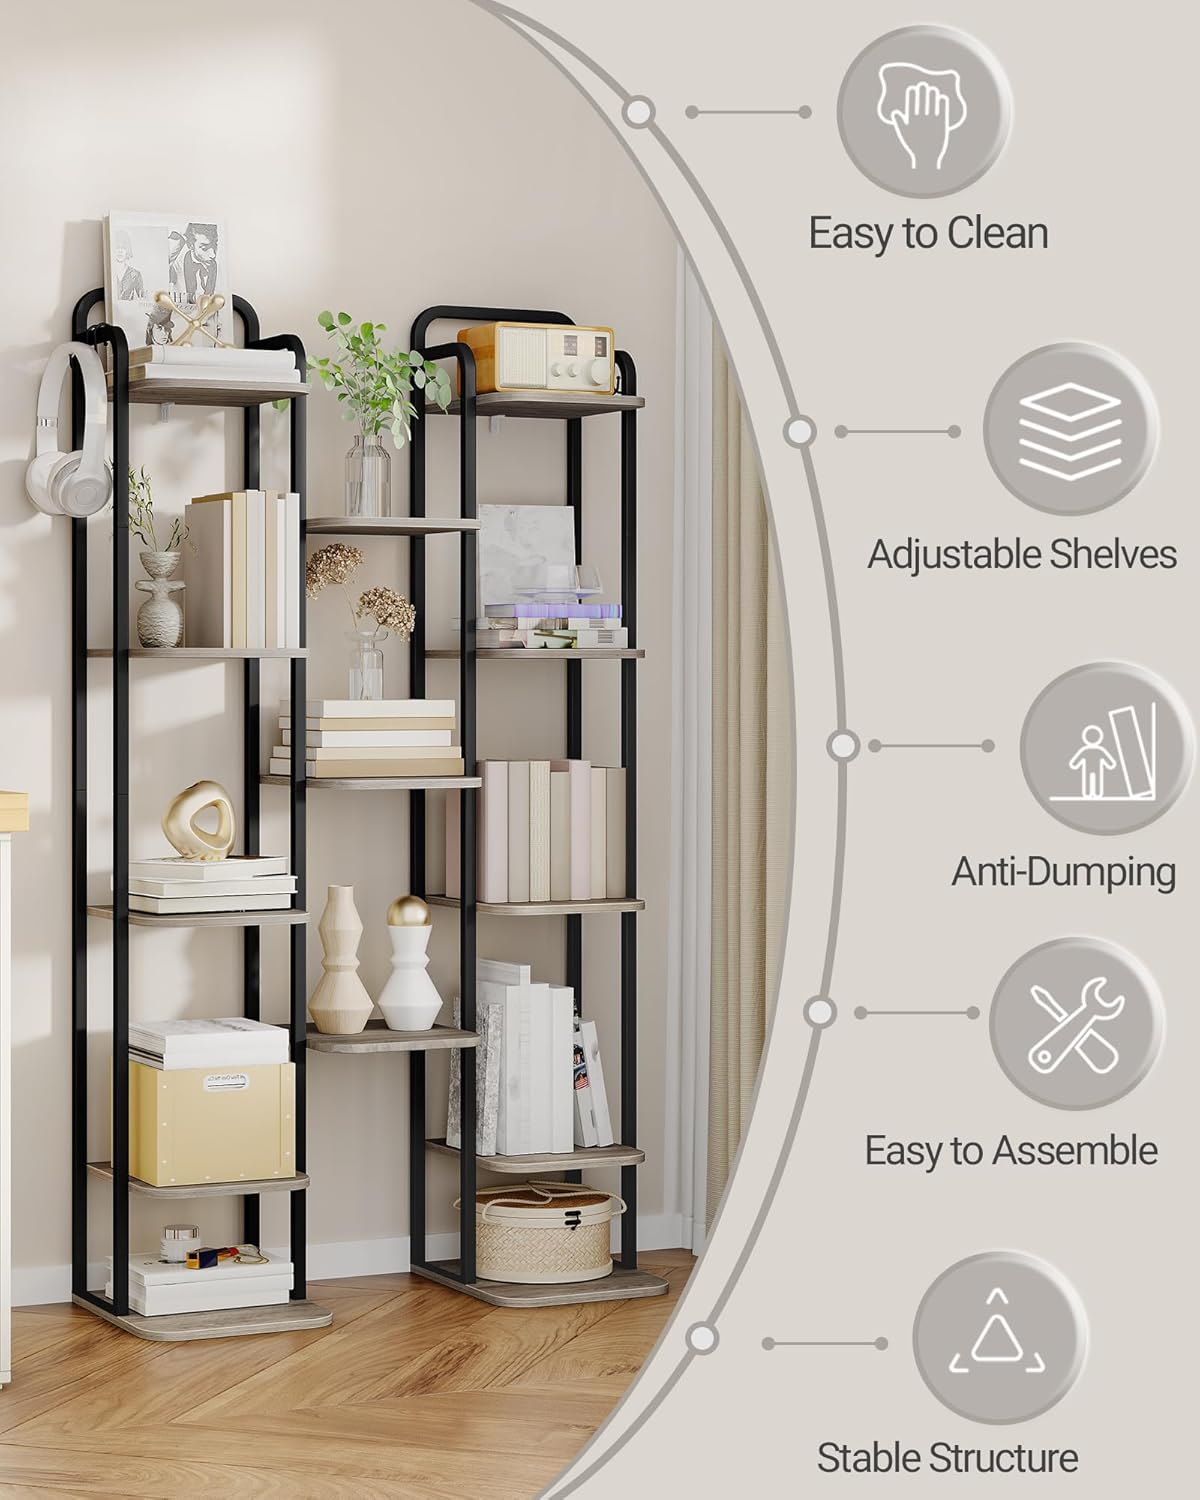
Image: Overview of key features, including ease of cleaning and structural stability.
Troubleshooting
- Rack feels unstable: Ensure all screws are fully tightened. Verify that the anti-tip kit is correctly installed and secured to a sturdy wall. Distribute weight evenly across the shelves.
- Shoes do not fit on shelves: The shelves are adjustable. If you have taller shoes or boots, adjust the shelf height by repositioning the shelves to create more vertical space.
- Missing parts: If any parts are missing from your package, please contact Hzuaneri customer support immediately.
Warranty and Support
For specific warranty information or if you encounter any issues not covered in this manual, please contact Hzuaneri customer support. Our team is available to assist you with product inquiries, replacement parts, or any other support needs.
Visit the official Hzuaneri store for more information: Hzuaneri Store