MELCAM Digital Picture Frame
MELCAM 10.5-Inch 1080p Digital Picture Frame User Manual
Model: 10.5-Inch 1080p Digital Picture Frame (ASIN: B0CHRTWHLM)
1. Introduction
Thank you for purchasing the MELCAM 10.5-Inch 1080p Digital Picture Frame. This device allows you to display your favorite photos and videos with clarity and ease. This manual provides detailed instructions for setting up, operating, and maintaining your digital picture frame to ensure optimal performance and longevity.
2. Important Safety Information
- Read all instructions carefully before use.
- Keep the device away from water, moisture, and high humidity.
- Do not expose the device to direct sunlight or extreme temperatures.
- Use only the provided power adapter. Using an unauthorized adapter may damage the device and void the warranty.
- Do not attempt to disassemble or repair the device yourself. Refer all servicing to qualified personnel.
- Keep out of reach of children.
- Unplug the device during lightning storms or when unused for long periods.
3. Package Contents
Please check the package for the following items:
- MELCAM 10.5-Inch Digital Picture Frame
- Power Adapter
- Remote Control
- User Manual (this document)
4. Product Overview
Familiarize yourself with the components of your digital picture frame.
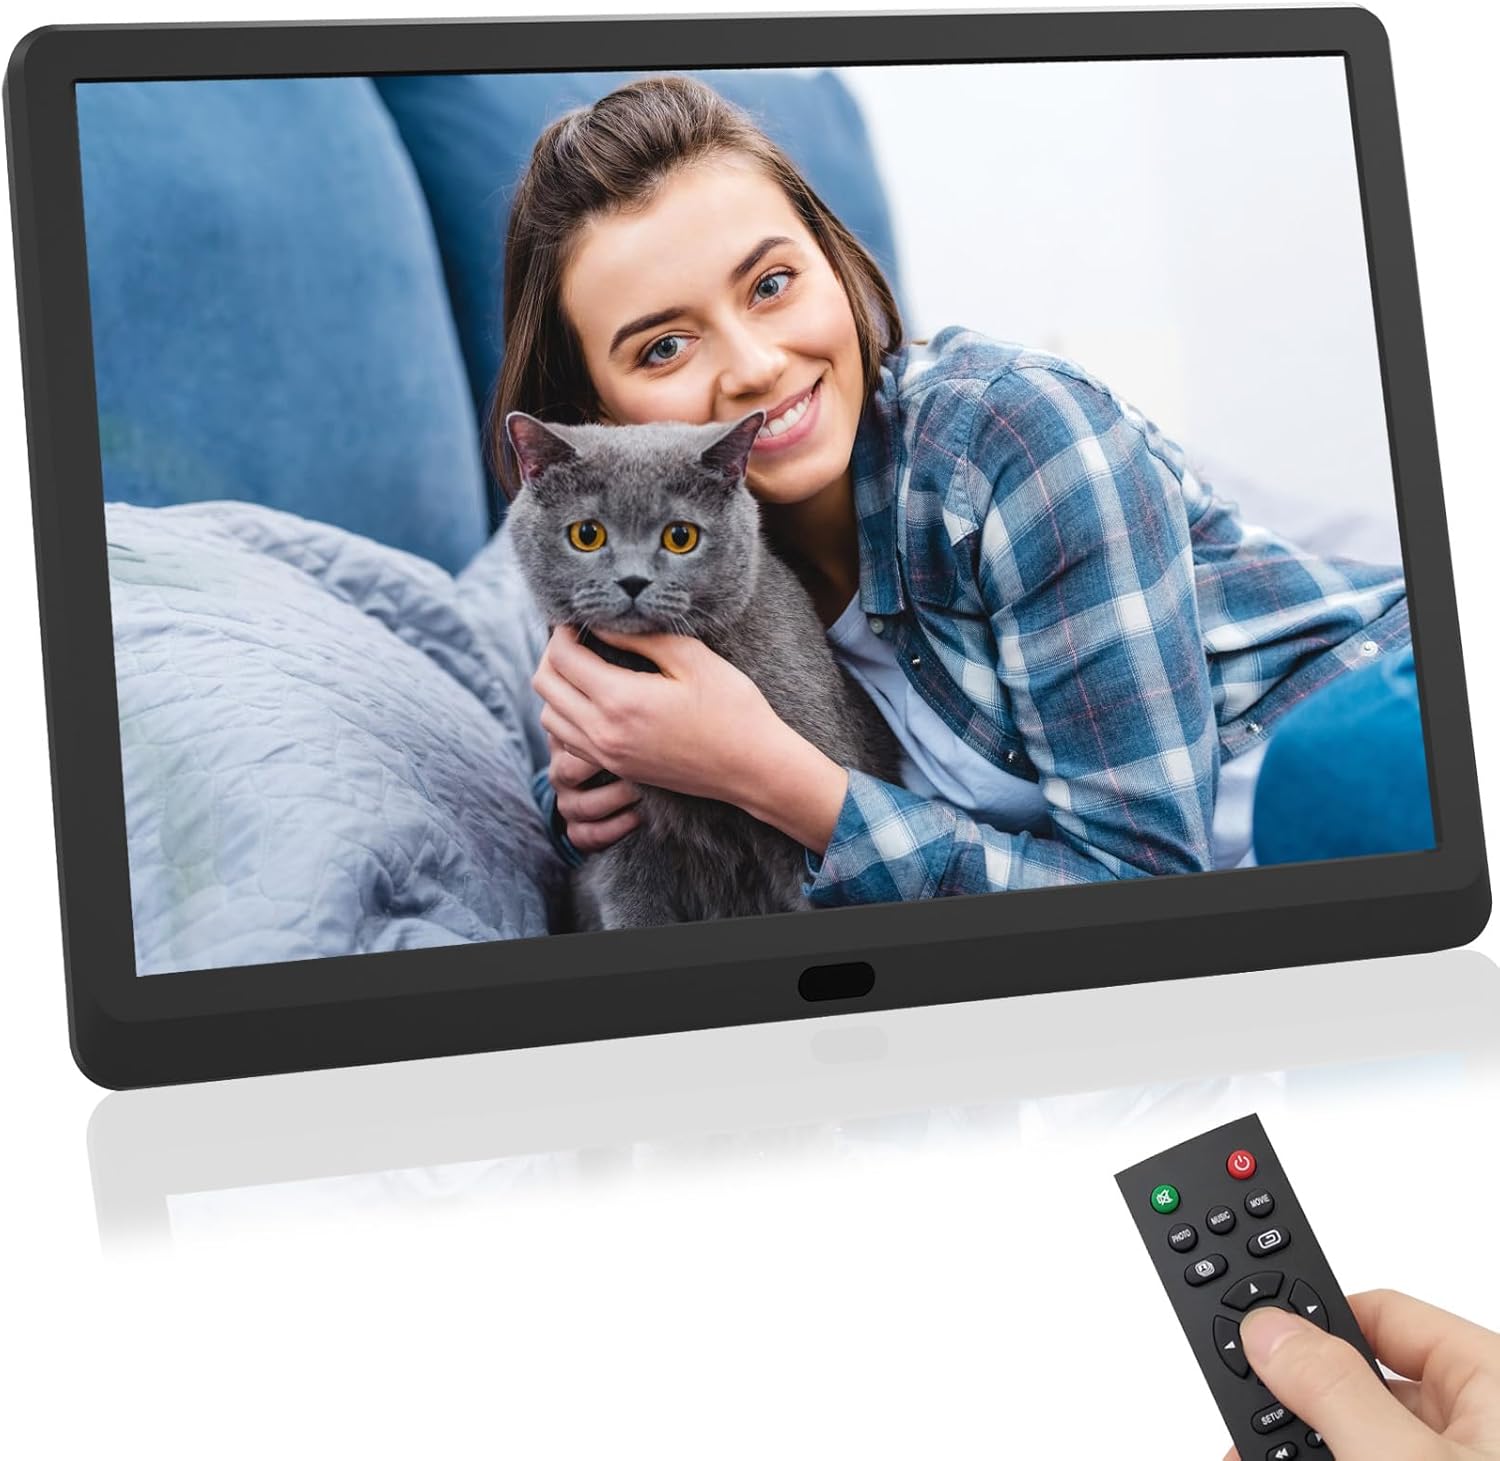
Figure 1: Front view of the MELCAM 10.5-Inch Digital Picture Frame, displaying an image of a woman holding a cat. A remote control is shown in the foreground, held by a hand.
4.1. Frame Components
- Display Screen: 10.5-inch 1080p HD display for photos and videos.
- Power Port: Connects to the power adapter.
- USB Port: For connecting USB flash drives.
- SD Card Slot: For inserting SD/MMC memory cards.
- Control Buttons: Basic navigation buttons on the back or side.
4.2. Remote Control
The remote control provides convenient access to all functions. It typically includes buttons for power, menu, navigation (up, down, left, right, OK), exit, volume, and media type selection (photo, music, movie).
5. Setup
- Unpack: Carefully remove all components from the packaging.
- Position: Place the digital picture frame on a stable, flat surface.
- Power Connection: Connect the power adapter to the DC IN port on the frame, then plug the adapter into a wall outlet. The frame should power on automatically or can be turned on using the power button on the frame or remote.
- Insert Media: Insert a USB flash drive into the USB port or an SD/MMC card into the SD card slot. Ensure the media contains compatible photo (JPEG, BMP, PNG) or video (MP4, AVI, MOV) files.
- Remote Control Battery: If the remote control is not working, check if the battery is correctly inserted or needs replacement.
6. Operating Instructions
6.1. Basic Navigation
- Use the Arrow buttons on the remote or frame to navigate through menus and options.
- Press the OK button to confirm a selection.
- Press the EXIT or RETURN button to go back to the previous menu or exit the current function.
6.2. Media Playback
- From the main menu, select Photo, Music, or Movie using the remote control.
- Navigate to the desired file or folder on your inserted USB drive or SD card.
- Press OK to start playback or slideshow.
- During photo slideshow, you can adjust transition speed and effects via the settings menu.
6.3. System Settings
Access the SETUP menu to customize various frame settings:
- Display Settings: Adjust brightness, contrast, and aspect ratio.
- Slideshow Settings: Configure slideshow interval, transition effects, and repeat mode.
- Time & Date: Set the current time and date.
- Language: Select your preferred language for the menu interface.
- Alarm/Calendar: Utilize built-in alarm clock and calendar functions.
- Auto Play: Set the frame to automatically play photos, music, or videos upon startup.
7. Maintenance
- Cleaning the Screen: Gently wipe the screen with a soft, lint-free cloth. For stubborn marks, slightly dampen the cloth with water or a screen cleaner designed for electronics. Do not spray liquid directly onto the screen.
- Cleaning the Frame: Use a soft, dry cloth to wipe the frame's exterior.
- Storage: When not in use for extended periods, unplug the frame and store it in a cool, dry place, away from direct sunlight.
8. Troubleshooting
| Problem | Possible Solution |
|---|---|
| Frame does not power on. |
|
| No image or video displayed. |
|
| Remote control is not working. |
|
| Images appear rotated or distorted. |
|
9. Specifications
| Feature | Detail |
|---|---|
| Brand | MELCAM |
| Model | Digital Picture Frame |
| Screen Size | 10.5 Inches |
| Resolution | 1080p (1920x1080) |
| Compatible Devices | USB, SD/MMC Cards |
| Product Dimensions | 11 x 6 x 0.99 inches |
| Item Weight | 1.98 pounds |
| Batteries Required | No (for frame); Yes (for remote, typically CR2025) |
10. Warranty and Support
For warranty information or technical support, please refer to the documentation included with your purchase or contact MELCAM customer service. Keep your purchase receipt as proof of purchase.
For further assistance, you may visit the official MELCAM store page: MELCAM Store