Aceshop 0328
Aceshop Large LED Display Alarm Clock User Manual
Model: 0328
Brand: Aceshop
1. Introduction
Thank you for choosing the Aceshop Large LED Display Alarm Clock. This digital clock features a clear 9.1-inch LED display, making it easy to read from various distances and angles, even at night. It is designed for versatile placement, suitable for both wall mounting and desktop use. This manual provides detailed instructions to help you set up, operate, and maintain your new alarm clock.

Figure 1.1: The Aceshop Large LED Display Alarm Clock, displaying the time 22:07 with alarm indicators and day of the week.
2. Key Features
- Large 9.1-inch LED Display: Provides clear and easy-to-read digits from a distance.
- Adjustable Brightness: Features 3 levels of brightness adjustment to suit your needs.
- Automatic Night Mode: Automatically dims the display between 10:00 PM and 6:00 AM.
- Dual Alarms: Allows setting two separate wake-up times.
- Snooze Function: Provides extra sleep time after the alarm sounds.
- 3 Alarm Modes: Choose between Monday-Friday, Monday-Saturday, or Monday-Sunday alarm schedules.
- 12/24 Hour Format: Supports both time display formats.
- DST Support: Compatible with Daylight Saving Time adjustments.
- Versatile Power Options: Can be powered by USB cable or 3 AAA batteries (not included).
- Wall Mountable & Desktop Placement: Flexible installation options.

Figure 2.1: Overview of the clock's dimensions (9.1 inches wide) and key features including 9.1-inch display, adjustable brightness, date/week display, alarm, 12/24H format, big digits, DST support, night modes, and temperature display.
3. Setup
3.1 Powering the Device
The alarm clock can be powered in two ways:
- USB Cable (Included): For continuous display, connect the provided USB cable to a 5V USB power adapter (not included) and plug it into a power outlet. When powered by USB, the digital clock display will remain on constantly.
- 3 AAA Batteries (Not Included): For time memory and voice control functions, insert 3 AAA batteries into the battery compartment. Note that when using batteries alone, the screen will not stay on all the time; it will activate with voice control or button press.
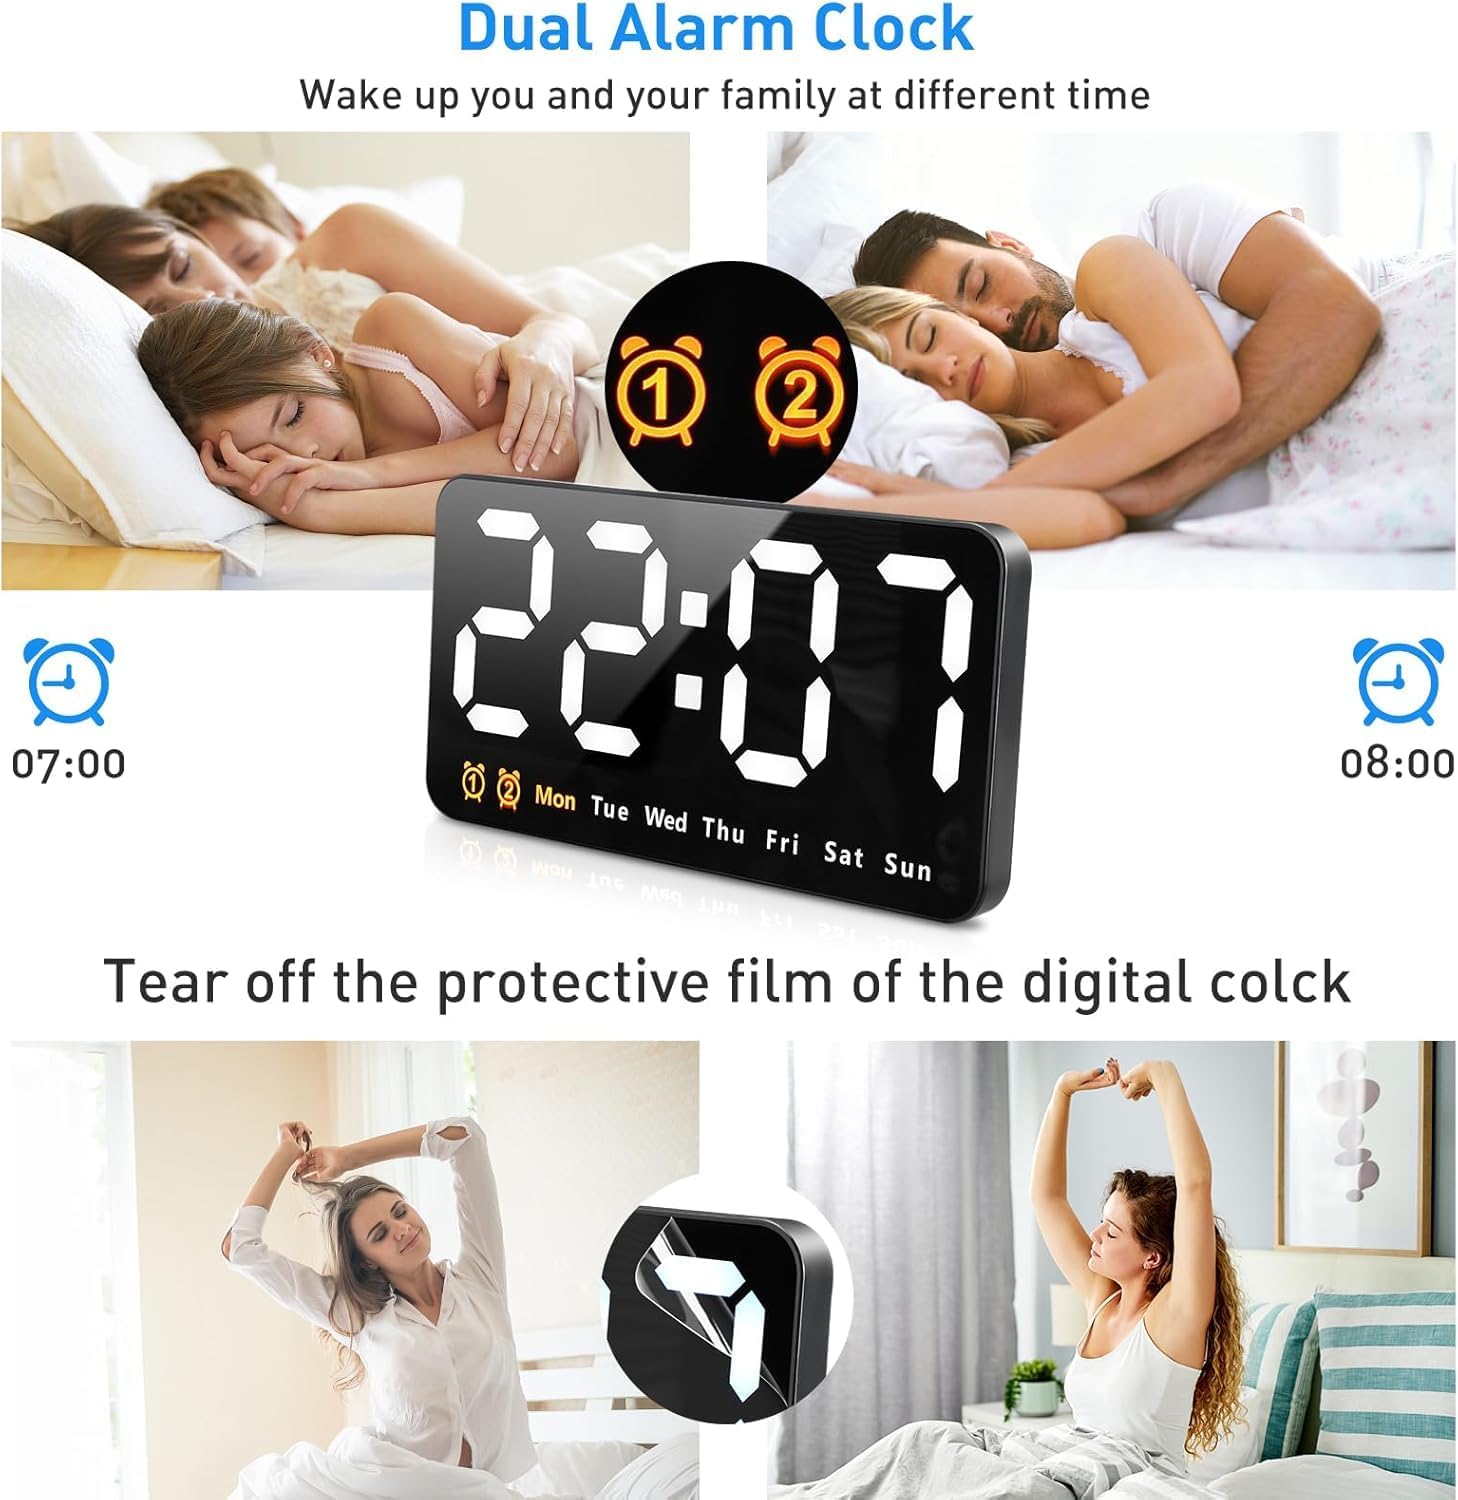
Figure 3.1: Illustration of the power options. The note clarifies that with USB, the display is always on, while with batteries, the screen will not stay on continuously.
3.2 Initial Placement
The clock is designed for flexible placement:
- Wall Mounting: Use the integrated keyholes on the back of the clock to hang it securely on a wall.
- Desktop Placement: The clock has a stable base allowing it to stand freely on any flat surface, such as a desk or nightstand.

Figure 3.2: The clock displayed as a wall digital clock and a desk digital clock, demonstrating its versatile placement options.
3.3 Removing Protective Film
Before first use, gently peel off any protective film from the display to ensure optimal clarity and brightness.
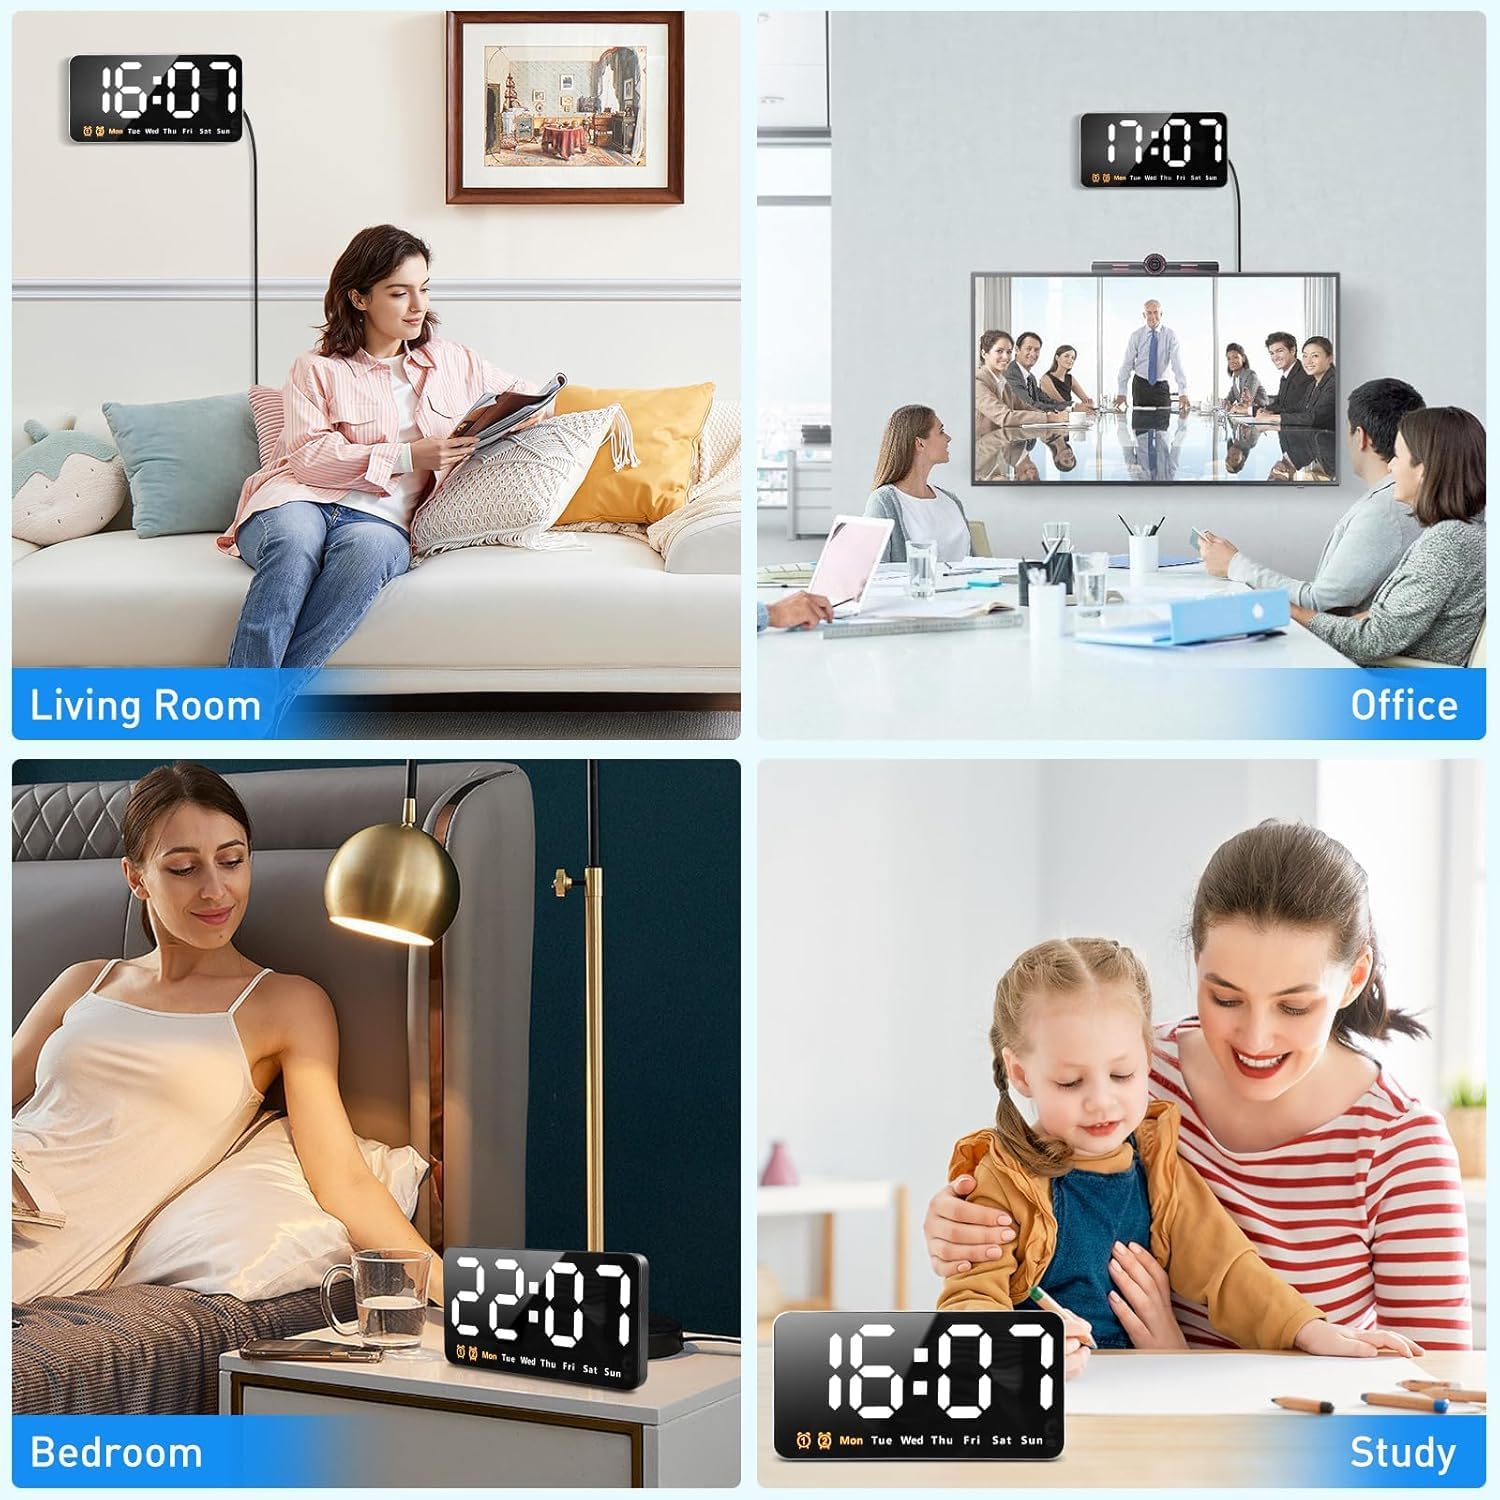
Figure 3.3: A visual guide on how to remove the protective film from the digital clock's display for clear viewing.
4. Operating Instructions
4.1 Setting Time and Date
Refer to the buttons on the back or side of the clock. Typically, there are buttons labeled 'SET', 'UP', 'DOWN', or similar. Press 'SET' to enter time setting mode, then use 'UP'/'DOWN' to adjust hours, minutes, and date. Press 'SET' again to confirm each setting.
4.2 Brightness Adjustment
The clock offers 3 levels of brightness. Locate the 'BRIGHTNESS' or 'LIGHT' button. Press it repeatedly to cycle through the brightness levels (e.g., L-01, L-02, L-03). The clock also features an automatic dimming function, reducing brightness between 10:00 PM and 6:00 AM for comfortable viewing at night.

Figure 4.1: The clock demonstrating its 3 brightness adjustments: L-01 (brightest), L-02 (medium), and L-03 (dimmest).
4.3 Alarm Settings
The clock supports two independent alarms and a snooze function.
- Setting Alarms: Locate the 'ALARM' or 'AL' button. Press it to select Alarm 1 or Alarm 2. Use 'UP'/'DOWN' to set the desired wake-up time.
- Alarm Modes: Choose from 3 alarm modes to suit your schedule:
- 1-5: Alarm sounds Monday to Friday.
- 1-6: Alarm sounds Monday to Saturday.
- 1-7: Alarm sounds Monday to Sunday (every day).
- Snooze Function: When an alarm sounds, short press any button to activate the snooze function. The alarm will sound again after a set interval (e.g., 5 minutes).
- Turning Off Alarm: To turn off an alarm completely, long press any button (typically for 3 seconds) when the alarm is sounding. If no action is taken for 5 seconds, the alarm will automatically exit.

Figure 4.2: Visual representation of the three available alarm modes: Monday to Friday, Monday to Saturday, and Everyday.
Figure 4.3: Illustration of the dual alarm clock feature, allowing two separate wake-up times for different individuals.
4.4 12/24 Hour Format
The clock supports both 12-hour and 24-hour time formats. Look for a dedicated button or a setting option within the time setting mode to switch between these formats.
4.5 DST Support
The plug-in LED digital wall clock supports Daylight Saving Time (DST). Consult the specific button or menu option for DST adjustment, usually indicated by 'DST' or a sun icon.
5. Maintenance
5.1 Cleaning
To clean the clock, gently wipe the display and casing with a soft, dry, or slightly damp cloth. Do not use abrasive cleaners, solvents, or chemical sprays, as these may damage the surface.
5.2 Battery Replacement
If you are using batteries for power and notice the display becoming dim or the voice control function becoming unresponsive, it is time to replace the 3 AAA batteries. Ensure correct polarity when inserting new batteries.
6. Troubleshooting
| Problem | Possible Cause | Solution |
|---|---|---|
| Display is off or dim when using batteries. | This is normal behavior for battery mode to conserve power. Voice control or button press activates the display. | Tap the clock or press any button to activate the display. For continuous display, use USB power. |
| Clock resets after power outage (when using USB). | No battery backup for time memory when only using USB. | Insert 3 AAA batteries to enable time memory function during power interruptions. |
| Alarm does not sound. | Alarm is not activated, set incorrectly, or volume is too low. | Ensure alarm is set correctly and enabled. Check alarm mode (1-5, 1-6, 1-7) matches your desired days. |
| Display is too bright/dim. | Brightness setting is not optimal for current lighting conditions. | Adjust brightness manually using the brightness button. Note automatic dimming between 10 PM and 6 AM. |
7. Product Specifications
| Feature | Specification |
|---|---|
| Brand | Aceshop |
| Model Number | 0328 |
| Color | SILVER |
| Product Dimensions | 22 x 3.81 x 17 cm; 270 g (8.66 x 1.5 x 6.7 inches) |
| Material | Plastic |
| Special Features | Large screen, Adjustable Brightness, Automatic Dimming, Dual Alarms, Snooze, DST Support |
| Display Type | Digital LED |
| Power Source | USB Cable (included) or 3 AAA Batteries (not included) |
| Room Type | Home Office, Bedroom, Living Room |
| Shape | Rectangular |
| First Available Date | September 8, 2023 |
8. Warranty and Support
For any product inquiries, technical support, or warranty claims, please contact the seller or manufacturer directly through your purchase platform. Keep your purchase receipt as proof of purchase.
Ask a question about this manual
Ask about setup, troubleshooting, compatibility, parts, safety, or missing instructions. Manuals+ will review the question and use this page’s manual context to help answer it.