
1. Important Safety Information
Please read and understand all safety instructions before installing or operating the projector lamp. Failure to follow these instructions may result in electric shock, fire, or injury.
- Always disconnect the projector from the power outlet before attempting any installation or maintenance.
- Allow the projector to cool down completely (at least 30 minutes) after use before replacing the lamp. Lamps operate at high temperatures and can cause severe burns.
- Do not touch the glass surface of the new lamp bulb directly with your bare hands. Oils from your skin can reduce lamp life. Use gloves or a clean cloth.
- Handle the lamp housing carefully to avoid damage.
- Dispose of old lamps according to local regulations. Lamps contain mercury and should not be discarded with regular household waste.
2. Product Overview
The PHO Replacement Projector Lamp Bulb with Housing is designed for use with InFocus IN5135 and IN5132 projector models. This product features an original equipment manufacturer (OEM) bulb integrated into a high-temperature resistant housing, ensuring compatibility and reliable performance.
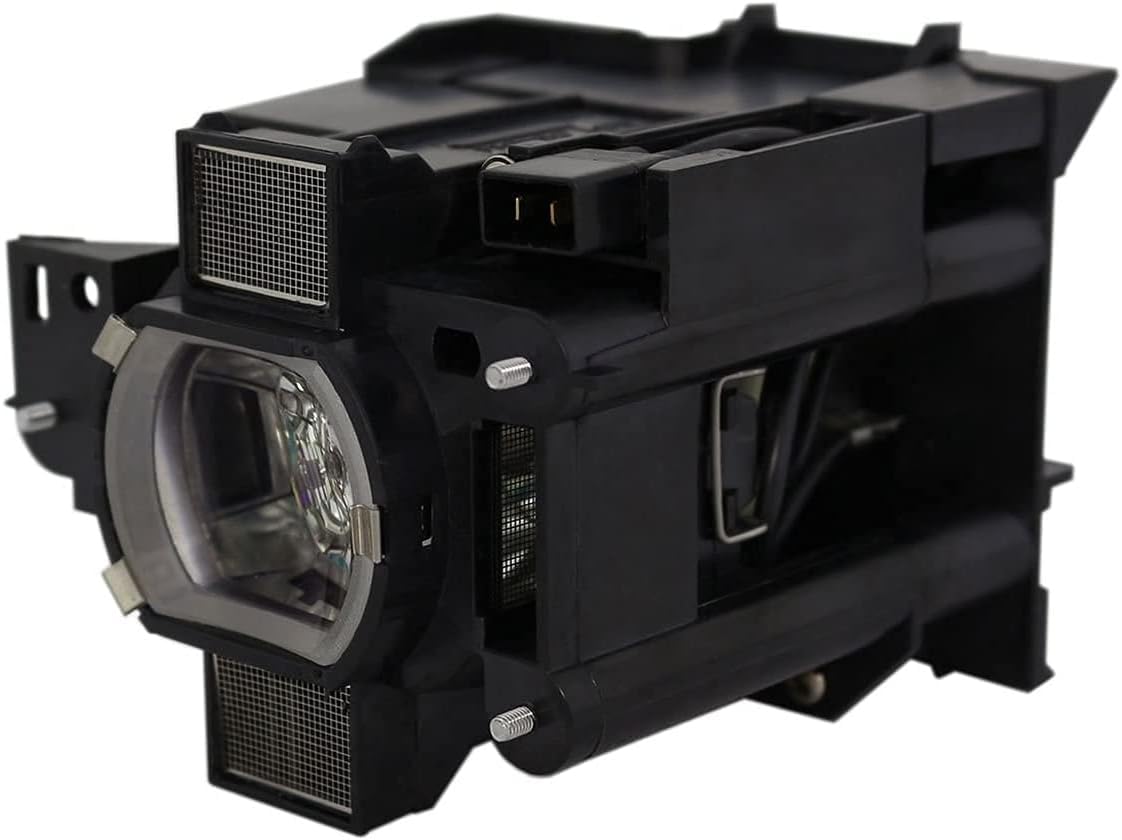
Image: PHO Replacement Projector Lamp Bulb with Housing. This image displays the complete lamp module, including the bulb and its protective housing, ready for installation.
3. Installation Instructions
Follow these steps to safely replace the projector lamp:
- Power Off and Unplug: Turn off the projector and disconnect the power cord from the electrical outlet.
- Allow Cooling: Wait at least 30 minutes for the projector and the old lamp to cool down completely.
- Locate Lamp Compartment: Refer to your projector's user manual to locate the lamp compartment cover. It is typically secured by one or more screws.
- Remove Cover: Use a screwdriver to loosen the screws securing the lamp cover. Carefully remove the cover.
- Remove Old Lamp: Loosen the screws that hold the old lamp module in place. Gently pull the handle on the lamp module to slide it out of the projector. Avoid forcing it.
- Install New Lamp: Carefully insert the new PHO lamp module into the projector, ensuring it is seated firmly and correctly. Do not touch the glass bulb.
- Secure New Lamp: Tighten the screws to secure the new lamp module in place.
- Replace Cover: Reattach the lamp compartment cover and tighten its screws.
- Power On and Reset Lamp Timer: Plug the projector back into the power outlet and turn it on. Navigate to the projector's menu to reset the lamp timer. Consult your projector's manual for specific instructions on resetting the lamp timer.
4. Operation and Performance
The PHO replacement lamp is designed to provide consistent brightness and color contrast throughout its operational lifespan. Utilizing original OEM bulbs, it offers performance comparable to the original projector lamp.

Image: Brightness and Lifespan Comparison Chart. This graph illustrates the average light output during the lifespan of a PHO Professional Lamp compared to an Economy Lamp. The PHO lamp maintains a higher percentage of its initial brightness over a longer operational period, while the Economy Lamp experiences a more rapid decline in brightness.
The graph above demonstrates the expected brightness retention over the lamp's lifespan. PHO lamps are engineered to maintain a higher average light output compared to economy alternatives, resulting in better image quality for a longer duration.
5. Maintenance
Proper maintenance can help extend the life of your projector lamp and ensure optimal performance:
- Clean Air Filters: Regularly clean or replace your projector's air filters to ensure proper airflow and prevent overheating, which can shorten lamp life.
- Ensure Ventilation: Operate the projector in a well-ventilated area. Do not block the projector's vents.
- Avoid Frequent On/Off Cycles: Turning the projector on and off frequently can stress the lamp. Allow the projector to run for a reasonable period once started.
- Allow Cool-Down: Always allow the projector to complete its cool-down cycle before unplugging or moving it.
6. Troubleshooting
If you encounter issues after installing the new lamp, consider the following:
- Lamp Indicator Light: If the lamp indicator light on your projector is still on or blinking after replacement, ensure the lamp module is fully seated and secured. You may also need to reset the lamp timer in the projector's menu.
- No Image/Dim Image: Verify all cables are securely connected. Ensure the lamp compartment cover is properly closed and secured, as some projectors have a safety switch that prevents operation if the cover is open.
- Flickering Image: Check for loose connections. If the issue persists, ensure the lamp is correctly installed and secured.
- Overheating Warning: Ensure projector vents are clear and air filters are clean.
If troubleshooting steps do not resolve the issue, consult your projector's user manual or contact PHO customer support.
7. Specifications
| Feature | Detail |
|---|---|
| Brand | PHO |
| Special Feature | Original Bulb With Housing |
| Unit Count | 1.0 Count |
| Number of Items | 1 |
| Material | Glass |
| Light Source Wattage | 245 Watts |
| Item Weight | 12.5 ounces |
| Product Dimensions | 6 x 7 x 5 inches |
| Included Components | OEM bulb with housing |
8. Warranty and Support
PHO provides the following warranty for this replacement projector lamp bulb:
- 30-Day Money Back Guarantee: If you are not satisfied with your purchase, you may return the product within 30 days for a full refund.
- 365-Day Warranty: The lamp is covered by a 365-day warranty against manufacturing defects and performance issues.
For technical support, warranty claims, or any other inquiries, please contact PHO customer service through the retailer's platform or the official PHO website.