1. Introduction
This manual provides essential information for the safe assembly, operation, and maintenance of your vidaXL Aquarium Stand. Please read these instructions carefully before beginning assembly and retain them for future reference.
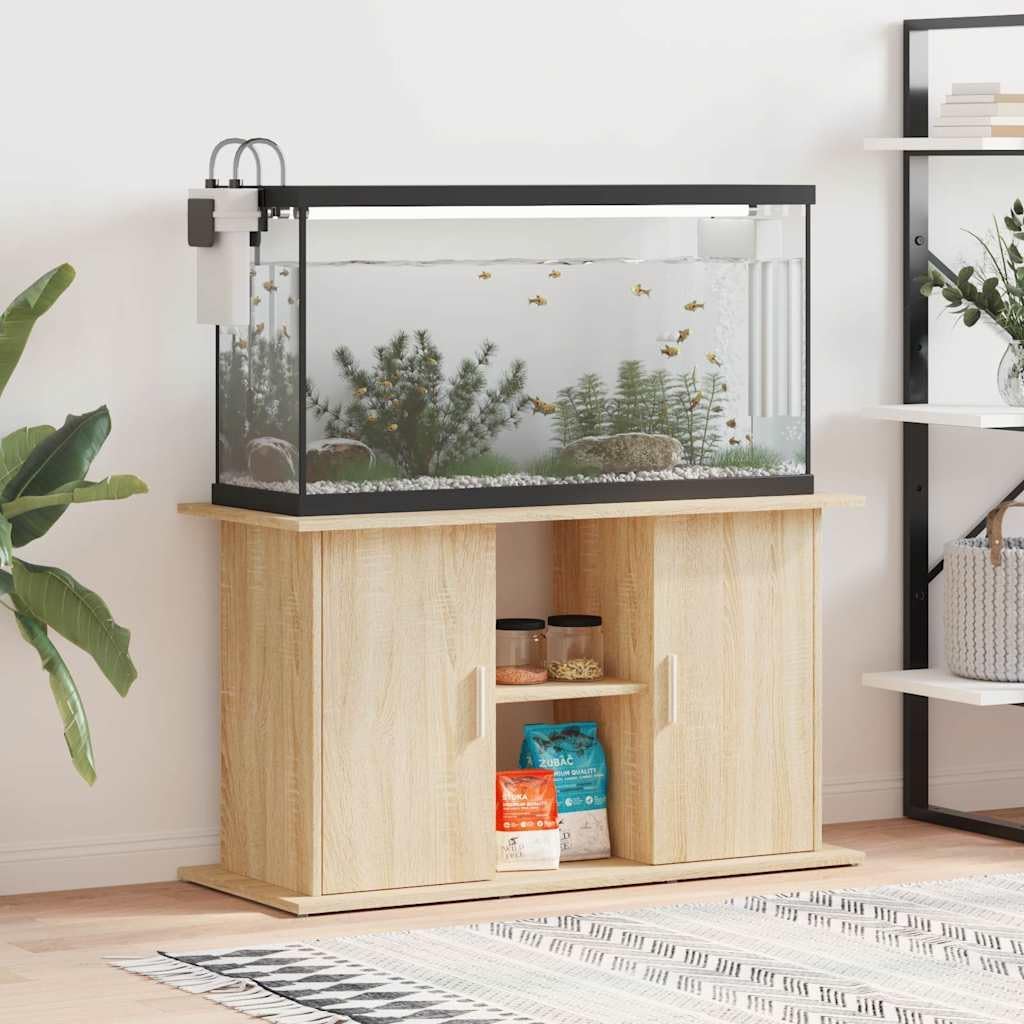
The vidaXL Aquarium Stand is designed to provide stable and secure support for your aquarium. It features a durable engineered wood construction, offering resistance, stability, and moisture resistance. The stand includes ample storage space with compartments and shelves, suitable for organizing fish food, nets, disinfectants, water conditioners, and other aquarium accessories.
Its elegant design is intended to complement various interior styles, serving as both a practical support and a decorative element.
2. Safety Information
- Wall Attachment: To prevent tipping, this product must be used with the provided wall attachment device. Securely fasten the stand to a solid wall according to the instructions.
- Weight Capacity: Do not exceed the maximum weight capacity of the stand. Ensure your aquarium's weight (including water, gravel, decorations, and equipment) is within safe limits for the stand.
- Level Surface: Always place the aquarium stand on a flat, level, and stable surface to prevent instability and potential tipping.
- Water Exposure: While constructed from moisture-resistant engineered wood, prolonged exposure to standing water should be avoided. Wipe up any spills immediately.
- Children and Pets: Keep children and pets away from the stand during assembly. Ensure all small parts and hardware are out of their reach.
- Assembly: Assemble the product strictly according to the instructions. Incorrect assembly can lead to instability and injury.
3. Package Contents
Before assembly, verify that all components are present and undamaged. If any parts are missing or damaged, do not proceed with assembly. Contact customer support for assistance.
- Top Panel
- Bottom Panel
- Side Panels (2)
- Middle Divider Panel
- Shelf Panels (2)
- Door Panels (2)
- Back Panels
- Handles (2)
- Hinges (4)
- Wall Attachment Device (including screws and wall plugs)
- Assembly Hardware (screws, dowels, cam locks, etc.)
- Assembly Instructions
4. Assembly Instructions (Setup)
Assembly typically requires two people. Ensure you have a clear, spacious area for assembly. A Phillips head screwdriver and a hammer may be required (not included).
- Unpack and Identify Parts: Carefully unpack all components and lay them out on a soft, clean surface to prevent scratches. Refer to the parts list and diagrams to identify each piece.
- Assemble the Base: Attach the side panels to the bottom panel using the provided dowels and screws/cam locks. Ensure all connections are tight and secure.
- Install Middle Divider and Shelves: Insert the middle divider panel. Attach the shelf supports and then place the adjustable shelves into the desired positions within the compartments.
- Attach Top Panel: Secure the top panel to the assembled frame using the appropriate hardware.
- Install Back Panels: Carefully align and attach the back panels to the rear of the stand using small nails or screws.
- Attach Doors and Handles: Mount the hinges to the door panels and then attach the doors to the main frame. Adjust hinges as necessary for proper door alignment. Install the handles onto the doors.
- Wall Attachment: Position the assembled stand in its final location. Using the provided wall attachment device, securely fasten the stand to a sturdy wall stud or use appropriate wall anchors for your wall type. This step is critical for safety.


5. Usage (Operating)
- Aquarium Placement: Carefully place your aquarium centered on the top surface of the stand. Ensure the weight is evenly distributed.
- Storage: Utilize the internal compartments and shelves to store aquarium supplies such as fish food, water treatment chemicals, cleaning tools, and other accessories.
- Cable Management: If applicable, route power cords and tubing neatly to prevent hazards and maintain a tidy appearance.
6. Maintenance
- Cleaning: Wipe the stand regularly with a soft, damp cloth. Avoid using abrasive cleaners, harsh chemicals, or solvents, as these can damage the finish.
- Spill Management: Immediately wipe up any water spills or condensation to prevent moisture damage to the engineered wood.
- Hardware Check: Periodically check all screws, bolts, and connections to ensure they remain tight. Retighten if necessary.
- Wall Attachment Check: Regularly inspect the wall attachment device to ensure it is still securely fastened and the stand remains stable.
7. Troubleshooting
| Problem | Possible Cause | Solution |
|---|---|---|
| Stand is wobbly or unstable | Uneven floor surface; loose hardware; incorrect assembly; wall attachment not secured. | Move stand to a level surface or use shims. Tighten all assembly hardware. Review assembly instructions. Ensure wall attachment is properly installed. |
| Doors do not close properly or are misaligned | Hinges are loose or incorrectly adjusted; door panels are not aligned. | Adjust the screws on the hinges to align the doors. Ensure hinges are securely fastened to both the door and the stand. |
| Damage to wood surface | Impact; prolonged water exposure; harsh cleaning agents. | Avoid impacts. Wipe spills immediately. Use only soft, damp cloths for cleaning. Minor scratches may be touched up with furniture repair kits. |
8. Specifications
- Model Number: 833610
- Brand: vidaXL
- Color: Sonoma Oak
- Material: Engineered Wood
- Overall Dimensions (L x W x H): 101 x 41 x 58 cm (39.8 x 16.1 x 22.8 inches)
- Product Weight: 27.82 Kilograms
- Recommended Use: Aquarium equipment
- Mounting Type: Floor Mount
- Included Components: Wall attachment device
9. Warranty and Support
For warranty information, please refer to the documentation provided at the time of purchase or contact your retailer. Keep your proof of purchase for any warranty claims.
If you require technical support, have questions about assembly, or need replacement parts, please contact vidaXL customer service. Contact details can typically be found on the manufacturer's website or through your point of purchase.