1. Introduction
This manual provides detailed instructions for the safe installation, operation, and maintenance of your Kichler Landscape Path Lighting Fixture, model 15310BKT. Please read this manual thoroughly before installation and retain it for future reference.
2. Product Overview
The Kichler Landscape Path Lighting Fixture is designed to illuminate sidewalks, pathways, and lawn areas, enhancing the aesthetic and safety of your outdoor environment. This fixture features a textured black finish and is suitable for various landscape applications.
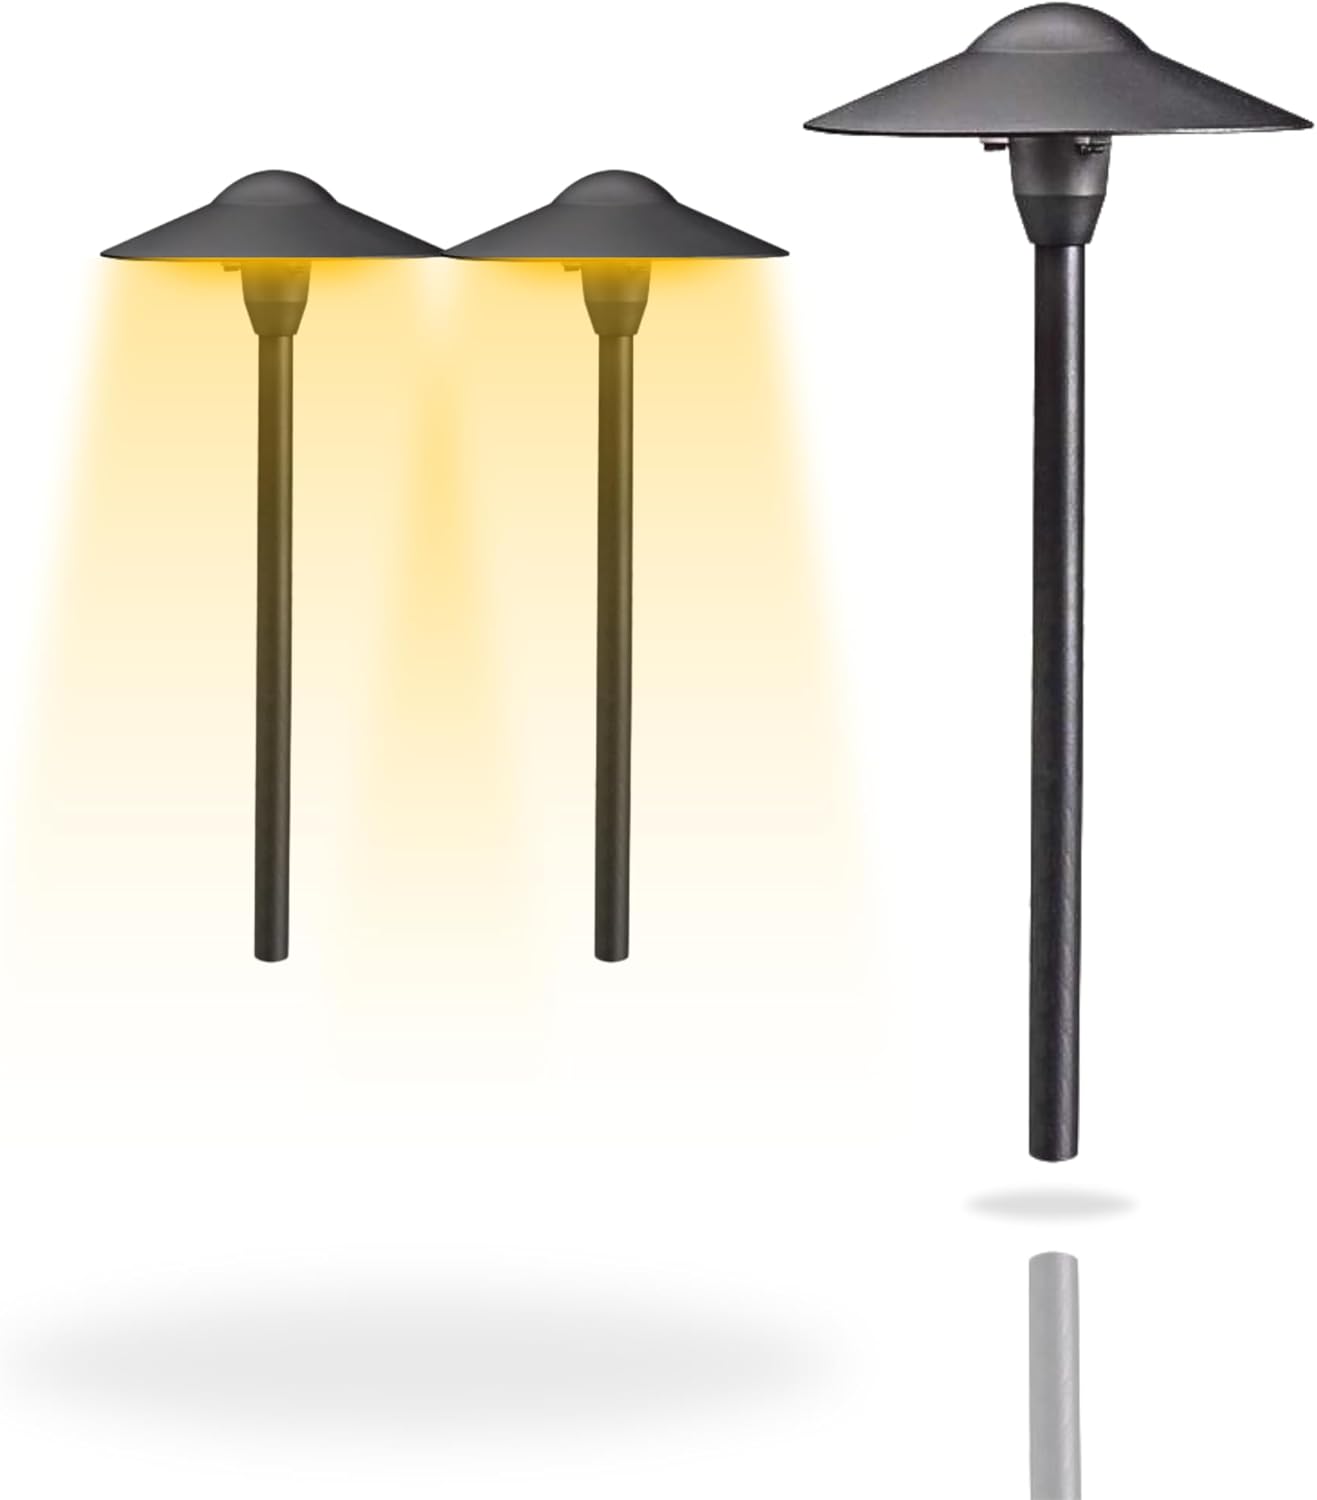
Image 2.1: Kichler Landscape Path Lighting Fixtures in operation.

Image 2.2: Kichler path light installed in a landscape setting.

Image 2.3: Examples of Kichler path lights in multiple applications.
3. Package Contents
Verify that all components are present before beginning installation:
- 2 Kichler Landscape Path Lighting Fixtures
4. Technical Specifications
| Specification | Detail |
|---|---|
| Brand | Kichler |
| Model Number | 15310BKT |
| Color | Textured Black |
| Light Fixture Form | Path |
| Indoor/Outdoor Usage | Outdoor |
| Power Source | Corded Electric |
| Installation Type | Wall Mounted (Note: Product images suggest ground stake installation for path lights, verify with manufacturer for specific model) |
| Control Method | App (Note: This may refer to a compatible smart control system, not inherent to the fixture itself) |
| Light Source Type | Fluorescent (Note: Compatible with T5 Wedge Base LED lamps) |
| Finish Type | Textured |
| Shade Material | Glass |
| Number of Light Sources | 1 |
| Voltage | 15 Volts |
| Light Color | White (Bulb dependent) |
| Wattage | 16.25 watts (Bulb dependent) |
| Bulb Base | Wedge (T5 Wedge Base) |
| Water Resistance Level | Water Resistant |
| Brightness | 5000 lumen (Bulb dependent) |
| Product Dimensions | 21 x 8.25 x 21 inches |
| Item Weight | 6.24 pounds |

Image 4.1: Product dimensions.
5. Important Safety Information
Please observe the following safety precautions during installation and operation:
- Always disconnect power at the circuit breaker before installing or servicing the fixture.
- Consult a qualified electrician if you are unsure about wiring or electrical connections.
- Ensure all electrical connections are made in accordance with local codes and ordinances.
- Do not exceed the maximum wattage specified for the bulb.
- Use only T5 Wedge Base bulbs compatible with 12-15 Volt systems.
- Keep flammable materials away from the light fixture.
- This product is designed for outdoor use and is water-resistant, but not submersible.
- Proposition 65 Warning: This product may contain chemicals known to the State of California to cause cancer and birth defects or other reproductive harm.
6. Installation Guide
6.1 Pre-Installation
Before you begin, ensure you have the following tools and materials (not included):
- Low voltage transformer (12-15V)
- Low voltage landscape wire
- Wire strippers
- Screwdriver
- Shovel or trowel for digging
- T5 Wedge Base bulb (LED recommended)
6.2 Step-by-Step Installation
- Plan Layout: Determine the desired location for each path light along your pathway or garden bed. Ensure adequate spacing for even illumination.
- Prepare Wiring: Lay out your low voltage landscape wire from the transformer to the planned fixture locations. Bury the wire a few inches deep to protect it, or secure it along the ground if permitted by local codes.
- Install Ground Stake: For each fixture, firmly push the integrated ground stake into the soil at the desired location. Ensure the fixture is level and stable.
- Connect Wiring: Locate the wiring leads from the fixture. Using wire connectors (typically included with landscape wire or transformer kits), connect the fixture's wires to the main low voltage landscape wire. Ensure a secure, waterproof connection.
- Insert Bulb: Carefully insert a compatible T5 Wedge Base bulb into the fixture's socket. Refer to Section 8 for bulb replacement details.
- Connect to Transformer: Connect the main landscape wire to your low voltage transformer according to the transformer's instructions.
- Test System: Plug in the transformer and turn on the power to test the lights. If lights do not illuminate, refer to the Troubleshooting section.

Image 6.1: Path lights installed in a residential setting (daytime view).

Image 6.2: Path lights illuminating a pathway at night.
7. Operating Instructions
Once installed and connected to a low voltage transformer, the Kichler Landscape Path Lighting Fixture operates based on the control method of your transformer. Common operating methods include:
- Manual On/Off: Use the switch on your transformer to turn the lights on or off.
- Timer Control: Many transformers include a timer function to automatically turn lights on at dusk and off at a set time or dawn.
- Smart Control (App): If your transformer or landscape lighting system is compatible with a smart control app, you can manage the lights remotely via your smartphone or tablet. Refer to your smart control system's manual for specific instructions.
8. Care and Maintenance
8.1 Cleaning
To maintain the appearance and performance of your fixture:
- Periodically wipe the fixture with a soft, damp cloth to remove dirt and debris.
- Do not use abrasive cleaners, solvents, or harsh chemicals, as these can damage the finish or glass.
8.2 Bulb Replacement
The fixture uses a T5 Wedge Base bulb. To replace the bulb:
- Disconnect Power: Always turn off the power to the fixture at the circuit breaker or transformer before replacing the bulb.
- Access Bulb: Carefully remove the top shade or glass enclosure to access the bulb socket.
- Remove Old Bulb: Gently pull the old T5 Wedge Base bulb straight out from its socket.
- Insert New Bulb: Insert a new, compatible T5 Wedge Base bulb (12-15V, max 16.25W) into the socket. Avoid touching the glass of the new bulb with bare hands, as oils can reduce bulb life. Use a clean cloth or gloves.
- Reassemble: Securely reattach the shade or glass enclosure.
- Restore Power: Turn the power back on at the circuit breaker or transformer.

Image 8.1: Examples of T5 Wedge Base bulbs. Bulb is NOT included with the fixture.
9. Troubleshooting Guide
If your Kichler Landscape Path Lighting Fixture is not functioning as expected, consult the table below for common issues and solutions:
| Problem | Possible Cause | Solution |
|---|---|---|
| Light does not turn on | No power to the transformer | Check if the transformer is plugged in and the outlet has power. Reset the circuit breaker if tripped. |
| Faulty bulb | Replace the bulb (see Section 8.2). | |
| Loose wire connection | Ensure all wire connections are secure and properly insulated. | |
| Transformer malfunction | Test the transformer with a multimeter or try a different transformer. | |
| Light flickers or is dim | Low voltage or insufficient power | Ensure the transformer wattage is sufficient for all connected lights. Check for long wire runs causing voltage drop. |
| Loose bulb or connection | Tighten the bulb in its socket and check wire connections. | |
| Water inside fixture | Improper sealing or damage | Ensure all seals and gaskets are properly seated. If damaged, replace the fixture. |
10. Warranty and Customer Support
Kichler products are manufactured to high-quality standards. For specific warranty information, please refer to the warranty card included with your purchase or visit the official Kichler website. For technical assistance, replacement parts, or any other inquiries, please contact Kichler customer support through their official channels.
Kichler Website: Visit the Kichler Store on Amazon