1. Introduction
Thank you for choosing a Bosch appliance. This user manual provides essential information for the safe and efficient operation, installation, and maintenance of your Bosch Serie 2 SPS2HKW58E freestanding dishwasher. Please read these instructions carefully before first use and keep them for future reference.
2. Safety Information
Always observe the following safety instructions to prevent accidents and damage to the appliance:
- This appliance is intended for domestic use only.
- Do not allow children to play with or operate the dishwasher.
- Ensure the appliance is properly earthed.
- Do not immerse the power cord or plug in water.
- Sharp items should be loaded with points and sharp edges facing downwards.
- Only use detergents and rinse aids specifically designed for dishwashers.
- In case of malfunction, disconnect the appliance from the power supply and contact customer service.
3. Setup and Installation
3.1 Unpacking
Carefully remove all packaging materials. Check the dishwasher for any transport damage. If damaged, do not install or operate the appliance, and contact your supplier.
3.2 Positioning
Place the dishwasher on a firm, level surface. Ensure there is adequate space for opening the door and for water and electrical connections. Refer to the dimensions diagram for precise measurements.

Image: Installation diagram showing the dimensions and connection points for the dishwasher, including water inlet, drain, and electrical supply.
3.3 Water Connection
Connect the water inlet hose to a cold water tap with a 3/4-inch thread. Ensure the connection is secure to prevent leaks. The AquaStop system provides protection against water damage.

Image: Close-up of the AquaStop water inlet connection, designed to prevent leaks and water damage.
Connect the drain hose to a suitable drain pipe or sink trap. Ensure the hose is not kinked or obstructed.
3.4 Electrical Connection
Plug the appliance into a properly installed and earthed socket. The voltage and frequency must match the specifications on the rating plate of the dishwasher.
4. Operating Instructions
4.1 Control Panel Overview
The control panel allows you to select programs, adjust settings, and monitor the wash cycle.

Image: Front view of the dishwasher control panel, showing buttons for power, program selection (Eco, Auto, Favourite), temperature settings, display, and start button.
4.2 Adding Detergent and Rinse Aid
Open the detergent dispenser and add the appropriate amount of dishwasher detergent. If using a tablet, place it in the designated compartment. Ensure the dispenser lid is closed securely.
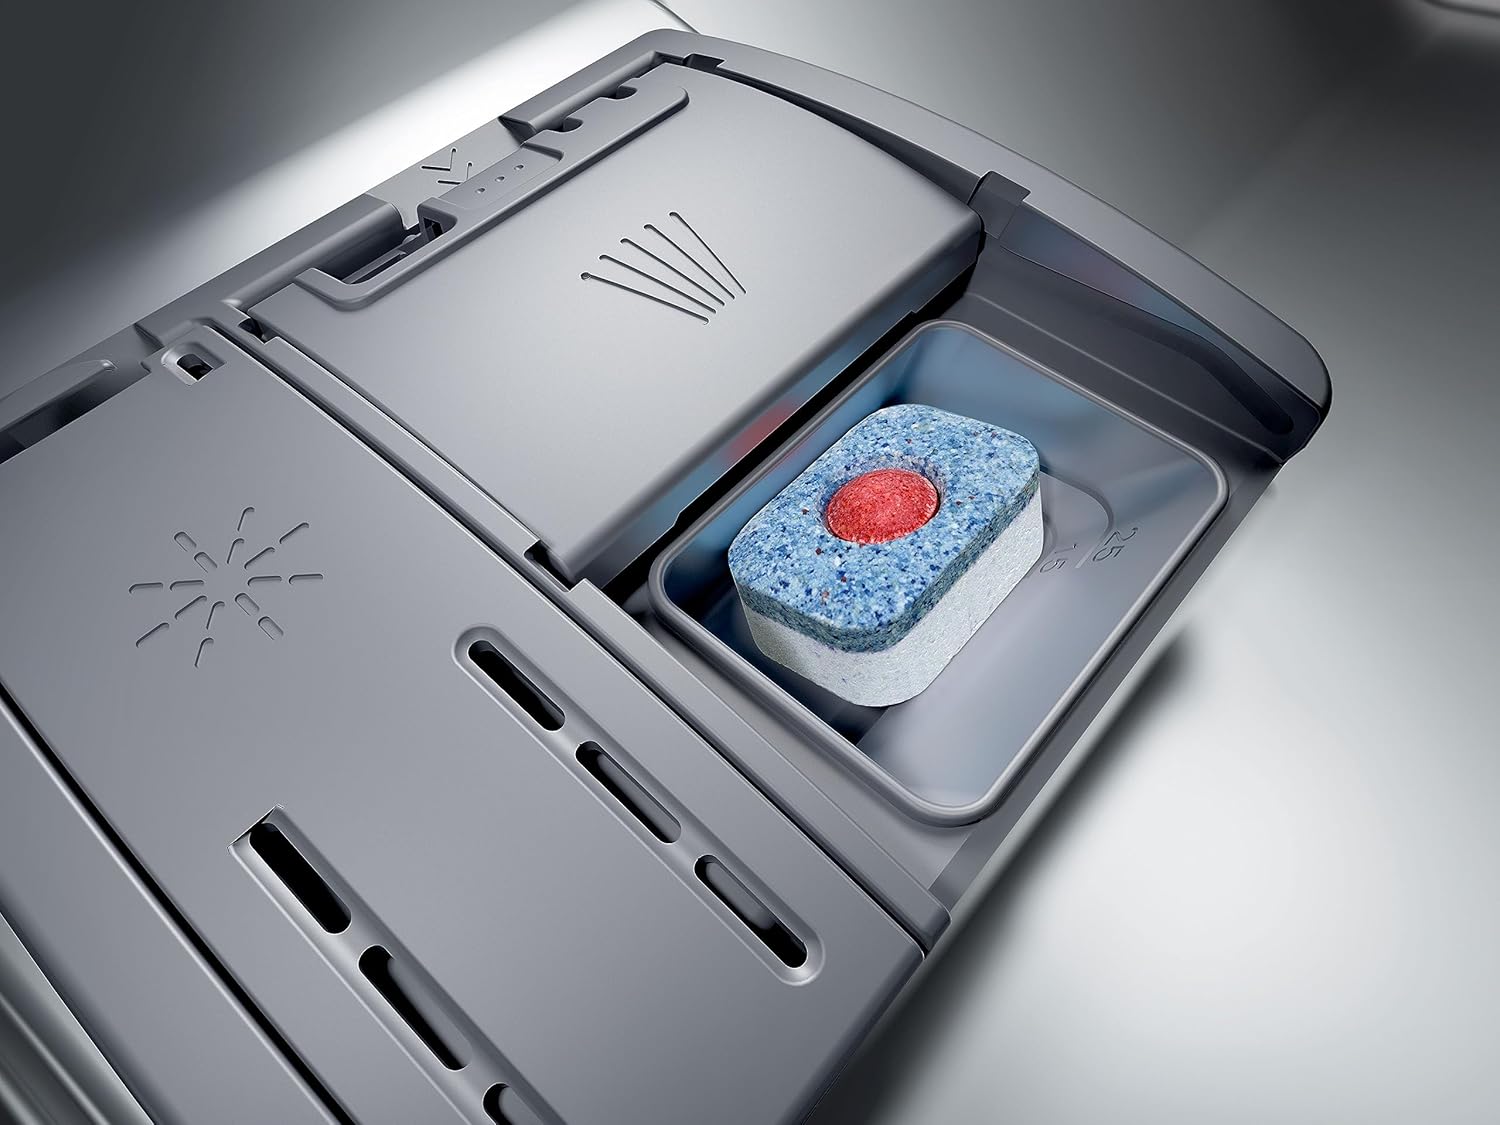
Image: Close-up of the dishwasher's detergent dispenser, showing a multi-function tablet placed inside the compartment.
Check the rinse aid indicator and refill if necessary. Rinse aid helps to ensure streak-free drying results.
4.3 Selecting and Starting a Program
- Load the dishwasher as described in Section 4.4.
- Press the power button to turn on the appliance.
- Use the program selection buttons (e.g., Eco, Auto, Favourite) to choose the desired wash program. The display will show the estimated program duration.
- If desired, select additional functions such as 'SpeedPerfect' or 'Extra Dry'.
- Press the 'Start' button to begin the wash cycle.
5. Programs and Settings
Your dishwasher offers various programs to suit different types of dishes and levels of soiling. Common programs include:
- Eco 50°C: Energy-saving program for normally soiled dishes.
- Auto 45-65°C: Automatically adjusts water consumption and temperature based on soiling.
- Intensive 70°C: For heavily soiled pots, pans, and cutlery.
- Quick Wash: For lightly soiled dishes with a shorter cycle time.
- Favourite: Customizable program for frequently used settings.
Additional functions like 'SpeedPerfect' can reduce program duration, while 'Extra Dry' provides enhanced drying results.
6. Loading the Dishwasher
Proper loading ensures optimal cleaning and drying results. Avoid overcrowding and ensure spray arms can rotate freely.

Image: The interior of the Bosch dishwasher with the door open, showing the upper and lower baskets pulled out for loading.
6.1 Upper Basket
The upper basket is suitable for delicate items such as glasses, cups, and small bowls. Adjustable racks allow for flexible loading.

Image: The upper basket of the dishwasher, loaded with various glasses and a utensil tray, demonstrating efficient space utilization.
6.2 Lower Basket
The lower basket is designed for larger and more heavily soiled items like plates, serving dishes, and pots. Foldable plate racks provide versatility.
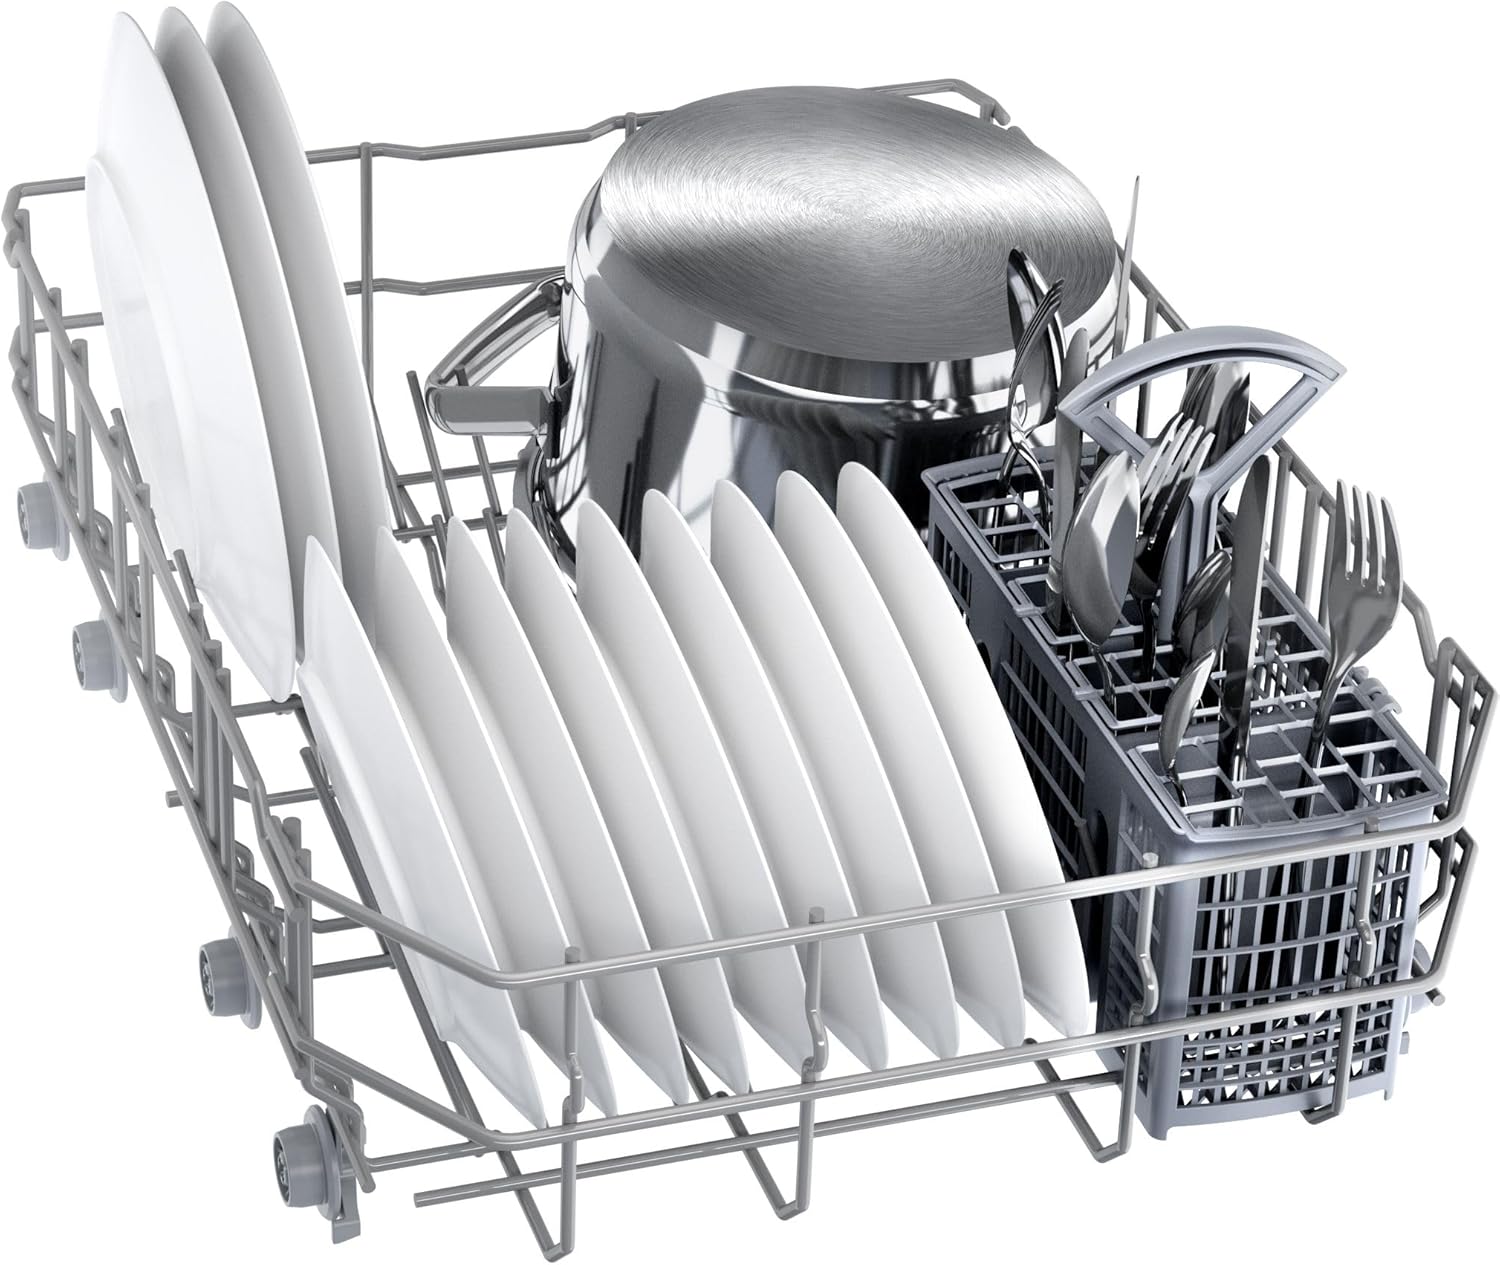
Image: The lower basket of the dishwasher, filled with plates, a pot, and a cutlery basket, illustrating a typical load.
6.3 Cutlery
Place cutlery in the designated cutlery basket or tray, ensuring items are separated to allow for thorough cleaning.
7. Maintenance and Cleaning
Regular maintenance ensures optimal performance and extends the lifespan of your dishwasher.
7.1 Cleaning the Filters
The filter system prevents food particles from recirculating and clogging the pump. Regularly check and clean the coarse and fine filters under running water.
7.2 Cleaning the Spray Arms
Inspect the spray arm nozzles for any blockages. If necessary, remove the spray arms and clean the holes with a thin, pointed object.
7.3 Exterior Cleaning
Wipe the exterior surfaces of the dishwasher with a soft, damp cloth. Do not use abrasive cleaners or solvents.
7.4 Salt and Rinse Aid Indicators
Monitor the salt and rinse aid indicators on the control panel. Refill the salt reservoir and rinse aid dispenser when the indicators light up.
8. Troubleshooting
Before contacting customer service, refer to the following table for common issues and their solutions:
| Problem | Possible Cause | Solution |
|---|---|---|
| Dishes not clean | Improper loading, clogged spray arms, insufficient detergent, incorrect program. | Reload dishes correctly, clean spray arms, add more detergent, select appropriate program. |
| Water not draining | Clogged filter, kinked drain hose, blocked drain pump. | Clean filters, check drain hose for kinks, clear drain pump. |
| Dishwasher not starting | Door not closed properly, power supply issue, program not selected. | Ensure door is latched, check power connection, select a program and press start. |
| White streaks on dishes | Too much rinse aid, water hardness setting incorrect. | Reduce rinse aid dosage, adjust water hardness setting. |
9. Technical Specifications
Refer to the following specifications for your Bosch Serie 2 SPS2HKW58E dishwasher:
- Model Number: SPS2HKW58E
- Dimensions (H x W x D): 84.5 x 45 x 60 cm
- Capacity: 10 Place Settings
- Noise Level: 43 dB
- Energy Efficiency Class: E
- Water Consumption (Eco program): 8.9 Liters
- Energy Consumption (Eco program): 0.755 kWh
- Voltage: 240 V
- Weight: 39.6 kg

Image: The EU energy label for the Bosch SPS2HKW58E dishwasher, displaying its energy efficiency class (E), water consumption, energy consumption, and noise level.

Image: A detailed product information sheet for the Bosch SPS2HKW58E, listing various technical parameters and performance data.
10. Warranty and Customer Support
Your Bosch appliance comes with a manufacturer's warranty. Please refer to the warranty card provided with your appliance for specific terms and conditions, including the warranty period.
For technical assistance, spare parts, or to schedule a service appointment, please contact Bosch customer support. You can find contact information on the official Bosch website or in your warranty documentation.


