1. Important Safety Information
Please read and follow all instructions carefully before installation and use. Keep this manual for future reference.
- Always ensure the gate is securely installed and locked before leaving a child or pet unattended.
- This gate is designed for use with children from 6 to 24 months and small to medium-sized pets.
- Never use this gate as a substitute for adult supervision.
- Do not allow children or pets to climb on or play with the gate.
- Regularly check all components for wear, damage, or loose parts. Discontinue use if any part is damaged.
- Install the gate away from fire, heaters, and other heat sources.
- Ensure the mounting surface is strong and stable enough to support the gate.
2. Package Contents
Verify that all components are present before beginning installation:
- 1x Retractable Gate Unit (Main body with mesh)
- 2x Main Mounting Brackets (for the retractable unit)
- 2x Latch Brackets (for the receiving side of the gate)
- 1x Installation Template
- Screws and Wall Anchors (for drywall and wood installation)
- Additional Spacers/Shims (for baseboard adjustment)
3. Product Features
- Retractable Design: The mesh fabric retracts completely when not in use, saving space and maintaining an open aesthetic.
- No Bottom Bar: Eliminates a tripping hazard, making it ideal for high-traffic areas and stairs.
- Reinforced Mesh with Support Beams: Prevents sagging of the mesh and ensures a secure barrier, preventing children or pets from crawling underneath.
- Adjustable & Removable Brackets: Allows for flexible installation over baseboards and on various surfaces including banisters, walls, and doorways.
- One-Handed Operation: Adults can easily open and close the gate with one hand, while the child-proof locking mechanism provides added security.
- Durable Material: Constructed from high-quality polyester for long-lasting use indoors and outdoors.
4. Installation Instructions
Tools Required: Pencil, Measuring Tape, Level, Electric Drill, Phillips Head Screwdriver, Hammer (optional for anchors).
Step 1: Determine Mounting Location
Choose a suitable location for your gate. It can be installed at the top or bottom of stairs, in doorways, or between banisters. Ensure the surface is flat and sturdy.
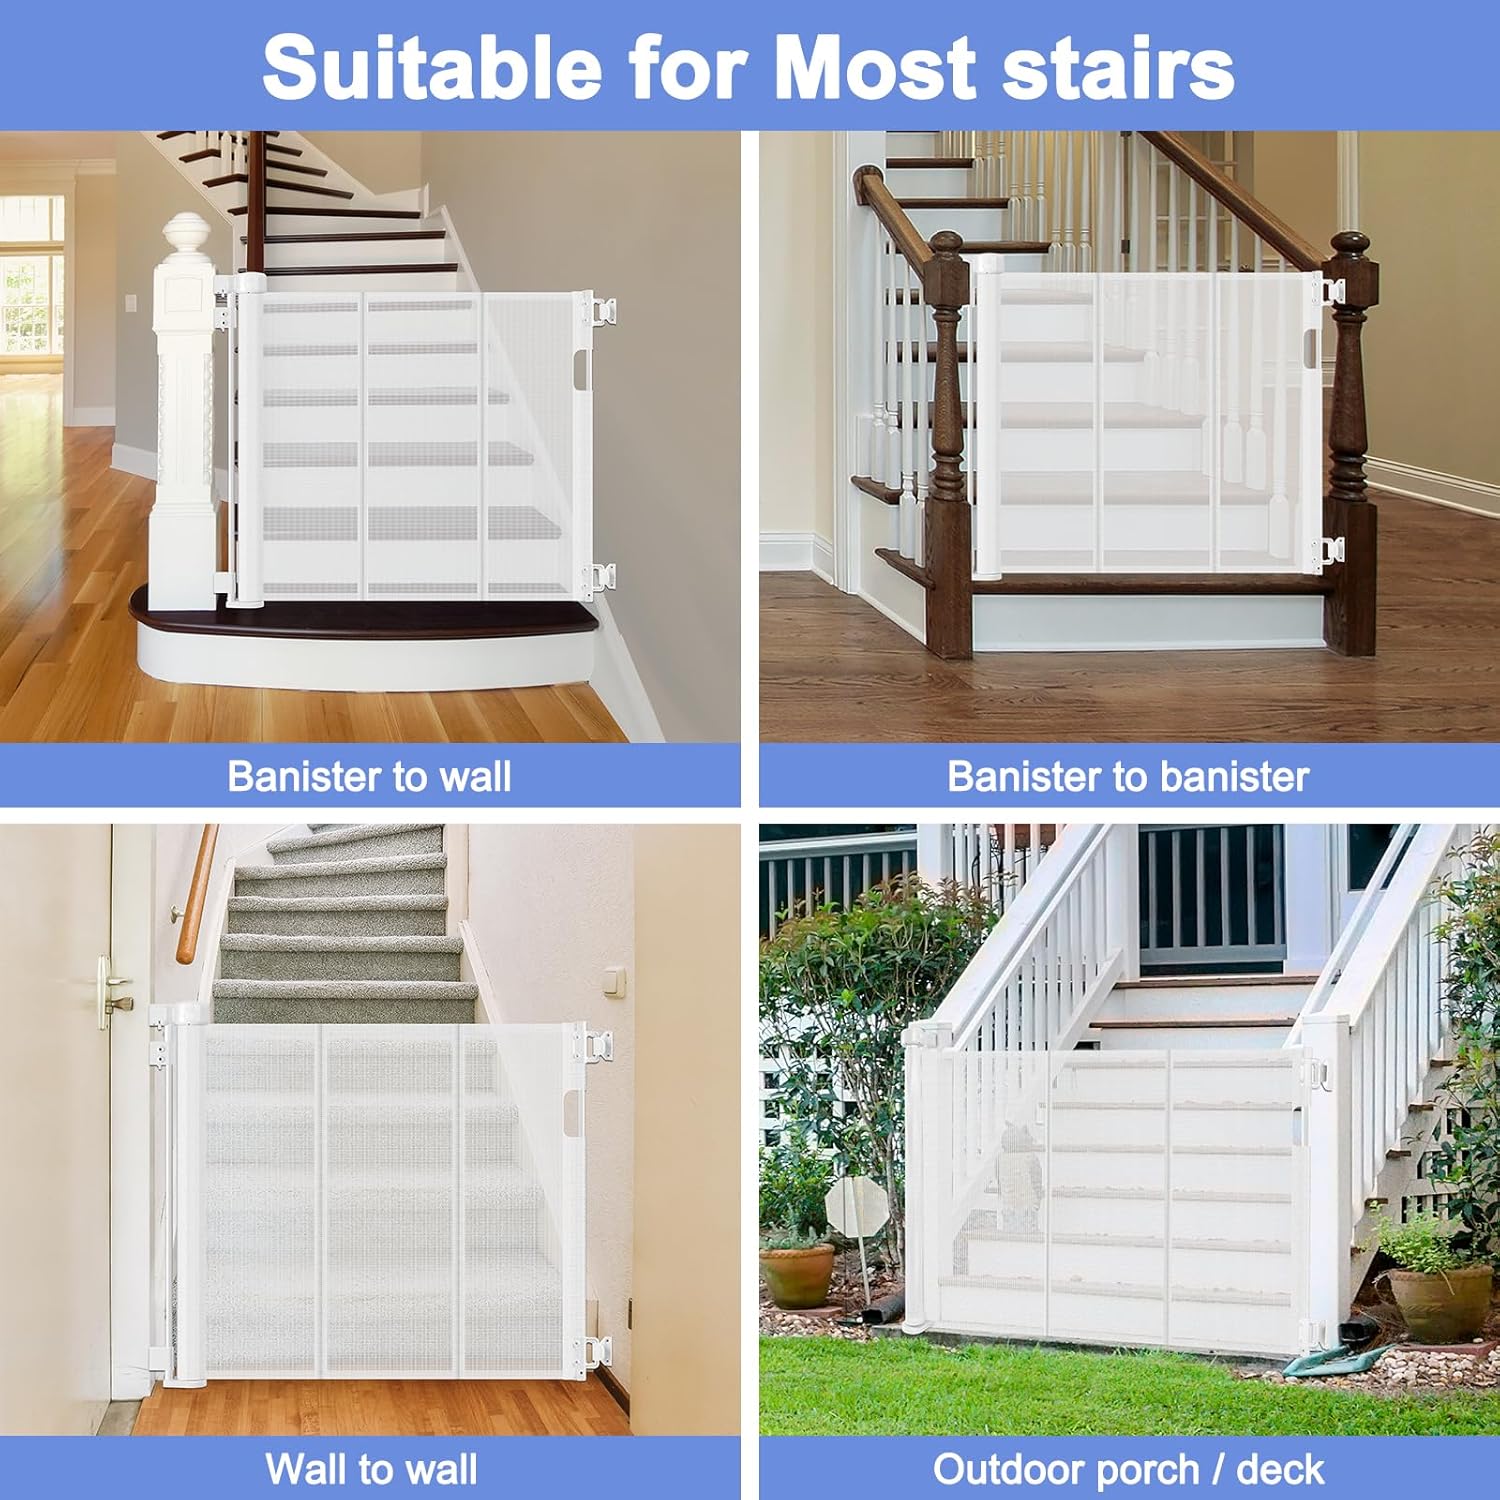
Image: The gate is shown installed in four different configurations: banister to wall, banister to banister, wall to wall, and on an outdoor porch/deck, demonstrating its versatility.
Step 2: Mark Main Unit Bracket Positions
Hold the retractable gate unit against the wall or banister where you intend to install it. Use the provided installation template to mark the positions for the top and bottom main mounting brackets. Ensure the unit is level.

Image: A diagram highlights the adjustable and detachable brackets of the gate, showing how they can be positioned to avoid baseboards and fit various banister heights. The gate is 33 inches tall and extends 0-55 inches wide.
Step 3: Install Main Unit Brackets
Drill pilot holes at the marked positions. Insert the appropriate wall anchors (drywall or wood) if necessary. Securely fasten the main mounting brackets to the wall/banister using the provided screws.
Step 4: Attach Retractable Gate Unit
Slide the retractable gate unit onto the installed main mounting brackets. Ensure it clicks securely into place.
Step 5: Mark Latch Bracket Positions
Extend the mesh gate fully across the opening to the opposite side. Hold the latch brackets in position, ensuring the mesh is taut and level. Mark the positions for the top and bottom latch brackets.
Step 6: Install Latch Brackets
Drill pilot holes at the marked positions for the latch brackets. Insert wall anchors if needed. Securely fasten the latch brackets to the wall/banister using the provided screws.
Step 7: Secure Handles (Important)
Once the gate is installed and you have confirmed the correct position for the handles, use the small screws provided to permanently secure the handles to the mesh bar. This prevents the handles from detaching if pulled or jumped upon, enhancing safety.
5. Operating Instructions
To Open the Gate:
- Press and twist the top locking mechanism on the main unit to unlock.
- Gently pull the handle of the mesh gate towards the latch side.
- Unhook the mesh gate from the latch brackets.
- Allow the mesh to retract slowly and smoothly into the main unit.

Image: The retractable baby gate is depicted in two states: 'OPEN' where the mesh is fully extended across a staircase, and 'CLOSE' where the mesh is retracted into its housing, leaving the staircase clear.
To Close and Lock the Gate:
- Grasp the handle of the mesh gate and pull it across the opening.
- Hook the mesh gate securely into the top and bottom latch brackets.
- Press and twist the top locking mechanism on the main unit to lock the gate.
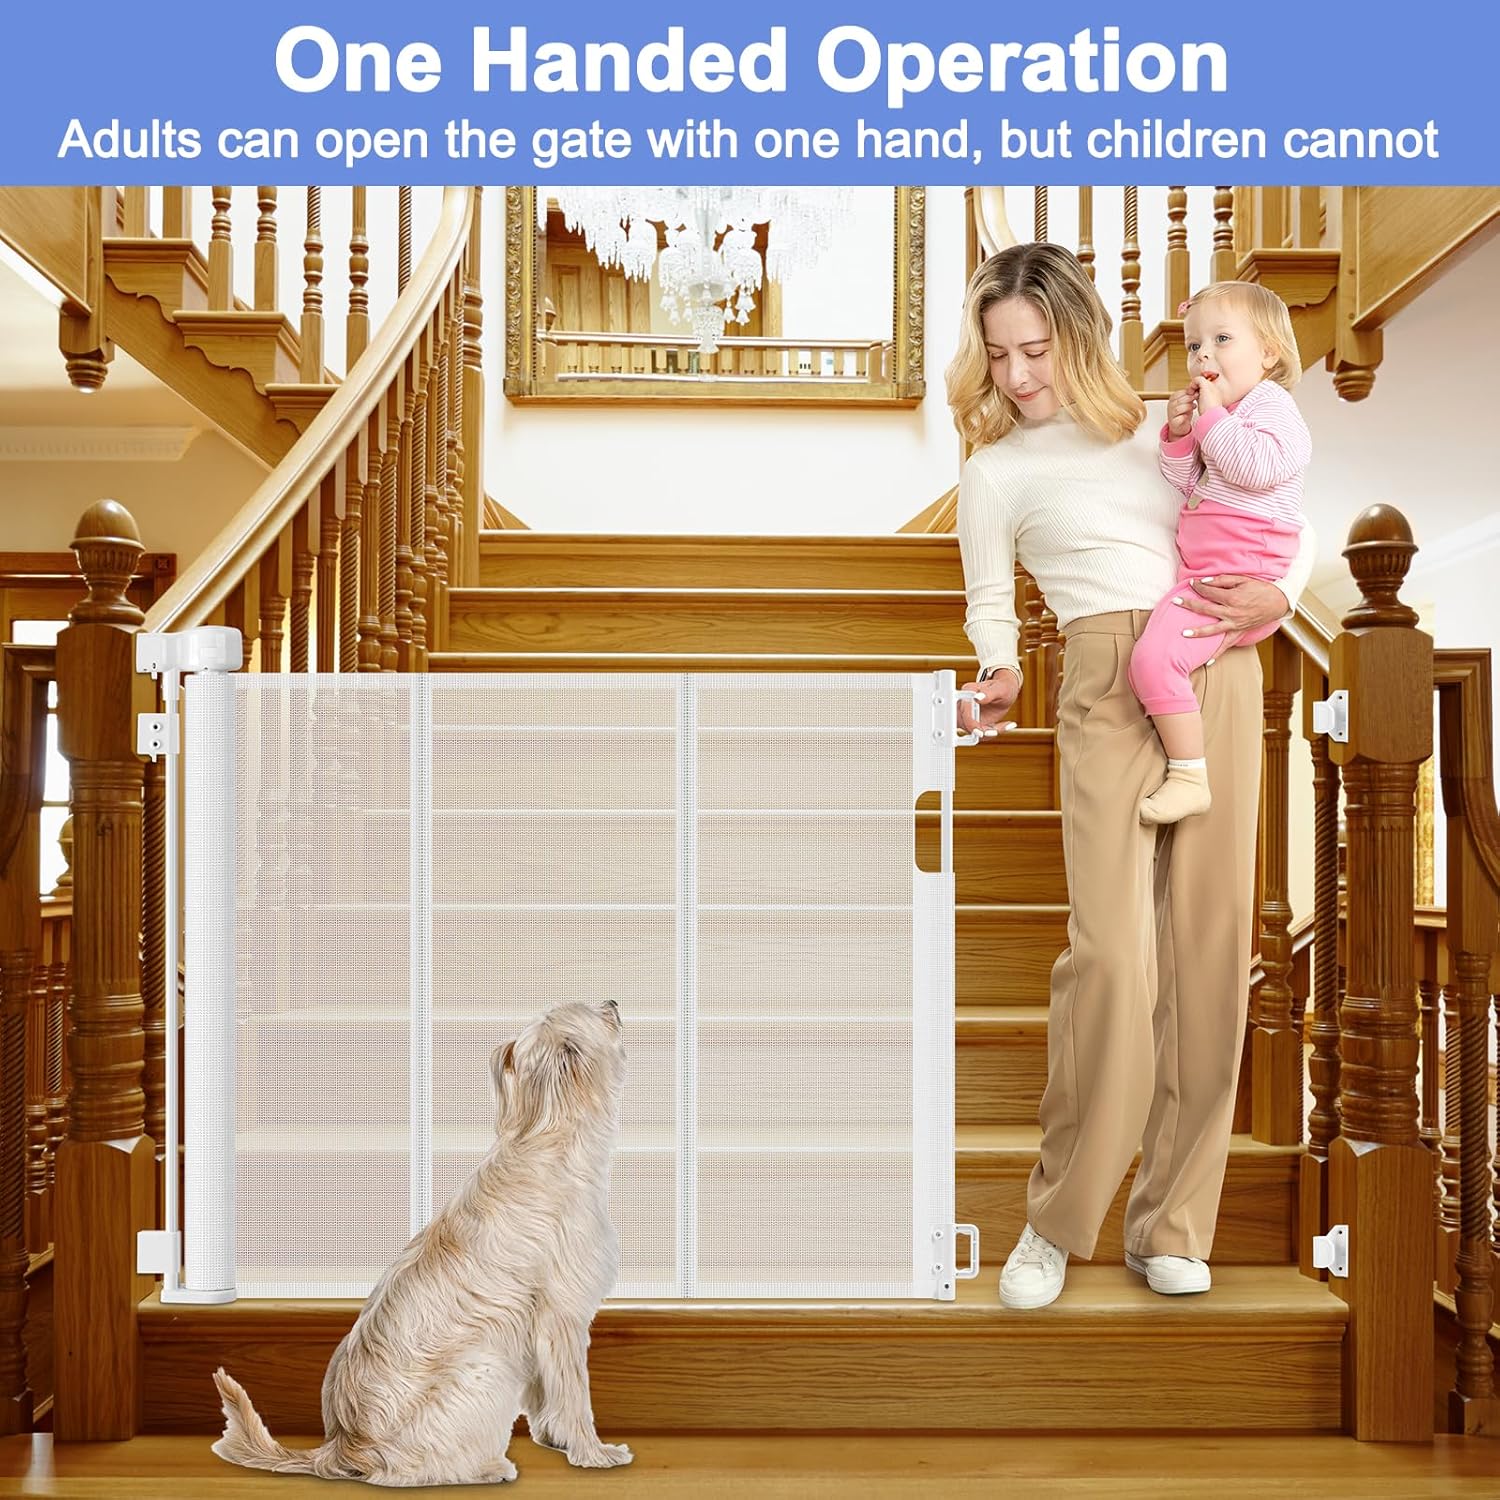
Image: A woman is shown operating the retractable baby gate with one hand while holding a baby, demonstrating the one-handed operation feature. A dog is visible on the stairs, indicating the gate's use for both children and pets.
6. Maintenance
- Cleaning: Wipe the mesh and plastic components with a damp cloth and mild soap. Do not use abrasive cleaners or harsh chemicals.
- Inspection: Periodically inspect all mounting hardware, screws, and the mesh fabric for any signs of wear, damage, or loosening. Tighten screws as needed.
- Storage: When not in use for extended periods, ensure the gate is fully retracted and locked.
7. Troubleshooting
- Gate not retracting smoothly: Check for any obstructions in the retraction mechanism. Ensure the mesh is not twisted or caught.
- Gate not locking securely: Verify that the mesh is fully extended and properly hooked into both latch brackets. Ensure the top locking mechanism is fully engaged.
- Loose mounting: Re-tighten all screws. If using wall anchors, ensure they are properly seated. Consider relocating the gate if the mounting surface is compromised.
- Mesh sagging: Ensure the reinforced support beams are correctly positioned and the mesh is pulled taut when latched.

Image: A detailed view of the gate's mesh highlights its support beam design, which prevents sagging. Below, two comparative images show other gates with sagging mesh, allowing a child and a dog to attempt to pass underneath, emphasizing the BETERTEK gate's superior design.
8. Specifications
| Feature | Detail |
|---|---|
| Model Number | HYBG-427518 |
| Dimensions (Gate Mesh) | 33 inches (Height) x 0-55 inches (Adjustable Width) |
| Product Dimensions (Package) | 55 x 55 x 35 inches |
| Material | Polyester |
| Item Weight | 5.04 pounds |
| Color | White |
9. Warranty and Support
For warranty information, technical support, or assistance with installation, please contact BETERTEK customer service. Refer to the product packaging or the official BETERTEK website for contact details.


