
Fulkeley SZ-4012B
Fulkeley Wireless Controller Instruction Manual
Model: SZ-4012B
1. Introduction
This manual provides detailed instructions for the setup, operation, and maintenance of your Fulkeley Wireless Controller, Model SZ-4012B. Please read this manual carefully before using the product to ensure proper functionality and to maximize your gaming experience.
The Fulkeley Wireless Controller is designed for compatibility with PS4, PS4 Pro, PS4 Slim, Android, iOS, and PC (Windows 7/8/8.1/10) systems, offering a versatile gaming solution.
2. Product Overview
2.1 Controller Components
Familiarize yourself with the various buttons and features of your Fulkeley Wireless Controller:

Figure 2.1: Diagram illustrating the various components of the Fulkeley Wireless Controller, including the Share button, Touchpad, Option button, Direction Key, A/B/X/Y buttons, Sticks, Speakers, Turbo button, 3.5mm AUX port, Home button, R1/R2/L1/L2 triggers, Type-C charging port, and Programming Keys.
- Share Button: Used for sharing game content, screenshots, and video recording.
- Touchpad: Supports dragging, clicking, and multi-touch input.
- Option Button: Accesses in-game menus and options.
- Directional Pad (D-Pad): For precise directional input.
- Action Buttons (A/B/X/Y): Standard action buttons.
- Analog Sticks: Dual joysticks for movement and camera control.
- Speakers: Integrated speaker for in-game audio.
- Turbo Button: Activates rapid-fire function.
- 3.5mm AUX Jack: For connecting headphones or headsets.
- Home Button (P4): Returns to the system home screen.
- L1/R1/L2/R2 Triggers: Shoulder buttons and analog triggers.
- Type-C Port: For charging and wired connection.
- Programming Keys (M1-M4): Customizable macro buttons on the back.
3. Setup and Connection
3.1 Compatibility
The Fulkeley Wireless Controller is compatible with a wide range of devices:
- PS4
- PS4 Pro
- PS4 Slim
- Android devices
- iOS devices
- PC (Windows 7/8/8.1/10)
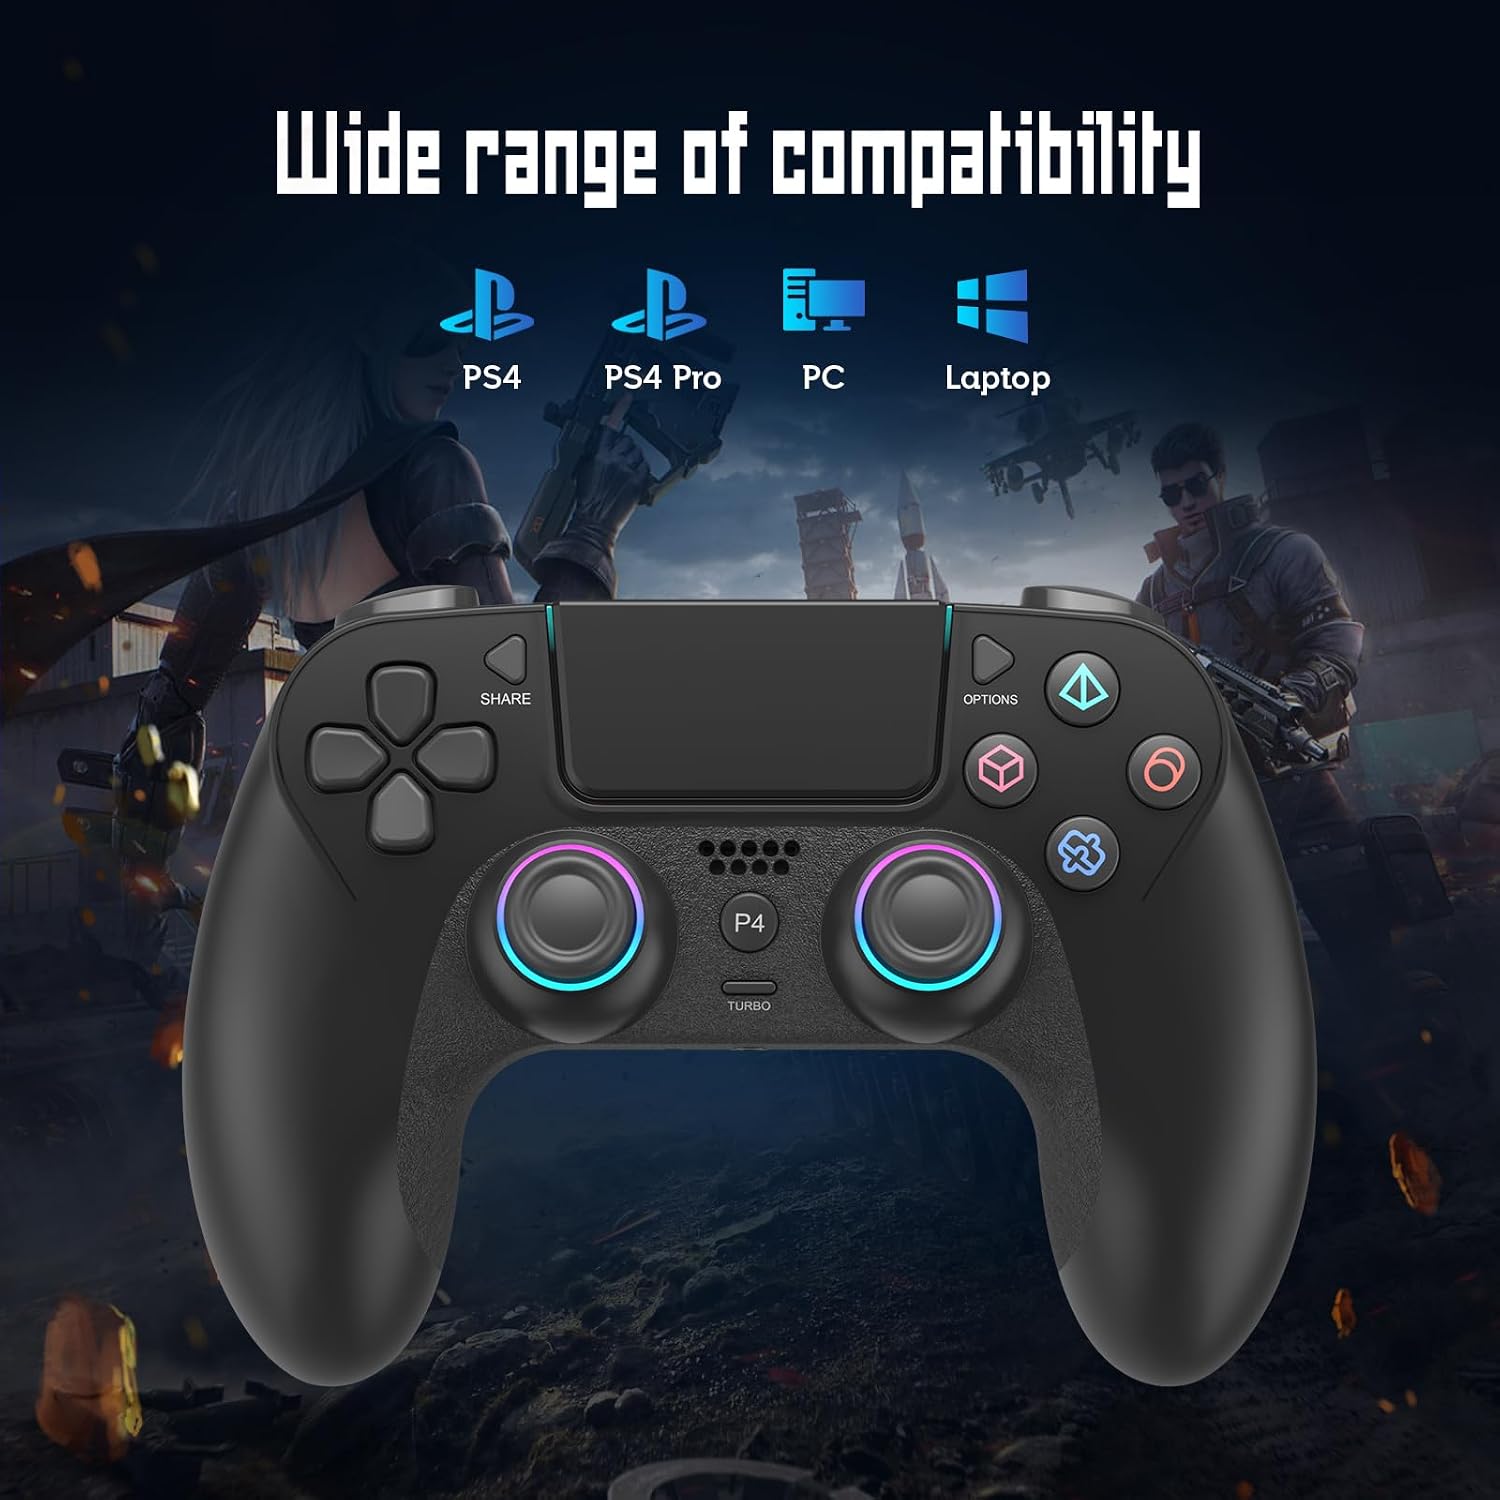
Figure 3.1: Visual representation of the controller's broad compatibility with various gaming platforms.
3.2 First-Time Pairing (PS4)
- Ensure your PS4 console is powered on.
- Connect the Fulkeley Wireless Controller to your PS4 console using a USB cable (Type-C to USB-A).
- Press the Home button (P4 button) on the controller.
- The controller will pair with the console. Once paired, you can disconnect the USB cable for wireless use.
- For subsequent connections, simply press the Home button (P4 button) to connect wirelessly.
Note: A USB cable is required for the initial pairing with a PS4 console.
3.3 Charging the Controller
The controller is equipped with a built-in rechargeable Lithium-ion battery. To charge:
- Connect the supplied USB Type-C cable to the controller's Type-C port.
- Connect the other end of the USB cable to a PS4 console, PC, or a compatible USB wall adapter.
- The LED light bar on the controller will indicate charging status. It typically takes approximately 3 hours for a full charge.

Figure 3.2: Battery specifications: 950mAh capacity, approximately 10 hours of working time, and 3 hours charging time.
4. Operating Instructions
4.1 Basic Gameplay
Once connected, the controller functions similarly to standard PS4 controllers. Use the analog sticks for movement and camera control, the D-pad for directional input, and the action buttons for in-game commands.
4.2 Touchpad Functionality
The integrated touchpad supports various gestures, including dragging, clicking, and multi-touch input, enhancing interaction in compatible games.
4.3 Share Button
Press the "Share" button to quickly share game content, capture screenshots, or record video clips of your gameplay.
4.4 Audio Connection
Connect your headphones or headset to the 3.5mm audio jack on the controller for immersive game audio and voice chat capabilities.

Figure 4.1: A user enjoying an immersive gaming experience with headphones connected to the controller's audio jack.
4.5 6-Axis Gyroscope and Dual Vibration
The controller features a built-in ultra-precise 6-axis gyroscope for accurate motion control and dual motors for realistic vibration feedback. These features provide a more immersive and responsive gaming experience.

Figure 4.2: Visual representation of the built-in 6-axis gyro sensor enabling fast and smooth operations through motion control.

Figure 4.3: Illustration of the realistic vibration feedback feature, with adjustable intensity levels (0%, 30%, 70%, 100%).
4.6 Programmable Buttons (M1-M4)
The controller includes four programmable macro buttons (M1, M2, M3, M4) on the back. These can be customized to map to other button functions (e.g., A, B, X, Y, R, ZL, etc.) for more efficient multi-platform operations.

Figure 4.4: Diagram showing the M1, M2, M3, M4 programmable buttons on the back of the controller and how they can be mapped to other functions like A, B, X, Y, R, ZL, etc.
4.7 Turbo Function
Activate the Turbo function for rapid, repeated button presses. The controller offers three adjustable turbo speeds to suit different game requirements:
- 5 shots/second
- 10 shots/second
- 15 shots/second
To activate, press the Turbo button simultaneously with the desired action button (e.g., X/Y/B/A).

Figure 4.5: Visual representation of the Turbo function with three adjustable speeds for rapid button presses.
4.8 RGB Lighting Effects
The controller features customizable RGB lighting with four modes:
- RGB Light Constant Mode: Displays a continuous color (blue, red, green, pink, orange, cyan, purple, red and blue, red and green, green and green).
- RGB Lamp Breathing Light Mode: Colors fade in and out. Each color can be set to breathe individually.
- RGB Lamp Running Lamp Mode: Colors cycle or flow across the light bar.
- RGB Light Off Mode: Disables all RGB lighting.

Figure 4.6: Illustration of the different RGB lighting effects and modes available on the controller.
5. Maintenance
Proper maintenance ensures the longevity and optimal performance of your controller.
- Cleaning: Use a soft, dry cloth to wipe the controller. For stubborn dirt, slightly dampen the cloth with water. Avoid harsh chemicals or abrasive cleaners.
- Storage: Store the controller in a cool, dry place away from direct sunlight and extreme temperatures.
- Battery Care: Avoid fully discharging the battery frequently. Charge the controller regularly, even if not in use for extended periods, to maintain battery health.
- Avoid Impact: Do not drop or subject the controller to strong impacts, as this can damage internal components.
6. Troubleshooting
If you encounter issues with your Fulkeley Wireless Controller, refer to the following common troubleshooting steps:
| Problem | Possible Cause | Solution |
|---|---|---|
| Controller does not connect wirelessly. | Not paired, out of range, or low battery. |
|
| Buttons or joysticks are unresponsive. | Software glitch, physical obstruction, or damage. |
|
| Controller does not charge. | Faulty cable, power source, or controller port. |
|
| Vibration or gyroscope not working. | Feature disabled in game/system settings, or internal issue. |
|
7. Specifications
| Feature | Detail |
|---|---|
| Brand | Fulkeley |
| Model Number | SZ-4012B |
| Compatibility | PS4, PS4 Slim, Android, iOS, PC (Windows 7/8/8.1/10) |
| Connectivity | Wireless (Bluetooth), Wired (USB Type-C) |
| Special Features | Multi-touchpad, Share button, 3.5mm audio jack, 6-axis gyroscope, Dual vibration, Programmable back buttons, Turbo function, RGB lighting |
| Power Source | Battery powered (Rechargeable Lithium-ion) |
| Battery Capacity | 950mAh |
| Working Time | Approx. 10 hours |
| Charging Time | Approx. 3 hours |
| Dimensions (Package) | 17 x 13 x 6.9 cm |
| Weight (Package) | 300 g |
| Number of Buttons | 17 (excluding programmable back buttons) |
8. Warranty and Support
Fulkeley is committed to providing high-quality products. If you experience any quality-related issues with your controller, please contact our customer service team for assistance. We offer a replacement service for eligible quality problems.
For any questions or further support, please send an email to our customer service. We aim to respond within 24 hours of receiving your message.
Please refer to your purchase documentation for specific warranty terms and contact information.
Ask a question about this manual
Ask about setup, troubleshooting, compatibility, parts, safety, or missing instructions. Manuals+ will review the question and use this page’s manual context to help answer it.