Kärcher SV7
Kärcher SV 7 Steam Vacuum Cleaner User Manual
Model: SV7
1. Introduction
This manual provides essential instructions for the safe and efficient operation, maintenance, and care of your Kärcher SV 7 Steam Vacuum Cleaner. Please read this manual thoroughly before first use and keep it for future reference. The Kärcher SV 7 combines steam cleaning, vacuuming, and drying functions to provide hygienic cleaning results.
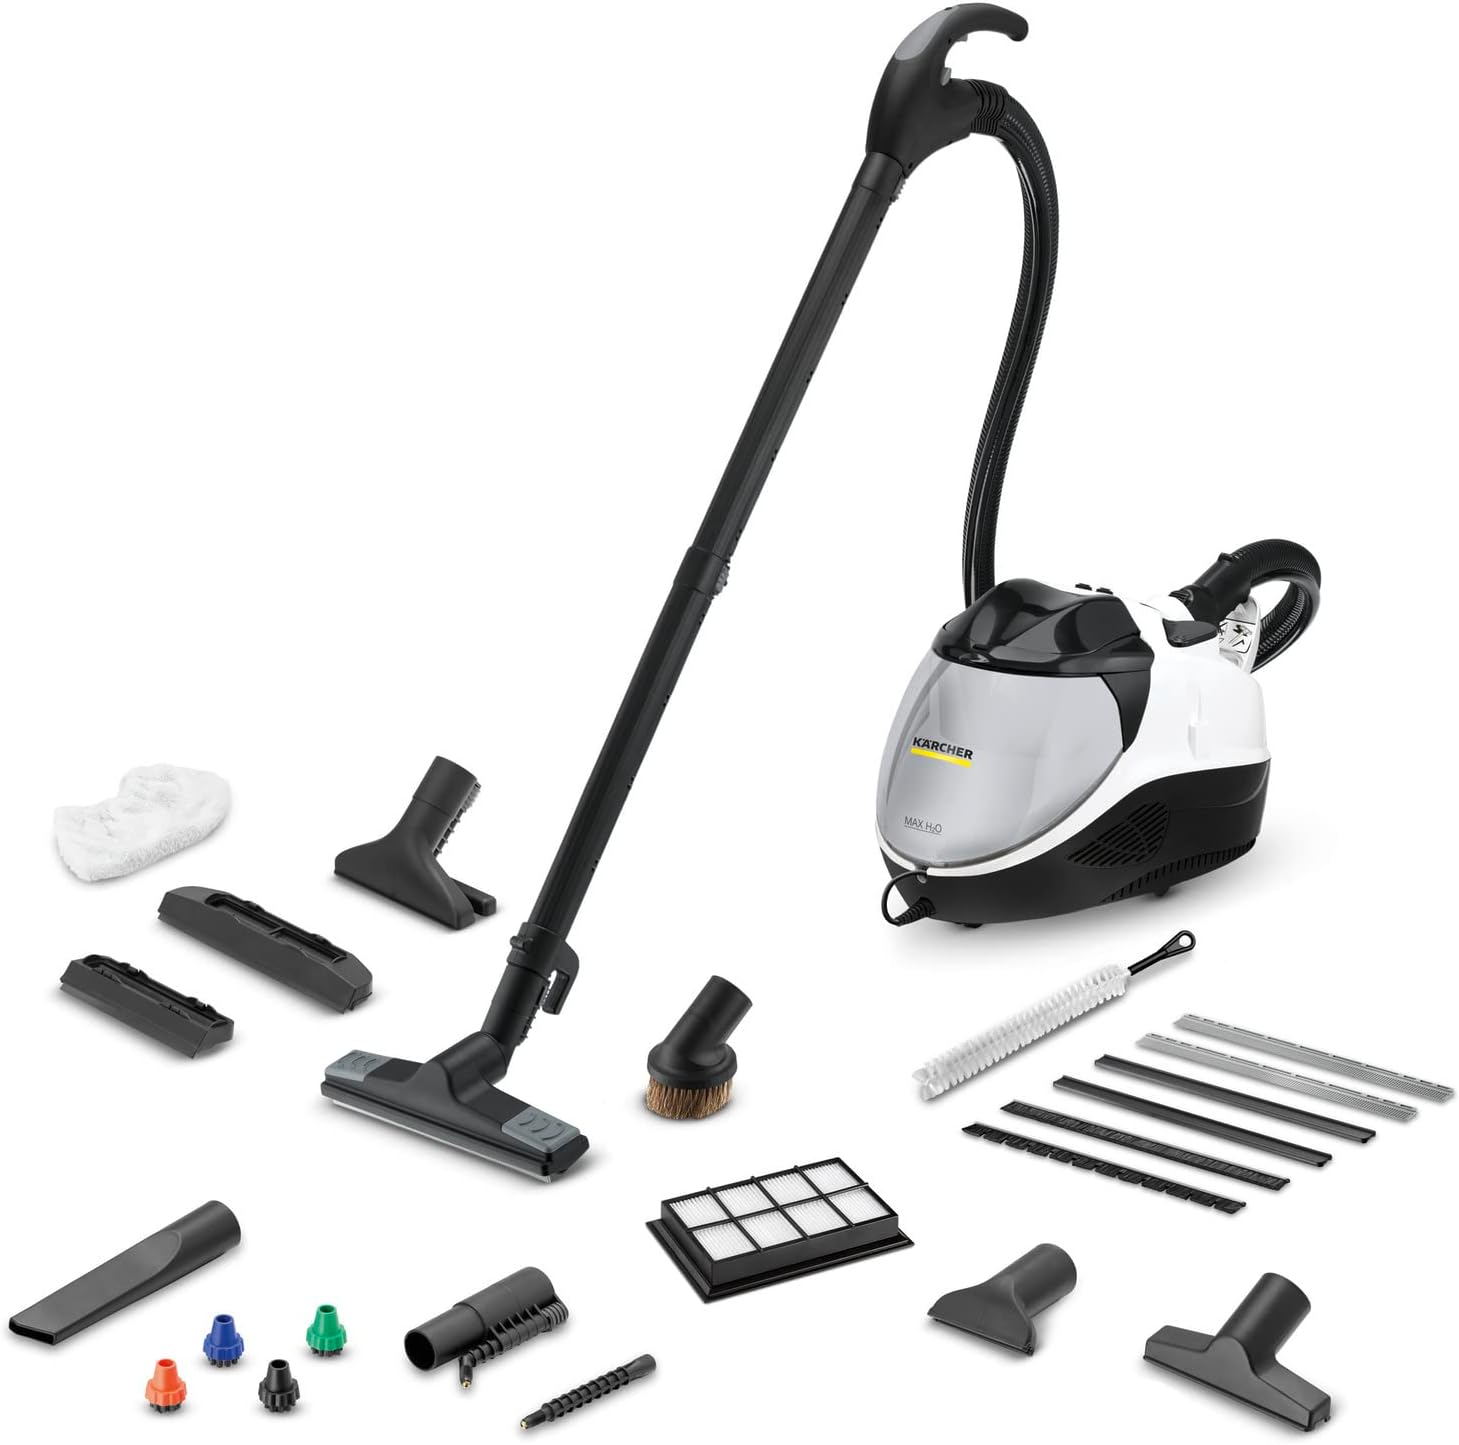
Image 1: The Kärcher SV 7 Steam Vacuum Cleaner shown with its complete set of accessories, including various nozzles, brushes, and cloths.
2. Safety Instructions
Always observe the following safety precautions to prevent accidents and damage to the appliance:
- Read all instructions before using the appliance.
- Do not direct steam at people, animals, or electrical components.
- Ensure the appliance is unplugged before cleaning or maintenance.
- Keep children and unauthorized persons away from the appliance during operation.
- Use only Kärcher approved accessories and spare parts.
3. Included Components
Your Kärcher SV 7 Steam Vacuum Cleaner typically includes the following items:
- Kärcher SV 7 main unit
- Steam vacuum hose with handle
- Floor nozzle
- Various attachment nozzles and brushes
- Microfiber cloths
- Water tank
- Charging dock (if applicable, for specific models)
4. Initial Setup
4.1 Unpacking and Assembly
- Carefully remove all components from the packaging.
- Connect the steam vacuum hose to the main unit until it clicks into place.
- Attach the desired nozzle or accessory for your cleaning task.
4.2 Filling the Water Tank
- Ensure the appliance is unplugged.
- Open the water tank cover.
- Fill the water tank with clean tap water. Do not overfill.
- Close the water tank cover securely.

Image 2: A hand lifting the lid to access the water tank compartment on the Kärcher SV 7.

Image 3: A hand pouring water from a container into the designated water tank opening of the Kärcher SV 7.
5. Operating Instructions
The Kärcher SV 7 offers triple functionality for comprehensive cleaning:
- Steam Cleaning: Uses hot steam to loosen dirt and kill 99.99% of common household bacteria without chemicals.
- Vacuuming: Powerful suction removes loose dirt and debris.
- Drying: The vacuum function also aids in drying surfaces after steam cleaning.
5.1 Powering On and Heating Up
- Plug the appliance into a suitable power outlet.
- Press the main power switch. The indicator light will illuminate.
- Allow the appliance to heat up until the steam ready indicator light turns solid. This typically takes a few minutes.
5.2 Adjusting Steam Flow and Vacuum Power
The Kärcher SV 7 features adjustable settings for optimal cleaning:
- Steam Flow: Adjust the steam output with 5-stage control, typically located on the handle or main unit.
- Vacuum Power: Adjust the suction power with 4-stage control, also accessible on the handle.
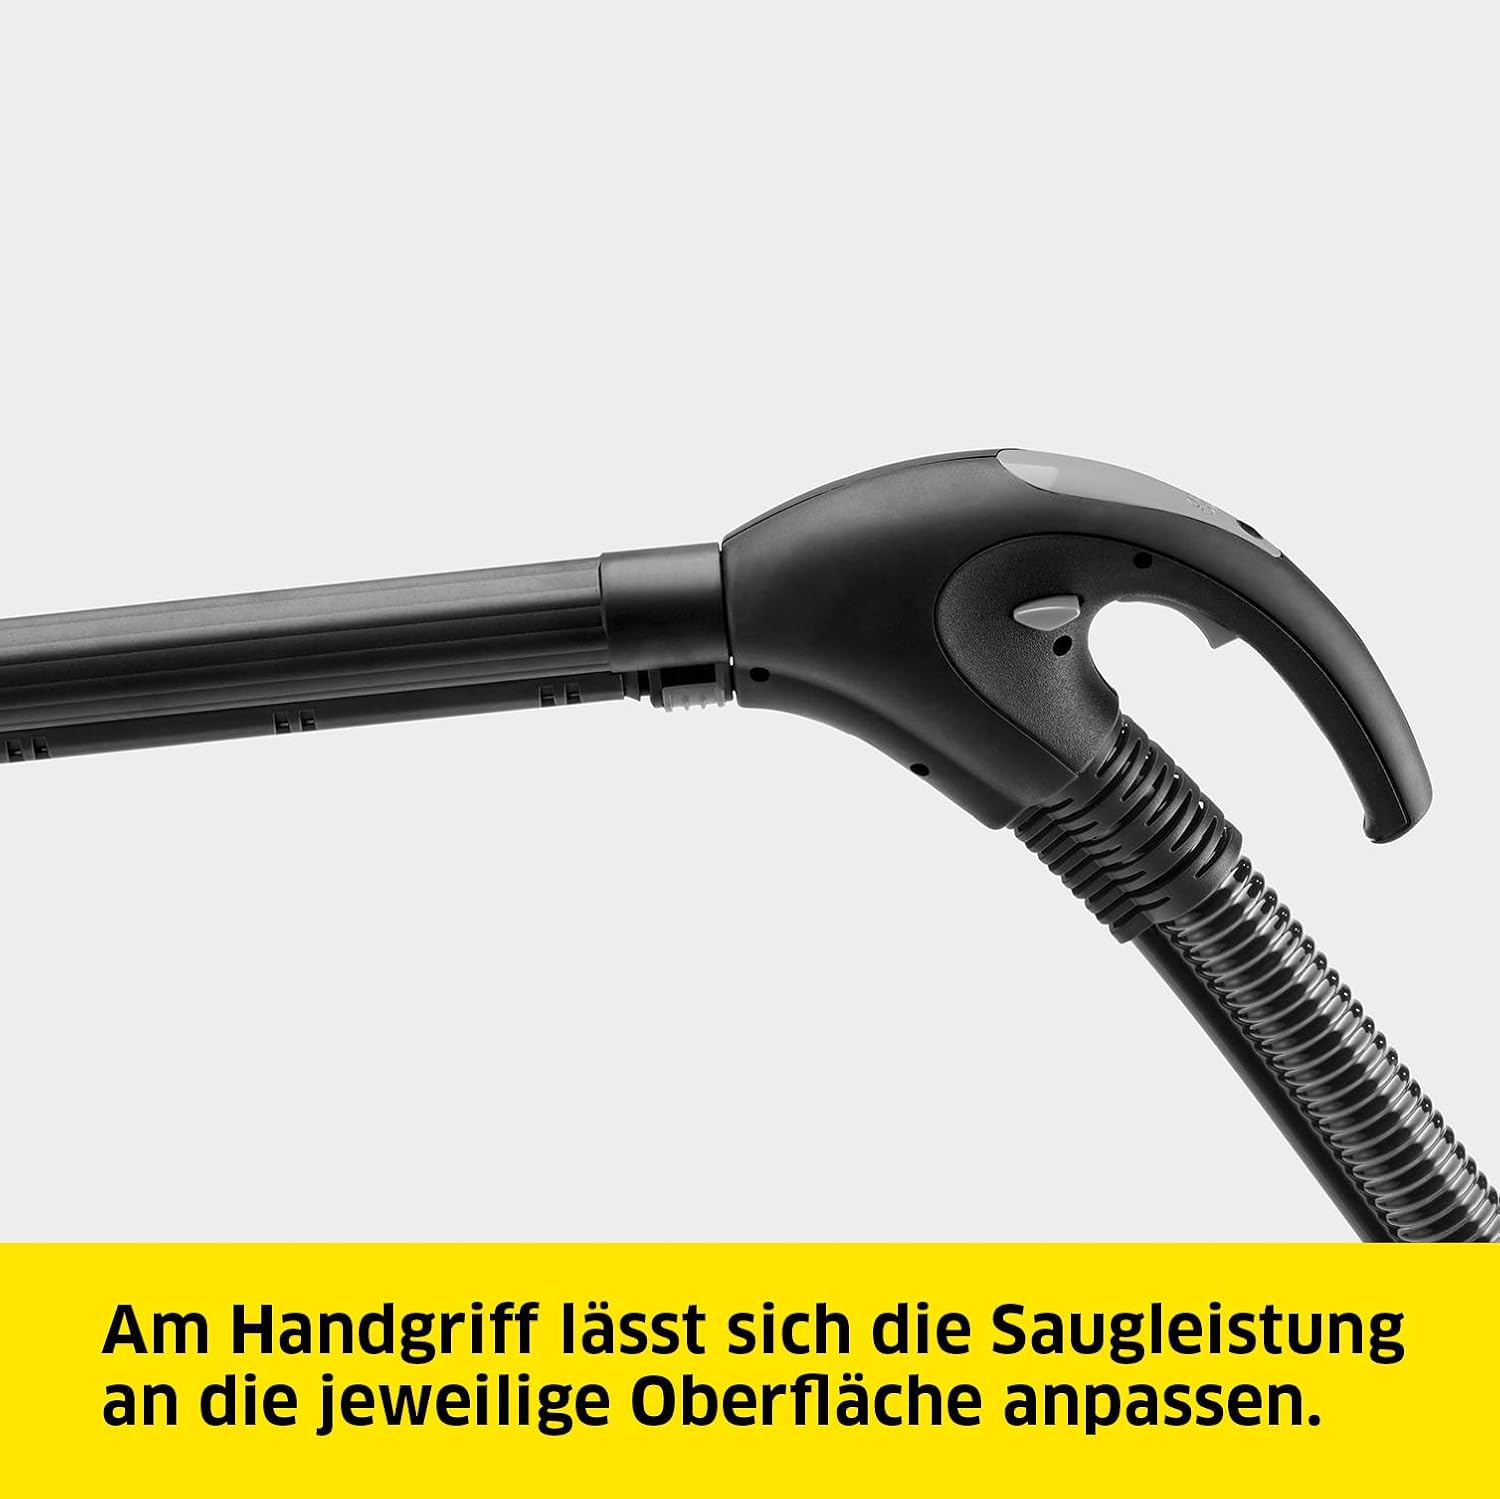
Image 4: A detailed view of the Kärcher SV 7 handle, showing the ergonomic design and integrated controls for adjusting suction power.
5.3 Recommended Surfaces
This appliance is suitable for cleaning various sealed hard surfaces, including:
- Sealed hard floors (tiles, laminate, PVC)
- Kitchen surfaces
- Bathroom fixtures and tiles
- Windows (with appropriate attachment)

Image 5: A woman demonstrating the use of the Kärcher SV 7 to clean a set of stairs, highlighting its versatility.
6. Maintenance and Care
Regular maintenance ensures optimal performance and extends the lifespan of your Kärcher SV 7.
6.1 Emptying and Cleaning the Dirt Tank
- Unplug the appliance and allow it to cool down.
- Remove the dirt tank and empty its contents.
- Rinse the dirt tank with clean water and allow it to air dry completely.
6.2 Filter Maintenance
The Kärcher SV 7 features a 4-level filter system. Regularly check and clean the filters:
- Remove the filters according to the diagrams in the quick start guide.
- Tap out loose dirt or rinse washable filters under running water.
- Ensure filters are completely dry before reinserting them.
- Replace filters as recommended by Kärcher or when performance decreases.
6.3 Descaling
Depending on water hardness, descaling may be necessary. Refer to the quick start guide for specific descaling procedures and recommended descaling agents.
6.4 Storage
Store the appliance in a dry, frost-free location, out of reach of children.
7. Troubleshooting
If you encounter issues with your Kärcher SV 7, consult the following table for common problems and solutions:
| Problem | Possible Cause | Solution |
|---|---|---|
| No steam output | Water tank empty, appliance not heated up, steam lock engaged | Fill water tank, wait for heating, release steam lock |
| Low suction power | Dirt tank full, filters clogged, nozzle blocked | Empty dirt tank, clean/replace filters, clear nozzle obstruction |
| Appliance not turning on | No power supply, main switch off | Check power connection, turn on main switch |
If the problem persists, please contact Kärcher customer support.
8. Technical Specifications
| Feature | Specification |
|---|---|
| Model | SV7 |
| Wattage | 2200 watts |
| Item Weight | 11.78 Kilograms |
| Tank Volume | 0.5 Litres |
| Form Factor | Upright |
| Item Display Dimensions | 36 x 36 centimetres |
| Special Features | Portable |
| Assembly Required | No |
| Batteries Required | No |
9. Warranty and Support
Your Kärcher SV 7 Steam Vacuum Cleaner comes with a manufacturer's warranty. Please refer to the warranty card included with your product for specific terms and conditions.
For technical support, spare parts, or service inquiries, please visit the official Kärcher website or contact your local Kärcher service center. Contact information can typically be found on the Kärcher website or in the product packaging.