1. Introduction
This manual provides comprehensive instructions for the installation, operation, and maintenance of your Nayax VPOS Touch card reader. The VPOS Touch is an innovative payment solution designed for unattended retail environments, offering seamless cashless clearance, real-time monitoring, and robust management capabilities.
2. Product Overview
The Nayax VPOS Touch integrates a card reader with advanced telemetry features, enabling real-time monitoring and management of your machines. It provides updated information on inventory, cash monitoring, alerts, and detailed reports, enhancing operational efficiency.
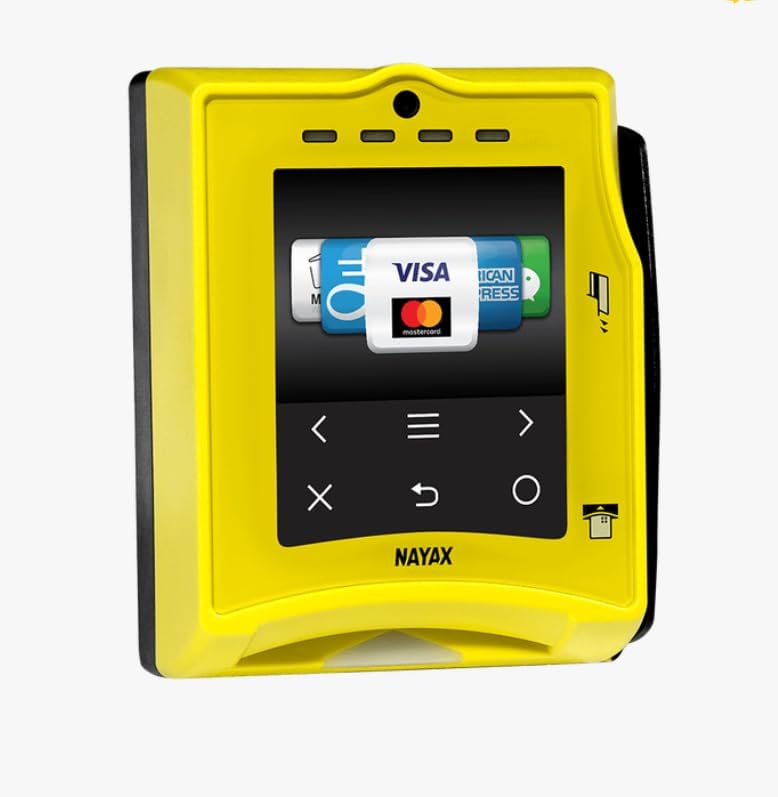
Figure 2.1: VPOS Touch Card Reader Unit
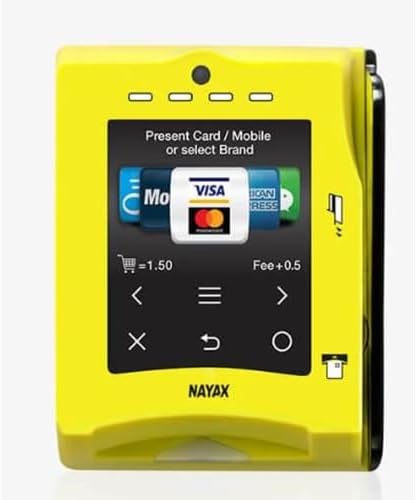
Figure 2.2: VPOS Touch Display Interface
3. Key Features
- Remote Vending: Manage and control vending operations remotely.
- Instant Refunds: Process refunds quickly and efficiently.
- Technician Mode: Dedicated mode for service and maintenance personnel.
- Multivend: Support for multiple product selections in a single transaction.
- Anti-fraud Thresholds: Configurable settings to prevent fraudulent transactions.
- Real-time Data/DEX: Provides immediate access to operational data and DEX files for management.
- Comprehensive Connectivity: Supports MDB, Pulse, VCCS, CCI, 3G/4G LTE, Ethernet, DEX, DDCMP, and RS232 interfaces.
4. Package Contents
Your VPOS Touch kit includes the following components:
- One (1) Nayax VPOS Touch Card Reader with Integrated Telemetry
- One (1) Antenna
- One (1) MDB/DEX Communication Harness

Figure 4.1: Included Antenna
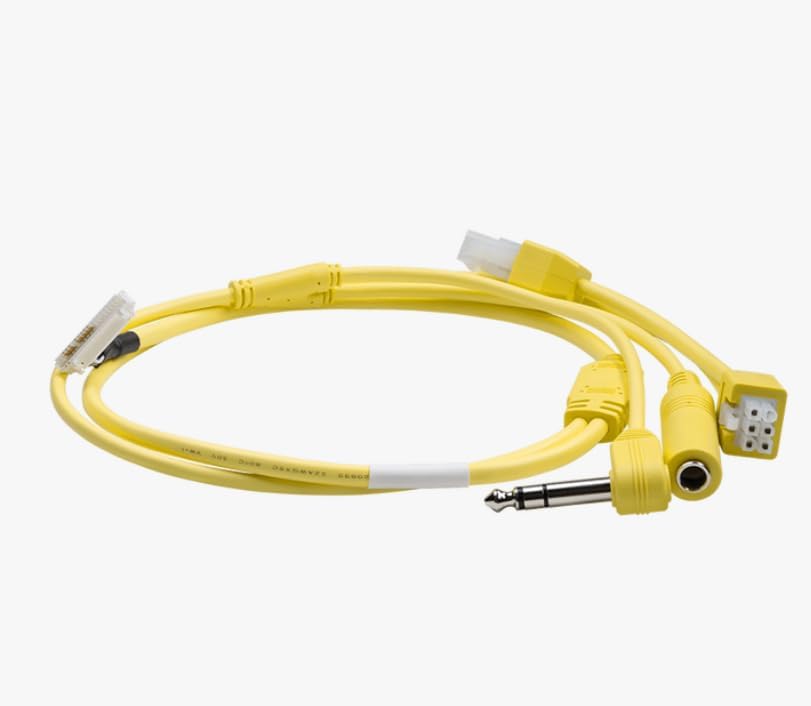
Figure 4.2: MDB/DEX Communication Harness
5. Setup and Installation
Before operating your VPOS Touch unit, an account with Nayax is required. The device operates on the Verizon cellular network within the 50 United States and connects directly to the internet via its cellular connection.
5.1 Account Registration
- New Account: Provide your email address to Nayax to receive an application for a new account.
- Existing Account: Provide your email address to Nayax to associate the VPOS Touch unit with your existing account.
5.2 Hardware Connection
Connect the antenna and the MDB/DEX communication harness to the VPOS Touch unit and integrate it with your vending or ice machine. Ensure all connections are secure.
6. Operation
The VPOS Touch supports various payment methods, including traditional card swipes, chip inserts, and contactless payments (NFC) via mobile devices or tap-to-pay cards.
6.1 Accepting Payments
- Card Swipe: Insert the card into the designated slot and swipe.
- Chip Insert: Insert the card with the chip facing up into the bottom slot. Leave the card inserted until the transaction is complete.
- Contactless Payment: Tap your contactless card or mobile device (e.g., Apple Pay, Samsung Pay) near the screen where indicated.

Figure 6.1: Card Insertion for Payment

Figure 6.2: Contactless Payment with Mobile Device

Figure 6.3: Preparing for Card Insertion
After a successful payment, the machine will be ready for product selection or service initiation.
7. Maintenance
Regular maintenance ensures optimal performance and longevity of your VPOS Touch unit. Keep the screen and card reader slots clean and free from debris. Use a soft, dry cloth for cleaning. Avoid abrasive cleaners or solvents.
For advanced maintenance or technical issues, utilize the Technician Mode feature and refer to the Nayax support documentation or contact their customer service.
8. Troubleshooting
If you encounter issues with your VPOS Touch unit, consider the following general troubleshooting steps:
- No Power: Ensure the unit is correctly connected to the machine's power supply via the MDB/DEX harness.
- Payment Not Processing: Verify the customer's card is valid and has sufficient funds. Ensure the card is inserted or tapped correctly. Check for network connectivity issues.
- Network Issues: Confirm the unit is within Verizon cellular network coverage. If using Ethernet, check the cable connection and network status.
- Screen Unresponsive: Attempt a soft reset by disconnecting and reconnecting power, if safe to do so.
For persistent problems, contact Nayax customer support with your unit's serial number and a detailed description of the issue.
9. Specifications
| Feature | Detail |
|---|---|
| Model | VPOS Touch |
| Manufacturer | NAYAX |
| Connectivity | 3G / 4G LTE (Verizon Network), Ethernet, MDB / Pulse / VCCS / CCI, DEX / DDCMP / RS232 |
| Certifications | EMV Co (levels 1 & 2), CE, FCC, RoHS, MasterCard Pay Pass, Visa pay Wave, PCI DSS |
| Operating Region | 50 United States (Verizon cellular network) |
10. Warranty and Support
For information regarding warranty coverage, technical support, or service requests, please contact Nayax directly. Ensure you have your product's serial number available when contacting support.
Nayax Contact Information: Please refer to the official Nayax website or your purchase documentation for the most current contact details.