Introduction
Thank you for purchasing the Leo Jaymz SCREAM-20 Electric Guitar Amplifier. This 20-watt amplifier is designed to provide versatile sound for electric guitars, featuring both clean and distortion channels, 3-band equalization, and multiple input options for practice and recording. Please read this manual thoroughly to ensure proper use and to maximize the performance of your amplifier.
Safety Instructions
- Power Supply: Ensure the amplifier is connected to a power source with the correct voltage (110-130V, 50/60Hz) as indicated on the unit.
- Ventilation: Do not block ventilation openings. Ensure adequate airflow around the amplifier to prevent overheating.
- Moisture: Do not expose the amplifier to rain, moisture, or excessive humidity. Keep liquids away from the unit.
- Servicing: Do not attempt to service the amplifier yourself. Refer all servicing to qualified service personnel.
- Cables: Use high-quality instrument and power cables. Avoid placing heavy objects on cables.
- Placement: Place the amplifier on a stable, level surface. Avoid placing it near heat sources or in direct sunlight.
Product Overview
The Leo Jaymz SCREAM-20 is a compact yet powerful 20-watt electric guitar amplifier. It features a robust construction with a comfortable handle for portability and protective corner guards. The amplifier offers a range of tonal possibilities through its dual channels and comprehensive equalization controls.

Figure 1: Front view of the Leo Jaymz SCREAM-20 Amplifier.

Figure 2: Angled view of the amplifier.
Controls and Connections
The front panel of the SCREAM-20 amplifier provides all necessary controls for shaping your sound and connecting external devices.

Figure 3: Detailed view of the control panel.
- INPUT: 6.35mm jack for connecting your electric guitar.
- GAIN: Controls the input level and the amount of overdrive/distortion in the Lead channel.
- CLEAN/LEAD Switch: Toggles between the Clean channel (for clear tones) and the Lead channel (for overdriven/distorted tones).
- OVERDRIVE (Volume): Adjusts the output volume of the Lead channel.
- EQUALIZATION (BASS, MID, TREBLE): Three independent controls to shape the amplifier's tone:
- BASS: Adjusts the low-frequency response.
- MID: Adjusts the mid-frequency response.
- TREBLE: Adjusts the high-frequency response.
- VOLUME: Controls the overall output volume of the amplifier for both Clean and Lead channels.
- CD Input: 3.5mm stereo input for connecting external audio sources like CD players.
- AUX IN: 3.5mm stereo input for connecting external audio sources like smartphones or MP3 players.
- PHONES: 6.35mm stereo output for connecting headphones. Connecting headphones will mute the amplifier's speaker.
- POWER: On/Off switch for the amplifier.
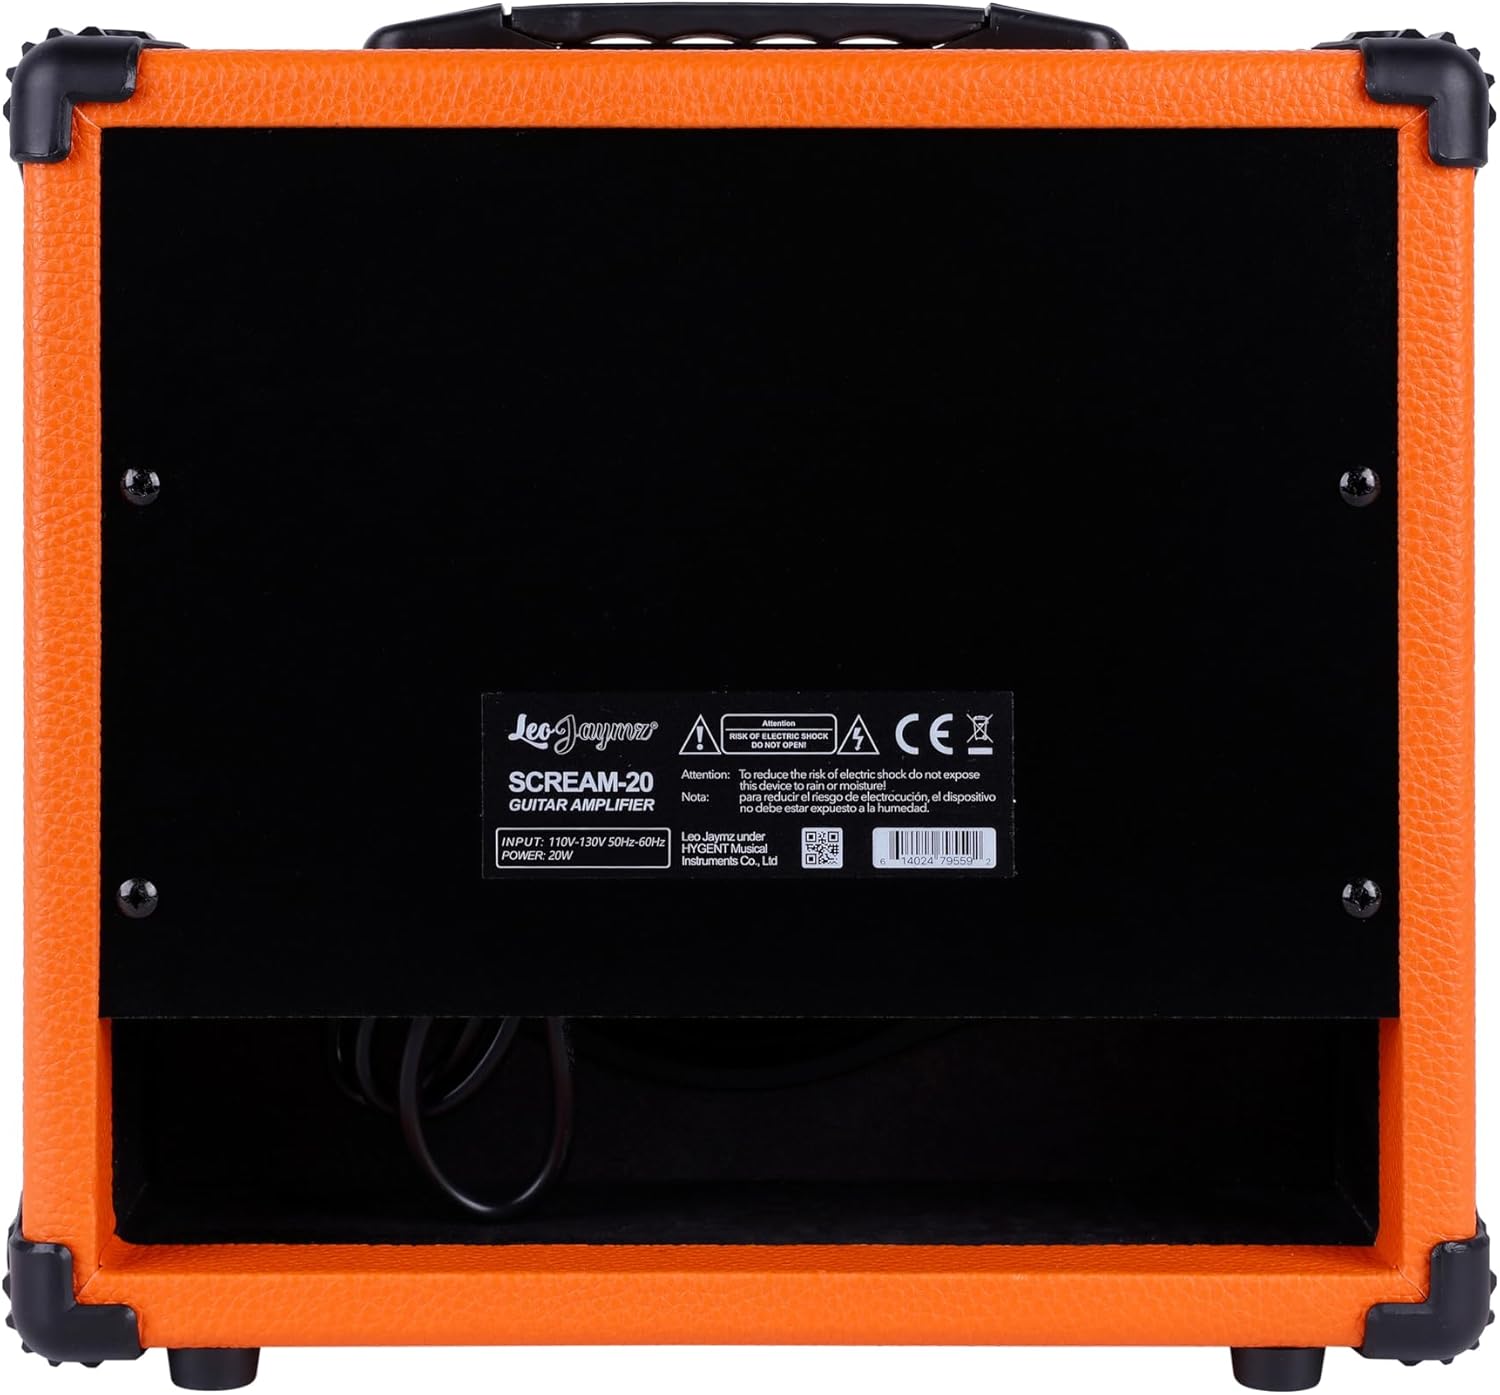
Figure 4: Rear view of the amplifier.
Setup
- Unpacking: Carefully remove the amplifier from its packaging. Retain the packaging for future transport or storage.
- Placement: Place the amplifier on a stable, flat surface. Ensure there is adequate space for ventilation.
- Power Connection: Connect the supplied power cable to the amplifier's power input on the rear panel and then to a suitable electrical outlet (110-130V, 50/60Hz).
- Initial Settings: Before powering on, ensure the VOLUME and OVERDRIVE knobs are set to their minimum positions.
- Guitar Connection: Connect your electric guitar to the INPUT jack on the front panel using a standard 6.35mm instrument cable.
Operating Instructions
Powering On and Off
- To turn on, flip the POWER switch to the 'ON' position.
- To turn off, flip the POWER switch to the 'OFF' position. Always turn down the volume before powering off.
Using the Clean Channel
- Ensure the CLEAN/LEAD switch is in the 'CLEAN' position.
- Adjust the GAIN knob to control the input sensitivity.
- Use the BASS, MID, and TREBLE knobs to shape your desired clean tone.
- Gradually increase the main VOLUME knob to achieve your desired listening level.
Using the Lead (Distortion) Channel
- Flip the CLEAN/LEAD switch to the 'LEAD' position.
- The GAIN knob now controls the amount of distortion. Turn it clockwise for more saturation.
- The OVERDRIVE (Volume) knob controls the output level of the Lead channel.
- Adjust the BASS, MID, and TREBLE knobs to fine-tune the distorted tone.
- Use the main VOLUME knob for overall output level.
Connecting External Audio Devices
- Connect your CD player to the CD Input or your smartphone/MP3 player to the AUX IN jack using a 3.5mm stereo cable.
- The volume of the external audio device is controlled by its own volume output. The amplifier's main VOLUME knob will affect the guitar signal, not the external audio.
Using Headphones
- Plug your headphones into the PHONES jack. This will automatically mute the amplifier's speaker, allowing for silent practice.
- Adjust the main VOLUME knob to control the headphone output level.
Maintenance
- Cleaning: Disconnect the amplifier from power before cleaning. Use a soft, dry cloth to wipe down the exterior. Do not use abrasive cleaners or solvents.
- Storage: When not in use, store the amplifier in a dry, cool place away from direct sunlight and extreme temperatures.
- Transport: Use the integrated handle for carrying. Ensure all cables are disconnected before moving the unit.
Troubleshooting
| Problem | Possible Cause | Solution |
|---|---|---|
| No sound from amplifier |
|
|
| Weak or distorted sound |
|
|
| Humming or buzzing noise |
|
|
Specifications
- Output Wattage: 20 Watts
- Speaker Size: 6.5 inches
- Channels: Clean, Lead (Distortion)
- Equalization: 3-Band (Bass, Mid, Treble)
- Inputs: 6.35mm Guitar Input, 3.5mm CD Input, 3.5mm AUX Input
- Output: 6.35mm Headphone Output
- Input Voltage: 110-130V, 50/60Hz
- Dimensions: Approximately 4.85 x 2.55 x 3.15 inches (L x W x H)
- Weight: Approximately 5.5 pounds
- Materials: Metal, Plastic
Warranty and Support
For warranty information or technical support, please refer to the documentation provided at the time of purchase or contact Leo Jaymz customer service through their official website or the retailer where the product was purchased. Keep your purchase receipt as proof of purchase for any warranty claims.