1. Introduction
This manual provides essential information for the safe and effective operation of your HOLDLAMP Spotlight COB 80W Stage Light. This professional-grade spotlight is designed for various applications including stage performances, parties, churches, concerts, theaters, and photostudios. It features an 80W COB LED with adjustable warm and cold white light, multiple control modes (DMX, Auto, Voice-Activated, Master-Slave), and a durable metal housing with an efficient cooling system.
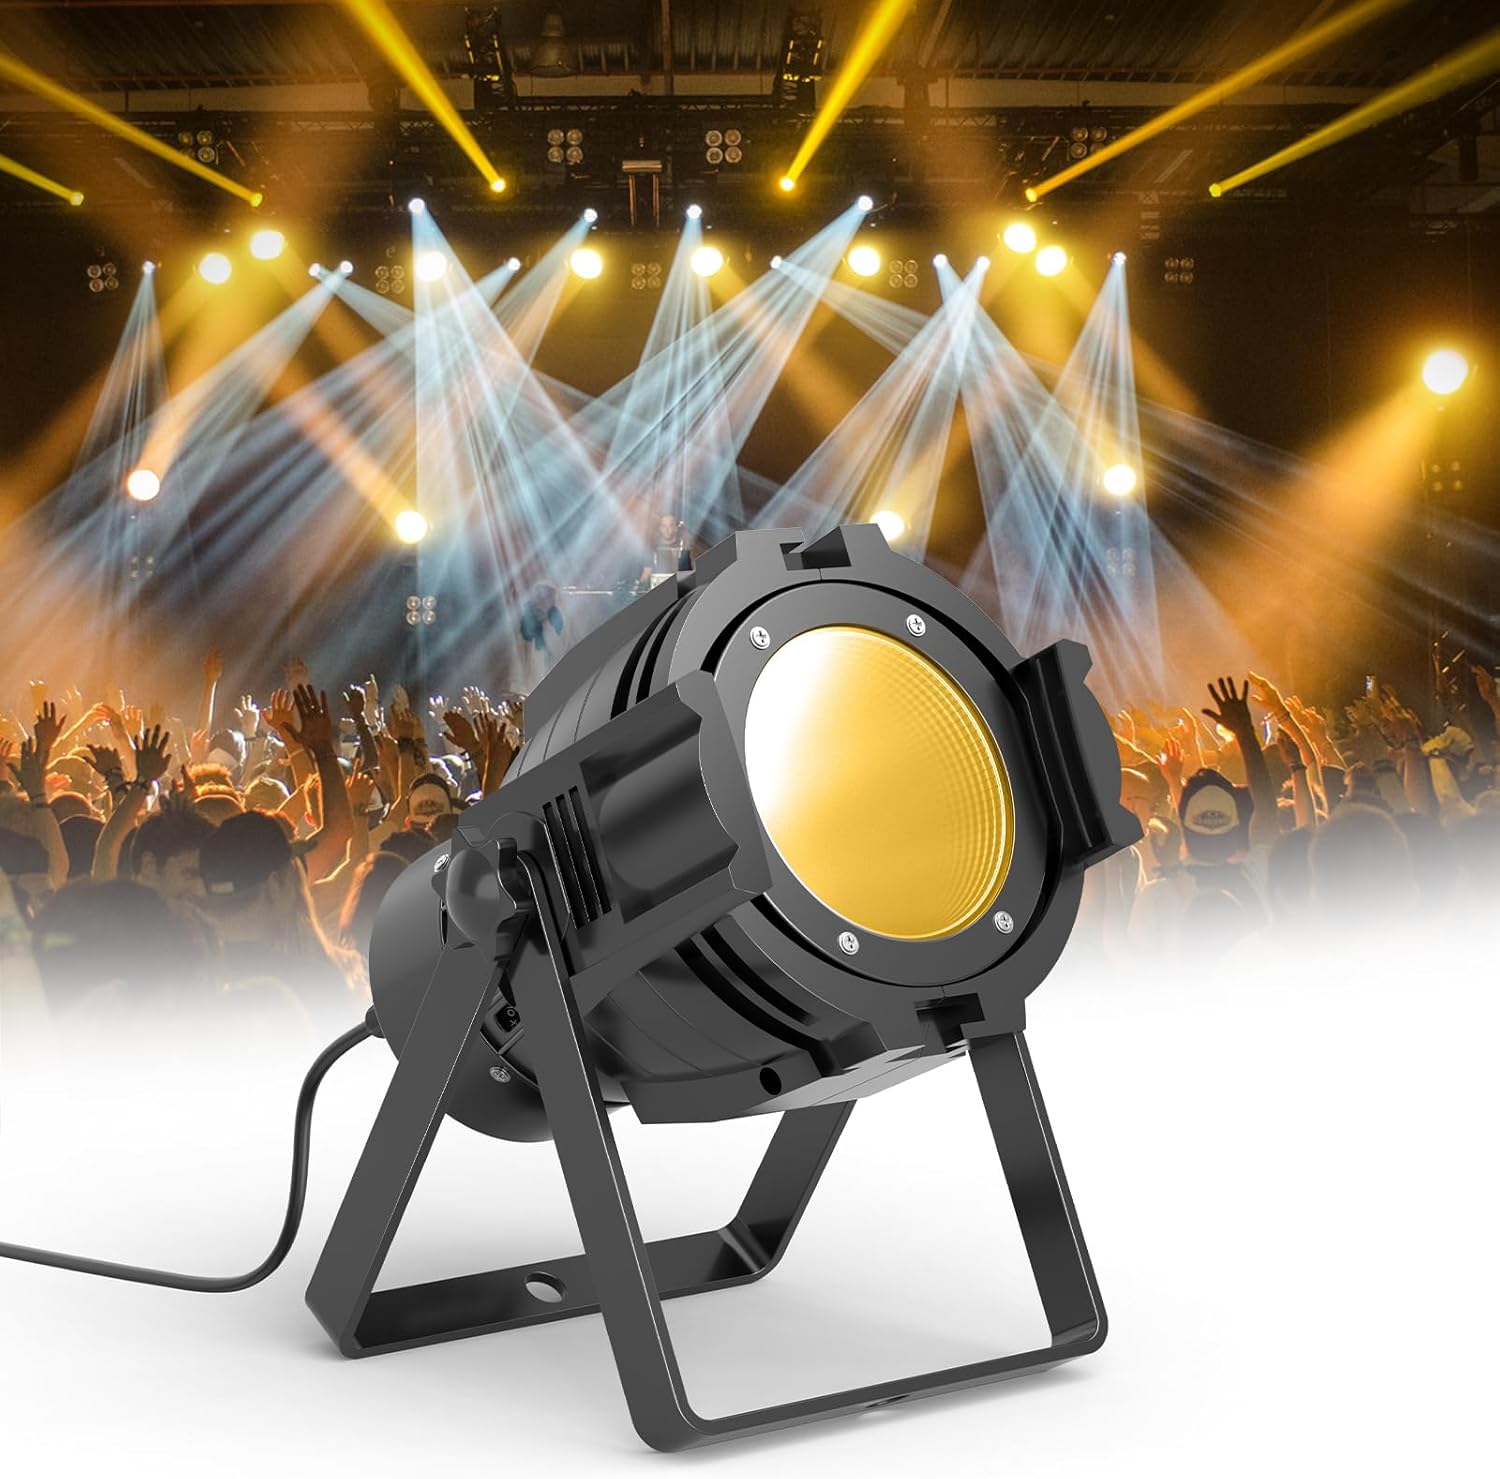
Figure 1: HOLDLAMP Spotlight COB 80W Stage Light in a concert setting.
2. Safety Information
Please read and understand all safety warnings and instructions before installation and operation. Keep this manual for future reference.
- Electrical Safety: Ensure the power supply voltage matches the product's requirements (AC100-240V, 50/60Hz). Always disconnect power before cleaning, servicing, or moving the fixture. Do not expose the unit to rain or moisture.
- Heat Management: The fixture generates heat during operation. Ensure adequate ventilation around the unit. Do not block ventilation openings. The cooling fan may produce slight noise during normal operation.
- Eye Protection: Do not look directly into the light source when the fixture is on, as it can cause eye damage.
- Mounting: Securely mount the fixture using the provided adjustable bracket. Ensure the mounting surface or structure can support the weight of the fixture.
- Handling: Avoid dropping or subjecting the fixture to strong impacts. Handle with care.
- Repairs: Do not attempt to repair the unit yourself. Refer all servicing to qualified personnel.
3. Package Contents
Verify that all items are present and in good condition upon opening the package:
- HOLDLAMP Spotlight COB 80W Stage Light (1 unit)
- Adjustable Mounting Bracket (pre-attached)
- Instruction Manual (this document)
Note: Additional accessories such as DMX cables or external controllers are sold separately.
4. Product Features
- High-Power COB LED: Equipped with an 80W Chip-on-Board (COB) LED for brighter, more uniform light output compared to traditional LEDs.
- Adjustable Color Temperature: Seamlessly switch between warm white and cold white light to create various atmospheric effects.
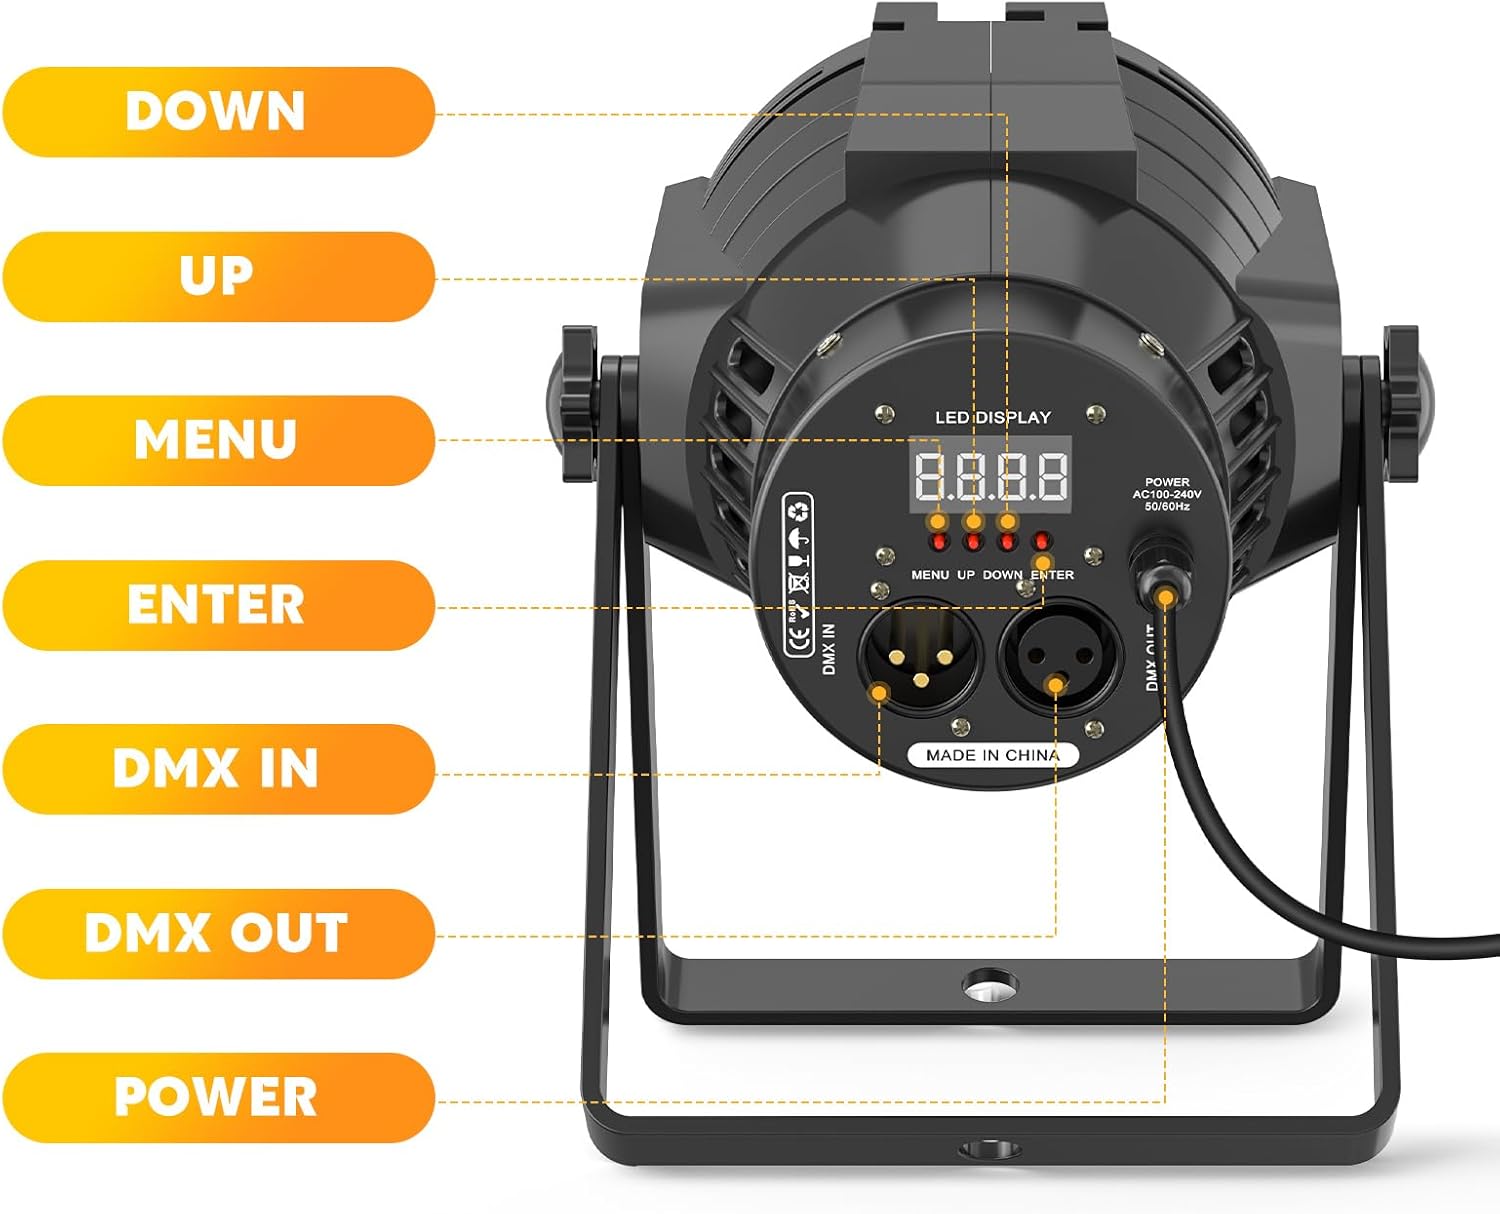
Figure 2: Demonstration of Warm White, Cold White, and Natural Light settings.
- Multiple Control Modes: Supports DMX512, Auto, Voice-Activated (Sound-Activated), and Master-Slave modes for versatile operation.
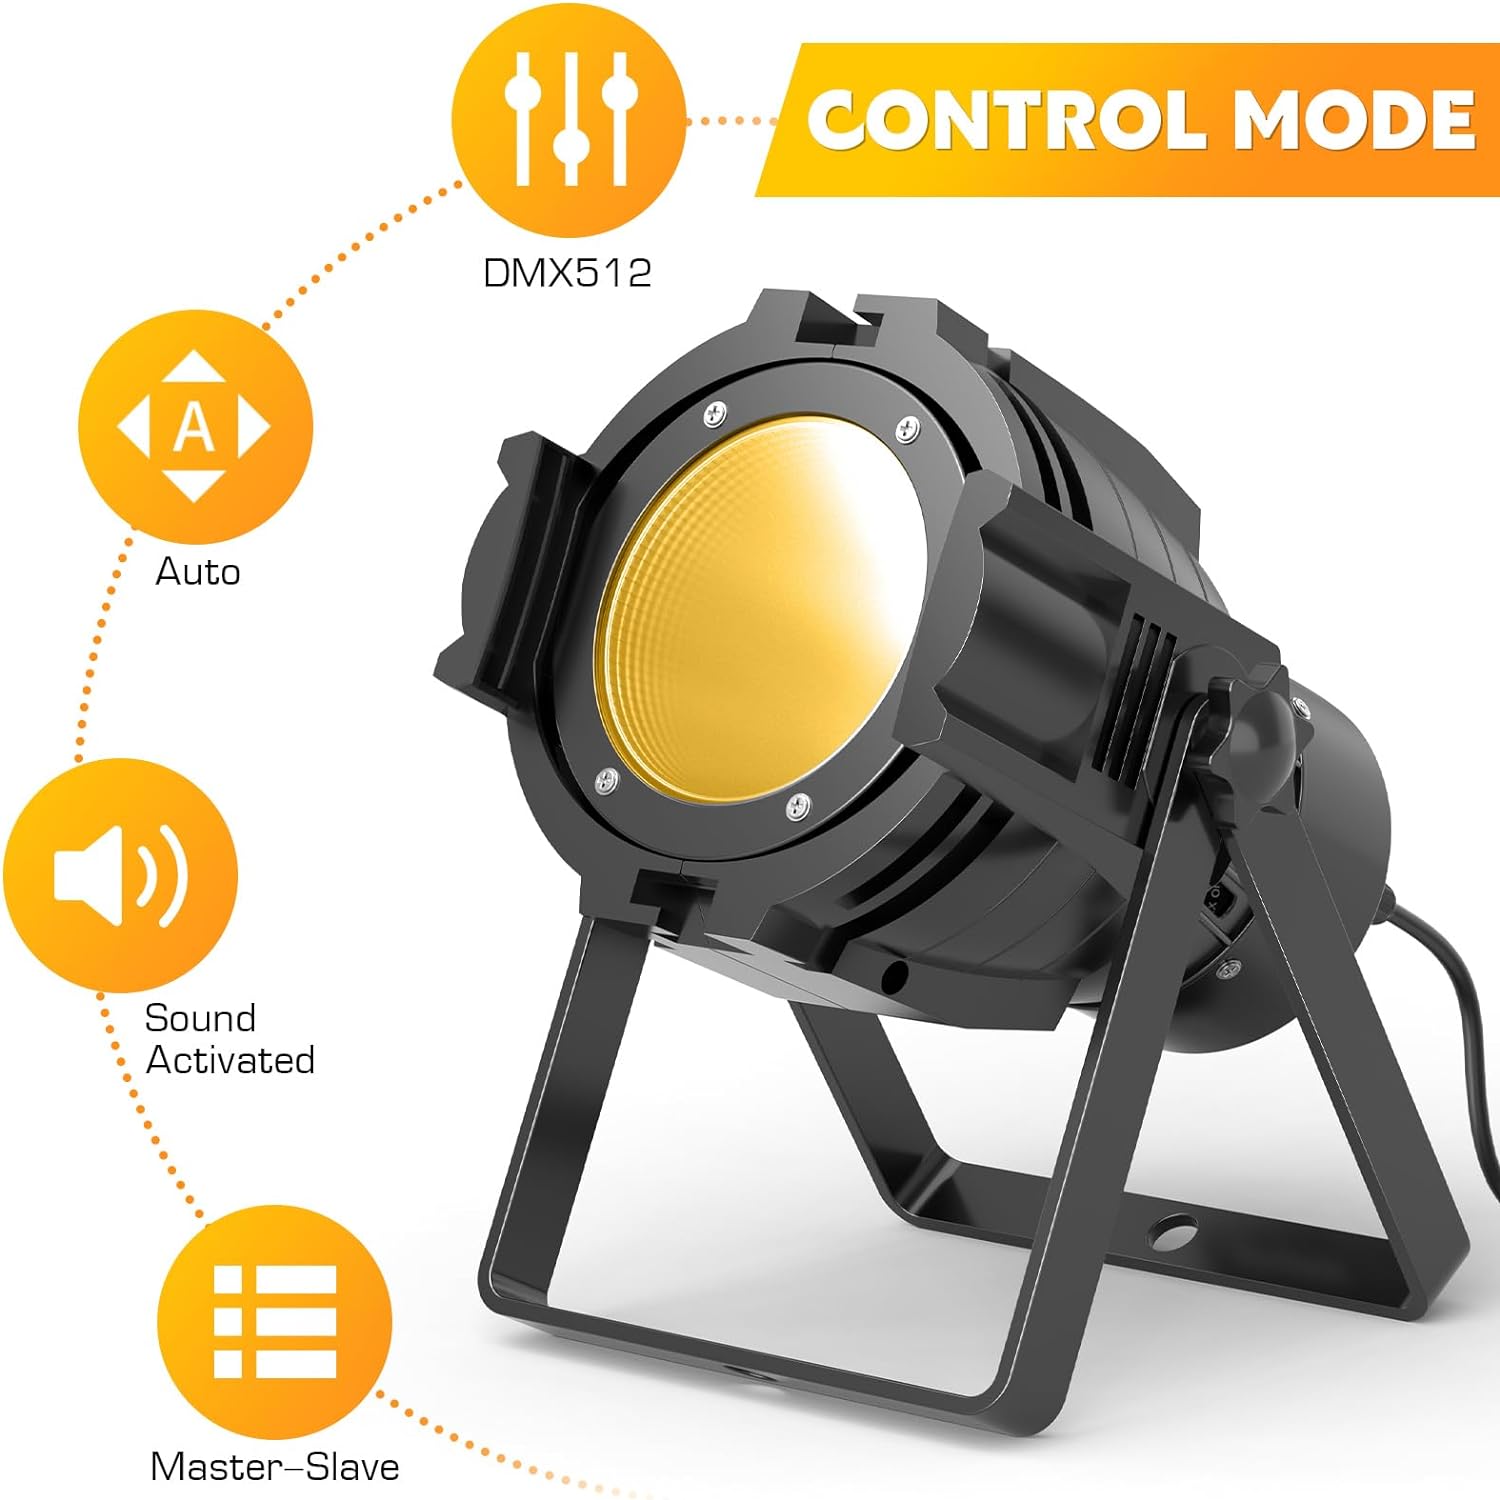
Figure 3: Overview of available control modes.
- Durable Construction: Features a robust metal casing designed to withstand the rigors of stage and event environments.
- Efficient Cooling System: An advanced cooling system ensures reliable performance and extends the lifespan of the LED, even during prolonged use.

Figure 4: Detail of the integrated cooling system.
- Adjustable Mounting Bracket: The integrated bracket allows for flexible installation, enabling hanging or floor mounting to adapt to various settings.

Figure 5: The adjustable bracket allows for versatile positioning.
- Compact and Portable Design: Designed for easy transport and setup, making it suitable for mobile DJs, bands, and event organizers.

Figure 6: Product dimensions for easy planning and transport.
5. Setup
5.1 Mounting
The HOLDLAMP Spotlight COB 80W comes with a pre-attached adjustable bracket for flexible mounting options:
- Floor Mounting: Place the fixture on a stable, flat surface. Ensure the bracket provides sufficient stability and the light is directed as desired.
- Hanging/Truss Mounting: Use appropriate clamps (not included) to attach the bracket securely to a truss, lighting stand, or ceiling structure. Always use a safety cable (not included) as an additional safety measure to prevent accidental drops.
Ensure the mounting location allows for proper ventilation and is away from flammable materials.
5.2 Connections
Locate the control panel on the rear of the fixture (Figure 7).
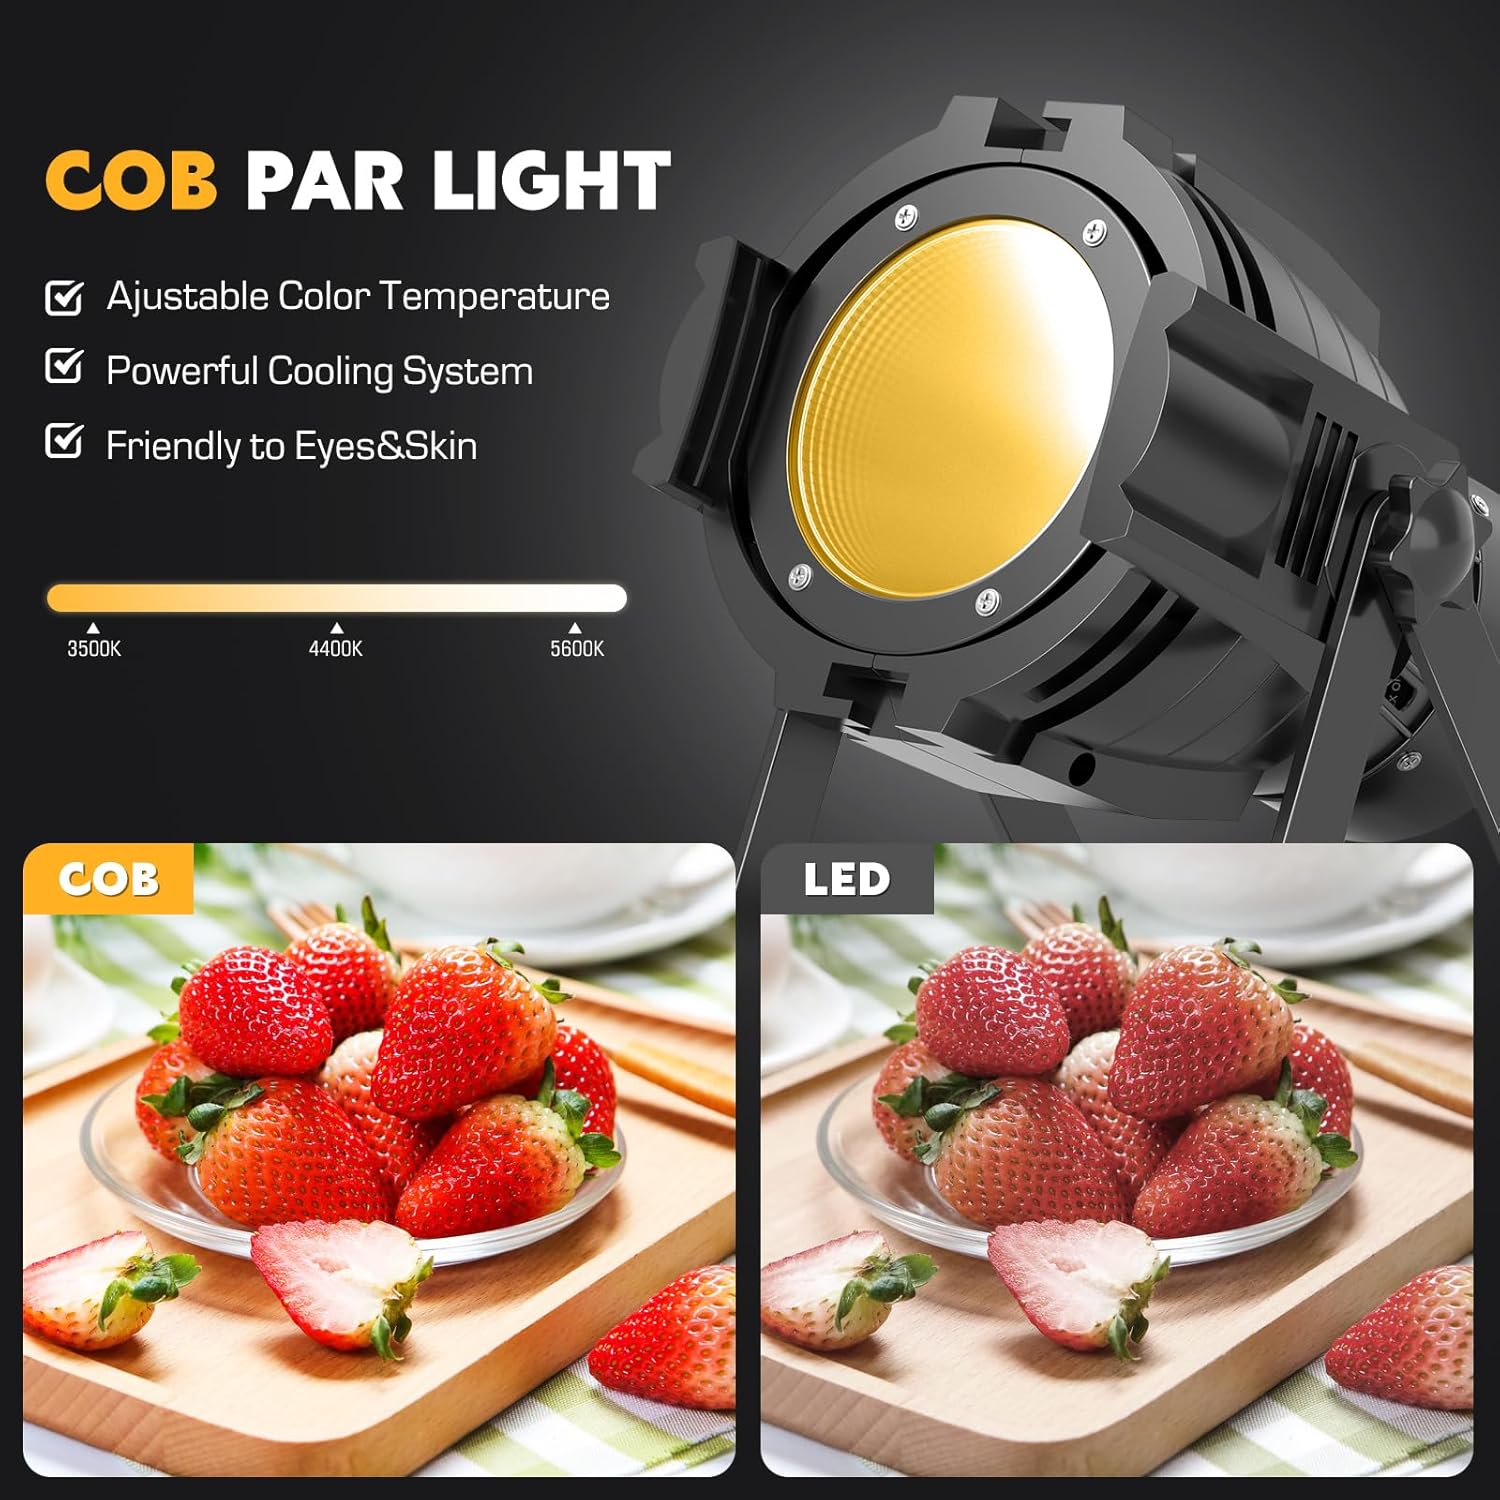
Figure 7: Rear control panel and connections.
- Power Connection: Connect the integrated power cord to a standard AC100-240V, 50/60Hz power outlet.
- DMX Connection (Optional): For DMX control, connect a DMX cable from your DMX controller's output to the DMX IN port on the fixture. To daisy-chain multiple fixtures, connect a DMX cable from the first fixture's DMX OUT port to the next fixture's DMX IN port.

Figure 8: DMX connection setup.

Figure 9: Daisy-chaining multiple lights via DMX.
6. Operating Instructions
The fixture can be operated using the onboard LED display and buttons, or via an external DMX controller.
6.1 Control Panel Overview
The rear panel features an LED display and four control buttons:
- MENU: Press to cycle through main menu options.
- UP: Press to increase values or navigate up through menu options.
- DOWN: Press to decrease values or navigate down through menu options.
- ENTER: Press to confirm selection or enter a submenu.
6.2 Operating Modes
Use the MENU button to select the desired operating mode:
- DMX Mode: Allows control of the fixture via a DMX512 controller.
- Select "dXXX" (where XXX is the DMX address) using the MENU and UP/DOWN buttons, then press ENTER to confirm.
- The fixture supports 6-channel DMX modes. There are two DMX modes (A000 and D000) which reassign control channels. Refer to the DMX Channel Chart below for specific functions.
- Auto Mode: The fixture runs through pre-programmed light shows automatically.
- Select "Auto" mode from the menu. You may be able to adjust the speed of the auto programs.
- Voice-Activated (Sound-Activated) Mode: The light reacts to sound and music.
- Select "Sound" mode from the menu. The light will flash or change patterns in response to ambient sound.
- The sensitivity is pre-set and generally reacts well to loud sounds, avoiding triggers from quiet background noises.
- Master-Slave Mode: Link multiple fixtures together where one acts as the master and others as slaves, synchronizing their operation.
- Set one fixture to "Master" mode.
- Set other connected fixtures to "Slave" mode.
- Connect them via DMX cables (DMX OUT of master to DMX IN of first slave, and so on).
6.3 Color and Effect Adjustment (Manual Control)
When not in DMX mode, you can manually adjust settings via the control panel:
- Color Temperature: Adjust between Warm White, Cold White, and mixed Natural Light. The mixed mode can be customized for specific ratios.
- Brightness/Intensity: Control the overall brightness of the light output.
- Transition Modes: Select from Jump, Cross Fade, and Pulse effects. Speed control is available for these modes.
- Strobe: Activate a strobe effect with adjustable speed.
6.4 DMX Channel Chart (6-Channel Mode)
This table outlines the DMX channels and their corresponding functions. Note that channel assignments may vary slightly between A000 and D000 modes.
| Channel | Function (A000 Mode) | Function (D000 Mode) | Value Range |
|---|---|---|---|
| 1 | Dimmer (Overall Intensity) | Dimmer (Overall Intensity) | 0-255 |
| 2 | Strobe | Warm Light Level | 0-255 |
| 3 | Color Patterns | Cool Light Level | 0-255 |
| 4 | Color Pattern Speed | Strobe | 0-255 |
| 5 | Warm Light Level | Color Patterns | 0-255 |
| 6 | Cool Light Level | Color Pattern Speed | 0-255 |
Table 1: DMX Channel Assignments.
7. Maintenance
7.1 Cleaning
Regular cleaning helps maintain optimal light output and extends the fixture's lifespan:
- Disconnect power before cleaning.
- Use a soft, lint-free cloth to wipe the exterior of the fixture.
- For the lens, use a soft cloth dampened with a mild glass cleaner. Avoid abrasive materials that could scratch the lens.
- Periodically clean the ventilation openings to ensure proper airflow and prevent dust buildup.
7.2 Storage
When not in use, store the fixture in a cool, dry place, away from direct sunlight and extreme temperatures. If possible, use the original packaging for protection during storage and transport.
8. Troubleshooting
| Problem | Possible Cause | Solution |
|---|---|---|
| No light output | No power, loose connection, incorrect mode. | Check power cord connection. Ensure power outlet is functional. Verify the fixture is in an active operating mode (e.g., not in standby). |
| Light flickers or behaves erratically | Unstable power, DMX signal issues, interference. | Ensure stable power supply. Check DMX cable connections. Verify DMX address and mode settings. Try a different power outlet. |
| Fan noise is noticeable | Normal operation, dust buildup. | A slight fan noise is normal for cooling. Ensure ventilation openings are clear of dust and obstructions. If noise is excessive or unusual, contact customer support. |
| Fixture feels hot | Normal heat generation, insufficient ventilation. | The fixture will generate heat during operation. Ensure adequate space around the unit for airflow. Do not block vents. If overheating persists, discontinue use and contact support. |
| Cannot narrow beam angle | Product design limitation. | This fixture is designed as a flood/wash light and does not include a mechanism to narrow the beam angle for spotlighting. Consider using external accessories like barn doors if available for beam shaping. |
Table 2: Common Troubleshooting Scenarios.
9. Specifications
| Attribute | Detail |
|---|---|
| Model Number | ZQ01480 |
| Light Source Type | COB LED |
| Light Source Wattage | 80 Watts |
| Color Temperature | Warm White & Cold White (Adjustable) |
| Power Source | Corded Electric |
| Voltage | AC100-240V |
| Amperage | 330 Milliamps |
| Material | Metal |
| Color | Black |
| Product Dimensions (L x W x H) | 7.48 x 7.48 x 10.24 inches |
| Item Weight | 2.97 pounds |
| Mounting Type | Floor Mount (with adjustable bracket for hanging) |
| Bulb Features | Color changing, Strobe |
| Control Modes | DMX512, Auto, Voice-Activated, Master-Slave |
Table 3: Technical Specifications.
10. Warranty and Support
HOLDLAMP products are manufactured to high-quality standards. This product is covered by a manufacturer's limited warranty. For specific warranty terms and conditions, please refer to the warranty card included with your purchase or contact HOLDLAMP customer support.
For any questions, technical assistance, or support, HOLDLAMP offers 24/7 customer support. Please visit the official HOLDLAMP website or refer to your purchase documentation for contact information.
Please retain your proof of purchase for warranty claims.