Gloryes 4K Dash Cam A680
Gloryes 4K Dash Cam Pro User Manual
Model: 4K Dash Cam A680
Introduction
Thank you for choosing the Gloryes 4K Dash Cam Pro. This manual provides detailed instructions for the proper installation, operation, and maintenance of your new dash camera. Please read this manual thoroughly before use to ensure optimal performance and to prevent damage to the device.
What's in the Box
Please verify that all items listed below are included in your package:
- 1 x 4K/2160P Dash Cam (Front Unit)
- 1 x 1080P Rear Camera
- 1 x User Manual
- 1 x 32GB SD Card (Pre-installed or separate)
- 1 x Car Charger
- 1 x Power Supply Cable
- 1 x Rear Camera Cable
- 1 x Adhesive Mount
- 1 x Suction Car Mount
- 1 x Crowbar (for cable routing)
- 4 x Electrostatic Stickers
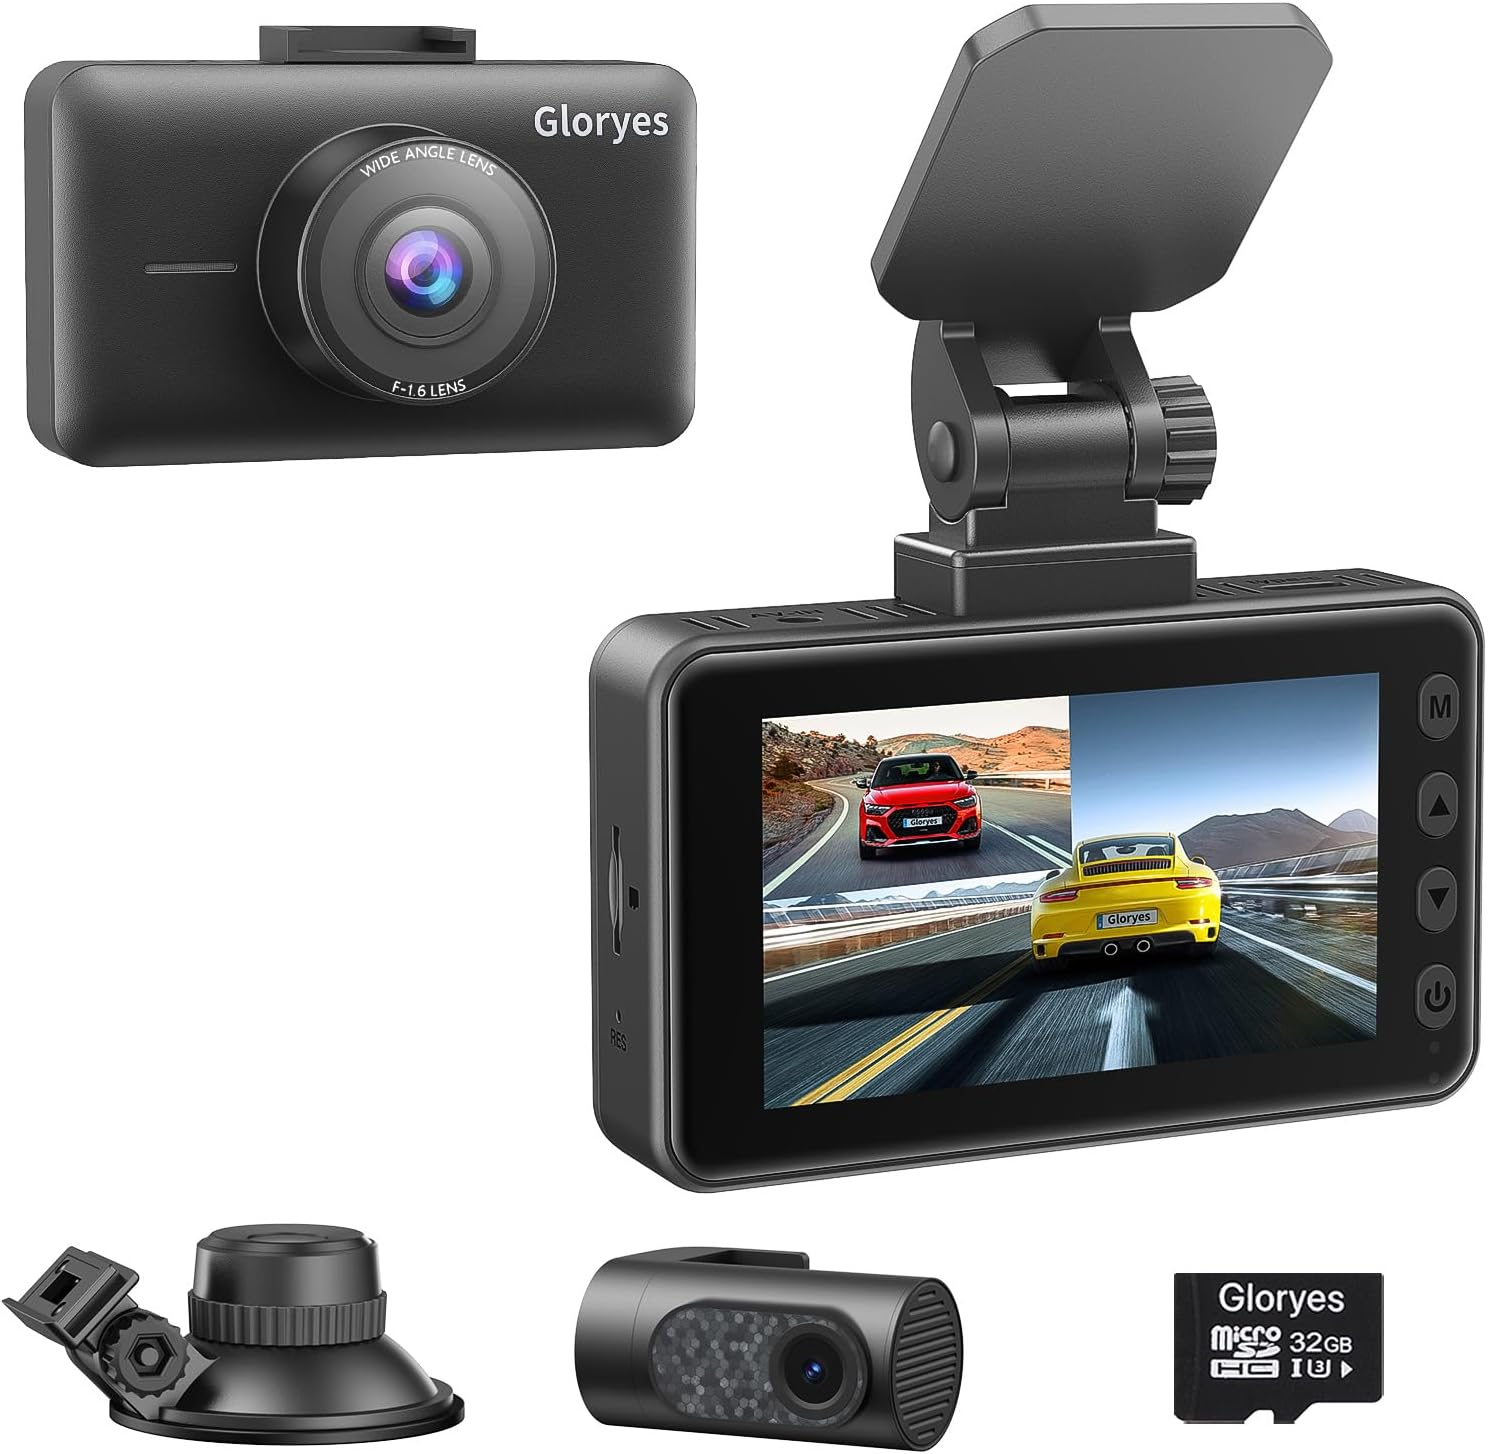
Image: The Gloryes 4K Dash Cam Pro, showing the front camera, rear camera, suction mount, adhesive mount, and a 32GB SD card, illustrating the complete package contents.
Setup and Installation
Follow these steps for proper installation of your dash cam system:
- Prepare the Windshield: Clean the area on your windshield where you intend to mount the dash cam. Ensure it is free of dust and grease. Apply one of the provided electrostatic stickers to the chosen area first, then mount the dash cam onto the sticker for easier removal and residue-free installation.
- Mount the Front Dash Cam:
- Choose either the suction mount or the adhesive mount.
- Attach the chosen mount to the dash cam.
- Securely attach the dash cam with the mount to the prepared area on your windshield, ideally behind the rearview mirror to avoid obstructing your view.
- Connect Power: Connect the power supply cable to the dash cam and route it along the edge of the windshield, down the A-pillar, and to your vehicle's cigarette lighter socket using the car charger. Use the included crowbar to tuck the cable neatly into the trim.
- Install Rear Camera:
- Mount the rear camera on the inside of your rear windshield, ensuring a clear view.
- Connect the rear camera cable to the rear camera and the main dash cam unit. Route this cable neatly along the vehicle's headliner and side panels to the front unit.
- Insert SD Card: Ensure the 32GB SD card is properly inserted into the designated slot on the main dash cam unit.
- Initial Power On: Start your vehicle. The dash cam should power on automatically. If not, press the power button.

Image: A visual guide demonstrating the simple installation process for the front and rear dash cameras, including cable routing paths within a car interior.
Operating Instructions
Familiarize yourself with the dash cam's interface and basic operations:

Image: A close-up of hands interacting with the dash cam's display and side buttons, highlighting its user-friendly design for easy navigation.
Basic Operation
- Power On/Off: The dash cam automatically powers on/off with the vehicle's ignition. You can also manually power it on/off by pressing and holding the power button.
- Recording: Once powered on, the dash cam automatically begins loop recording. A red dot or recording icon on the screen indicates active recording.
- Menu Navigation: Use the navigation buttons (Up, Down, OK, Menu) on the side of the device to access and navigate through the settings menu.
- Playback: In standby mode, press the 'M' (Mode) button to switch to playback mode. Use the navigation buttons to select and view recorded videos.
- Image Rotation: If the rear camera image appears reversed due to mounting position, navigate to the settings menu and enable the "Image Rotation" function for the rear camera. This ensures correct orientation of the recorded footage.
Key Features Explained
4K UHD Front & 1080P FHD Rear Recording
The front camera records in Ultra HD 4K (3840x2160P) resolution, capturing clear and detailed footage of the road ahead. The rear camera records in Full HD 1080P, providing comprehensive coverage of the vehicle's rear. This dual-camera system minimizes blind spots and offers extensive protection.

Image: A visual comparison demonstrating the superior clarity and detail of 4K Ultra HD recording from the front dash cam compared to 1080P.
Super Night Vision & WDR Technology
Equipped with an upgraded sensor and Smart WDR (Wide Dynamic Range) technology, the dash cam delivers clear image quality even in low-light conditions. WDR balances light exposure, ensuring that both bright and dark areas of the footage are visible, enhancing safety during night driving.
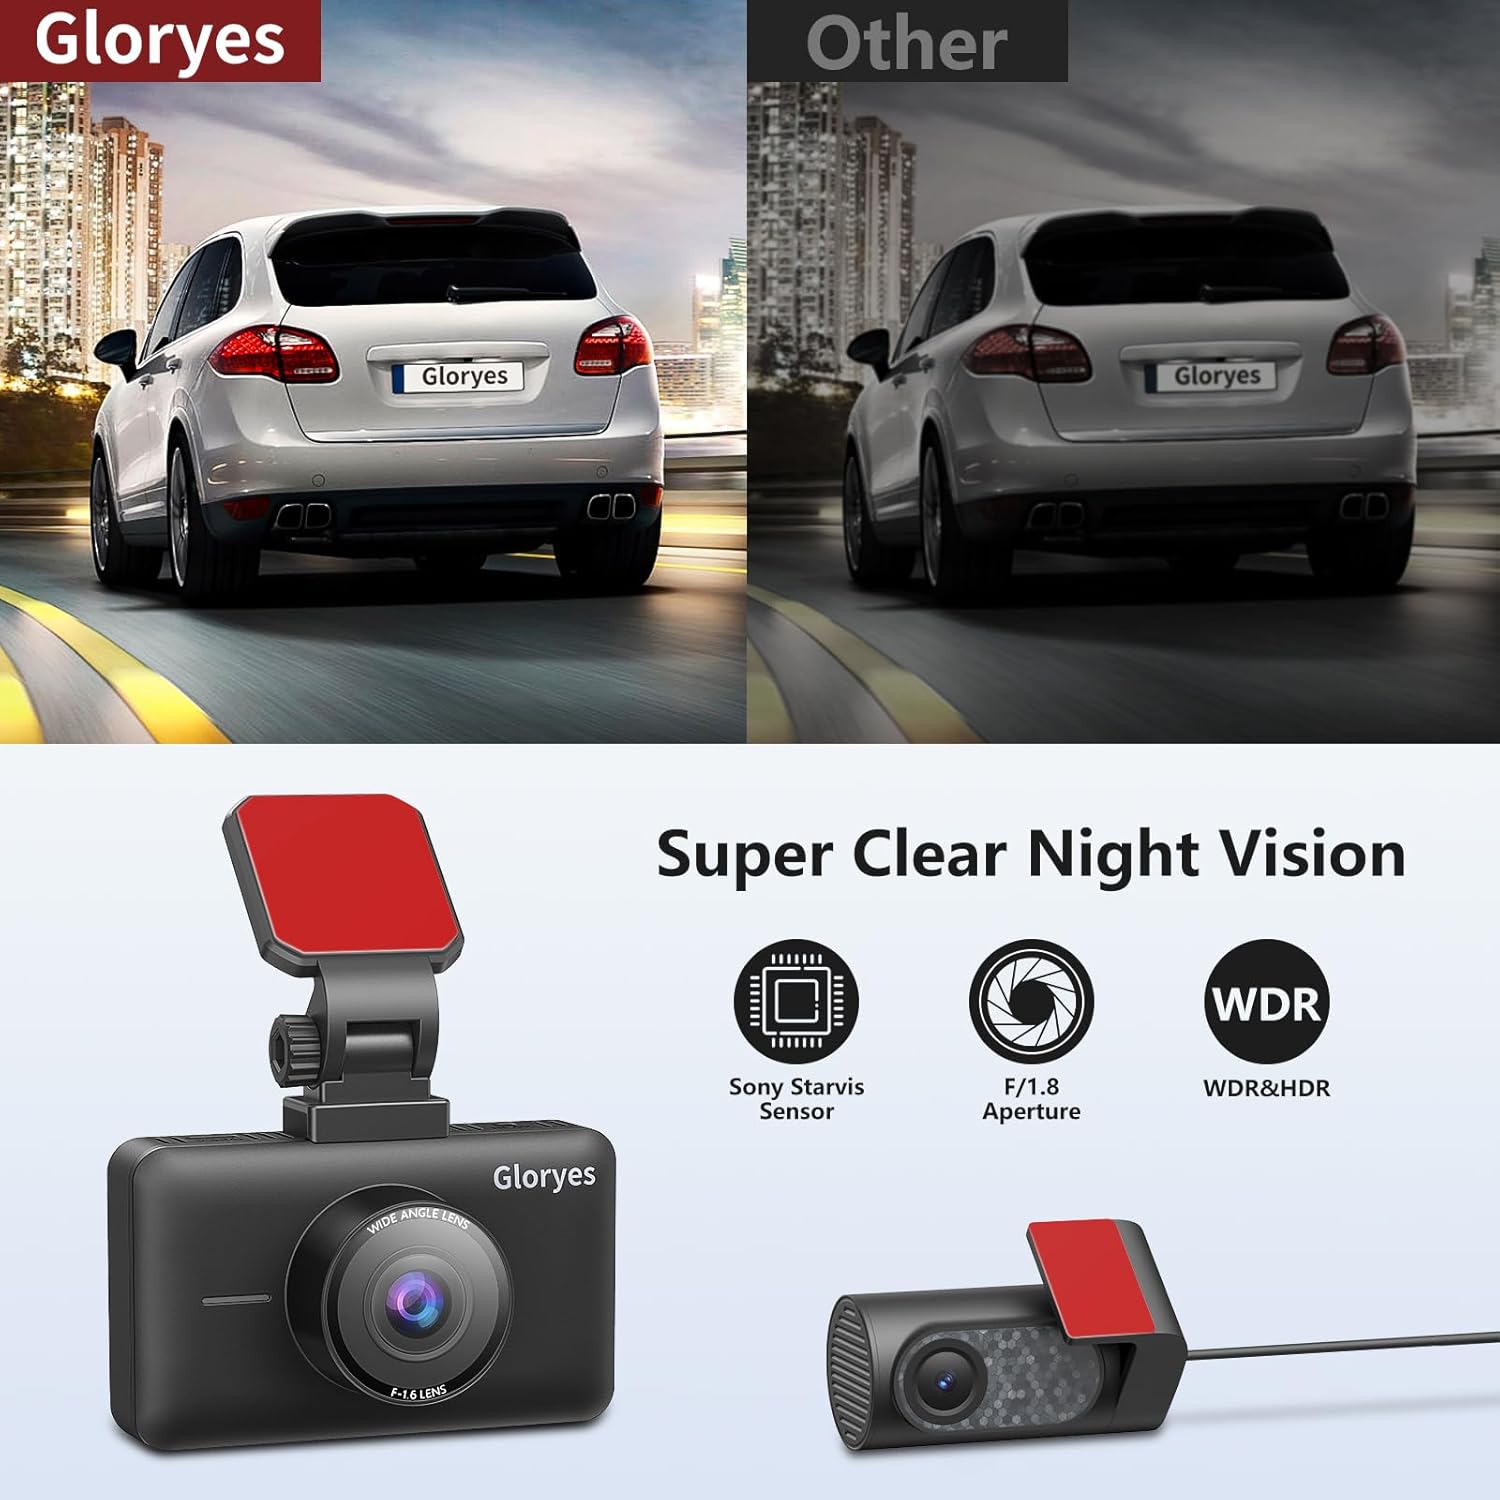
Image: A side-by-side comparison illustrating the effectiveness of Super Night Vision, showing significantly clearer footage in dark conditions compared to standard cameras.
Loop Recording
Loop recording ensures continuous recording by automatically overwriting the oldest video files when the SD card reaches its storage capacity. This eliminates the need for manual deletion and guarantees that your dash cam is always recording.
G-Sensor (Gravity Sensor)
The built-in G-sensor automatically detects sudden shakes or collisions. When an impact is detected, the current video footage is locked and protected from being overwritten, serving as crucial evidence in case of an accident.
24-Hour Parking Monitor
The parking monitor function provides continuous surveillance of your vehicle when parked. If an impact or motion is detected, the dash cam will automatically start recording. For 24-hour continuous parking monitoring, a hard-wire kit (sold separately, ASIN: B0CT8XQVNY) is required to connect the dash cam directly to the car battery or fuse box.

Image: A composite image explaining the G-Sensor's role in locking accident footage, the 24-hour Parking Monitoring feature for vehicle security, and the continuous Loop Recording function.
3.0-inch IPS Screen
The dash cam features a clear 3.0-inch IPS display, allowing for real-time viewing of recordings and easy navigation through settings. This screen provides a quick overview of the dash cam's operational status.

Image: A detailed view of the dash cam's 3-inch IPS display, showing its clear screen and compact size, ideal for in-car use.
Maintenance
- SD Card Formatting: It is recommended to format the SD card regularly (e.g., once a month) to ensure optimal performance and prevent data corruption. Format the card directly through the dash cam's settings menu.
- Cleaning: Use a soft, dry cloth to clean the dash cam lens and screen. Avoid using abrasive cleaners or solvents.
- Temperature: Avoid exposing the dash cam to extreme temperatures for prolonged periods. While designed for automotive use, extreme heat or cold can affect battery life and performance.
- Firmware Updates: Check the Gloryes official website periodically for any available firmware updates. Keeping your dash cam's firmware up-to-date can improve performance and add new features.
Troubleshooting
| Problem | Possible Cause | Solution |
|---|---|---|
| Dash cam does not power on. | No power supply; loose connection; faulty car charger. | Check power cable connection; ensure car charger is working; try a different power source. |
| Recording stops unexpectedly. | SD card full; SD card error; low battery. | Format SD card; replace SD card; ensure continuous power supply. |
| Video footage is blurry or unclear. | Protective film on lens; dirty lens; incorrect focus. | Remove protective film; clean lens; ensure proper mounting. |
| Rear camera image is upside down or reversed. | Image rotation setting not enabled. | Go to settings and enable "Image Rotation" for the rear camera. |
| Dash cam freezes or crashes. | SD card issue; firmware issue. | Format or replace SD card; perform a factory reset; check for firmware updates. |
Specifications
- Model: 4K Dash Cam A680
- Front Camera Resolution: 4K (3840x2160P)
- Rear Camera Resolution: 1080P FHD
- Screen: 3.0-inch IPS Display
- Lens Angle: Front 170°, Rear 140°
- Storage: Supports up to 512GB Micro SD Card (32GB included)
- Special Features: G-Sensor, Loop Recording, 24H Parking Monitor (requires hard-wire kit), Super Night Vision, WDR, Image Rotation
- Connectivity: USB
- Power Source: Car Charger (DC 12V)
- Dimensions: 1.38 x 3.54 x 2.17 inches
- Weight: 1.1 pounds
Warranty and Support
Gloryes offers a 12-month warranty for the 4K Dash Cam Pro and lifetime customer service. If you encounter any issues or have questions regarding your product, please do not hesitate to contact our support team. Fast phone and email customer service staff are available to assist you within 24 hours.
For support, please refer to the contact information provided on the product packaging or the official Gloryes website.