1. Product Overview
The Zyyini 1080P Mini Body Camera is a compact and portable video recorder designed for various applications, featuring high-definition video recording, night vision, and a rotating lens. Its small size and back clip design make it suitable for on-the-go recording.

Image 1.1: Zyyini 1080P Mini Body Camera highlighting 1080P ultra HD video recording, loop recording, infrared night vision, rotating lens, and permanent standby features.
Key Features:
- 1080P High-Definition Recording: Equipped with an HD image sensor and 4 night lights for clear video, even in low-light conditions.
- 180-Degree Rotating Lens: The lens can be manually rotated to capture footage from various angles.
- LED Indicator Lights: Provides visual feedback for camera status, recording, and playback.
- Expandable Storage: Supports up to 256GB memory card (not included) for extended recording.
- Automatic File Saving: Automatically saves the current file and shuts down when power is low to prevent data loss.
- Portable Design: Features a back clip for easy attachment to clothing or other surfaces.
Package Contents:
Please check the package for the following items:
- 1 x Mini Body Camera
- 1 x Instruction Manual (this document)
- 1 x USB Cable
- 1 x Holder
- 1 x Card Reader
- 1 x Bracket
2. Device Layout and Controls
Familiarize yourself with the camera's buttons, indicators, and ports.

Image 2.1: Detailed diagram showing the HD lens, microphone, charging indicator light, night vision indicator light, video indicator, camera indicator, recording indicator, photo button, flip button, reset button, back clip, power key/off indicator light, open key, card slot, save video recording on and off switch, night vision switch key, and charging/data interface.
- HD Lens: Main camera lens.
- Microphone: For audio recording.
- Charging Indicator Light: Indicates charging status.
- Night Vision Indicator Light: Shows night vision mode status.
- Video Indicator: Indicates video recording status.
- Camera Indicator: Indicates photo capture status.
- Recording Indicator: Indicates audio recording status.
- Photo Button: Press to take a photo.
- Flip Button: Function not detailed, typically for screen or image orientation.
- Reset Button: For factory reset or restarting the device.
- Back Clip: For attaching the camera to clothing or other objects.
- Power Key/Off Indicator Light: Controls power on/off and shows power status.
- Open Key: Function not detailed, likely related to power or mode selection.
- Card Slot: For inserting the memory card.
- Save Video Recording On/Off Switch: Controls video recording and saving.
- Night Vision Switch Key: Activates or deactivates night vision.
- Charging/Data Interface (Type C): For charging the device and transferring data.
3. Setup
3.1 Charging the Device
Before first use, fully charge the camera. Use the provided USB Type-C cable to connect the camera to a power source (e.g., computer USB port, USB wall adapter).
- Connect the Type-C end of the USB cable to the camera's charging/data interface.
- Connect the other end of the USB cable to a power source.
- The charging indicator light will illuminate during charging and turn off or change color when fully charged.
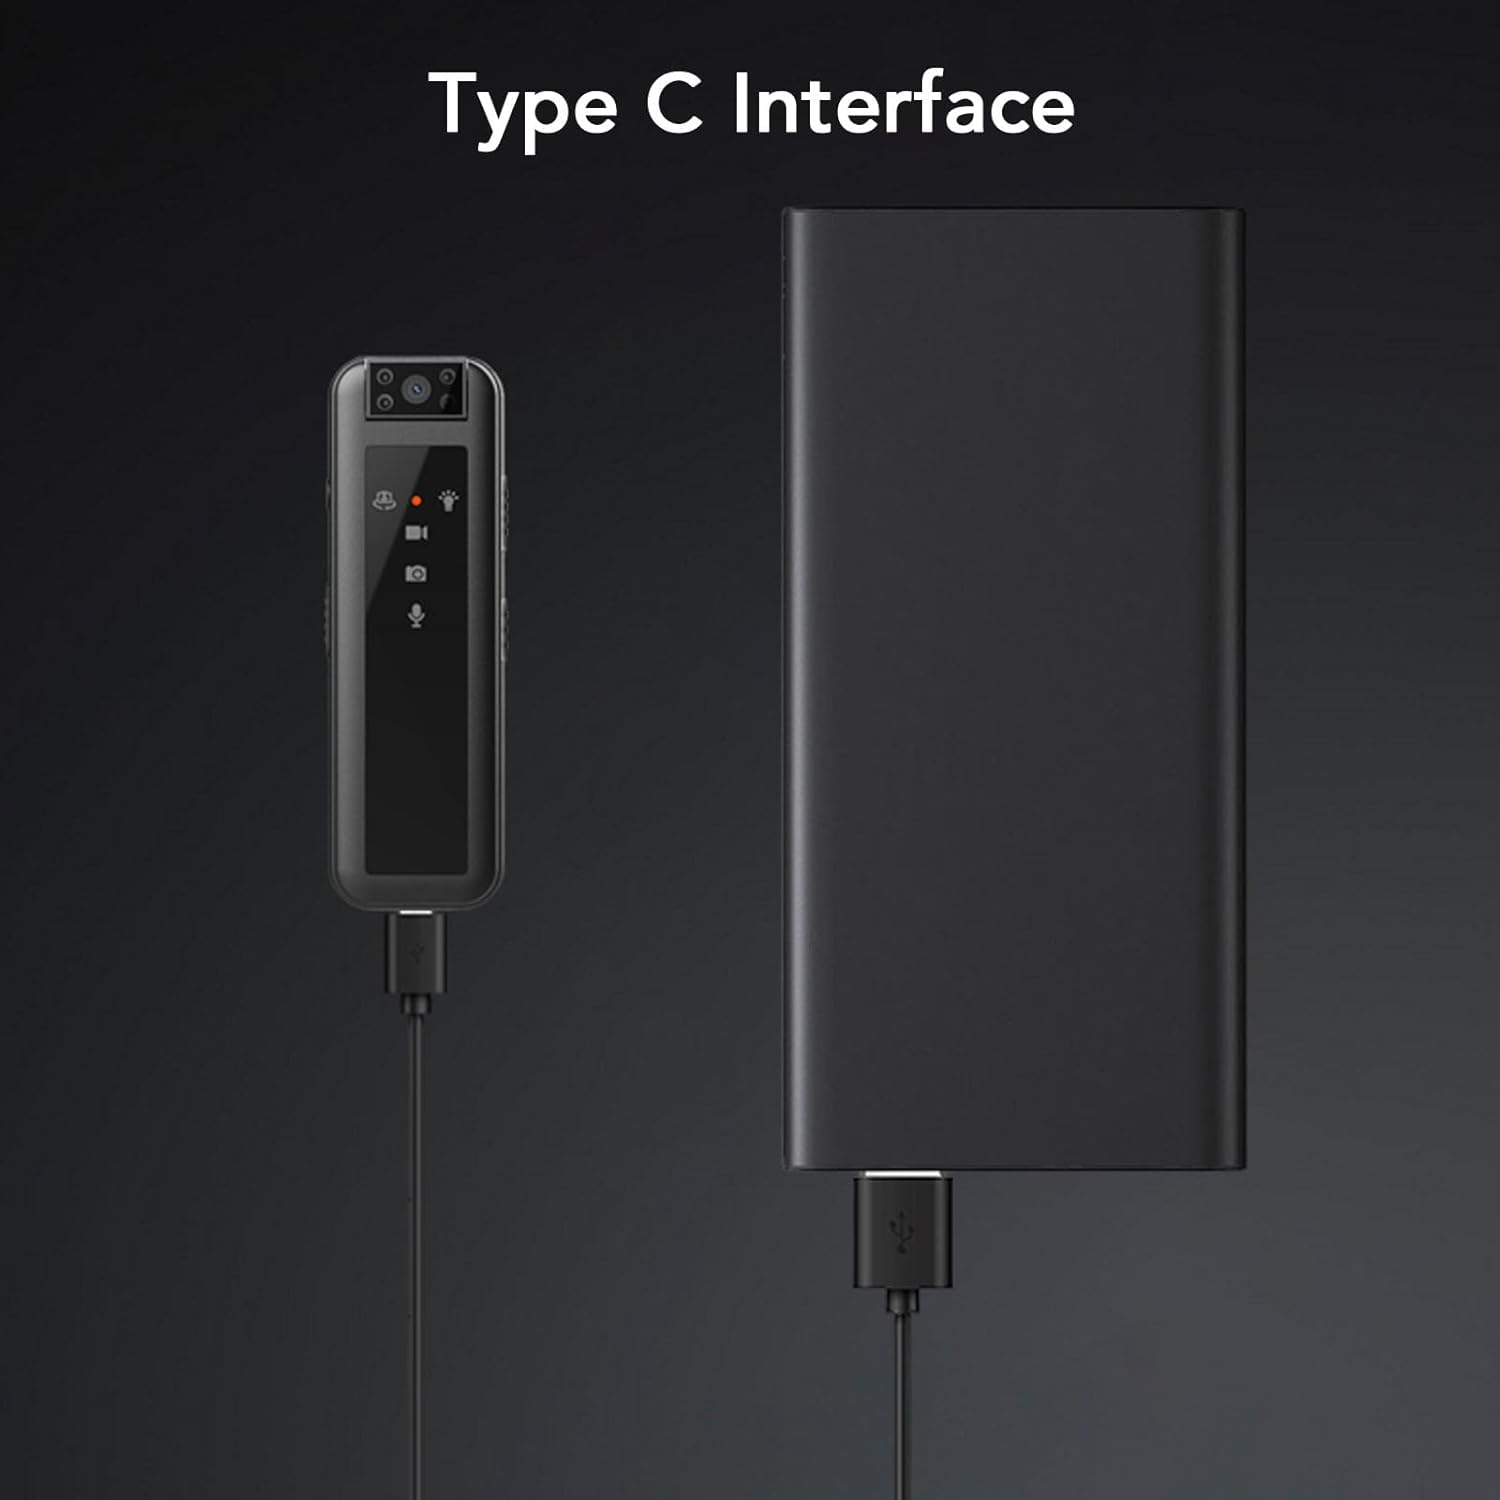
Image 3.1: The camera being charged via its Type C interface, connected to an external power bank.
3.2 Inserting a Memory Card
The camera requires a memory card (up to 256GB, not included) to store recordings. Ensure the camera is powered off before inserting or removing the memory card.
- Locate the card slot on the side of the camera.
- Gently insert the memory card into the slot with the gold contacts facing down until it clicks into place.
- To remove, gently push the card in until it springs out.

Image 3.2: Illustration of inserting a memory card into the camera's dedicated slot.
4. Operating Instructions
4.1 Powering On/Off
- To Power On: Press and hold the Power Key until the indicator light illuminates.
- To Power Off: Press and hold the Power Key again until the indicator light turns off.
4.2 Video Recording
- After powering on the camera, slide the 'Save Video Recording On/Off' switch to the 'On' position (video recording position).
- The video indicator will blink, indicating that recording has started.
- To stop recording and save the current video file, slide the 'Save Video Recording On/Off' switch to the 'Off' position (save position).
- Video files are saved in 5-minute segments.
- When the memory card capacity is full, the camera will automatically overwrite the oldest video files (loop recording).
4.3 Photo Capture
- With the camera powered on, press the Photo Button to take a still image.
- The camera indicator may flash briefly to confirm the photo has been taken.
4.4 Night Vision Mode
- To activate night vision, press the Night Vision Switch Key. The night vision indicator light will illuminate.
- To deactivate night vision, press the Night Vision Switch Key again.

Image 4.1: The camera demonstrating its infrared night vision capability for clear night video and focus.
4.5 Lens Rotation
The camera lens can be manually rotated up to 180 degrees to adjust the recording angle.
- Gently rotate the lens module to achieve the desired viewing angle.

Image 4.2: The camera's lens can be rotated 180 degrees for flexible recording angles.
4.6 Connecting to a Computer
To access recorded files, connect the camera to a computer using the provided USB Type-C cable.
- Connect the camera to your computer.
- The camera will appear as a removable disk drive.
- You can then browse, copy, or delete files using your computer's file explorer.
- Use standard video player software on your system to view the AVI video files.
5. Maintenance
- Cleaning: Use a soft, dry cloth to clean the camera body. For the lens, use a specialized lens cleaning cloth. Do not use liquid cleaners or solvents.
- Storage: Store the camera in a cool, dry place away from direct sunlight and extreme temperatures.
- Battery Care: To prolong battery life, avoid fully discharging the battery frequently. Charge the camera regularly, even if not in use for extended periods.
- Data Backup: Regularly back up important recordings from the memory card to your computer to prevent data loss.
6. Troubleshooting
- Camera not turning on: Ensure the battery is charged. Connect to a power source and try again. If unresponsive, try pressing the Reset Button.
- Cannot record video: Check if a memory card is inserted correctly and has sufficient free space. Ensure the 'Save Video Recording On/Off' switch is in the 'On' position.
- Poor video quality: Ensure the lens is clean. Check lighting conditions; activate night vision if necessary.
- Camera not recognized by computer: Try a different USB port or cable. Ensure the camera is powered on when connected.
- Files are overwritten: This is normal behavior for loop recording when the memory card is full. Back up important files regularly.
If problems persist, please refer to the support section.
7. Specifications
| Feature | Specification |
|---|---|
| Model Name | Zyyinindbavm5ctz |
| Material | Metal |
| Weight | Approx. 95g / 3.4oz |
| Video Resolution | 1920 x 1080 (1080P) |
| Image Ratio | 16:9 |
| Photo Format | JPG |
| Video Format | AVI |
| Recording Format | WAV |
| Lens Adjustment | 180 Degree Rotation |
| Battery Capacity | 600mAh Lithium Battery (Built-in) |
| Working Time | Approx. 5 hours (sustainable video recording) |
| Storage Support | Up to 256GB Memory Card (Not Included) |
| Interface Type | Type C USB |
| Player Software | System or mainstream video player software |
| Connectivity Technology | USB |
| Indoor/Outdoor Usage | Indoor, Outdoor |
| Color | Black |
| Manufacturer | Zyyini |
8. Warranty and Support
8.1 Warranty Information
Specific warranty details for the Zyyini Mini Body Camera are not provided in this manual. Please refer to the product packaging, purchase receipt, or contact your retailer for warranty terms and conditions.
8.2 Customer Support
For technical assistance, troubleshooting, or product inquiries, please contact Zyyini customer support through their official channels or the retailer from whom you purchased the product.
Please have your model number (Zyyinindbavm5ctz) and purchase information ready when contacting support.