1. Introduction
This manual provides detailed instructions for the installation, operation, and maintenance of the Hiorucet 4021-733 Propane Pilot Assembly. This component is designed as a replacement part for various Heatilator, Heat-N-Glo, and Quadrafire gas fireplaces and stoves. It is crucial to read and understand all instructions before proceeding with installation or operation to ensure safety and proper function.
Important Safety Note: This pilot assembly is designed for Propane Gas ONLY and is intended for standing pilot systems. It is not compatible with Direct Spark Ignition (DSI) valves.

Image 1: The Hiorucet 4021-733 Propane Pilot Assembly, showing its main components and bracket.
2. Compatibility
The Hiorucet 4021-733 Pilot Assembly (also replaces part number 25661) is compatible with a range of fireplace models from Heatilator, Heat-N-Glo, and Quadrafire. Please verify your fireplace model and existing part number for exact compatibility.
2.1 Cross-Reference Part Numbers:
- Heatilator: 4021-733, 25661, SRV4021-733, 25175, SRV25175
- Heat-N-Glo: 4021-733, 25661, SRV4021-733, 25175, SRV25175
- Quadrafire: 4021-733, 25661, SRV4021-733, 25175, SRV25175
2.2 Compatible Fireplace Models:
This pilot assembly fits the following models. If your model is not listed, please consult your owner's manual for part number compatibility.
Heatilator Fireplace Models:
- CD4236R & CD4236LR
- CD4842R & CD4842LR
- GBiS36 & GBIS36L
- GCBC36 & GCBC36L
- GCBC42 & GCBC42L
- GCBC60 & GCBC60L
- GCBC80 & GCBC80L
- GCDC36 & GCDC36L
- GCDC42 & GCDC42L
- GCDC60 & GCDC60F
- GCDC80 & GCDC80L
- GDCH36 & GDCH36L
- GDCH60V
- GB4942 & GB4942L
- GGBR60 & GGBR60L
- GGBR80 & GGBR80L
- GNBC30 & GNBC30L
- GNBC33 & GNBC33L
- GNBC36 & GNBC36L
- GNBR30 & GNBR30L
- GNDR33 & GNDR33L
- GNDR36 & GNDR36L
- GNRC33 & GNRC33L
- GNRC36 & GNRC36L
- GNRH33 & GNRH33L
Heat-N-Glo Fireplace Models:
- 6000XL, 6000XLT
- 8000DVTFL, 8000TR
- Bayfyre-TRS, BAY-GDV-95
- SL-36GDV, SL-36S
- SL-42, SL-42DVT, SL-3000

Image 2: Visual reference for compatible models and cross-reference part numbers.
3. Components of the Pilot Assembly
The Hiorucet 4021-733 Pilot Assembly includes all necessary components for a complete replacement:
- Thermopile: Generates millivoltage to operate the main gas valve.
- Thermocouple: Detects the pilot flame and ensures safety by shutting off gas if the pilot extinguishes.
- Pilot Tubing: Delivers propane gas to the pilot burner.
- Sparker Electrode: Creates the spark to ignite the pilot flame.
- Mounting Bracket: Holds all components together and positions them correctly next to the main burner.

Image 3: Detailed view of the pilot assembly with its components labeled.
4. Installation Instructions
Safety First: Before beginning any installation, ensure the gas supply to the fireplace is turned off and the unit is completely cool. It is recommended that installation be performed by a qualified technician.
- Disconnect Gas and Power: Turn off the main gas supply valve to the fireplace. If applicable, disconnect any electrical power to the unit.
- Access Pilot Assembly: Carefully remove the fireplace logs, grate, and any other components necessary to access the existing pilot assembly. This may involve removing the glass front.
- Disconnect Old Assembly: Disconnect the thermocouple, thermopile, and pilot gas line from the main gas valve. Unmount the old pilot assembly from its bracket.
- Install New Assembly: Mount the new Hiorucet 4021-733 pilot assembly onto the existing bracket, ensuring it is securely fastened and positioned correctly.
- Connect Components: Connect the new thermocouple, thermopile, and pilot gas line to the appropriate ports on the main gas valve. Ensure all connections are tight to prevent gas leaks.
- Check for Leaks: Turn on the main gas supply. Apply a leak detection solution (soapy water) to all gas connections. Bubbles indicate a leak. If a leak is detected, turn off the gas immediately and re-tighten connections. Repeat until no leaks are present.
- Reassemble Fireplace: Once installation is complete and no leaks are detected, carefully reassemble the fireplace components, including logs, grate, and glass front.
For visual guidance on the components, refer to Image 3 in the Components section.
5. Operating Instructions: Lighting the Pilot
Follow these steps to light the pilot on your gas fireplace after installation or if the pilot has gone out:
- Locate Gas Supply Valve: Find the gas supply valve, typically behind louvers or below the glass opening. It may be red or blue.
- Open Valve: Open the valve by pivoting the handle to be parallel to the gas line.
- Locate Pilot Assembly: The pilot assembly with the spark ignitor is usually located behind and below the logs in the firebox.
- Verify Spark: Locate the red or black ignitor button. Push this button to verify a spark at the pilot area.
- Set Control Knob: Locate the black or green gas valve control knob. Turn it to the "PILOT" position.
- Ignite Pilot: Push in and hold the control knob in the "PILOT" position (it should depress about 1/4 inch). While holding, repeatedly press the red piezo button until the pilot ignites.
- Hold Knob: Once the pilot is lit, continue to hold the valve knob in for 30 seconds, then slowly release. This allows the thermocouple to heat up and generate enough voltage to keep the pilot lit.
- Pilot Goes Out: If the pilot light goes out, repeat steps 6 and 7. If it remains lit, press the valve knob in slightly and rotate counter-clockwise until the word "ON" is in the 6 o'clock position.
- Start Fireplace: Finally, turn the unit's ON/OFF switch (or wall switch or remote control) to the "ON" position to start your fireplace.
Important: Make sure to secure the glass front back on the fireplace prior to burning your fireplace.
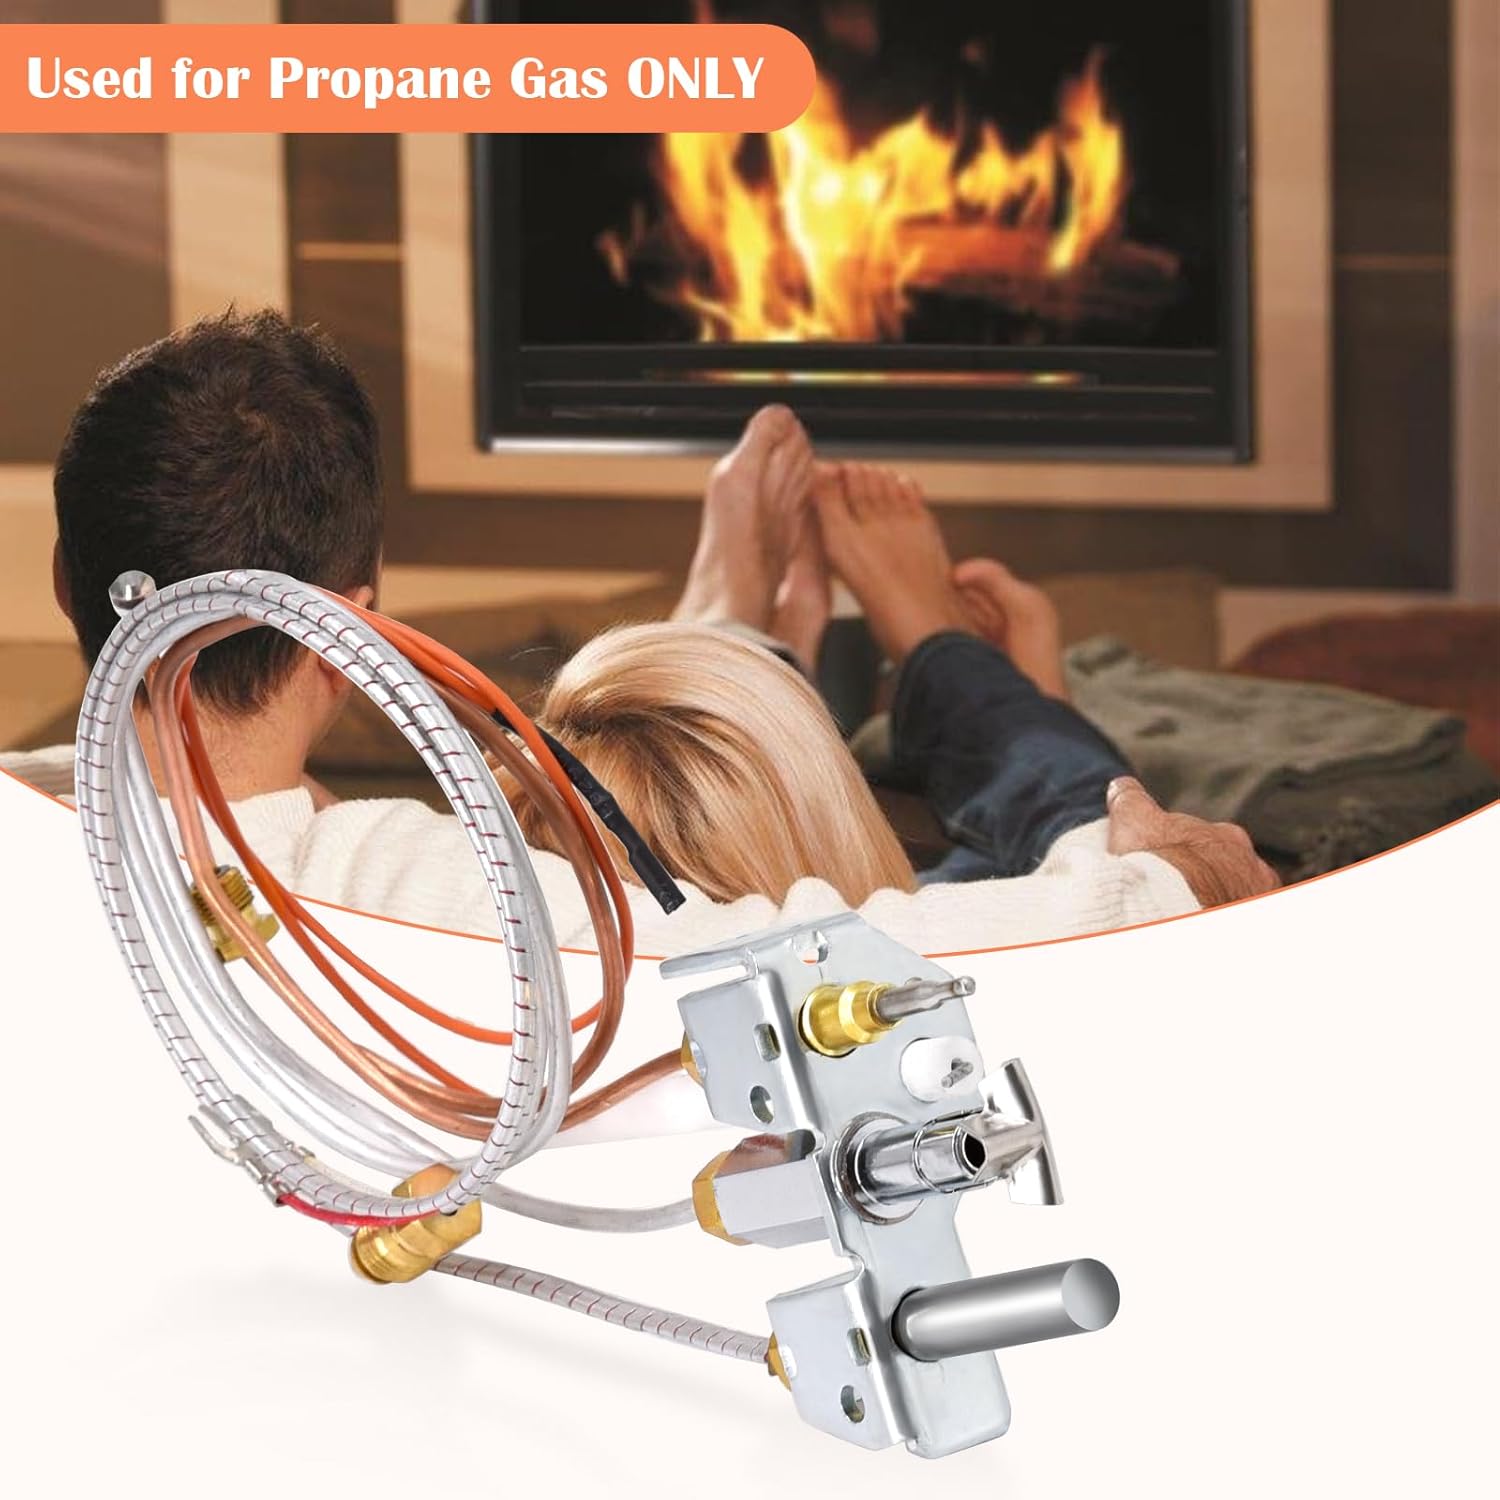
Image 4: Visual guide for lighting the gas fireplace pilot.
6. Maintenance
Regular maintenance ensures the longevity and safe operation of your pilot assembly and fireplace.
- Annual Inspection: It is recommended to have your fireplace and pilot assembly inspected annually by a qualified service technician.
- Cleanliness: Keep the pilot area free from dust, debris, and obstructions. A small brush or compressed air can be used to gently clean the pilot burner and thermocouple/thermopile.
- Pilot Flame Check: Periodically observe the pilot flame. It should be a strong, steady blue flame enveloping the tip of the thermocouple and thermopile. A weak, yellow, or wavering flame may indicate an issue.
7. Troubleshooting
If you encounter issues with your pilot assembly or fireplace, refer to the following common problems and solutions:
| Problem | Possible Cause | Solution |
|---|---|---|
| Pilot light will not stay lit after releasing the control knob. | Thermocouple or thermopile not generating enough voltage, or not properly heated by pilot flame. | Ensure the pilot flame fully engulfs the thermocouple/thermopile. Hold the control knob in for a longer duration (up to 60 seconds). Inspect for debris blocking the pilot flame. If the issue persists, the thermocouple or thermopile may be faulty and require replacement. |
| No spark when pressing the ignitor button. | Faulty ignitor electrode or wire, or ignitor button issue. | Check the ignitor wire connection. Ensure the electrode is clean and properly positioned. If still no spark, the ignitor may need replacement. |
| Pilot lights, but main burner does not ignite. | Insufficient millivoltage from thermopile to open main gas valve, or main gas valve issue. | Ensure the pilot flame is strong and blue, fully heating the thermopile. If the pilot is strong but the main burner doesn't light, the thermopile or main gas valve may be faulty. Consult a qualified technician. |
| Gas odor detected. | Gas leak. | Immediately turn off the gas supply. Ventilate the area. Do not operate any electrical switches or appliances. Contact a qualified gas technician or your gas company immediately. |
8. Specifications
- Model: 4021-733
- Fuel Type: Propane Gas ONLY
- Compatibility: Heatilator, Heat-N-Glo, Quadrafire Fireplaces (refer to Section 2 for specific models)
- Replaces Part Numbers: 25661, SRV4021-733, 25175, SRV25175
- Package Dimensions: 7.72 x 4.8 x 1.77 inches
- Item Weight: 8.8 ounces
- Manufacturer: Hiorucet
9. Warranty & Support
9.1 Warranty Information:
The Hiorucet 4021-733 Pilot Assembly comes with a 1-Year Quality Assurance. This warranty covers defects in materials and workmanship under normal use. Please retain your proof of purchase for warranty claims.

Image 5: The pilot assembly, highlighting its 1-year quality assurance.
9.2 Customer Support:
For technical assistance, warranty claims, or further inquiries, please contact Hiorucet customer support. You may also consult a qualified HVAC or fireplace technician for professional service.
Visit the official Hiorucet store for more information: Hiorucet Store on Amazon