SOLIDEE 68-Key Hot-Swappable Wired Mechanical Gaming Keyboard User Manual
Model: 68 Pink
1. Introduction
This manual provides instructions for the SOLIDEE 68-Key Hot-Swappable Wired Mechanical Gaming Keyboard. This compact keyboard features a 65% layout, hot-swappable pink mechanical switches, customizable RGB backlighting, and a dedicated volume control knob. It is designed for both gaming and office environments, offering a responsive and quiet typing experience.
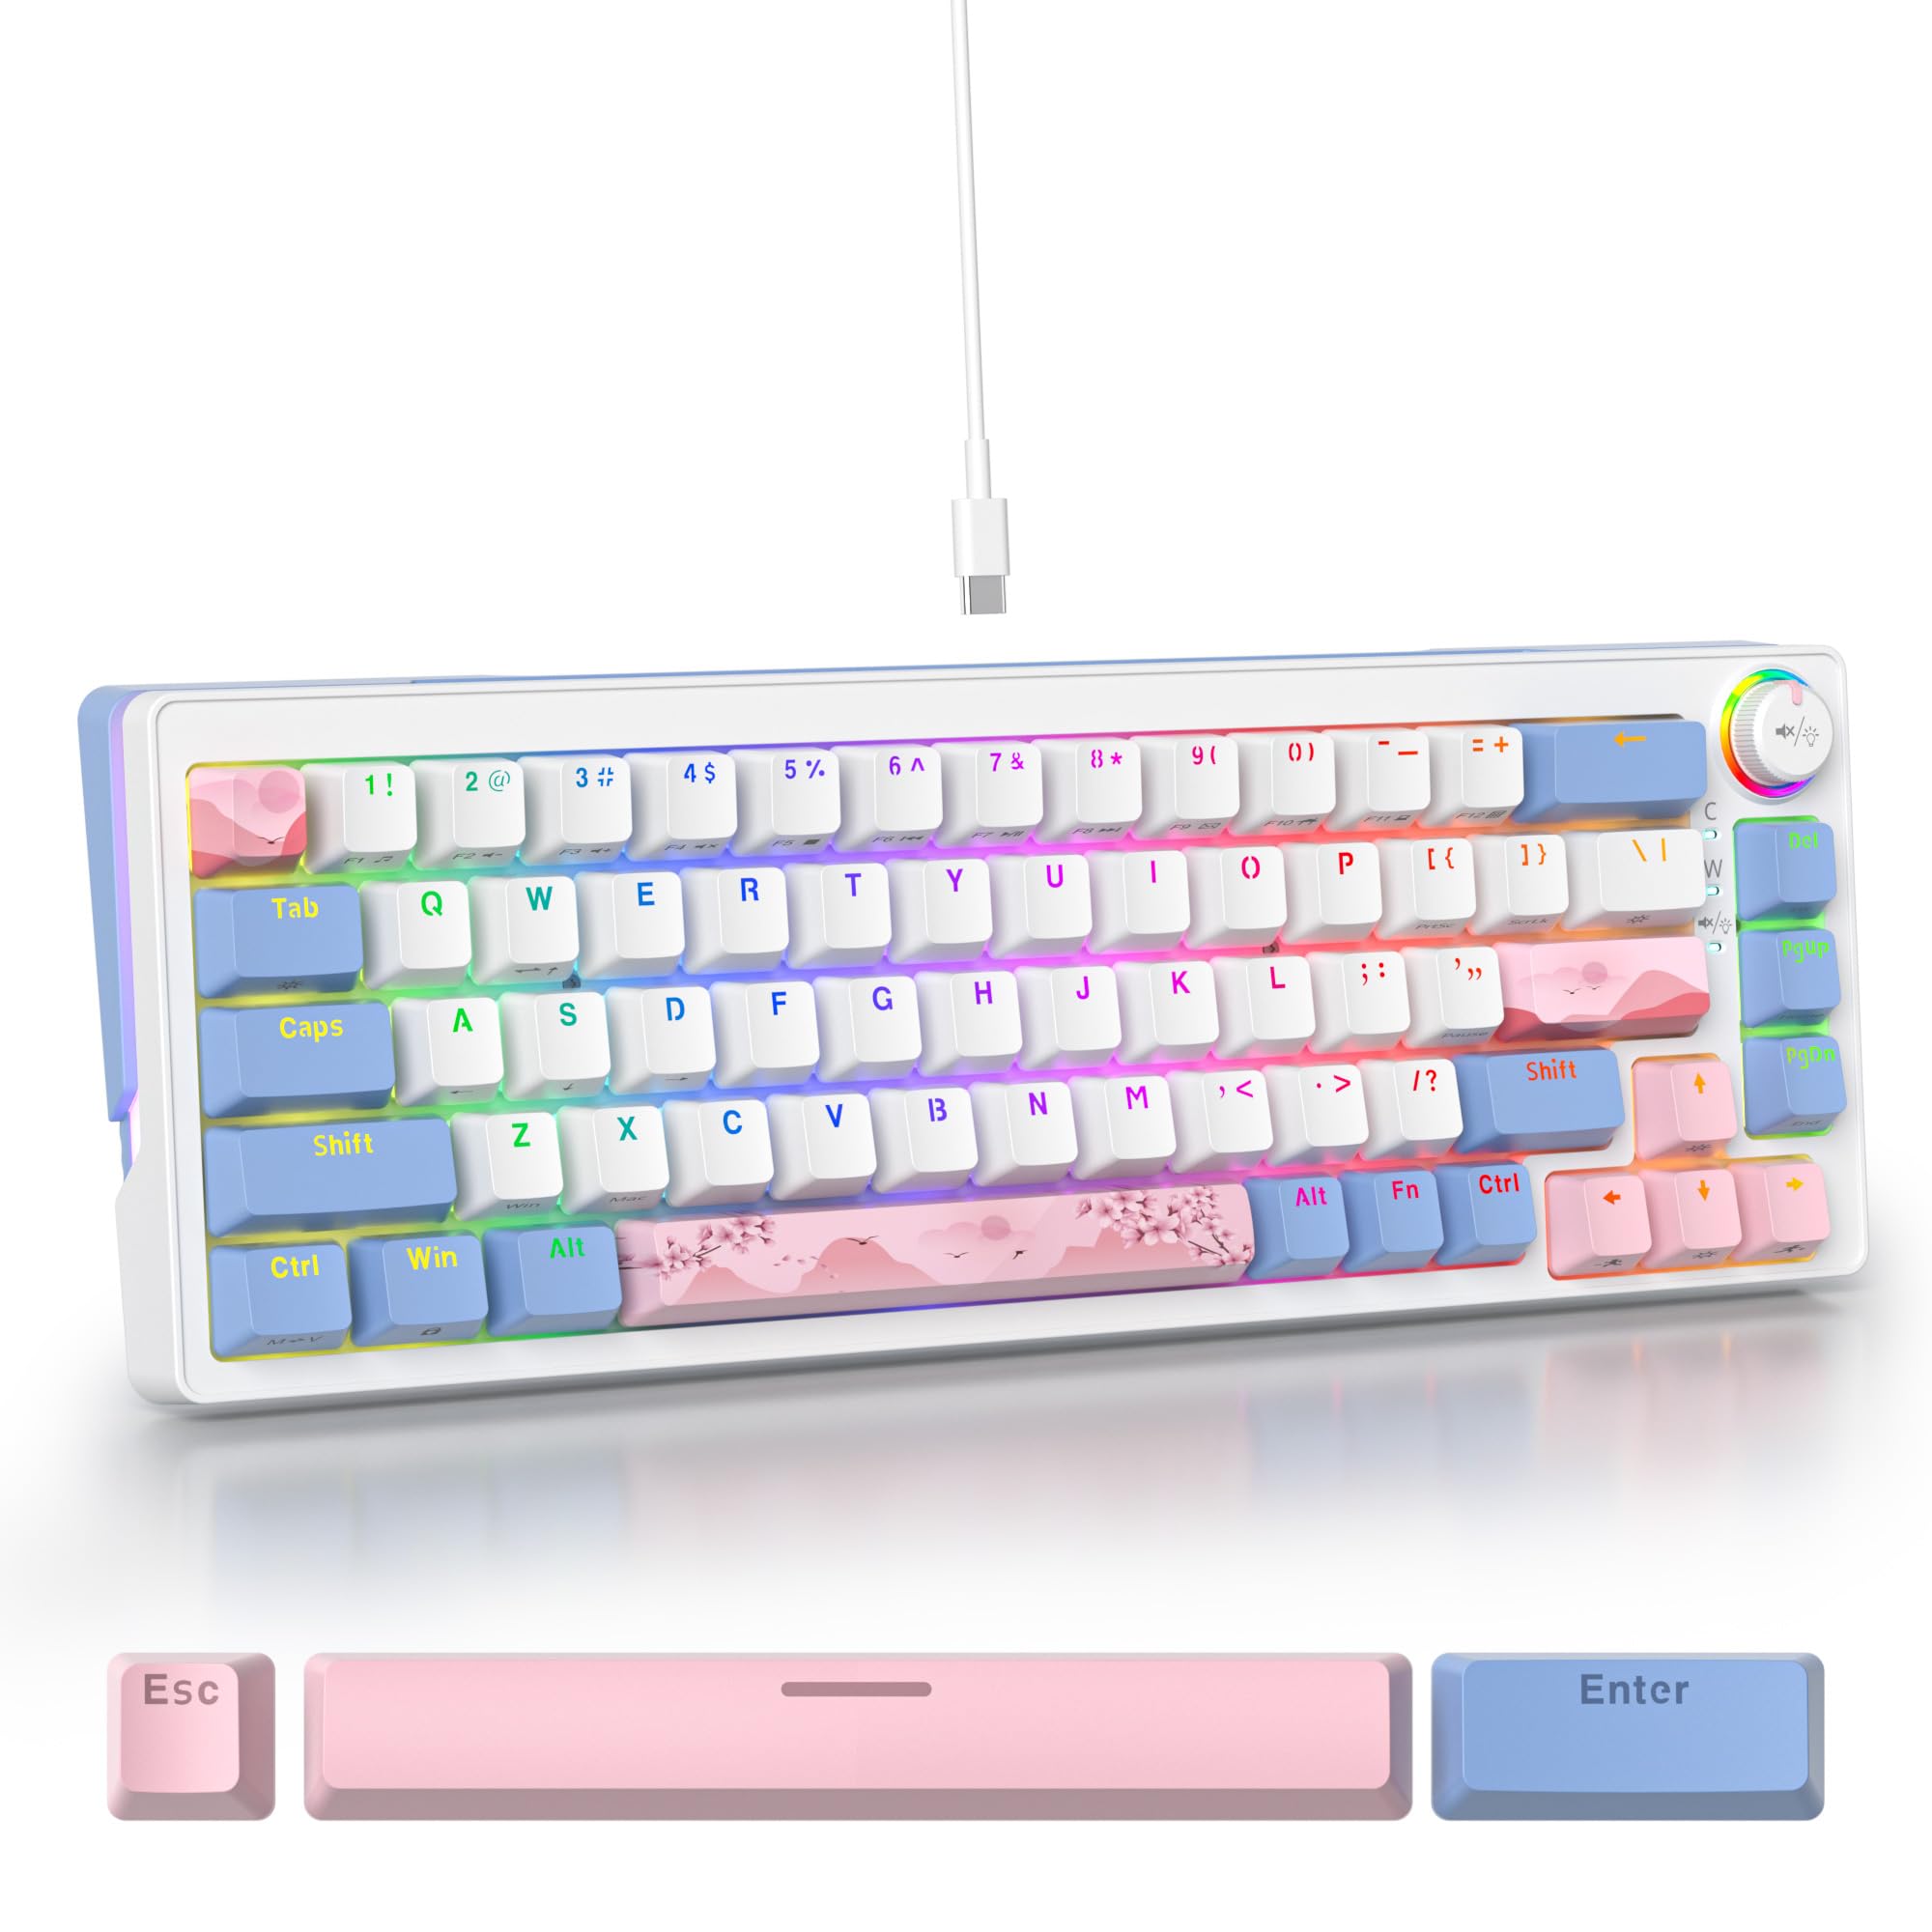
Figure 1: SOLIDEE 68-Key Mechanical Gaming Keyboard Overview
2. Product Features
- Hot-Swappable Switches: Equipped with advanced sockets supporting 3 or 5-pin mechanical switches, allowing for easy switch replacement without soldering.
- Pink Mechanical Switches: Linear switches with a soft tactile press, optimized for a quiet typing experience suitable for office or quiet environments.
- N-Key Rollover (NKRO): Ensures all key presses are registered accurately, even when multiple keys are pressed simultaneously, preventing ghosting.
- Customizable RGB Backlight: Features 18 RGB backlight modes and 8 monochrome options, along with RGB light strips on the left and right sides for enhanced aesthetics.
- Durable PBT Keycaps: Double-shot PBT keycaps offer wear resistance and durability. Includes both front-engraved and side-engraved keycaps for unique aesthetics.
- Volume Control Knob: A dedicated knob for convenient volume adjustment.
- Sound-Absorbing Design: Incorporates a PC material positioning plate and a bottom silent sponge to minimize typing noise.
- Ergonomic Design: Features a compact 65% layout (68 keys) and a double-section footrest for adjustable typing angles.
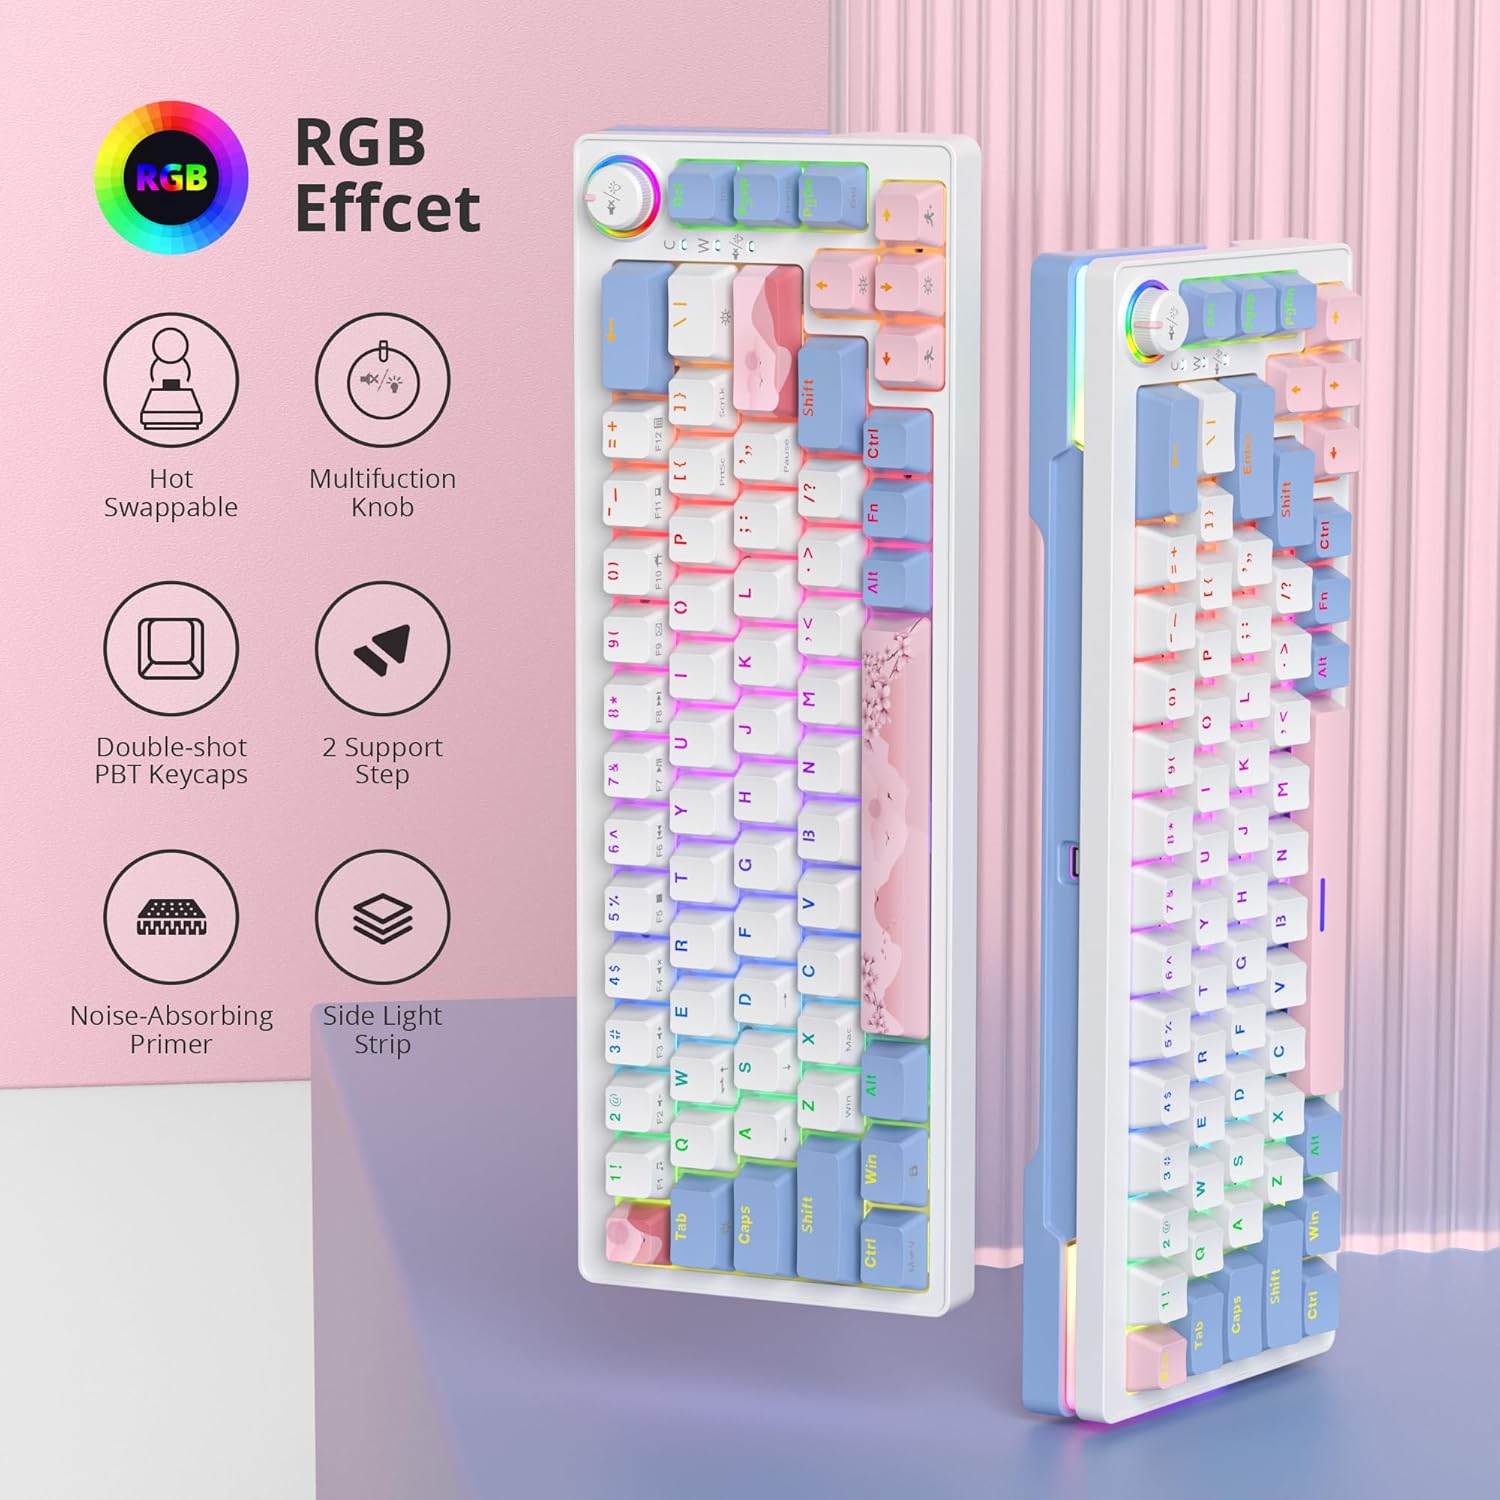
Figure 2: Overview of Key Features
3. Package Contents
Verify that all items are present in your package:
- SOLIDEE 68-Key Mechanical Gaming Keyboard
- USB-C Cable
- Keycap Puller (may be included)
- Switch Puller (may be included)
4. Setup and Connection
4.1 Connecting the Keyboard
- Locate the USB-C port on the back of the keyboard.
- Connect one end of the provided USB-C cable to the keyboard's USB-C port.
- Connect the other end of the USB-C cable to an available USB port on your computer.
- The keyboard will be automatically recognized by your operating system (Windows 7/8/10 or higher, Mac).
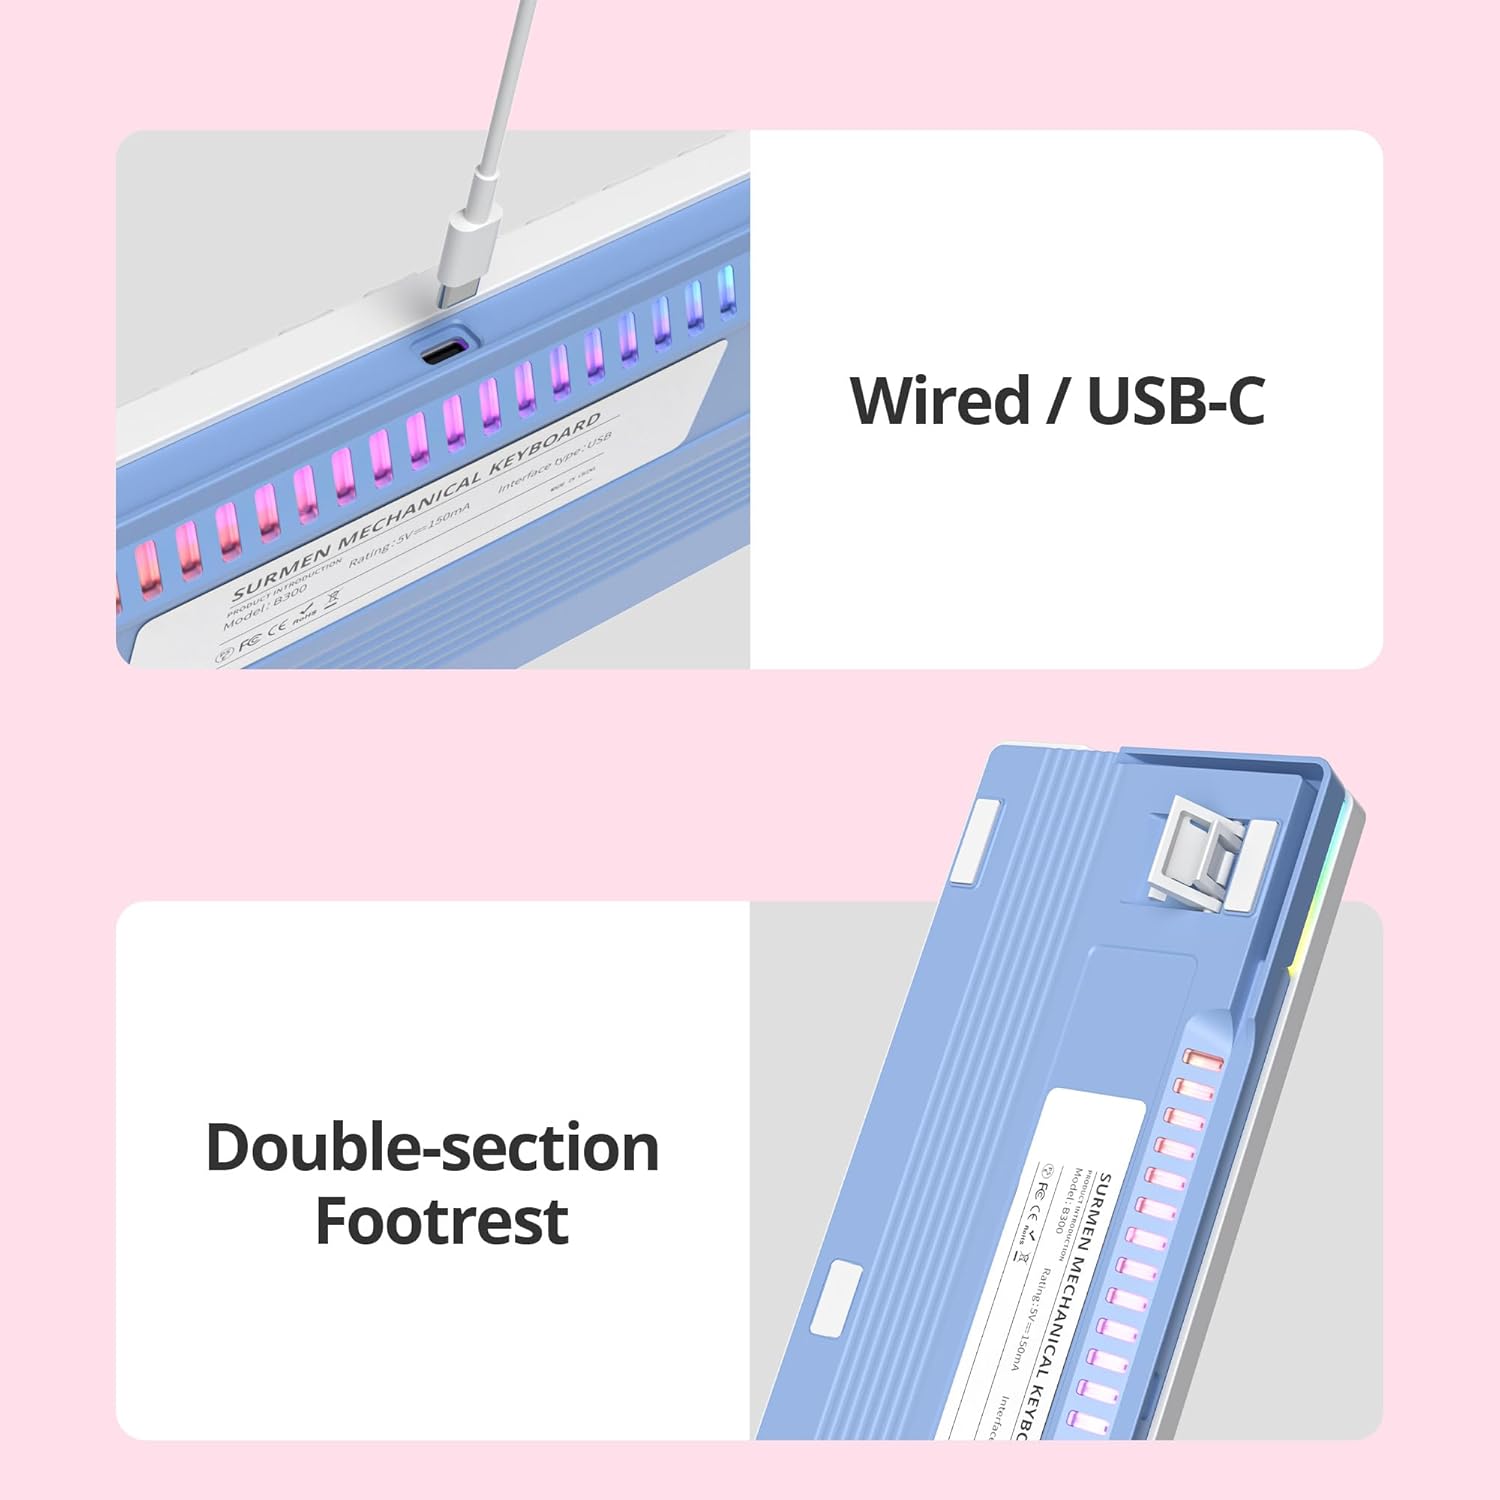
Figure 3: USB-C Connection and Adjustable Footrest
4.2 Adjusting Keyboard Angle
The keyboard features a double-section footrest on the underside. You can adjust these feet to achieve your preferred typing angle for improved ergonomics.
5. Key Functions and Controls
5.1 RGB Lighting Control
The keyboard offers multiple RGB backlight modes and side lighting effects. Specific key combinations (often involving the Fn key) are used to cycle through modes, adjust brightness, and change colors. Refer to the keycap legends for specific function key assignments related to lighting.
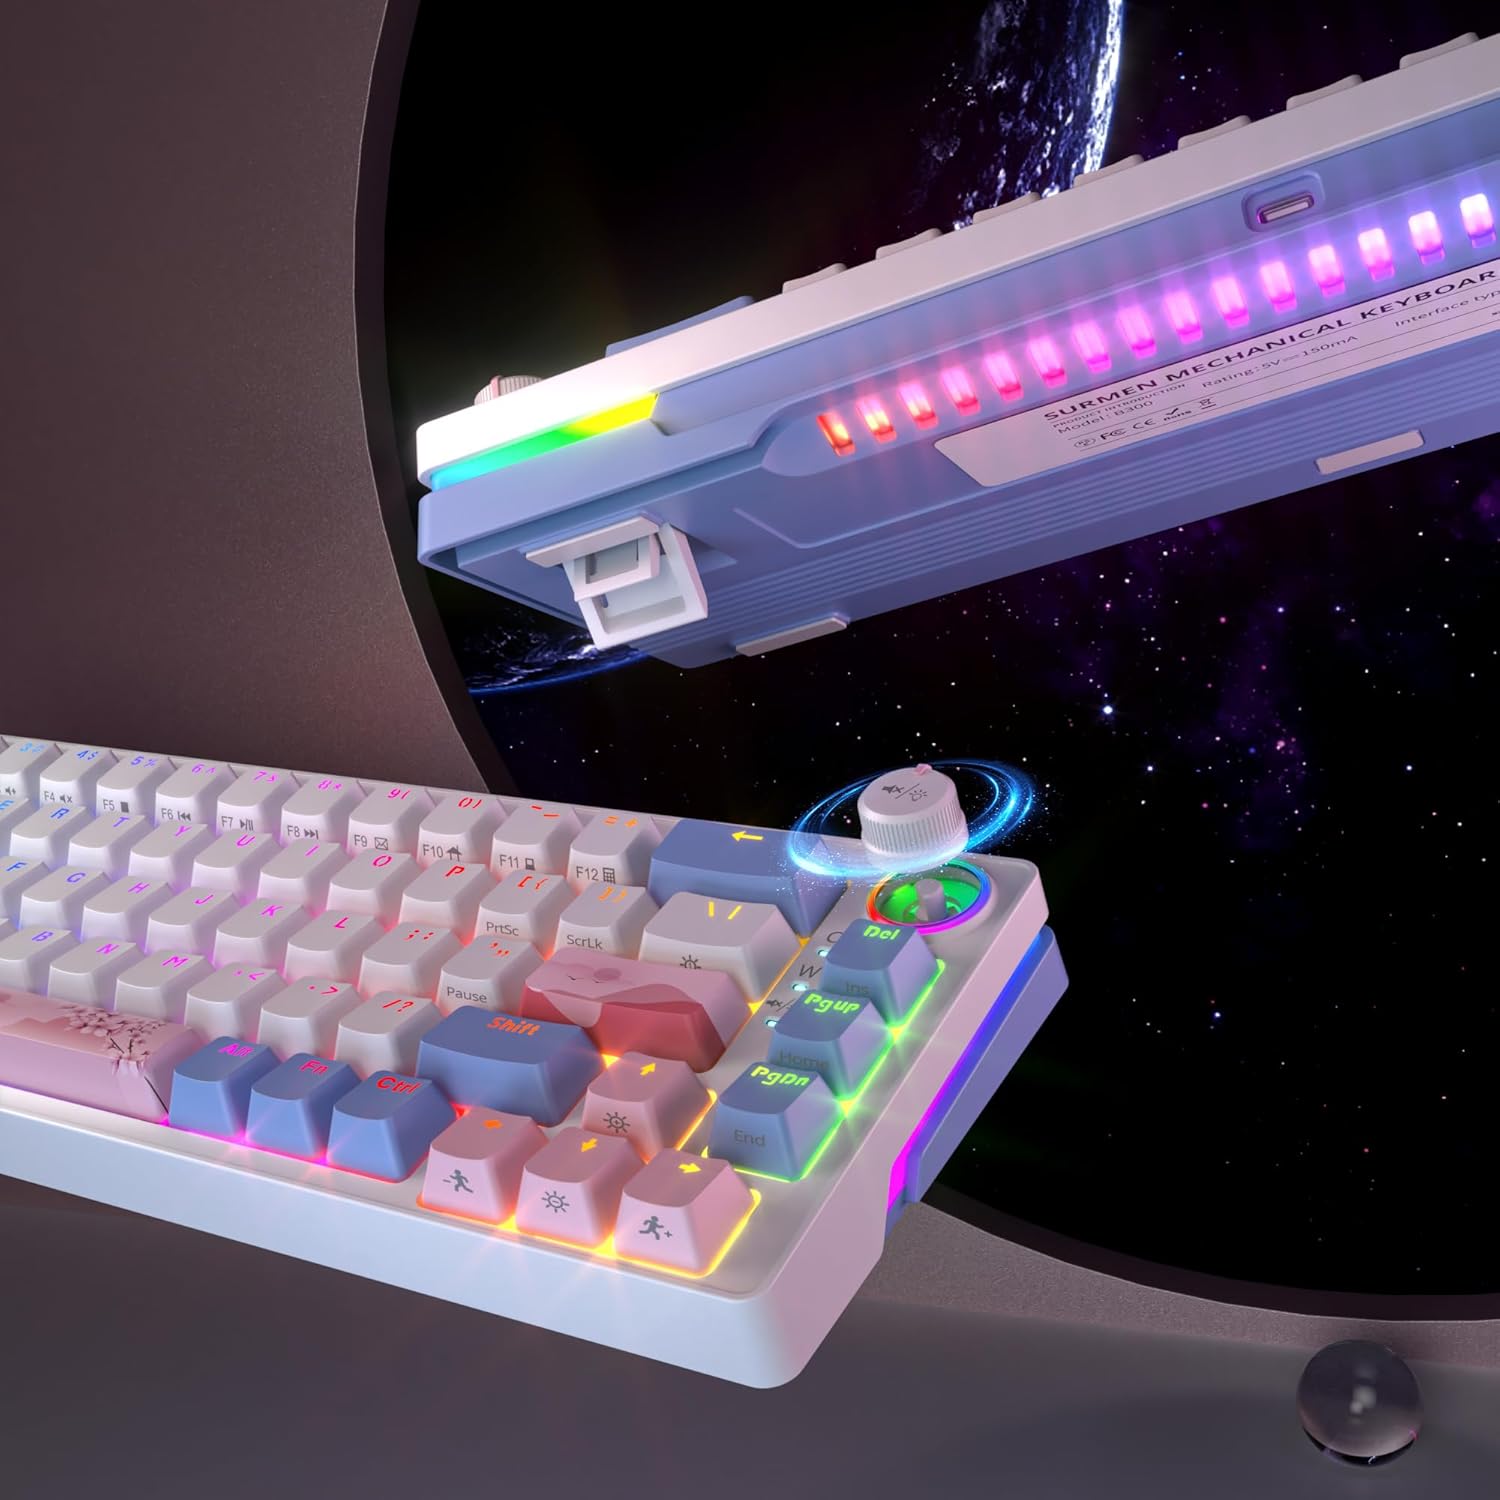
Figure 4: RGB Backlighting and Volume Control Knob
5.2 Volume Control Knob
Rotate the dedicated knob located on the top right of the keyboard to adjust the system volume. Pressing the knob typically mutes or unmutes the audio.

Figure 5: Detailed View of Volume Knob and RGB Effects
5.3 N-Key Rollover (NKRO)
The keyboard supports N-Key Rollover, meaning every key press is registered independently. This feature is automatically active and ensures high accuracy during fast typing or complex gaming inputs.
5.4 Hot-Swappable Switches
The keyboard's hot-swappable design allows you to change mechanical switches without soldering. This enables customization of typing feel and sound.
- Removing a Keycap: Use a keycap puller to gently remove the desired keycap.
- Removing a Switch: Use a switch puller to carefully grip the top and bottom clips of the switch. Pull the switch straight up to remove it from the PCB.
- Installing a New Switch: Align the pins of the new 3-pin or 5-pin mechanical switch with the holes on the PCB. Gently press the switch down until it clicks into place. Ensure the pins are not bent.
- Replacing a Keycap: Place the keycap onto the new switch stem and press down firmly.

Figure 6: Hot-Swappable Switch Replacement
6. Maintenance
6.1 Cleaning the Keyboard
- Disconnect the keyboard from your computer before cleaning.
- Use a soft brush or compressed air to remove dust and debris from between the keycaps.
- For stubborn dirt, gently wipe the keycaps and keyboard surface with a slightly damp, lint-free cloth. Avoid excessive moisture.
- Do not use harsh chemicals or abrasive cleaners.
6.2 Keycap and Switch Care
- When removing keycaps, use a keycap puller to prevent damage.
- When replacing switches, ensure the switch pins are straight before inserting them to avoid bending or damaging the hot-swap sockets.
7. Troubleshooting
- Keyboard not responding: Ensure the USB-C cable is securely connected to both the keyboard and the computer. Try a different USB port or cable.
- Keys not registering or double-clicking: This may indicate a faulty switch. Utilize the hot-swappable feature to replace the affected switch. Ensure the new switch is properly seated.
- RGB lighting not working: Check the lighting control key combinations (e.g., Fn + specific keys) to ensure it hasn't been turned off or set to a very dim mode.
- Compatibility issues: Ensure your operating system is Windows 7/8/10 or higher, or a compatible Mac OS.
8. Specifications
| Feature | Description |
|---|---|
| Brand | SOLIDEE |
| Model | 68 Pink |
| Color | 68 Pink/Pink Switch |
| Connectivity | Wired, USB-C |
| Keyboard Description | Mechanical |
| Special Features | Backlit, Hot-Swappable, N-Key Rollover, Volume Knob |
| Backlight Color Management | RGB |
| Compatible Devices | Laptop, PC |
| Included Components | RGB Hot-Swappable Mechanical Keyboard, Type-C Cable |
9. Warranty and Support
For warranty information and technical support, please refer to the documentation provided with your purchase or contact SOLIDEE customer service through their official website or the retailer where the product was purchased. Please retain your proof of purchase for warranty claims.