1. Product Overview
The Tristar Princess Dynamic Storm is a versatile cordless vacuum cleaner designed for efficient home cleaning. It features a powerful 220W brushless DC motor, providing strong suction for various surfaces. The unit can easily convert from a stick vacuum to a handheld vacuum for targeted cleaning. Its motorized brush head includes LED lights to illuminate dust and debris, ensuring thorough cleaning. The 0.6-liter dustbin offers hygienic emptying with a simple button press, minimizing contact with dirt. With a battery life of up to 30 minutes and three speed settings, this vacuum is suitable for daily cleaning tasks.
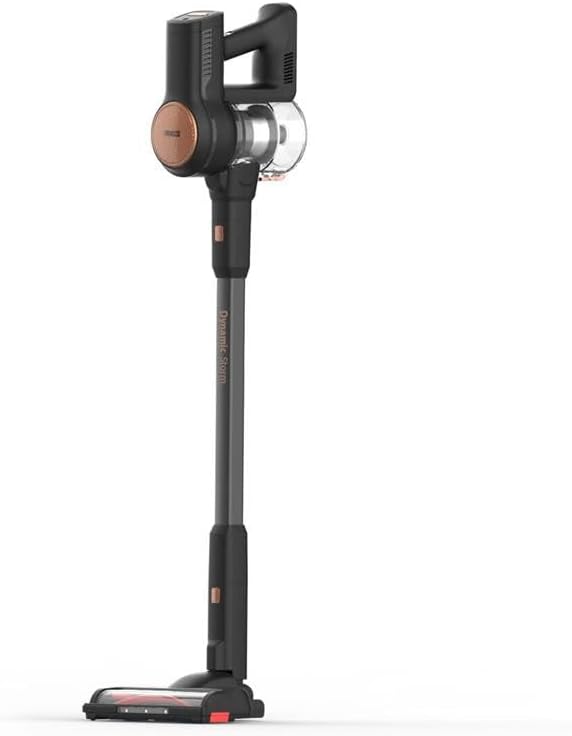
Figure 1: Full view of the Princess Dynamic Storm Cordless Vacuum Cleaner.
2. Safety Instructions
Please read all safety instructions carefully before using the appliance. Retain this manual for future reference.
- Ensure the power adapter is compatible with your local power supply.
- Do not use the vacuum cleaner on wet surfaces or to pick up liquids.
- Keep hair, loose clothing, fingers, and all body parts away from openings and moving parts.
- Do not pick up burning or smoking materials, such as cigarettes, matches, or hot ashes.
- Do not use without the dustbin and filters properly in place.
- This appliance is not intended for use by persons (including children) with reduced physical, sensory or mental capabilities, or lack of experience and knowledge, unless they have been given supervision or instruction concerning use of the appliance by a person responsible for their safety.
- Children should be supervised to ensure that they do not play with the appliance.
- Only use accessories recommended by the manufacturer.
3. Package Contents
Verify that all components are present in the package:
- Main Vacuum Unit (motor and dustbin assembly)
- Extension Tube
- Motorized Brush Head with LED Lights
- Crevice Tool
- Furniture Brush
- Charging Adapter
- Wall Mount (if included, check packaging)
- User Manual
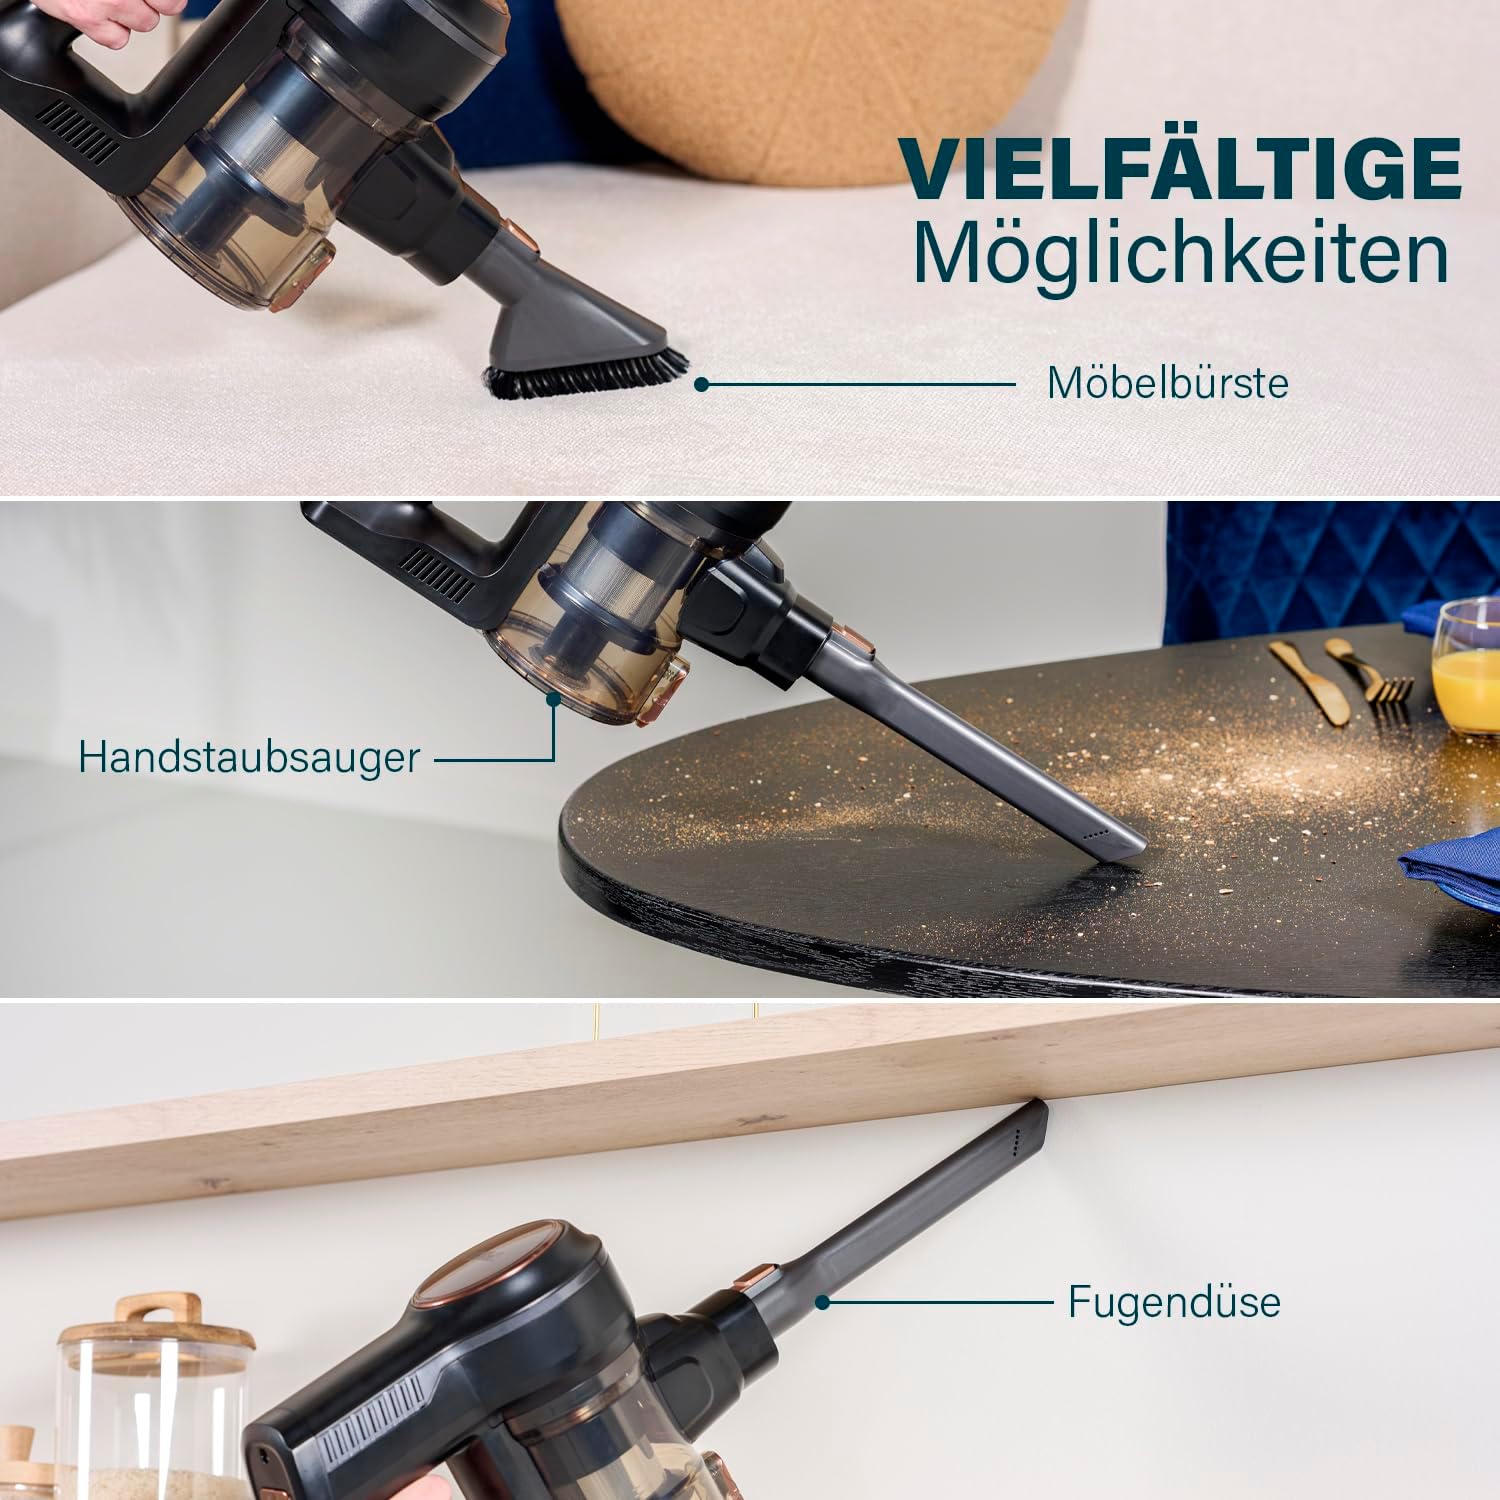
Figure 2: The vacuum cleaner shown with its versatile attachments, including the furniture brush, handheld vacuum configuration, and crevice tool.
4. Assembly & Setup
4.1 Assembling the Vacuum
- Attach the Extension Tube: Insert the extension tube into the main vacuum unit until it clicks securely into place.
- Attach the Motorized Brush Head: Connect the motorized brush head to the other end of the extension tube, ensuring it clicks firmly.
- Handheld Mode: For handheld use, detach the extension tube and connect accessories like the crevice tool or furniture brush directly to the main vacuum unit.
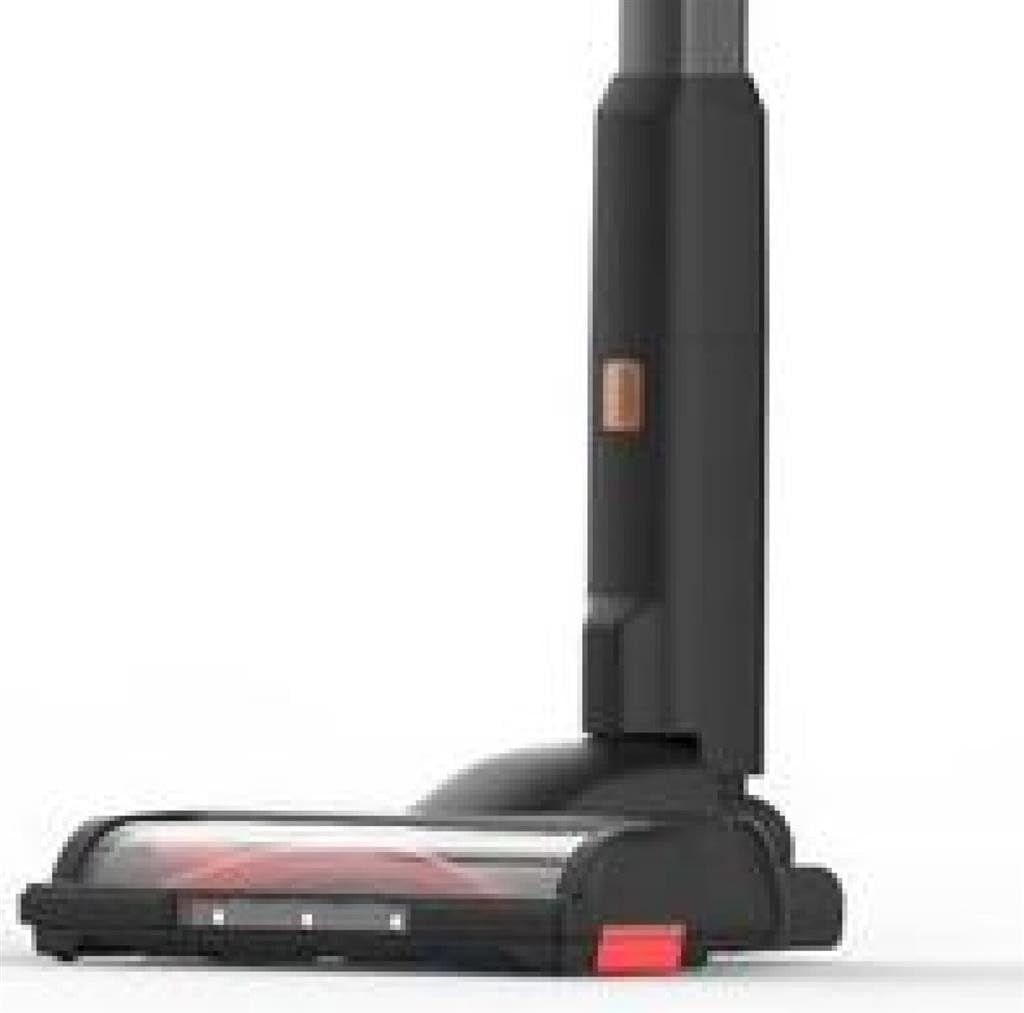
Figure 3: Close-up view of the motorized brush head, showing its design and LED lights.
4.2 Charging the Battery
Before first use, fully charge the vacuum cleaner. A full charge takes approximately 105 minutes.
- Connect the charging adapter to the charging port on the main vacuum unit.
- Plug the adapter into a wall outlet.
- The charging indicator light will show the charging status. Refer to the indicator light section in the manual for specific light patterns.
- Once fully charged, disconnect the adapter.
5. Operating Instructions
5.1 Powering On/Off and Speed Selection
- Power On: Press the power button located on the main unit to turn on the vacuum cleaner. It will start in the lowest speed setting.
- Change Speed: Press the speed selection button (if separate) or press the power button again to cycle through the 3 available speed settings (Low, Medium, High).
- Power Off: Press the power button until the unit turns off.
5.2 Using the Motorized Brush Head with LED Lights
The motorized brush head is ideal for cleaning various floor types, including hard floors and carpets. The integrated LED lights illuminate dust and debris, making it easier to spot and clean hidden dirt.

Figure 4: The motorized brush head with its LED lights activated, highlighting dust and debris on the floor.
5.3 Using Accessories
The included accessories enhance the vacuum's versatility:
- Crevice Tool: Use for narrow gaps, corners, and hard-to-reach areas.
- Furniture Brush: Ideal for cleaning upholstery, curtains, and delicate surfaces.
These accessories can be attached directly to the main vacuum unit for handheld use or to the extension tube for extended reach.
5.4 Stable Parking Mode
The vacuum cleaner is designed with a stable parking mode, allowing it to stand upright on its own without needing to be leaned against a wall or placed in a dock. This provides convenient temporary storage during cleaning breaks.

Figure 5: The Princess Dynamic Storm vacuum cleaner standing upright independently, demonstrating its stable parking mode.
6. Maintenance
Regular maintenance ensures optimal performance and extends the lifespan of your vacuum cleaner.
6.1 Emptying the Dustbin
Empty the 0.6-liter dustbin regularly, especially when the MAX line is reached, to maintain suction power.
- Hold the main vacuum unit over a trash can.
- Press the dustbin release button to open the bottom flap of the dustbin.
- Allow the contents to fall into the trash. Close the flap securely.

Figure 6: Illustration of the hygienic dustbin emptying process, showing the dustbin detached and being emptied with a button press.
6.2 Cleaning the Filters
The filters should be cleaned regularly to prevent clogging and maintain suction. It is recommended to clean them after every few uses.
- Twist and pull to remove the dustbin from the main unit.
- Remove the filter assembly from the dustbin.
- Tap the filters gently over a trash can to remove loose dust.
- If necessary, rinse the filters under cold running water. Ensure they are completely dry before reassembling.
- Reassemble the filters and dustbin, then reattach to the main unit.
6.3 Cleaning the Brush Roll
Periodically check the brush roll for tangled hair or debris. To clean:
- Turn off and unplug the vacuum cleaner.
- Locate the brush roll access cover on the bottom of the motorized brush head.
- Open the cover (refer to diagrams in the full manual if available) and remove the brush roll.
- Carefully cut and remove any tangled hair or fibers using scissors.
- Reinsert the brush roll and close the access cover securely.
7. Troubleshooting
If you encounter issues with your vacuum cleaner, refer to the following common problems and solutions:
| Problem | Possible Cause | Solution |
|---|---|---|
| Vacuum does not turn on | Battery is depleted Power button not pressed correctly | Charge the battery fully Ensure the power button is pressed firmly |
| Reduced suction power | Dustbin is full Filters are clogged Hose or nozzle is blocked | Empty the dustbin Clean or replace the filters Check for and remove any blockages |
| Brush roll not rotating | Brush roll is jammed Brush roll motor issue | Clean hair and debris from the brush roll Contact customer support if the issue persists |
| Battery not charging | Charger not connected properly Faulty charger or battery | Ensure charger is securely connected to vacuum and outlet Contact customer support for assistance |
8. Specifications
- Model Number: 01.339390.01.001
- Brand: Tristar (Manufacturer: Princess)
- Power: 220 Watts (Brushless DC Motor)
- Voltage: 21.6 Volts
- Battery Type: 1 Lithium-ion (included)
- Run Time: Up to 30 minutes
- Charge Time: Approximately 105 minutes
- Number of Speeds: 3
- Dustbin Capacity: 0.6 Liters
- Dimensions (L x W x H): 23 x 21 x 112 cm
- Item Weight: 1 Kilogram
- Noise Level: 1 Decibel (as per product specifications)
- Filter Type: Disk filter
- Special Features: Portable, Cordless, Motorized brush with LEDs, Stable parking
- Recommended Surfaces: All floors
- International Article Code (UPC): 08712836981461
9. Warranty & Support
This product comes with a standard manufacturer's warranty. For detailed warranty information, please refer to the warranty card included in your product packaging or visit the official Tristar/Princess website. For technical support, spare parts, or service inquiries, please contact the customer service department using the contact information provided in your warranty documentation.