1. Introduction
This manual provides essential information for the installation, operation, and maintenance of the EZYPAK Deck Front Lift Rod. This component is designed to replace original parts 747-05141B, 747-05141, and 747-05141A on compatible lawn tractors. Proper installation and maintenance ensure optimal performance and longevity of your equipment.
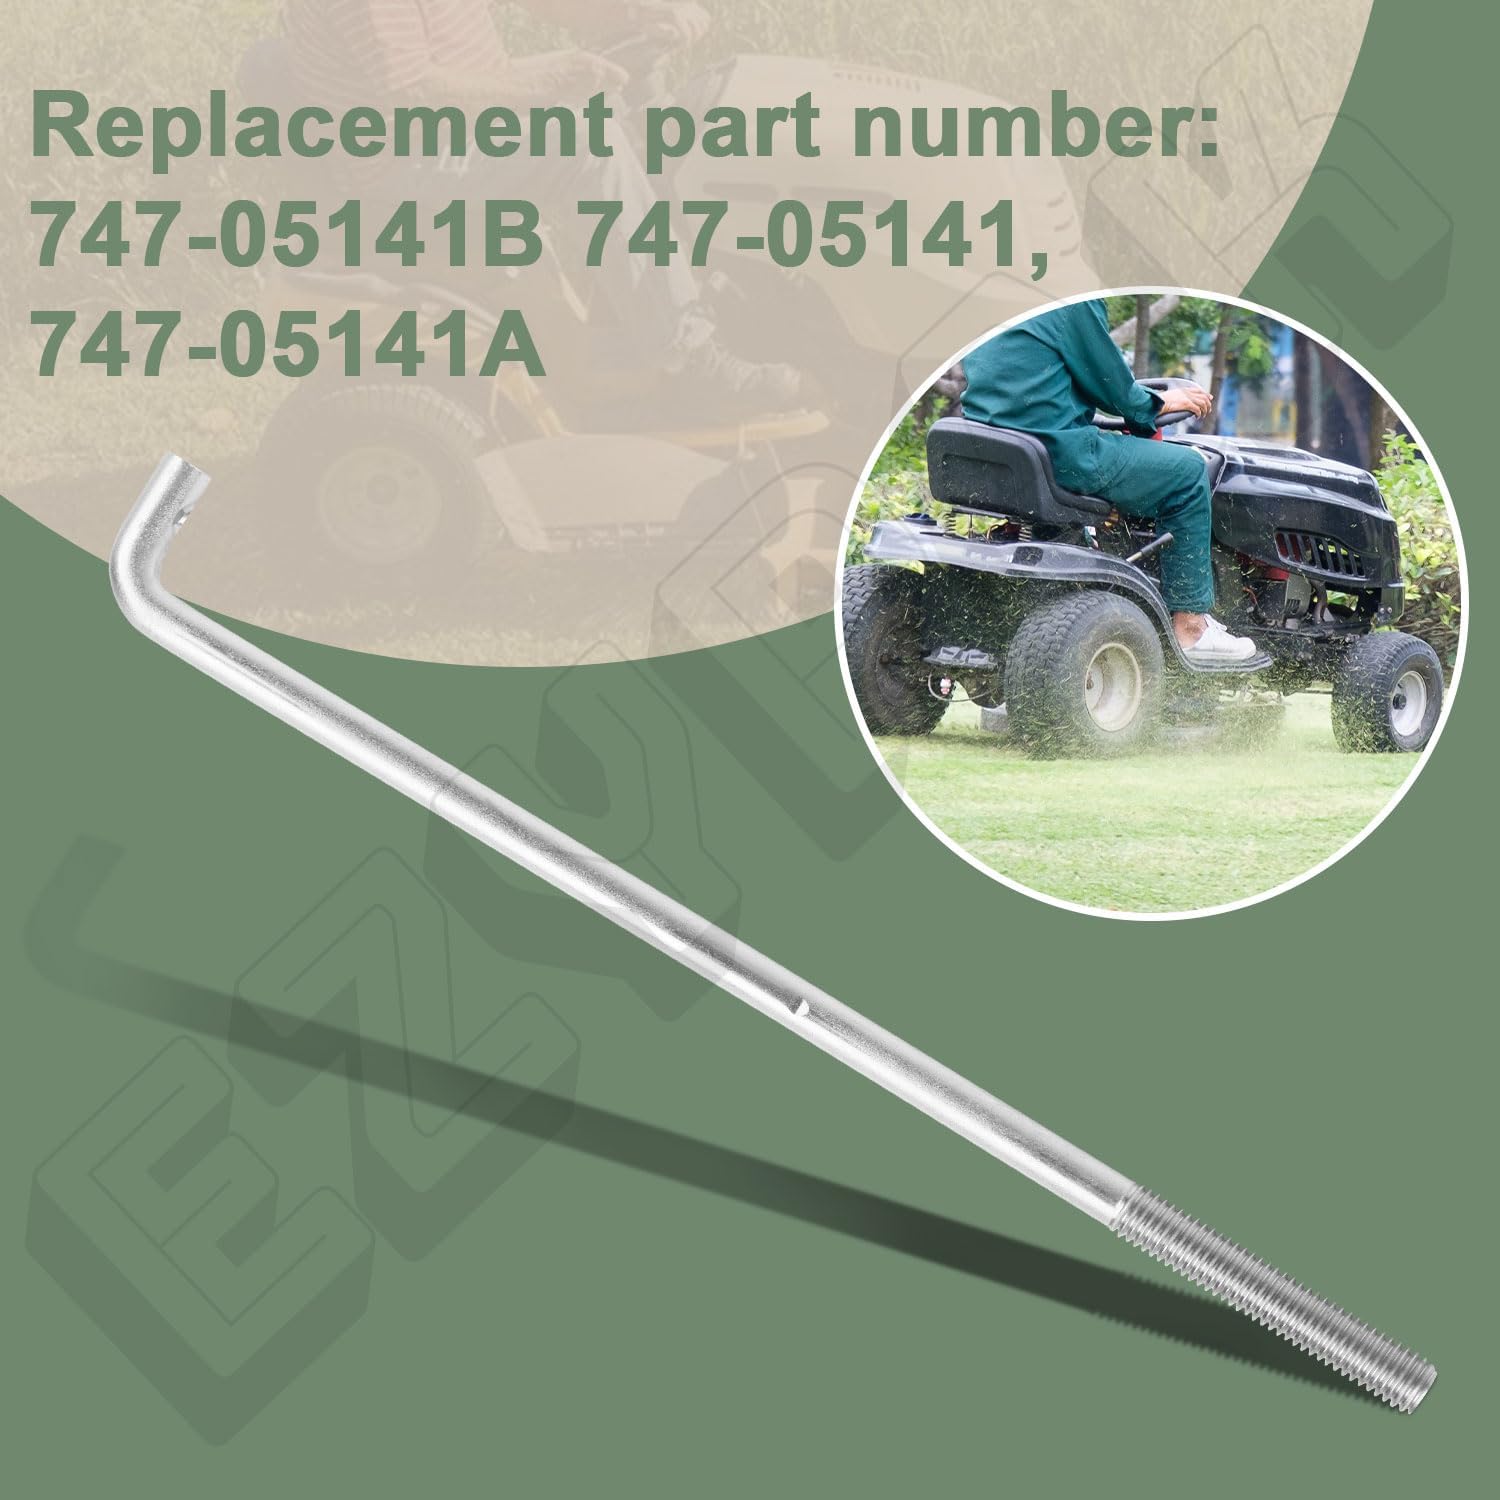
Image 1.1: The EZYPAK Deck Front Lift Rod, indicating its replacement part numbers. A lawn tractor is visible in the background.
2. Compatibility
The EZYPAK Deck Front Lift Rod is compatible with a range of lawn tractor models from MTD, Craftsman, Troy-Bilt, Yard Man, Yard Machines, and Murray. Verify your specific model number against the lists below to ensure proper fitment.
2.1. Compatible Craftsman Models:
- 247203705, 247203706, 247203715, 247203716
- 247203760, 247203761, 247203725, 247203726
- 247203790, 247203791, 247203775, 247203776
- 247273720, 247255860, 247203727, 247255880
- 247273271, 247273410, 247273721, 247273731
- 247273300, 247273270, 247255870, 247255890
- 247273741, 247203777

Image 2.1: The lift rod shown with a graphic indicating compatibility with Craftsman models.
2.2. Compatible MTD Models:
- CLT42H (13A879KS897)(2017), CLT42H (13A879KS897)(2016)
- GT5025 (14AQ94KP897)(2013), GT5426 (14A794KK897)(2014)
- 14AQ94GK897 (2010), GT2754KH (14AK94GK897)(2012)
- GT5427 (14AK94KK897)(2013), GT5024 (14AQ94KP897)(2014)
- LT542H (13AN79GS897)(2012), LT4216 (13AM79KS897)(2014)
- 13AL795T057 (2010), CLT42H (13A879KS897)(2015)
- CLT46CVT (13A878KT897)(2015), CLT42G (13A277KS897)(2015)

Image 2.2: The lift rod shown with a graphic indicating compatibility with MTD models.
2.3. Compatible Troy-Bilt Models:
- 13BX78KS011 (2013) Bronco
- 13BX78KS211 (2013) Bronco
- 13BX79KT011 (2013) Horse

Image 2.3: The lift rod shown with a graphic indicating compatibility with Troy-Bilt models.
2.4. Other Compatible Models:
- Yard Man: 13AN772S055 (2014), 13AN785S001 (2013), 13AN785T055 (2014), 13A2785S001 (2013), 13A2785S001 (2014)
- Yard Machines: 13B2775S000 (2017), 13B2775S000 (2016) Lawn Tractor
- Murray: M155-42 (13AM775S058)(2016) Lawn Tractor
3. Parts Identification
The EZYPAK Deck Front Lift Rod assembly typically includes the main lift rod, a washer, and a cotter pin for secure attachment. Familiarize yourself with these components before installation.

Image 3.1: The complete EZYPAK Deck Front Lift Rod assembly, including the rod, washer, and cotter pin.
- Lift Rod: The primary component, a metal rod with a bent end for attachment and a threaded end for adjustment.
- Washer: A flat metal ring used to distribute the load of a threaded fastener.
- Cotter Pin: A metal fastener used to secure the rod in place, preventing it from detaching.
4. Setup and Installation
Installation of the deck front lift rod requires basic mechanical skills and tools. Always ensure the lawn tractor is turned off, the engine is cool, and the spark plug wire is disconnected before beginning any maintenance or installation procedures to prevent accidental starting.
4.1. Required Tools:
- Wrench (appropriate size for nuts on the lift rod)
- Pliers (for cotter pin removal/installation)
- Safety gloves and eye protection
4.2. Installation Steps:
- Prepare the Tractor: Park the lawn tractor on a flat, level surface. Engage the parking brake. Turn off the engine and remove the ignition key. Disconnect the spark plug wire to prevent accidental starting.
- Access the Lift Rod: Locate the existing front lift rod assembly on your mower deck. It typically connects the front of the mower deck to the tractor's frame.
- Remove Old Rod (if applicable): If replacing an old rod, carefully remove the cotter pin and any nuts or washers securing it. Detach the old rod from both the deck and the tractor frame.
- Install New Rod: Insert the bent end of the new EZYPAK lift rod into its designated mounting point on the mower deck. Secure it with a new cotter pin.
- Connect to Tractor: Attach the threaded end of the lift rod to the tractor's frame mounting point. Secure it with the provided washer and nut. Do not overtighten; allow for some movement for deck adjustment.
- Initial Adjustment: Perform an initial adjustment to ensure the deck is level. Refer to your tractor's owner's manual for specific deck leveling procedures.

Image 4.1: A detailed view of the lift rod's bent end, illustrating its connection point to the mower deck. A lawn tractor is visible in the background.
5. Operating the Lift Rod (Deck Height Adjustment)
The front lift rod plays a crucial role in setting and maintaining the mower deck's cutting height. Adjusting this rod, in conjunction with other deck leveling components, ensures an even cut.
5.1. Adjusting Deck Height:
- Consult Tractor Manual: Always refer to your specific lawn tractor's owner's manual for detailed instructions on deck height adjustment and leveling procedures.
- Loosen Nut: To adjust the front height of the deck, loosen the nut on the threaded end of the lift rod.
- Adjust Rod: Turn the rod to either lengthen or shorten it. Lengthening the rod will lower the front of the deck, while shortening it will raise the front.
- Tighten Nut: Once the desired height is achieved, tighten the nut securely to lock the adjustment in place.
- Verify Level: After adjustment, verify that the mower deck is level from front to back and side to side according to your tractor's specifications.
6. Maintenance
Regular inspection and maintenance of the lift rod will extend its lifespan and ensure consistent mower deck performance.
- Regular Inspection: Periodically inspect the lift rod for signs of wear, bending, or corrosion. Check that all fasteners (nuts, washers, cotter pins) are secure.
- Cleaning: Keep the rod free from grass clippings, dirt, and debris. A clean rod allows for smoother adjustments.
- Lubrication: Apply a light coat of grease or lubricant to the threaded sections and pivot points to prevent rust and ensure easy adjustment.
- Replacement: If the rod shows significant wear, bending, or damage, replace it immediately to prevent uneven cutting or further damage to the mower deck.
7. Troubleshooting
This section addresses common issues related to the deck front lift rod.
| Problem | Possible Cause | Solution |
|---|---|---|
| Difficulty adjusting deck height | Corrosion on threads, bent rod, overtightened nut | Clean and lubricate threads. Inspect rod for bending; replace if necessary. Loosen nut slightly before adjusting. |
| Uneven cut (front to back) | Incorrect lift rod adjustment | Re-adjust the lift rod according to your tractor's manual to level the deck. |
| Rod detaches during operation | Missing or improperly installed cotter pin/fasteners | Ensure cotter pin is correctly installed and all nuts are tightened. Replace worn fasteners. |
| Rod appears bent or damaged | Impact with an object, excessive stress | Replace the lift rod immediately to prevent further damage or unsafe operation. |
8. Specifications
Key specifications for the EZYPAK Deck Front Lift Rod (Model GN-BB5).
- Brand: EZYPAK
- Item Model Number: GN-BB5
- Replacement Part Numbers: 747-05141B, 747-05141, 747-05141A
- Item Weight: Approximately 13.4 ounces
- Package Dimensions: Approximately 14.21 x 4.13 x 1.3 inches
- Position: Front (Deck Lift)

Image 8.1: The lift rod with its approximate length indicated as 13.38 inches.
9. Warranty and Support
Specific warranty information for the EZYPAK Deck Front Lift Rod is not provided within this manual. For details regarding warranty coverage, technical support, or replacement parts, please contact EZYPAK customer service directly or visit their official website. Keep your purchase receipt for any warranty claims.