1. Product Overview
This manual provides detailed instructions for the assembly, operation, and maintenance of your Marada Aluminum Profile Racing Simulator Cockpit with Monitor Stand. This high-quality racing simulator cockpit is designed for stability and adjustability, compatible with a wide range of racing peripherals.
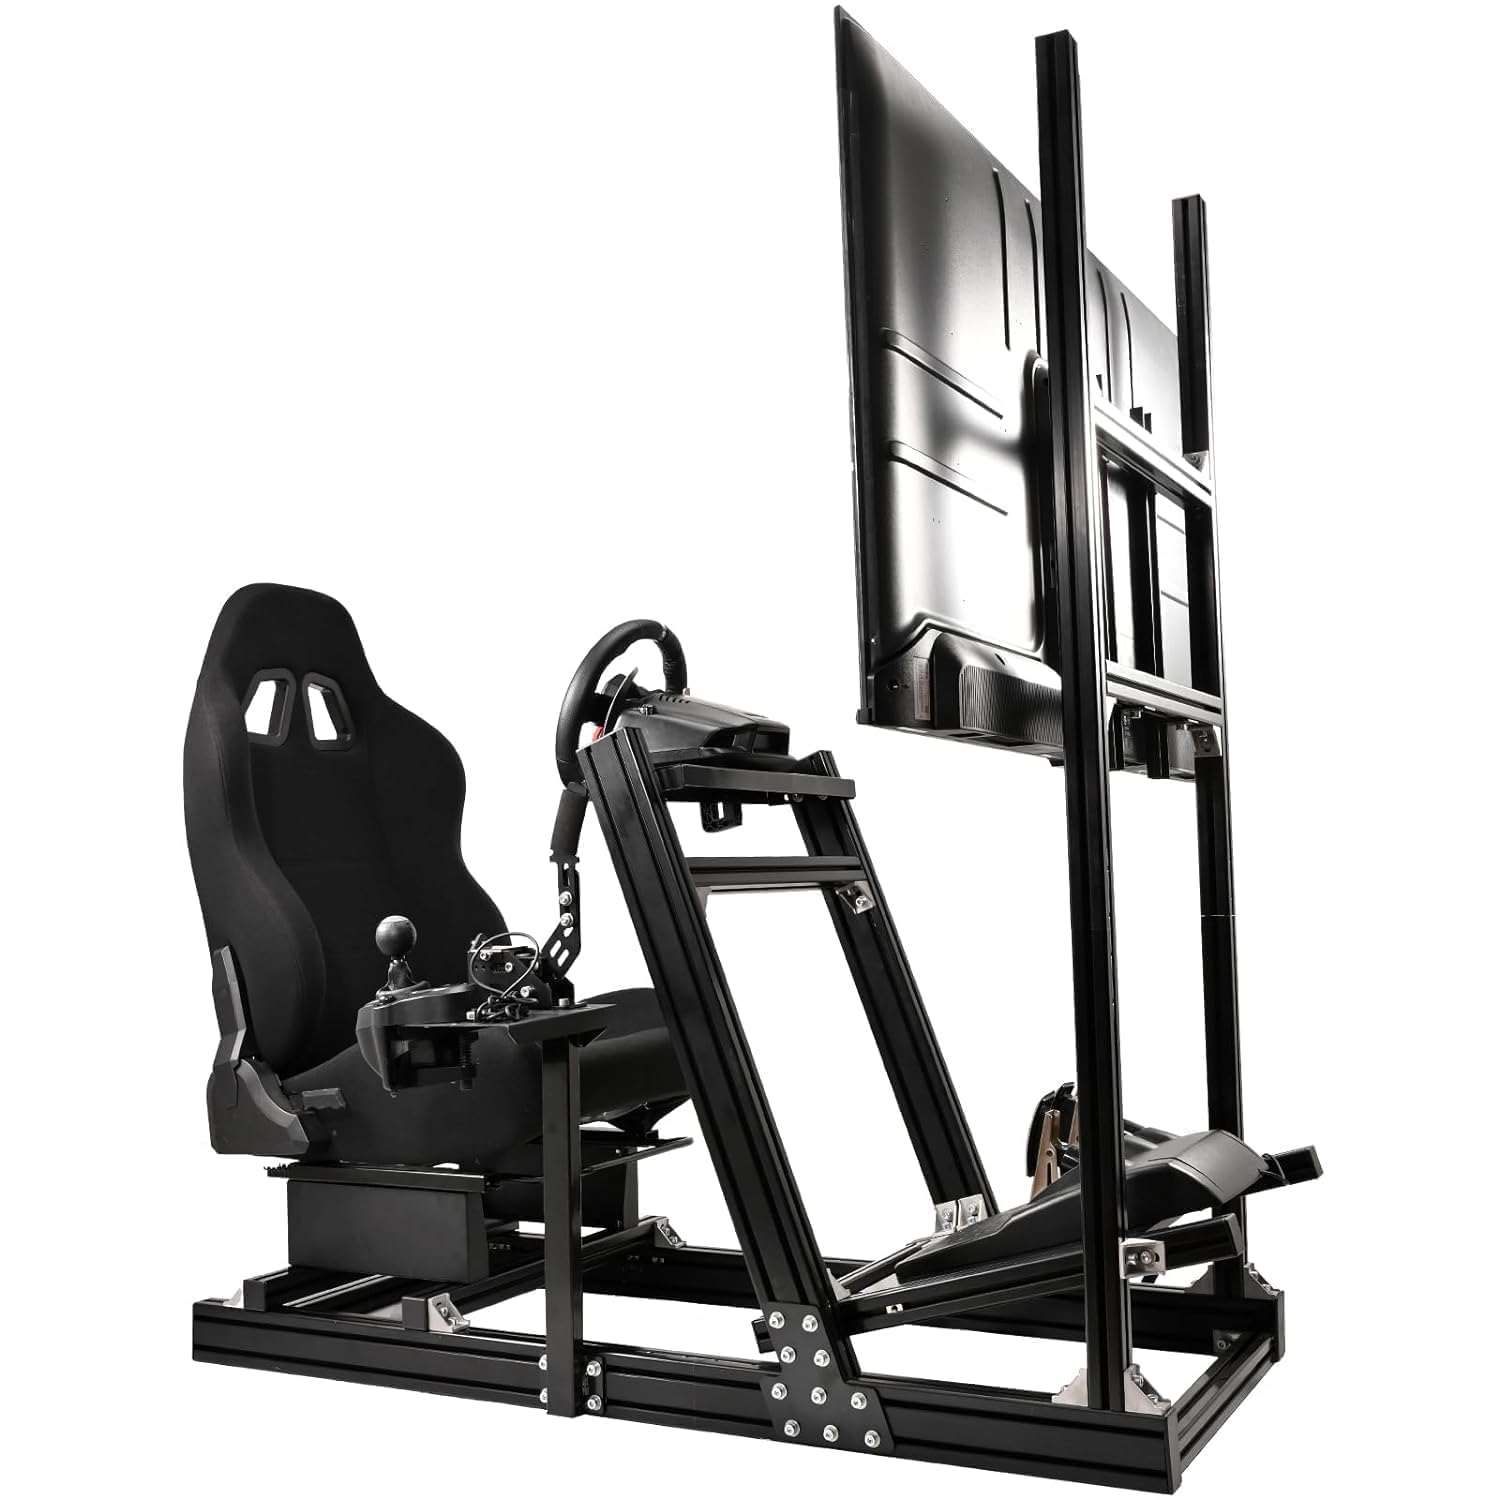
Image 1.1: Marada Aluminum Profile Racing Simulator Cockpit with Monitor Stand.
1.1 Key Features
- Ultra-Stable Build: Constructed with 80x40 aluminum profiles for robust support, suitable for high-torque direct-drive wheels. Features non-slip pads for enhanced stability during intense racing.
- Adjustable Monitor Bracket: Integrated TV bracket allows flexible vertical and horizontal adjustments for optimal viewing. Supports 24-70 inch displays with VESA patterns from 75x75 to 400x200.
- Wide Compatibility: Designed to work with most major simulator brands, including Fanatec CSL-DD, GT-DD-PRO, Thrustmaster T598, T818, T300, Logitech G29, G920, G923, GPro, and Moza R5, R9, R12, R16.
- Ergonomic Adjustments: The aluminum frame allows extensive customization of cockpit and seating posture. Seat, wheel, pedals, and monitor can be adjusted steplessly. Wheel and pedal panels offer tilt and height adjustments. The shifter can be mounted on either side, and the seat back reclines from 90-180 degrees.
- Ergonomic Seat: Includes a breathable, black ergonomic seat with adjustable backrest and a double-track design for convenient adjustment and enhanced comfort.

Image 1.2: The cockpit features 80x40mm and 40x40mm aluminum profiles for enhanced stability and durability.

Image 1.3: The cockpit is highly compatible with devices from Logitech, Thrustmaster, Fanatec, Pxn, and DIY setups.

Image 1.4: The monitor stand supports various VESA patterns including 400x400mm, 400x200mm, 300x300mm, 300x200mm, 300x100mm, 200x200mm, 200x150mm, 200x100mm, 150x150mm, 100x100mm, and 75x75mm.
1.2 Package Contents
The Marada Racing Simulator Cockpit is shipped in four separate boxes. Please ensure all boxes are received before beginning assembly.
- Box A: Profile Racing Frame
- Box B: Racing Controller Stand
- Box C: Racing Monitor Stand
- Box D: Racing Seat

Image 1.5: The cockpit components are distributed across four boxes: Profile Racing Frame, Racing Controller Stand, Racing Monitor Stand, and Racing Seat.
2. Safety Information
Please read and understand all safety warnings and instructions before assembling and using the product. Failure to follow these instructions may result in injury or damage to the product.
- Ensure all bolts and fasteners are securely tightened before use. Regularly check for loose connections.
- Do not exceed the maximum weight limit of 500 pounds for the cockpit.
- Keep small parts and packaging materials away from children to prevent choking hazards.
- Use appropriate tools for assembly as specified in the instructions.
- Exercise caution when adjusting movable parts to avoid pinching fingers or other body parts.
- Place the simulator on a stable, level surface to prevent tipping.
3. Setup Instructions
Follow these steps carefully to assemble your Marada Racing Simulator Cockpit.
3.1 Assembling the Seat
- Attach the seat rails to the bottom of the racing seat.
- Position the seat brackets on the main frame, ensuring correct spacing (350mm).
- Carefully lower the seat onto the brackets, aligning the holes.
- Insert and partially tighten the screws to secure the seat to the brackets. Do not fully tighten until all screws are in place.
- Fully tighten all screws once the seat is properly aligned.

Image 3.1: Visual guide for installing the racing seat onto the cockpit frame, showing the process of aligning and securing the seat with bolts.
Video 3.1: This video demonstrates the assembly process for the Marada Aluminium Profile Bracket and the black racing chair, including how to mount the seat onto the frame and adjust its position.
3.2 General Assembly and Adjustments
The cockpit's modular design allows for extensive adjustments to suit individual preferences. Refer to the included assembly diagrams for specific component placement.

Image 3.2: The cockpit offers flexible adjustments for the steering wheel angle, shift lever position and height, and overall component placement.
Video 3.2: This video provides an overview of the Marada Aluminum Racing Simulator Cockpit with Monitor Stand, highlighting its adjustable features and overall design.
4. Operating the Simulator Cockpit
Once assembled, your Marada Racing Simulator Cockpit is ready for use. Adjustments can be made to optimize your racing experience.
4.1 Adjusting the Seat
- Forward/Backward: Use the lever located under the front of the seat to slide the seat along its rails. Release the lever to lock the seat in position.
- Recline: Use the recline lever on the side of the seat to adjust the backrest angle between 90 and 180 degrees.

Image 4.1: The ergonomic seat offers a wide range of recline adjustments (90-180 degrees) for comfort during various activities, including racing and resting.
4.2 Adjusting Wheel and Pedal Stands
The wheel and pedal stands can be adjusted for height, angle, and distance to accommodate different users and racing styles.
- Loosen the securing bolts on the side of the wheel or pedal stand.
- Adjust the component to the desired height, angle, or distance.
- Securely tighten the bolts to lock the component in place.
4.3 Adjusting the Shifter Bracket
The shifter bracket can be mounted on either the left or right side of the cockpit and adjusted for optimal positioning.
- Loosen the bolts securing the shifter bracket.
- Slide the bracket to the desired position (forward/backward, left/right) and adjust its height.
- Securely tighten the bolts once the desired position is achieved.
Video 4.2: This video demonstrates the use of the simulated racing mounts, showcasing the cockpit's stability and responsiveness during a racing simulation.
5. Maintenance
Regular maintenance ensures the longevity and optimal performance of your racing simulator cockpit.
- Cleaning: Wipe down aluminum profiles and seat fabric with a soft, damp cloth. Avoid abrasive cleaners or solvents.
- Fastener Check: Periodically inspect all bolts, screws, and connections to ensure they are tight. Re-tighten as necessary.
- Moving Parts: Ensure that all adjustable mechanisms (seat sliders, recline levers, stand adjustments) operate smoothly. Lubricate if needed with a silicone-based spray.
- Storage: If storing the cockpit for an extended period, ensure it is clean and dry. Store in a cool, dry place away from direct sunlight.
6. Troubleshooting
This section addresses common issues you might encounter with your racing simulator cockpit.
6.1 Instability or Wobbling
- Check Fasteners: Ensure all assembly bolts and screws are fully tightened. Loose connections are the most common cause of instability.
- Level Surface: Verify that the cockpit is placed on a flat, level surface. Uneven flooring can cause wobbling.
- Non-Slip Pads: Ensure the non-slip pads on the base are intact and making full contact with the floor.
6.2 Difficulty Adjusting Components
- Loosen Bolts: Make sure the relevant securing bolts are sufficiently loosened before attempting to adjust a component.
- Clear Obstructions: Check for any obstructions or debris in the adjustment tracks or mechanisms.
- Lubrication: If parts are stiff, apply a small amount of silicone lubricant to the sliding mechanisms.
7. Specifications
| Feature | Specification |
|---|---|
| Model Number | Racing Sim Cockpit 80 |
| Product Dimensions | 60 x 31.5 x 54.3 inches |
| Item Weight | 120.2 pounds |
| Player Height Range | 4.6 ft - 6.3 ft (1.4m - 1.9m) |
| Player Weight Limit | 500 pounds |
| Monitor Compatibility | 24-70 inch displays, VESA 75x75 to 400x200 |
| Material | Aluminum Profile (80x40mm, 40x40mm) |
| Seat Recline | 90-180 degrees |
| Manufacturer | Marada |
| ASIN | B0CFQ2F5DH |

Image 7.1: The cockpit dimensions are 60 inches long, 22.5 inches wide, and 44 inches high. It accommodates players with a height range of 4.6ft-6.3ft and a weight limit of 500 pounds.
8. Warranty and Support
Marada products are manufactured to high-quality standards. For warranty information, please refer to the documentation included with your purchase or contact Marada customer support.
8.1 Customer Support
If you encounter any issues or have questions regarding your Marada Racing Simulator Cockpit, please contact our customer support team. Contact details can typically be found on the Marada official website or through your retailer.
Please have your product model number (Racing Sim Cockpit 80) and ASIN (B0CFQ2F5DH) ready when contacting support.


