1. Introduction
The Atomos Ninja Ultra is a versatile 5.2-inch 4K HDMI recording monitor designed for professional video production. It offers advanced monitoring and recording capabilities, supporting various codecs and workflows. This manual provides essential information for setting up, operating, maintaining, and troubleshooting your Ninja Ultra to ensure optimal performance and longevity.
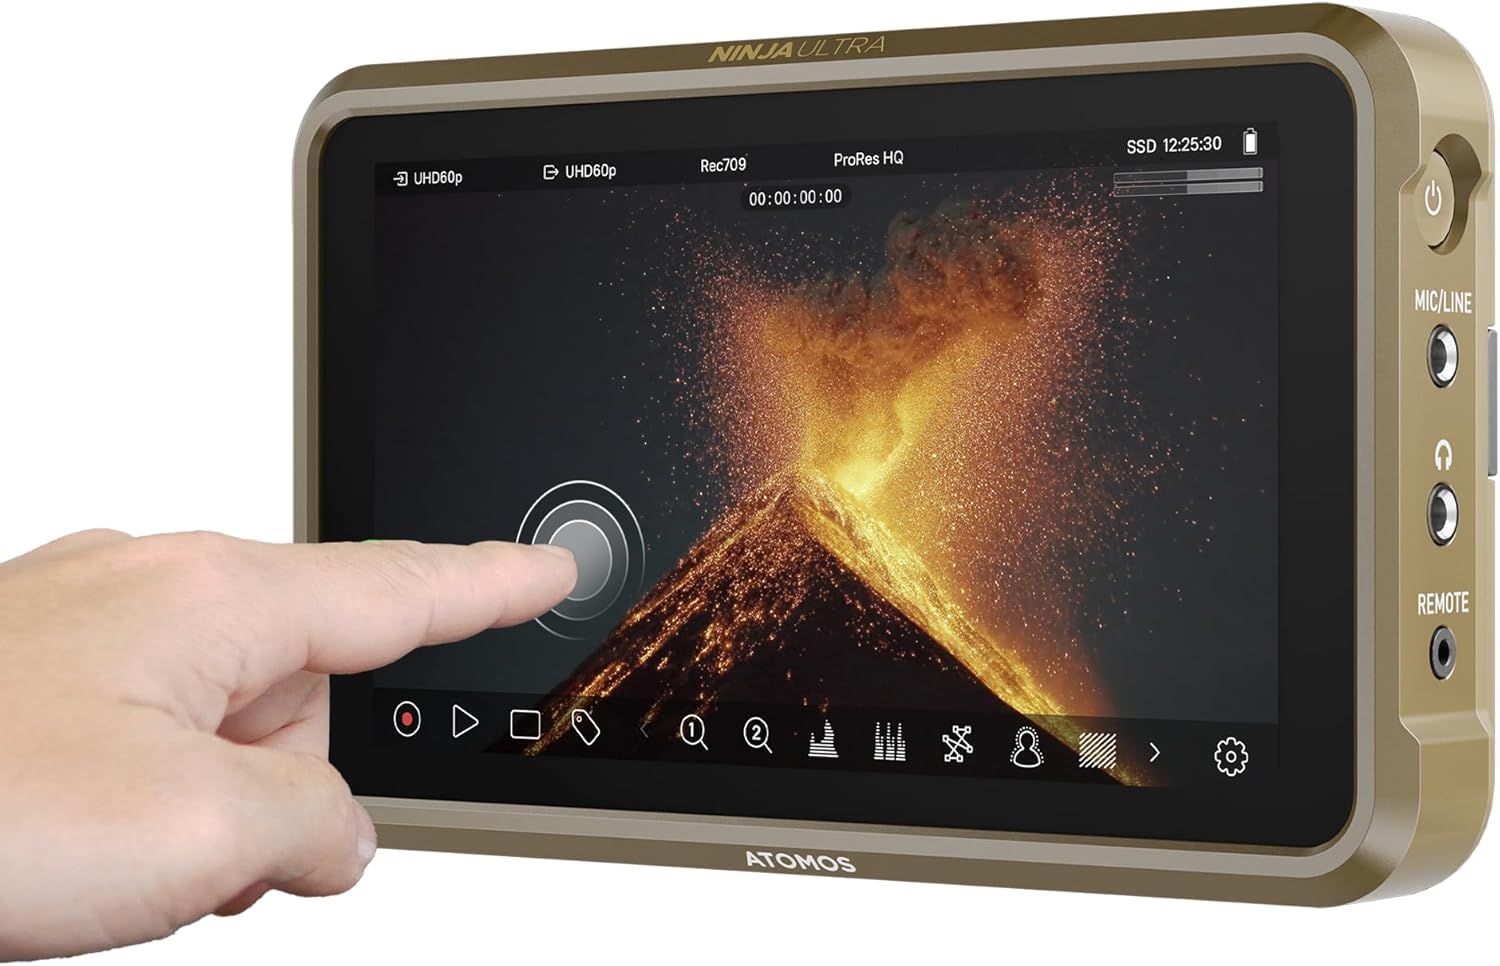
Figure 1: Atomos Ninja Ultra 5.2" 4K HDMI Recording Monitor.
2. Safety Information
- Do not expose the device to rain or moisture to prevent fire or shock hazards.
- Avoid placing the device in direct sunlight or near heat sources.
- Use only Atomos-approved power adapters and accessories.
- Keep the device away from strong magnetic fields.
- Do not attempt to disassemble or modify the device. Refer all servicing to qualified personnel.
3. Package Contents
Verify that all items are present in your package:
- Atomos Ninja Ultra 5.2" 4K HDMI Recording Monitor
- Power Adapter
- Quick Start Guide
- Additional accessories may vary based on the purchased kit.
4. Product Overview
The Atomos Ninja Ultra is a lightweight, tough, and reliable monitor-recorder. It features a 5.2-inch display and supports advanced monitoring and recording functionalities.
Key Features:
- Capture in ProRes RAW up to 8K 30P, 6K 60P & 4K 120P.
- Flexible codec choice: ProRes RAW, ProRes, DNxHD & H.265 (HEVC) – all included.
- Dual RAW record for Camera to Cloud workflows: capture 4Kp60 ProRes RAW & H.265 simultaneously.
- SDI Cine feature for automated matching filenames, timecode, and record trigger from ARRI, Canon, RED, and Sony SDI cameras.
- Advanced monitoring tools with EL Zone exposure and ARRI false color.
- Wi-Fi 6E for faster, lower latency, and more stable connections.
- RemoteView for sharing live views over the internet.
Physical Components:
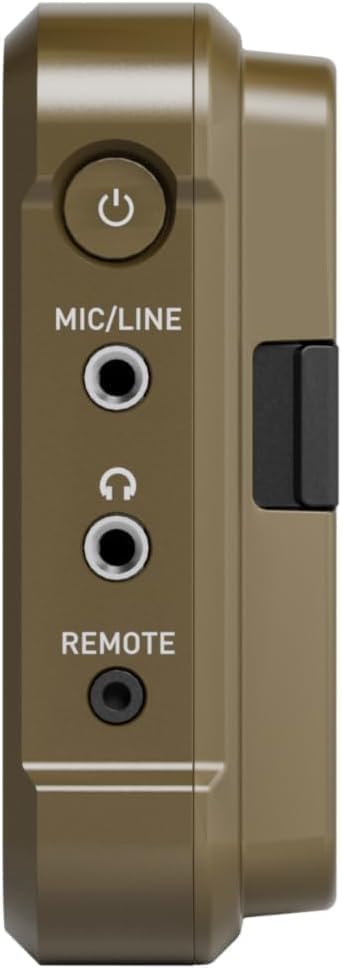
Figure 2: Side view of the Ninja Ultra showing the power button, MIC/LINE input, headphone output, and REMOTE port.

Figure 3: Side view of the Ninja Ultra showing HDMI IN and HDMI OUT ports.

Figure 4: Back view of the Ninja Ultra, highlighting the battery slot and SSD drive bay.
5. Setup
5.1 Powering On/Off
To power on the Ninja Ultra, press and hold the power button located on the side until the screen illuminates. To power off, press and hold the power button until the shutdown sequence initiates.
5.2 Battery Installation
The Ninja Ultra uses NP-F type batteries. Align the battery with the battery slot on the rear of the device and slide it in until it clicks into place. Ensure the battery is fully charged before use.
5.3 Connecting to a Camera
Connect your camera's HDMI output to the Ninja Ultra's HDMI IN port using a high-quality HDMI cable. The monitor supports 4K HDMI input. For SDI cameras, an Atomos Connect module (sold separately) is required to utilize the SDI Cine features.
5.4 SSD Installation
The Ninja Ultra records to compatible SSD drives. Open the SSD drive bay cover on the rear of the device, insert the SSD, and close the cover securely. Ensure the SSD is properly formatted by the Ninja Ultra before recording.
5.5 Firmware Updates
Regularly check the Atomos website for the latest firmware updates. Firmware updates often introduce new features, improve performance, and resolve issues. To update, download the firmware to a formatted SSD, insert it into the Ninja Ultra, and follow the on-screen prompts.
6. Operating the Ninja Ultra
6.1 Basic Recording
Once your camera is connected and the SSD is installed, the Ninja Ultra will display the camera's feed. Use the touchscreen interface to select your desired recording codec (ProRes RAW, ProRes, DNxHD, H.265) and resolution. Press the record button to start and stop recording.
6.2 Monitoring Features
The 5.2-inch display offers a bright and clear view of your footage. Utilize the various monitoring tools such as waveforms, vectorscopes, focus peaking, false color (including EL Zone exposure and ARRI false color), and zebras to ensure accurate exposure and focus.

Figure 5: The Atomos Ninja Ultra's touchscreen interface displaying recording status and monitoring tools.
6.3 Camera to Cloud Workflow
The Ninja Ultra supports Camera to Cloud workflows, allowing simultaneous recording of high-quality ProRes RAW and H.265 proxy files. These proxy files can be instantly uploaded to cloud platforms like Frame.io for remote collaboration and editing. This feature requires an Atomos Connect module for internet connectivity.
6.4 Live Streaming and Remote Control
With the Atomos Connect module, the Ninja Ultra can stream video signals directly to a control panel or server, enabling live streaming to platforms like YouTube. The RemoteView feature allows sharing live views over the internet. The AtomX Cast application for macOS provides remote control over live streams, including overlays, titles, and transitions between multiple cameras.
Video 1: An overview of the Atomos Ninja V Connect Upgrade, demonstrating Camera to Cloud, live switching, and streaming capabilities, which are also applicable to the Ninja Ultra with the Atomos Connect module.
6.5 Wireless Connectivity and Timecode Sync
The Ninja Ultra features Wi-Fi 6E for robust wireless network connections. It also supports wireless timecode synchronization, eliminating the need for manual jam sync or resyncing multiple cameras, provided all devices are within the same timecode system.
6.6 AtomX Expansion Options
Expand the functionality of your Ninja Ultra with AtomX modules. The Atomos Connect module provides network connectivity for cloud workflows and live streaming. The AtomX CAST module transforms your Ninja Ultra into a compact live switching and streaming solution.

Figure 6: The Atomos Ninja Ultra shown with the Atomos Connect and AtomX CAST expansion modules.
6.7 Color Matching and LUTs
The Ninja Ultra allows for precise color matching between different cameras and the application of Look Up Tables (LUTs) for creative grading or monitoring. This ensures consistent color rendition across your multi-camera setups.
7. Maintenance
7.1 Cleaning
Use a soft, dry cloth to clean the exterior of the Ninja Ultra. For the screen, use a microfiber cloth specifically designed for electronics. Avoid abrasive cleaners or solvents.
7.2 Storage
When not in use, store the Ninja Ultra in a cool, dry place, away from direct sunlight and extreme temperatures. Remove batteries if storing for extended periods.
8. Troubleshooting
8.1 Device Not Recording
- Check SSD: Ensure the SSD is properly inserted and formatted.
- Codec Mismatch: Verify that the selected recording codec on the Ninja Ultra matches the camera's output signal (e.g., if the camera is not outputting ProRes RAW, do not select it as the recording codec).
- Camera to Cloud Client: If the Camera to Cloud (C2C) Client is enabled, the device may not record to the SSD. Disable C2C if local recording is desired.
8.2 Overheating During Long Sessions
The Ninja Ultra may generate heat during prolonged use, especially when recording in high resolutions or demanding codecs. Ensure adequate ventilation around the device. If overheating persists, consider reducing recording settings or taking breaks.
8.3 Connectivity Issues
- HDMI/SDI Signal: Ensure cables are securely connected and the camera is outputting a valid signal.
- Network Connection: For cloud or streaming features, verify your Wi-Fi 6E or Ethernet connection is stable and has sufficient bandwidth.
9. Specifications
| Feature | Detail |
|---|---|
| Model Number | ATOMNJAU01 |
| Display Size | 5.2 inches |
| Connectivity Technology | HDMI |
| Compatible Devices | Camera |
| Memory Storage Capacity | 1 GB (internal, for system) |
| Wattage | 30 watts |
| Number of Channels | 12 |
| Media Format Digital Video | ProRes RAW |
| Total USB Ports | 1 |
| Video Input | HDMI, USB |
| Item Weight | 360 Grams |
| UPC | 814164022811 |
10. Warranty and Support
Atomos offers warranty and support for the Ninja Ultra. For detailed warranty information and to register your product, please visit the official Atomos website. Technical support and additional resources can also be found there.


