Introduction
This manual provides detailed instructions for the installation, maintenance, and replacement of McbeAn compatible parts for the Xiaomi Mijia Robot Vacuum Mop 3C B106CN. Regular replacement of these components ensures optimal performance and extends the lifespan of your robot vacuum cleaner.
Product Overview
The McbeAn replacement kit includes essential components designed to maintain the cleaning efficiency of your Xiaomi Mijia Robot Vacuum Mop 3C B106CN. The specific contents of your kit may vary, but typically include:
- Main Brushes (Roller Brushes)
- Side Brushes
- HEPA Filters
- Mop Pads (Mop Rags)
- Cleaning Tool

Figure 1: Complete set of McbeAn replacement parts, including main brushes, side brushes, HEPA filters, mop pads, and a cleaning tool.
Installation Guide
Before installing any parts, ensure your robot vacuum is powered off and disconnected from its charging dock.
1. Main Brush Installation
- Turn the robot vacuum upside down.
- Locate the main brush cover, usually secured by two tabs or latches. Press the tabs to release and remove the cover.
- Lift out the old main brush.
- Insert the new main brush, ensuring the square and hexagonal ends align with their respective slots in the vacuum.
- Replace the main brush cover and press down until it clicks into place.

Figure 2: Detail of the main brush, showing its design for effective debris collection.
2. Side Brush Installation
- Turn the robot vacuum upside down.
- Locate the side brush. It is typically held by a single screw. Use a screwdriver to remove the screw.
- Remove the old side brush.
- Place the new side brush into position, aligning the central hole.
- Secure the new side brush with the screw.
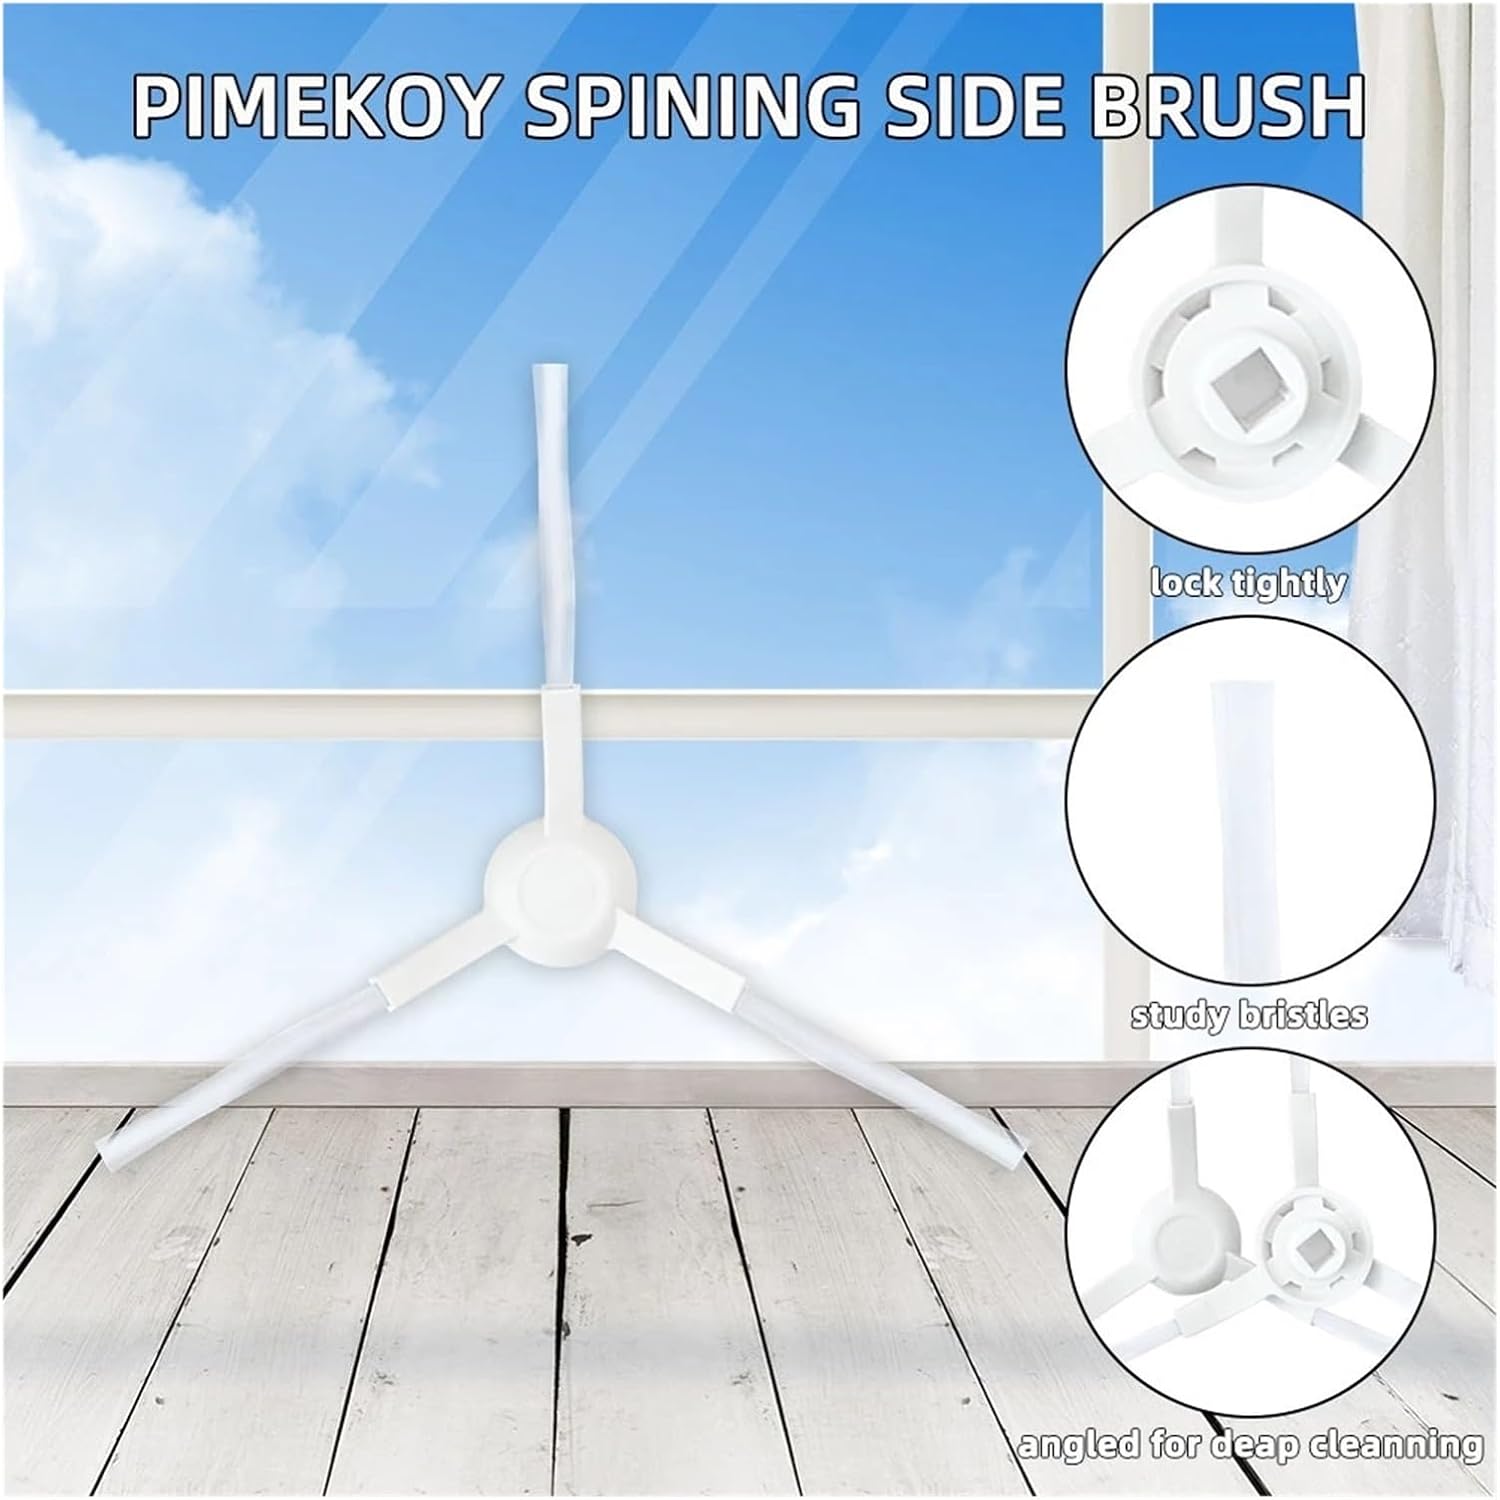
Figure 3: The three-arm side brush, designed to sweep debris from edges and corners.
3. HEPA Filter Installation
- Open the top cover of the robot vacuum to access the dustbin.
- Remove the dustbin from the robot.
- Open the dustbin cover to reveal the filter compartment.
- Remove the old HEPA filter.
- Insert the new HEPA filter into the designated slot, ensuring a snug fit.
- Close the dustbin cover and reinsert the dustbin into the robot vacuum.

Figure 4: The HEPA filter, designed to capture fine dust and allergens.
4. Mop Pad Installation
- Locate the water tank or mop module on your robot vacuum.
- If applicable, remove the old mop pad from the water tank or mop plate.
- Attach the new mop pad to the designated area on the water tank or mop plate, typically using hook-and-loop fasteners.
- Ensure the mop pad is securely attached and evenly spread.

Figure 5: Mop pads, designed for effective wet cleaning and reusability.

Figure 6: Bottom view of the robot vacuum with all compatible parts installed.
Maintenance
Regular cleaning and timely replacement of parts are crucial for maintaining the robot vacuum's performance.
Main Brush Maintenance
- Frequency: Clean weekly, replace every 6-12 months depending on usage.
- Procedure: Remove the main brush. Use the provided cleaning tool or scissors to cut and remove tangled hair and debris. Ensure the brush is free of obstructions.
Side Brush Maintenance
- Frequency: Clean monthly, replace every 3-6 months depending on usage.
- Procedure: Remove the side brush. Untangle any hair or debris from the bristles. If bristles are bent, soak them in warm water for a few minutes to help them regain their shape.
HEPA Filter Maintenance
- Frequency: Clean every 2-4 weeks, replace every 3-6 months.
- Procedure: Remove the filter from the dustbin. Tap it gently over a trash can to dislodge dust. If the filter is washable (refer to your robot vacuum's manual), rinse it under running water. Ensure it is completely dry before reinstallation to prevent mold growth.
Mop Pad Maintenance
- Frequency: Clean after each use, replace every 1-3 months depending on usage.
- Procedure: Remove the mop pad. Hand wash or machine wash with mild detergent. Air dry completely before reattaching. Do not tumble dry.
Specifications
| Component | Material | Compatibility |
|---|---|---|
| Main Brush | ABS, Nylon | Xiaomi Mijia Robot Vacuum Mop 3C B106CN |
| Side Brush | ABS, Nylon | Xiaomi Mijia Robot Vacuum Mop 3C B106CN |
| HEPA Filter | HEPA filter paper, ABS | Xiaomi Mijia Robot Vacuum Mop 3C B106CN |
| Mop Pad | Microfiber cloth | Xiaomi Mijia Robot Vacuum Mop 3C B106CN |
Troubleshooting
If your robot vacuum's cleaning performance decreases after replacing parts, consider the following:
- Reduced Suction: Ensure the HEPA filter is clean and correctly installed. Check the dustbin for blockages.
- Poor Sweeping: Verify side brushes are free of tangles and installed correctly. Replace if bristles are excessively worn or bent.
- Ineffective Mopping: Ensure mop pads are clean and wet. Check that the water tank is properly filled and installed.
- Unusual Noises: Inspect main and side brushes for tangled hair or debris that might be causing friction.
For persistent issues, refer to your Xiaomi Mijia Robot Vacuum Mop 3C B106CN's original user manual or contact the robot vacuum manufacturer's support.
Support & Warranty
For questions regarding these replacement parts, please contact the seller directly through your purchase platform. Information regarding specific warranty terms for these compatible parts may be available from the seller at the time of purchase.