1. Introduction
This manual provides detailed instructions for the setup, operation, and maintenance of your GOYOJO NVG10 Helmet-Mounted Night Vision Monocular. This device is designed for enhanced visibility in low-light and nighttime conditions, suitable for activities such as wildlife observation, camping, hunting, and general outdoor exploration. Please read this manual thoroughly before using the product to ensure proper function and safety.
2. What's in the Box
- GOYOJO Night Vision Monocular
- Tactical Helmet
- Rechargeable Battery
- Charger
- User Manual
3. Product Components
Familiarize yourself with the various parts of your night vision monocular:

Detailed view of the monocular, labeling key components such as the hanger, battery cover, eyepieces, diopter wheel, infrared light, focusing wheel, objective lens cover, and control buttons.
- Hanger: For attaching the monocular to the helmet mount.
- Battery Cover: Secures the rechargeable battery.
- Eyepieces: Where you view the image.
- Diopter Wheel: Adjusts focus for individual eye sight.
- Infrared Light: Provides invisible illumination for enhanced night vision.
- Focusing Wheel: Adjusts the clarity of the image.
- Objective Lens Cover: Protects the main lens.
- Up Button: Navigates menus or adjusts settings.
- Switch Button: Power on/off and mode selection.
4. Setup Instructions
4.1. Battery Installation and Charging
- Locate the battery compartment on the monocular and open the battery cover.
- Insert the included rechargeable Lithium Polymer battery, ensuring correct polarity.
- Close the battery cover securely.
- Before first use, fully charge the battery using the provided charger. Connect the charger to the monocular and a power source. The charging indicator will show the charging status.
4.2. Attaching to Helmet
The monocular is designed for hands-free operation when mounted on the tactical helmet.

The GOYOJO Night Vision Monocular attached to the included tactical helmet, demonstrating the hands-free configuration.

The monocular with its quick-release helmet mount, designed for hands-free operation.
- Ensure the tactical helmet is properly fitted and adjusted to your head using the adjustable straps.
- Locate the quick-release adapter on the helmet.
- Align the monocular's hanger with the helmet mount.
- Slide the monocular onto the mount until it clicks securely into place. Verify that it is firmly attached and does not wobble.
4.3. Initial Focus Adjustment
Achieving a clear image is crucial for effective use.

Demonstration of the manual focus mechanism, showing how to adjust for clear images.
- With the monocular powered on, look through the eyepiece.
- Adjust the Diopter Wheel (if present) to match your individual eyesight until the on-screen display text is sharp.
- Rotate the Focusing Wheel on the objective lens until the distant object you are viewing appears clear and sharp.
5. Operating Instructions
5.1. Power On/Off
- To power on: Press and hold the Switch Button for a few seconds until the display illuminates.
- To power off: Press and hold the Switch Button again until the display turns off.
5.2. Night Vision Modes
The monocular offers dual-color night vision modes for various preferences and conditions.
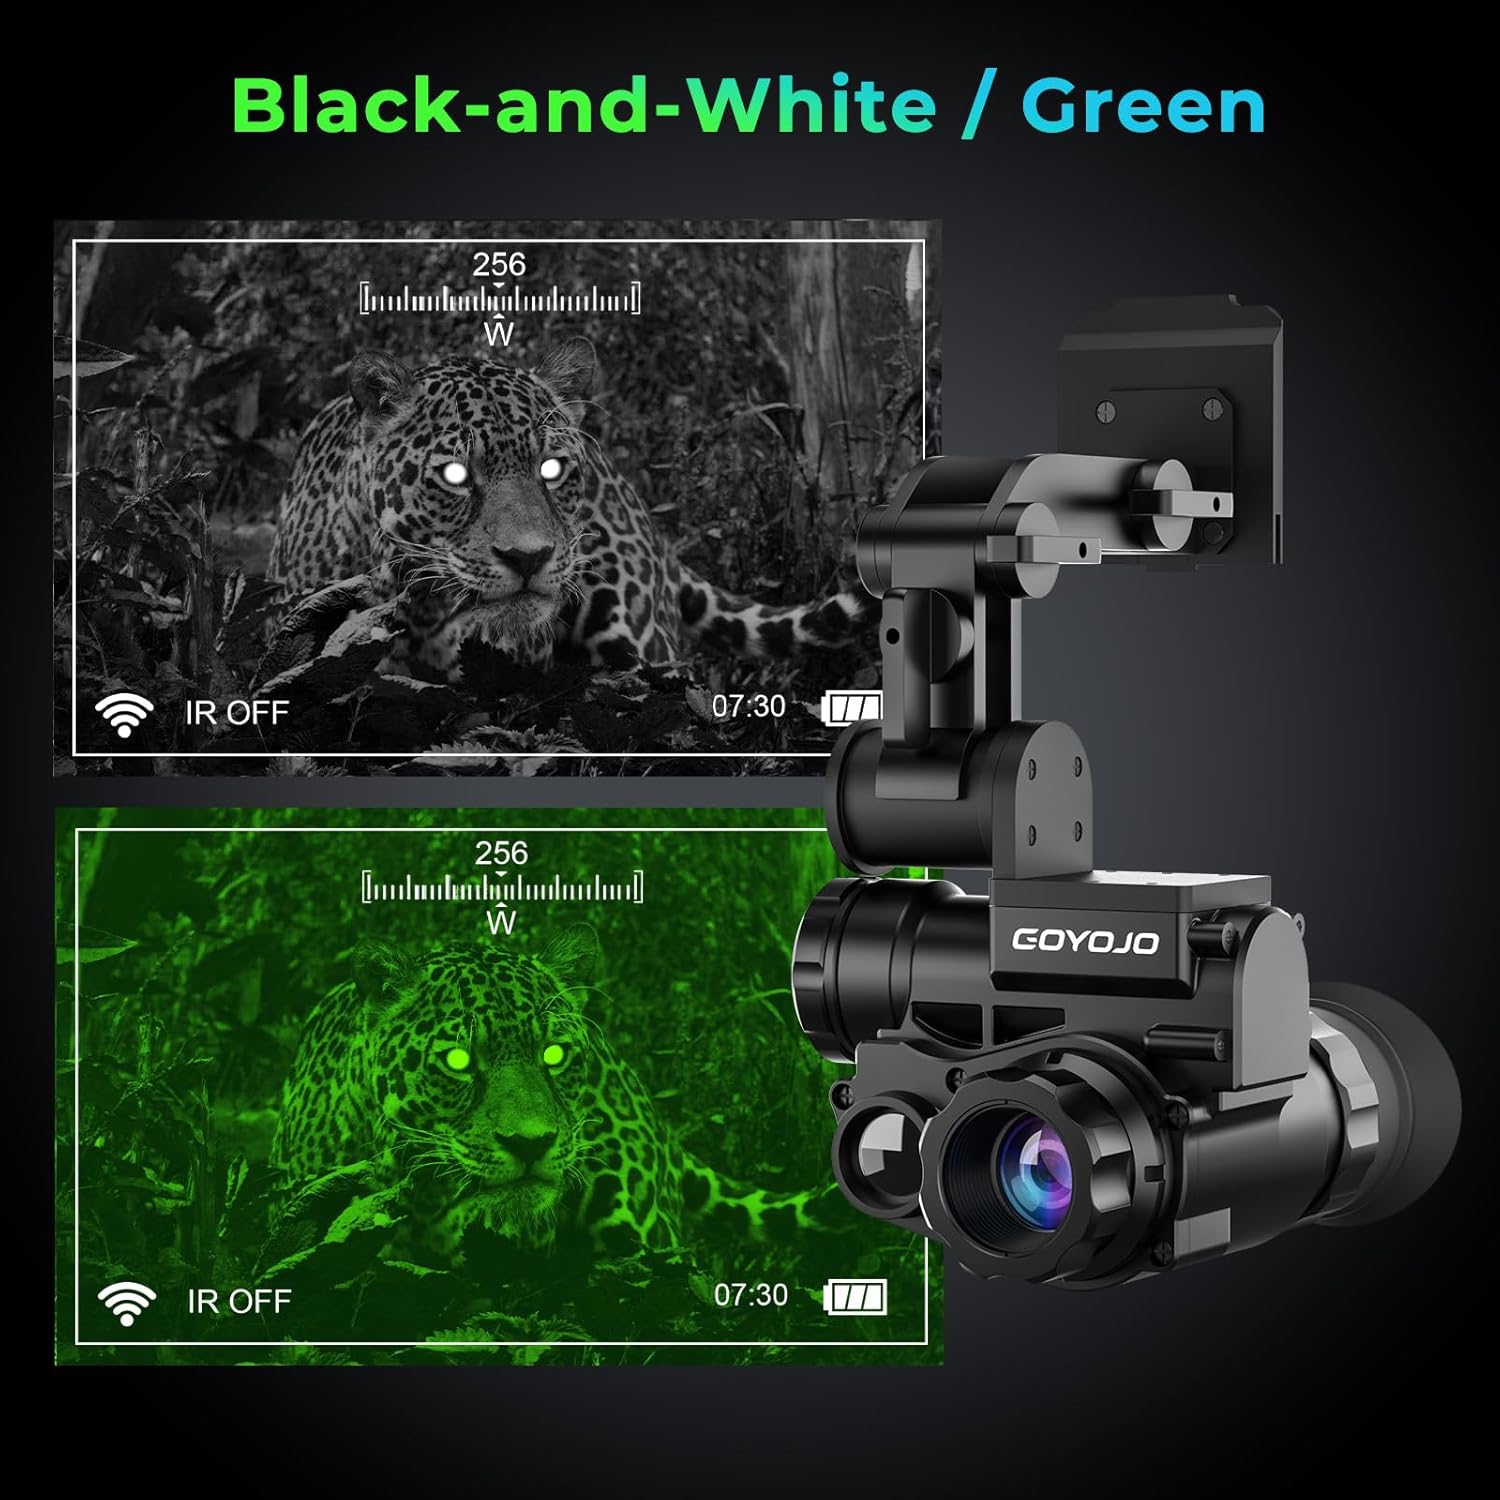
Comparison of the monocular's dual-color night vision modes: high-contrast black and white, and eye-comfort green.
- Press the Switch Button briefly to cycle between Black & White (B&W) mode and Green mode.
- B&W Mode: Provides high-contrast images, ideal for sharp motion detection.
- Green Mode: Offers a traditional night vision appearance, often preferred for prolonged observation to reduce eye strain.
5.3. Digital Zoom
The device features up to 6X digital zoom.
- Use the Up Button to increase the digital zoom level.
- The zoom level will be displayed on the screen.
5.4. Digital Compass
The built-in digital compass provides real-time directional guidance.

The monocular's display interface, showing the built-in digital compass for navigation and a distance indicator.
- The compass reading is continuously displayed on the screen, indicating your current bearing.
- For accurate readings, avoid strong magnetic fields.
5.5. WiFi Connection and App
The monocular supports WiFi connectivity for image transmission to a smartphone.

Illustration of the monocular's WiFi connectivity feature, allowing image transmission to a smartphone via the TRVCAM app.
- Download the 'TRVCAM' app from your smartphone's app store (Android users can scan the QR code provided in product images, iOS users search 'TRVCAM'). You can also visit http://www.sunningsoft.com/trvcam.html for more information.
- On the monocular, activate the WiFi function through the menu settings.
- On your smartphone, connect to the monocular's WiFi network (SSID will typically be 'GOYOJO_NVG' or similar).
- Open the TRVCAM app. You should now be able to view the monocular's feed and potentially control some functions or record content directly on your phone.
6. Maintenance
6.1. Cleaning
- Lenses: Use a soft, lint-free cloth specifically designed for optical lenses. Gently wipe the lens surfaces. For stubborn smudges, use a small amount of lens cleaning solution.
- Body: Wipe the monocular's body with a soft, damp cloth. Avoid using abrasive cleaners or solvents.
6.2. Storage
- Store the monocular in a cool, dry place, away from direct sunlight and extreme temperatures.
- If storing for extended periods, remove the battery to prevent leakage.
6.3. Waterproof Rating
The device has an IP66 waterproof rating.
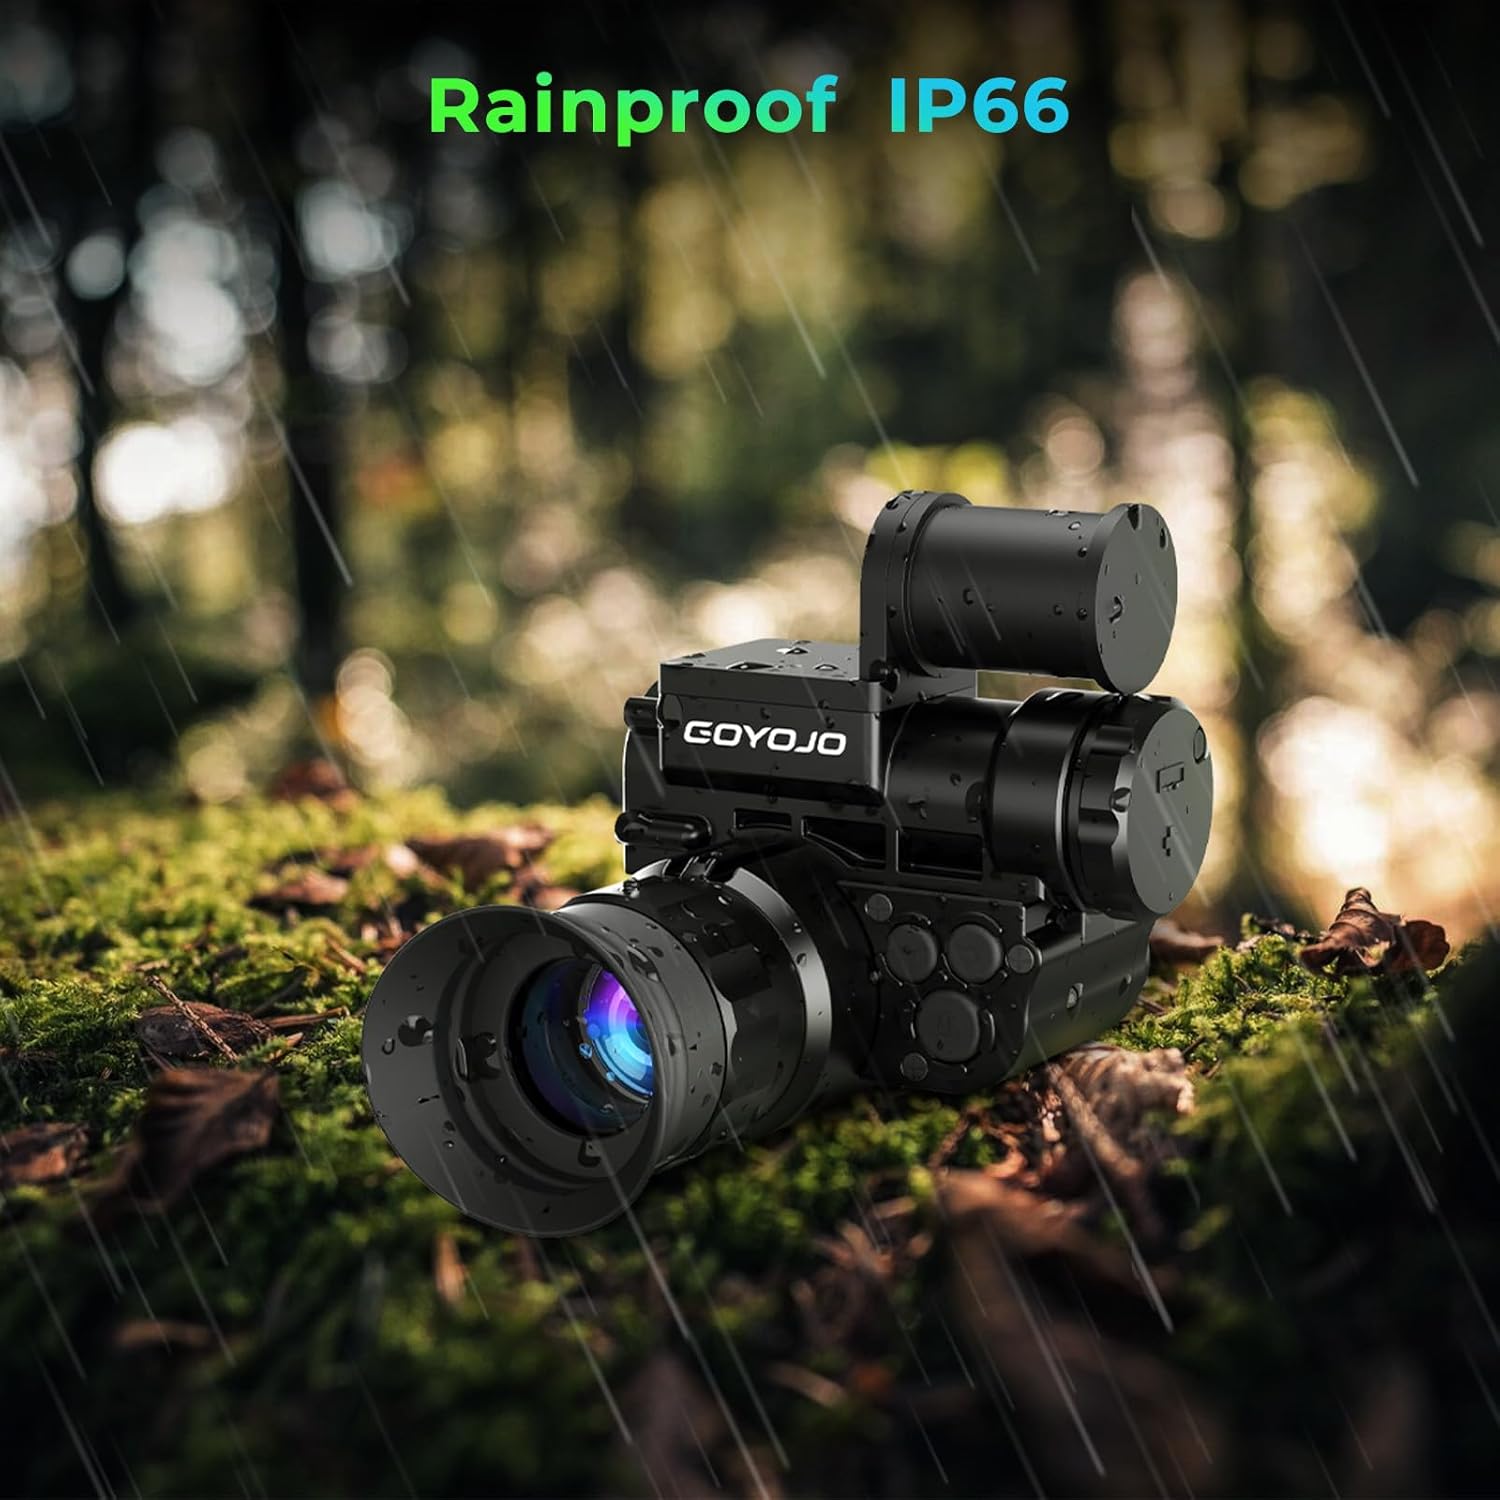
The monocular demonstrating its IP66 waterproof rating, suitable for use in wet conditions.
- IP66 rating means it is protected against powerful water jets and dust. It is suitable for use in rain and splashes but should not be submerged in water.
- Ensure all covers and ports are securely closed before exposure to moisture.
7. Troubleshooting
| Problem | Possible Cause | Solution |
|---|---|---|
| Device does not power on. | Battery is low or not inserted correctly. | Ensure the battery is fully charged and correctly inserted with proper polarity. Press and hold the power button for several seconds. |
| Image is blurry or out of focus. | Focusing wheel or diopter not adjusted. | Adjust the diopter wheel for your eyesight and then rotate the focusing wheel on the objective lens until the image is clear. |
| WiFi connection issues or app not displaying content. | Incorrect app, WiFi not enabled, or app malfunction. | Ensure you have the correct 'TRVCAM' app. Verify WiFi is enabled on the monocular and your phone is connected to its network. Restart both devices and try again. Check for app updates. |
| No image in very dark conditions. | Infrared (IR) illuminator is off. | Activate the IR illuminator through the device's menu or dedicated button. |
8. Specifications
The following table outlines the key specifications of the GOYOJO NVG10 Night Vision Monocular:
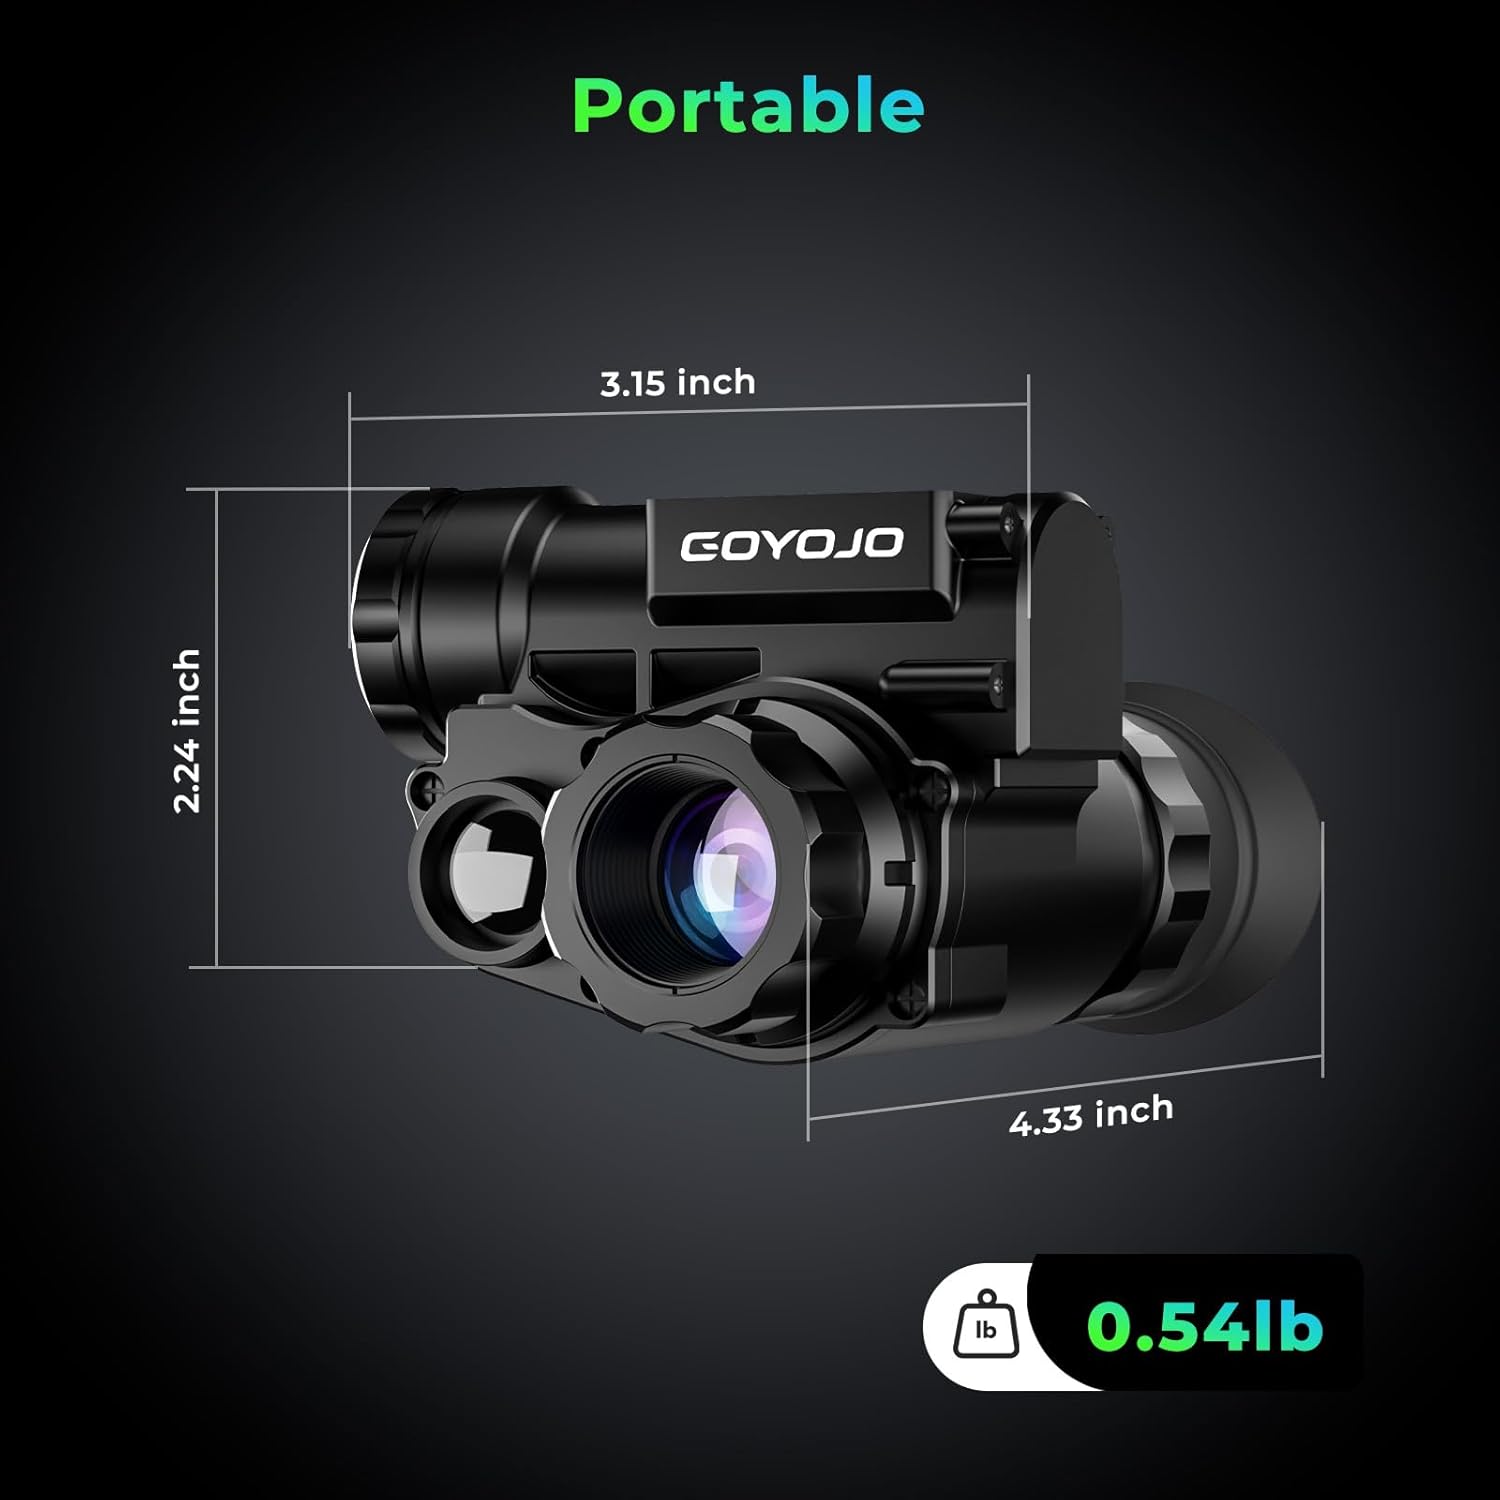
Physical dimensions (length, width, height) and weight of the monocular, highlighting its portable design.
| Feature | Detail |
|---|---|
| Model Name | NVG10 with Mount Helmet |
| Resolution | 1080P HD |
| Digital Zoom | 6X |
| Optical Zoom | 1X |
| Waterproof Rating | IP66 |
| Built-in Features | Digital Compass, WiFi |
| Night Vision Modes | Black & White, Green |
| Eyepiece Lens | OLED |
| Objective Lens Diameter | 24 Millimeters |
| Focus Type | Manual Focus |
| Power Source | Battery Powered (1 Lithium Polymer battery included) |
| Monocular Item Weight | 0.54 lbs (approx.) |
| Package Dimensions | 11.5 x 11 x 9 inches |
| Total Item Weight (with package) | 2.5 pounds |
9. Warranty and Support
For warranty information and technical support, please refer to the documentation included with your purchase or contact GOYOJO customer service through the retailer where the product was purchased. Keep your proof of purchase for warranty claims.


