
1. Introduction
The E-Ant HH857 is a versatile, multi-function emergency device designed to provide reliable assistance for various automotive and outdoor needs. It integrates a powerful jump starter, a 260 PSI air compressor, a portable power bank with USB and DC outlets, and an emergency LED work light. This manual provides detailed instructions for safe and effective operation of your E-Ant HH857 unit.
2. Safety Information
- Always read and understand this manual before operating the device.
- Wear eye protection and gloves when working with batteries.
- Do not attempt to jump start a frozen battery.
- Ensure proper ventilation when charging or operating the unit.
- Keep the unit away from children and pets.
- Do not expose the unit to rain or extreme moisture.
- Avoid short-circuiting the jumper clamps.
- Do not operate the air compressor continuously for more than 10 minutes to prevent overheating. Allow it to cool down before further use.
- Ensure the vehicle's ignition is off before connecting the jump starter.
3. Package Contents
Verify that all items are present in your package:
- E-Ant HH857 Multi-Function Car Jumper Starter Portable (1 unit)
- Heavy-Duty Jumper Clamps (1 set)
- Air Hose with various nozzles (3 pieces)
- AC Adaptor (1 unit)
- DC Charging Cord (1 unit)
- User Manual (1 unit)
4. Product Overview
Familiarize yourself with the components and controls of your E-Ant HH857 unit.

- LED Light & USB Switch: Activates the LED light and USB power output.
- Battery Switch: Main power switch for the unit.
- Charging Indicator: Displays the current charge level of the internal battery.
- 12V DC Outlet: For powering 12V accessories.
- USB Port: For charging mobile devices (5V/2.1A).
- Charging Port: Input for AC or DC charging cables.
- Tire Inflator: Air compressor with pressure gauge.
- Positive (Red) and Negative (Black) Booster Clamps: For jump starting vehicles.
- Power Button (for Air Compressor): Activates the air compressor.
5. Charging the Unit
Before first use, fully charge the E-Ant HH857 unit. It is recommended to recharge the unit after each use and every few weeks to maintain optimal battery health, especially for lead-acid batteries.
Charging with AC Adaptor:
- Ensure the unit's battery switch is OFF.
- Connect the AC adaptor to the unit's charging port.
- Plug the AC adaptor into a standard wall outlet (100-240V AC).
- The charging indicator lights will illuminate, showing the charging progress. All lights will be solid when fully charged.
Charging with DC Charging Cord:
- Ensure the unit's battery switch is OFF.
- Connect the DC charging cord to the unit's charging port.
- Plug the other end into your vehicle's 12V cigarette lighter socket.
- The charging indicator lights will illuminate, showing the charging progress. All lights will be solid when fully charged.
6. Operating Instructions
6.1. Jump Starting a Vehicle
The E-Ant HH857 can jump start 12V vehicles with up to 6.0L gas or 4.0L diesel engines.

- Ensure the E-Ant HH857 unit is fully charged.
- Turn off the ignition of the vehicle to be jump started.
- Connect the red (+) jumper clamp to the positive (+) terminal of the vehicle's battery.
- Connect the black (-) jumper clamp to a clean, unpainted metal part of the vehicle's engine block or chassis, away from the battery and fuel lines. Do not connect the black clamp directly to the negative battery terminal.
- Turn on the E-Ant HH857 unit's battery switch.
- Attempt to start the vehicle. If it doesn't start immediately, wait a few minutes and try again. Do not crank for more than 5 seconds per attempt.
- Once the vehicle starts, immediately turn off the E-Ant HH857 unit.
- Disconnect the black (-) clamp first, then the red (+) clamp.

6.2. Inflating Tires and Other Items
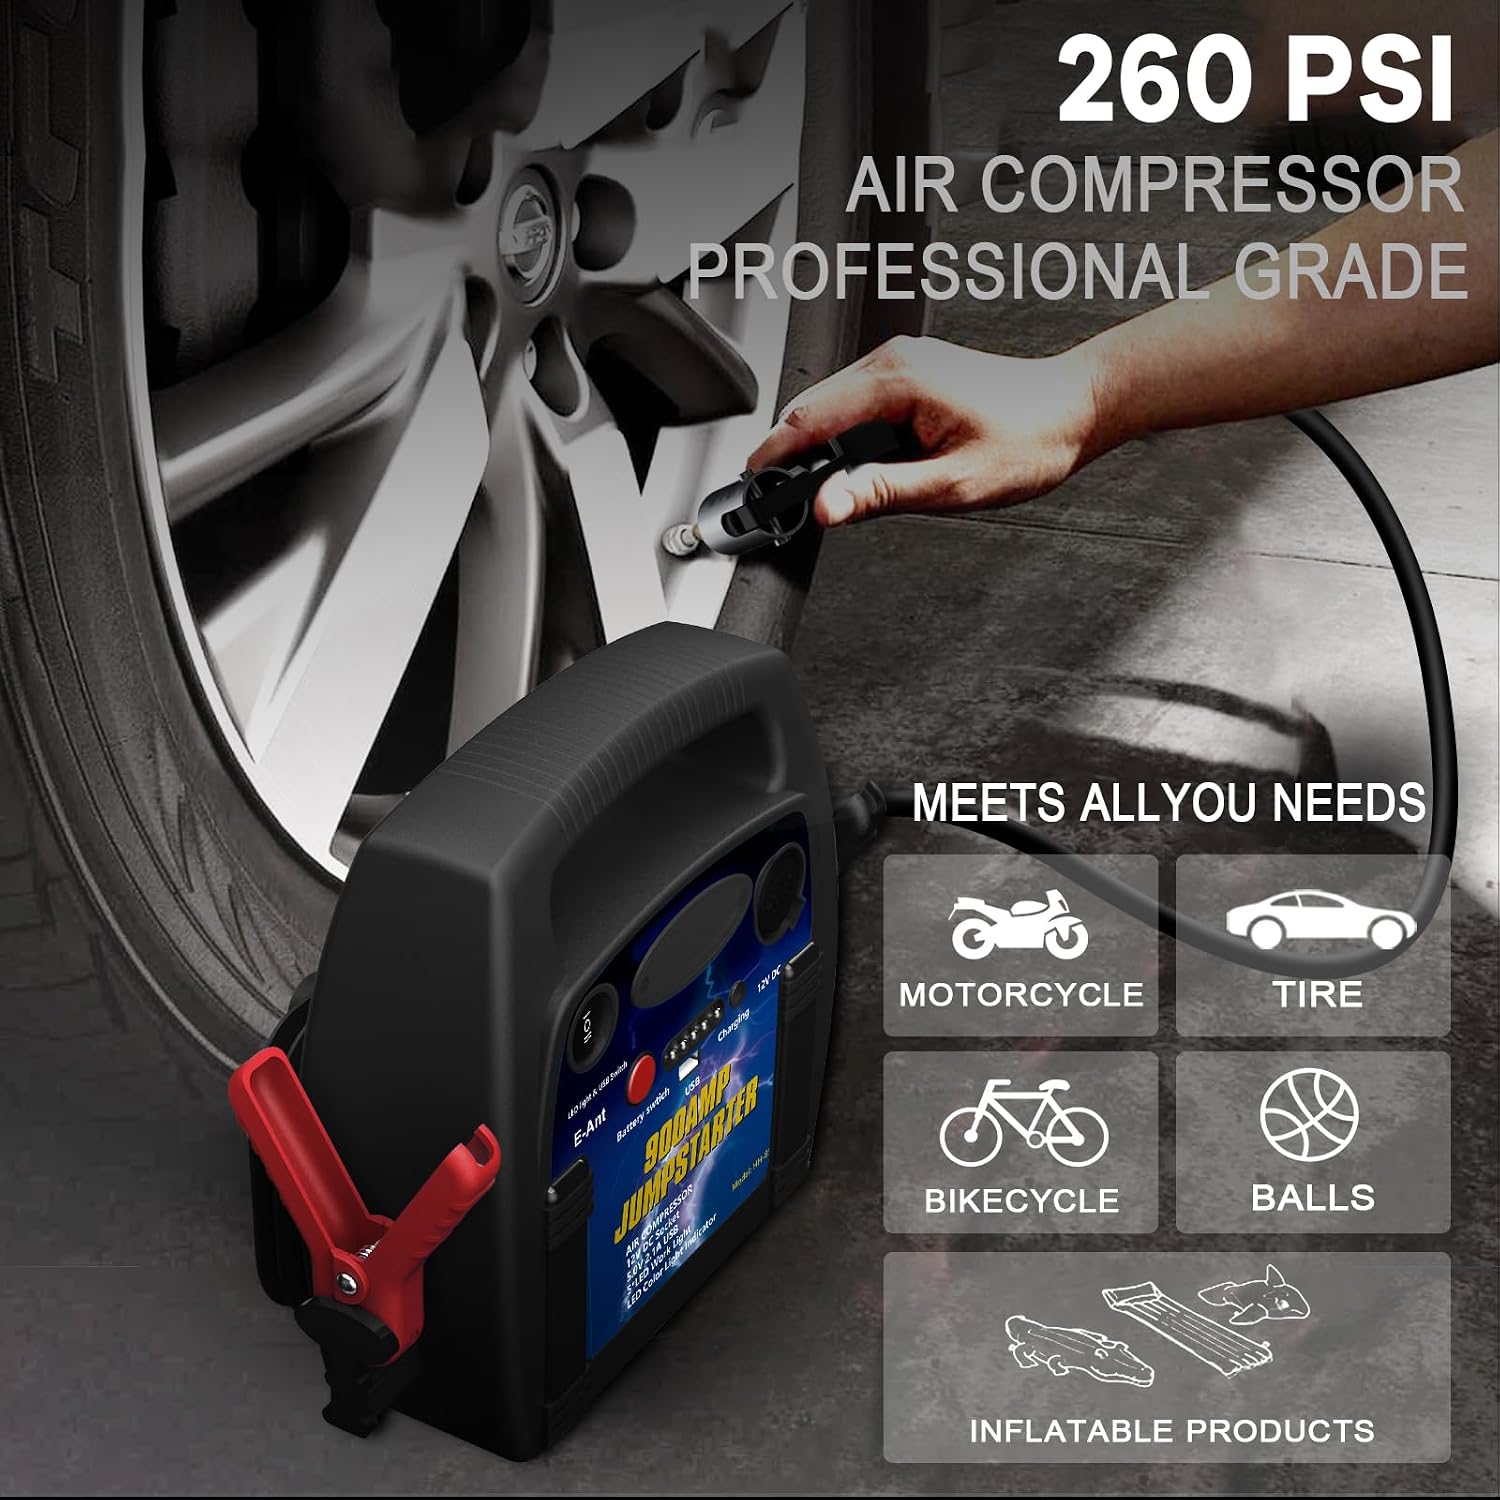
The integrated air compressor can inflate tires up to 260 PSI. It is suitable for car tires, bicycle tires, motorcycle tires, sports balls, and other inflatables. Note: Not suitable for large LT, HT, or truck tires.

- Ensure the E-Ant HH857 unit is adequately charged.
- Select the appropriate nozzle for the item you wish to inflate.
- Securely attach the air hose to the item's valve stem.
- Turn on the unit's battery switch.
- Press the dedicated power button for the air compressor.
- Monitor the pressure gauge on the unit. Stop the compressor once the desired pressure is reached.
- Turn off the air compressor and then the unit's battery switch.
- Carefully disconnect the air hose from the valve stem.
6.3. Using as a Portable Power Bank
The unit features a 5V/2.1A USB port and a 12V/11A DC port for powering and charging various electronic devices.

- Turn on the unit's battery switch.
- For USB devices, connect your device's USB charging cable to the unit's USB port.
- For 12V DC devices, plug the device into the 12V DC outlet.
- To stop charging, disconnect your devices and turn off the unit's battery switch.
6.4. Using the LED Work Light
The 100-lumen LED work light provides illumination in dark environments and offers various emergency modes.

- Turn on the unit's battery switch.
- Press the LED light switch to cycle through the light modes: On (steady light), Strobe, Blink, SOS, and Off.
- Select the desired mode for your situation.
- To turn off the light, cycle through the modes until it switches off, or turn off the unit's battery switch.
7. Maintenance
- Regular Charging: To maximize the lifespan of the internal lead-acid battery, fully charge the unit after each use and at least once every 3 months, even if not used.
- Cleaning: Wipe the unit with a dry, soft cloth. Do not use harsh chemicals or abrasive cleaners.
- Storage: Store the unit in a cool, dry place, away from direct sunlight and extreme temperatures. Ensure the battery switch is OFF during storage.
- Clamp Care: Keep the jumper clamps clean and free of corrosion.
8. Troubleshooting
- Unit not turning on/charging: Ensure the battery switch is in the correct position. Verify that the charging cables are securely connected and the power source is active. The internal battery may be deeply discharged and require a longer initial charge.
- Vehicle not starting: Check that the jumper clamps are securely connected to the correct battery terminals and a good ground point. Ensure the unit is adequately charged. The vehicle's battery might be severely damaged or the engine issue might be beyond a simple jump start.
- Air compressor not working: Ensure the unit's battery switch is ON and the air compressor's power button is pressed. Check that the air hose is properly connected to the valve stem. If the unit has been running for a long time, it might be overheated; allow it to cool down.
- Inaccurate pressure gauge: The built-in pressure gauge provides an estimate. For precise tire pressure readings, use a separate, calibrated tire pressure gauge.
- USB/DC ports not charging devices: Ensure the unit's battery switch is ON. Check that the charging cables are functional and properly connected to both the unit and the device.
9. Specifications
| Feature | Specification |
|---|---|
| Model | HH857 |
| Peak Amperage | 900 Amps |
| Voltage | 12 Volts |
| Engine Compatibility (Gas) | Up to 6.0L |
| Engine Compatibility (Diesel) | Up to 4.0L |
| Air Compressor Pressure | 260 PSI |
| USB Output | 5V/2.1A |
| DC Output | 12V/11A |
| LED Light | 100 Lumens (Flashlight, Strobe, Blink, SOS) |
| Battery Type | Lead Acid (1 x 12V included) |
| Operating Temperature | -4°F to 140°F (-20°C to 60°C) |
| Product Dimensions | 35.05 x 29.97 x 16.51 cm |
| Item Weight | 3.18 kg |
10. Warranty and Support
E-Ant provides a 12-month warranty for this product. For technical support, customer service, or any issues that may arise, please contact E-Ant customer support. Refer to the contact information provided with your purchase or on the official E-Ant website.