1. Introduction and Product Overview
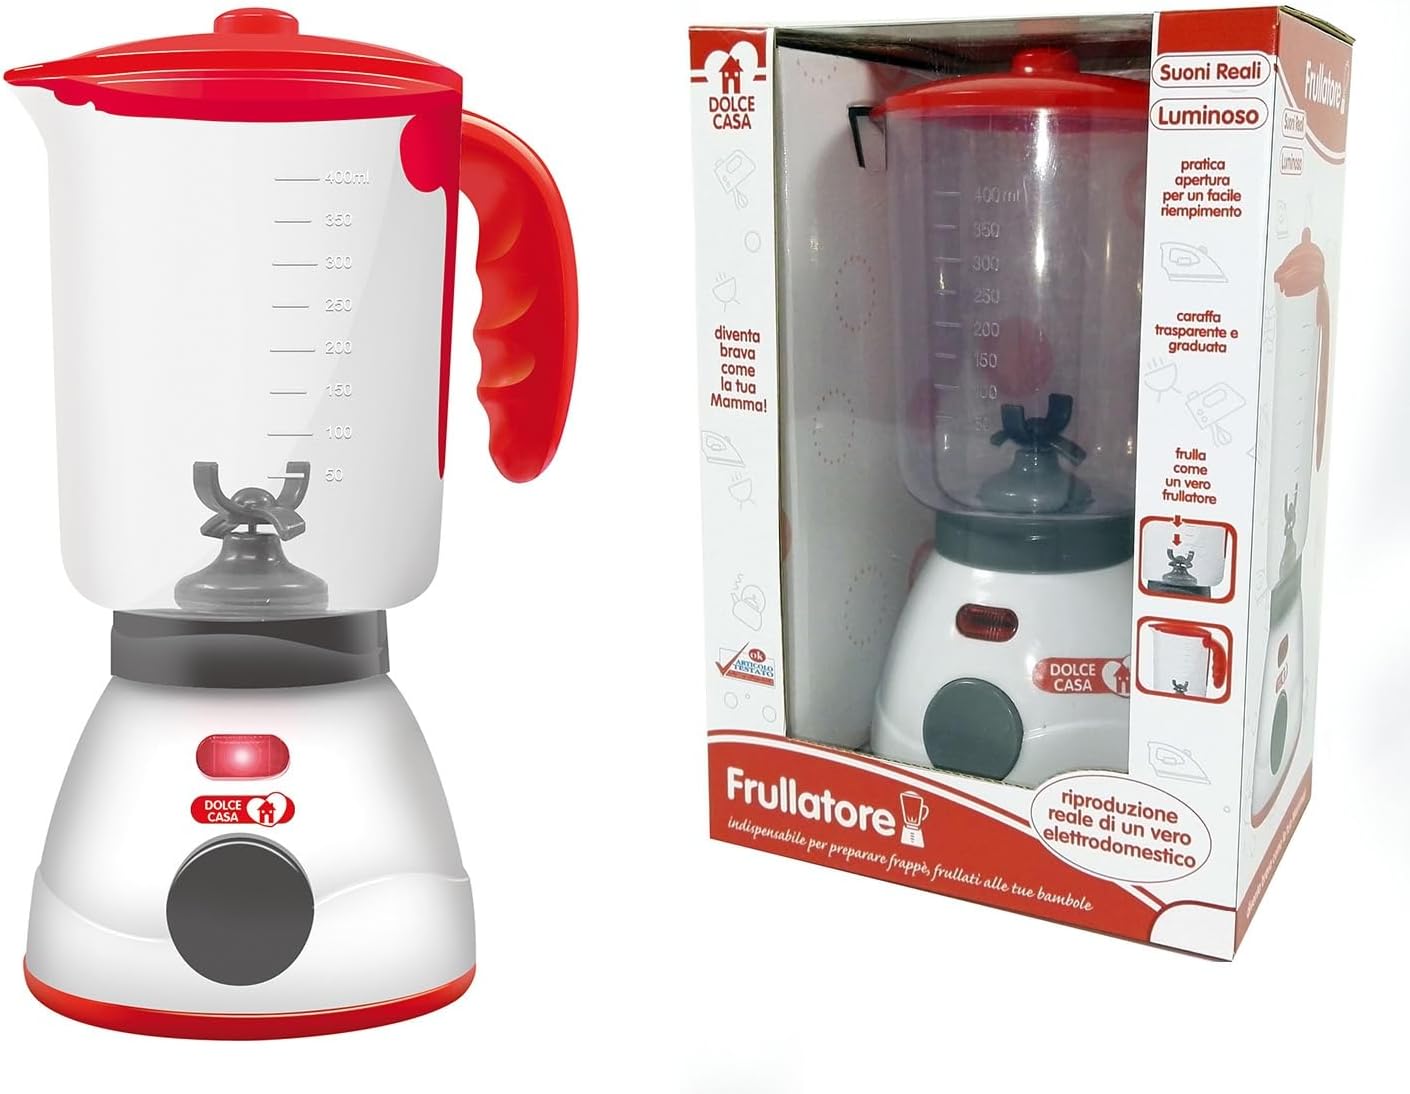
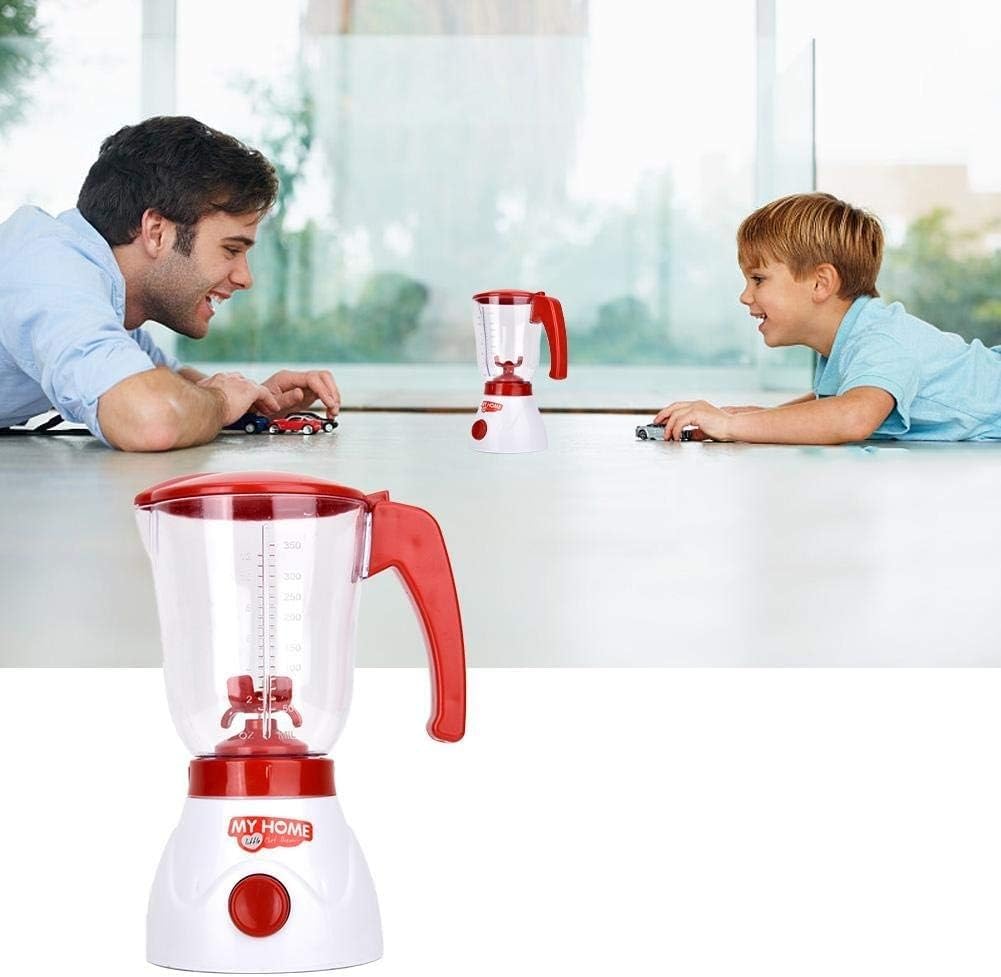
Thank you for choosing the Generic Toy Blender. This realistic toy appliance is designed to provide an engaging and educational play experience for children, allowing them to imitate adult culinary activities safely and imaginatively. It features authentic sounds, a light indicator, and an easy-to-use design.

Key Features:
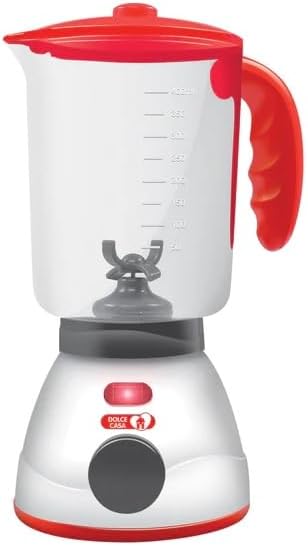
- Realistic Reproduction: A faithful replica of a real blender, perfect for role-playing.
- Authentic Sounds and Light: Equipped with realistic sounds and a light indicator for an interactive experience.
- Simple Operation: Features an easy-to-use on/off button.
- Measuring Pitcher: Includes a graduated pitcher for educational play, allowing children to 'measure' ingredients.
- Educational Play: Helps develop fine motor skills and encourages imaginative role-playing, ideal for preparing pretend milkshakes and smoothies for dolls.
2. Safety Instructions
Please read all safety instructions before allowing a child to use this toy. Adult supervision is recommended at all times.
- Age Recommendation: Suitable for children aged 3 years and older.
- Battery Safety: Requires 2 AA batteries (not included). Ensure batteries are inserted with correct polarity (+/-). Do not mix old and new batteries, or different types of batteries. Remove exhausted batteries promptly. Remove batteries if the toy will not be used for an extended period.
- Choking Hazard: Contains small parts. Not suitable for children under 3 years due to potential choking hazards.
- Material Safety: Made from premium ABS plastic, which is smooth, safe, non-toxic, and durable.
- Water Use: While the toy can simulate adding water, ensure it is not submerged in water. Clean with a damp cloth only.
3. What's in the Box
Upon opening the package, please ensure all components are present:
- 1 x Toy Blender Unit (Base and Pitcher)
4. Setup
Before first use, batteries must be installed.
- Locate the battery compartment on the underside of the blender base.
- Using a small screwdriver (not included), open the battery compartment cover.
- Insert 2 x AA batteries (not included) into the compartment, ensuring correct polarity (+/-) as indicated.
- Replace the battery compartment cover and secure it with the screw.
5. Operating Instructions
Follow these steps to operate your toy blender:
- Ensure batteries are correctly installed.
- Open the lid of the blender pitcher. You can pretend to add water or other ingredients for your pretend recipes.
- Close the lid securely.
- Press the ON/OFF button located on the front of the blender base. The blender will activate with realistic sounds and a light indicator, simulating blending action.
- To stop the blending action, press the ON/OFF button again.


6. Maintenance and Care
Proper care will ensure the longevity of your toy blender:
- Cleaning: Wipe the surface of the blender with a soft, damp cloth. Do not immerse the unit in water.
- Storage: Store the toy in a cool, dry place away from direct sunlight when not in use.
- Battery Removal: If the toy will not be used for an extended period, remove the batteries to prevent leakage.

7. Troubleshooting
If your toy blender is not functioning as expected, please refer to the following common issues and solutions:
| Problem | Possible Cause | Solution |
|---|---|---|
| Blender does not turn on. | Batteries are dead or incorrectly installed. | Check battery polarity. Replace with new AA batteries. |
| Sounds or lights are weak. | Low battery power. | Replace with new AA batteries. |
| Blending action is not smooth. | Obstruction in the pitcher or low battery. | Ensure nothing is blocking the internal mechanism. Replace batteries if needed. |
8. Specifications
| Feature | Detail |
|---|---|
| Product Dimensions (L x W x H) | 27 x 18 x 12 cm (approx. 10.6 x 7.1 x 4.7 inches) |
| Weight | 400 grams (approx. 0.88 lbs) |
| Recommended Age | 3 years and up |
| Model Number | ..k44xxxxaaaww21 |
| Assembly Required | No |
| Batteries Required | Yes, 2 x AA (not included) |
| Main Material | Plastic (Premium ABS) |
| Color | Blender (Red and White) |
| First Available Date | August 9, 2023 |
9. Warranty and Support
This product is designed for durability and long-lasting play. For any questions, concerns, or support inquiries regarding your Generic Toy Blender, please refer to the retailer's customer service or the manufacturer's contact information provided at the point of purchase. Please retain your proof of purchase for any potential warranty claims, though specific warranty details are not provided with this manual.
We hope your child enjoys countless hours of imaginative play with their new toy blender!